
Триммеры Alpina B 1.0 EJ 223537 - инструкция пользователя по применению, эксплуатации и установке на русском языке. Мы надеемся, она поможет вам решить возникшие у вас вопросы при эксплуатации техники.
Если остались вопросы, задайте их в комментариях после инструкции.
"Загружаем инструкцию", означает, что нужно подождать пока файл загрузится и можно будет его читать онлайн. Некоторые инструкции очень большие и время их появления зависит от вашей скорости интернета.


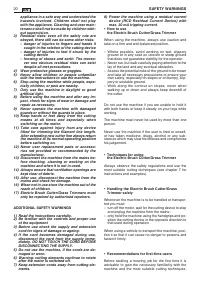
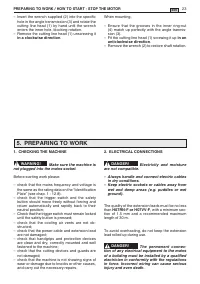
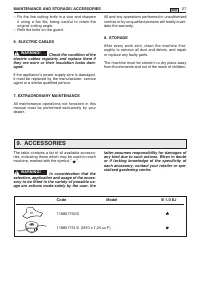


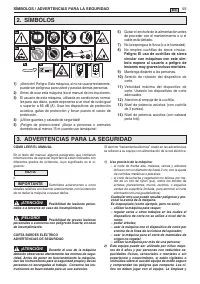


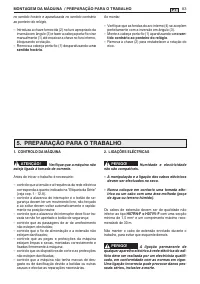
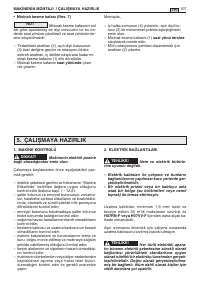

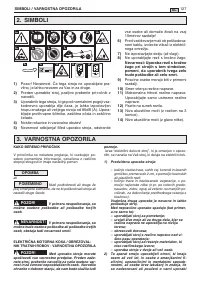
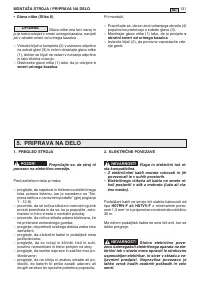


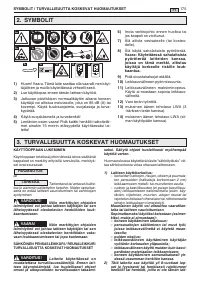

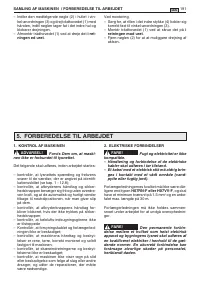

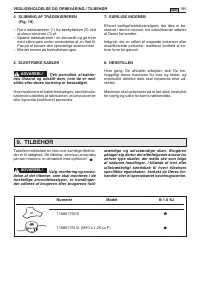


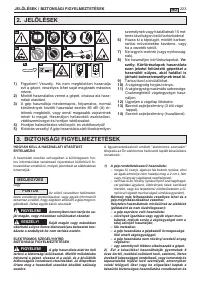


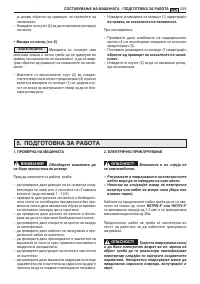


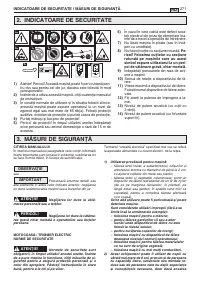
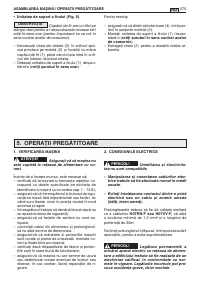


2. ELECTRICAL CONNECTIONS
DANGER!
Electricity and moisture
are not compatible.
– Always handle and connect electric cables
in dry conditions.
– Keep electric sockets or cables away from
wet and damp areas (e.g. puddles or wet
ground).
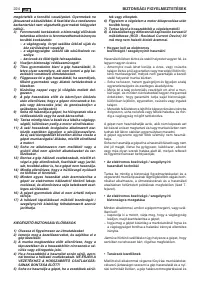
The quality of the extension leads must be no less
than
H07RN-F or H07VV-F
, with a minimum sec-
tion of 1.5 mm and a recommended maximum
length of 30 m.
To avoid overheating, do not keep the extension
lead rolled up during use.
DANGER!
The permanent connec
tion of any electrical equipment to the mains
of a building must be installed by a qualified
electrician in conformity with the regulations
in force. Incorrect wiring can cause serious
injury and even death.
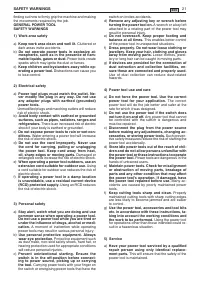
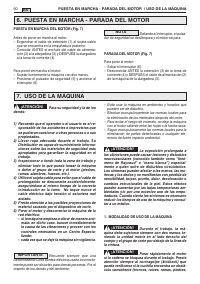
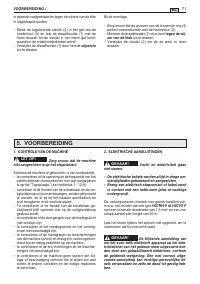
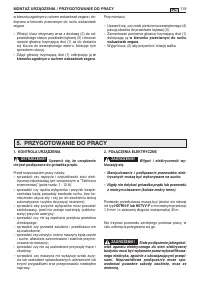
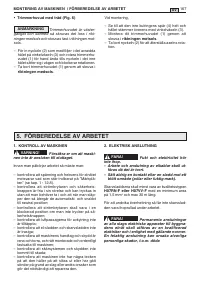
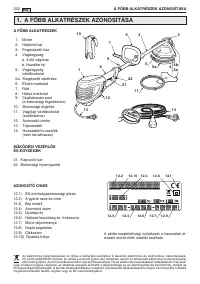
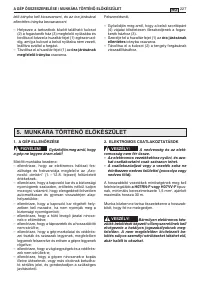
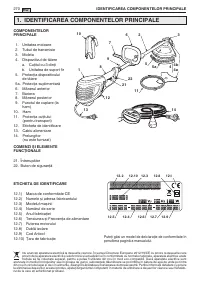
1. CHECKING THE MACHINE
WARNING!
Make sure the machine is
not plugged into the mains socket.
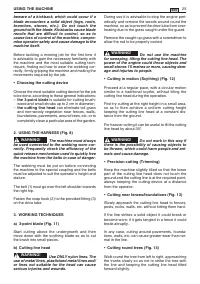
Before starting work please:
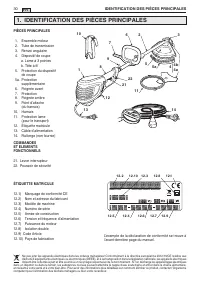
– check that the mains frequency and voltage is
the same as the rating data on the “Identification
Plate” (see chap. 1 - 12.8).
– check that the trigger switch and the safety
button should move freely without forcing and
return automatically and rapidly back to their
neutral position;
– Check that the trigger switch must remain locked
until the safety button is pressed;
– check that the cooling air vents are not ob
-
structed;
– check that the power cable and extension lead
are not damaged;
– check that handgrips and protection devices
are clean and dry, correctly mounted and well
fastened to the machine;
– check that the cutting devices and guards are
not damaged;
– check that the machine is not showing signs of
wear or damage due to knocks or other causes,
and carry out the necessary repairs.
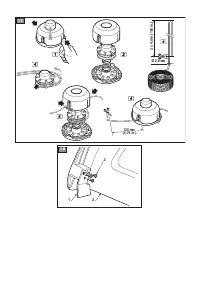
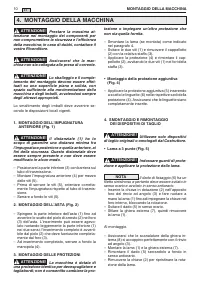
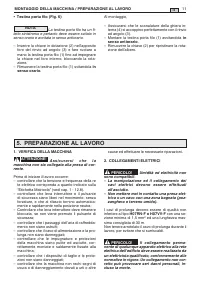
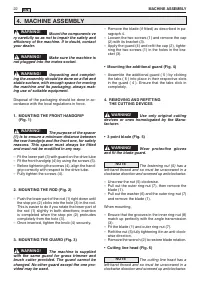
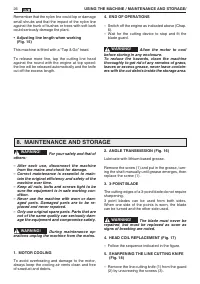
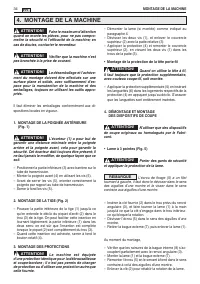
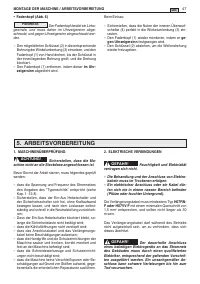
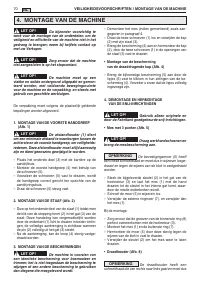
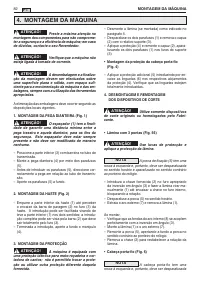
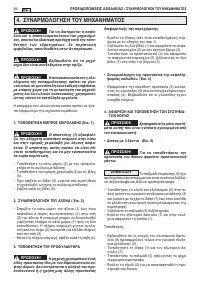
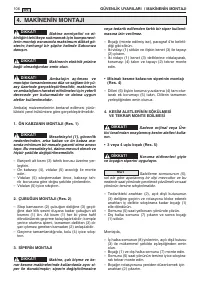
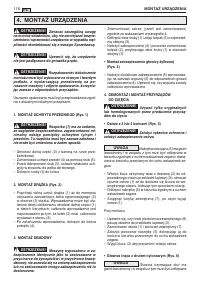
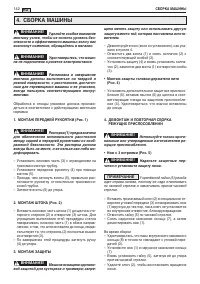
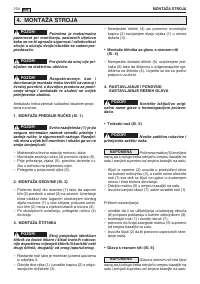
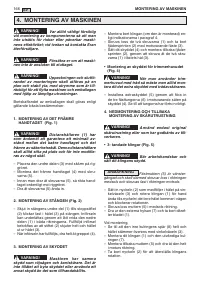
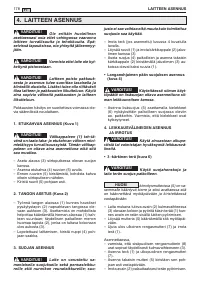
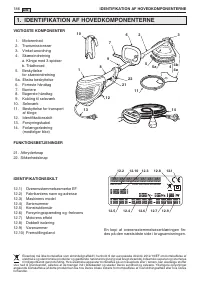
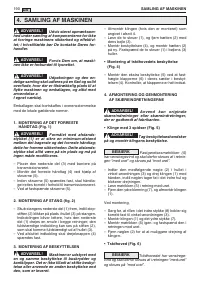
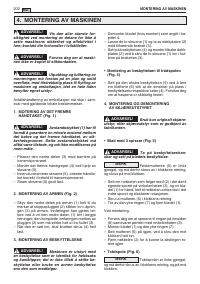
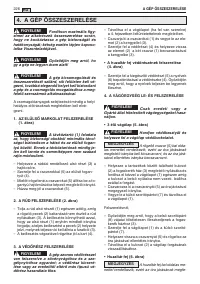
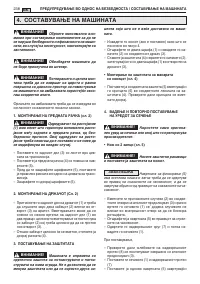
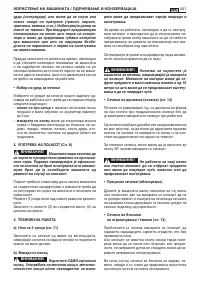
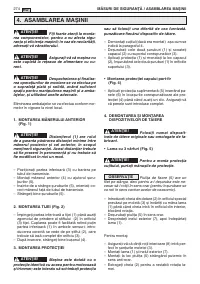
When mounting,
– Ensure that the grooves in the inner ring-nut
(4) match up perfectly with the angle tranmis
-
sion (3).
– Fit the cutting line head (1) screwing it up
in an
anticlockwise direction
.
– Remove the wrench (2) to restore shaft rotation.
– Insert the wrench supplied (2) into the specific
hole in the angle transmission (3) and rotate the
cutting line head (1) by hand until the wrench
enters the inner hole, blocking rotation.
– Remove the cutting line head (1) unscrewing it
in a clockwise direction
.
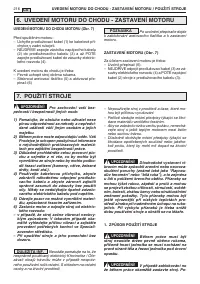
PREPARING TO WORK / HOW TO START - STOP THE MOTOR
23
EN
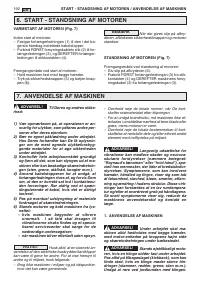
5.
PREPARING TO WORK
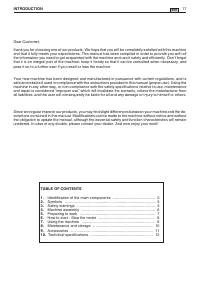
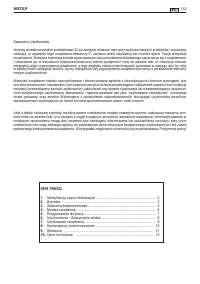
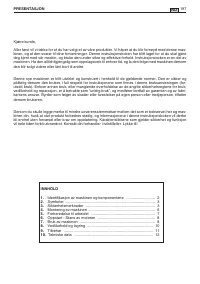
Содержание
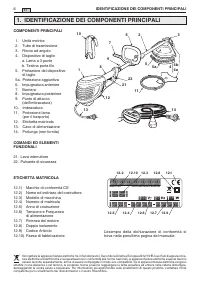
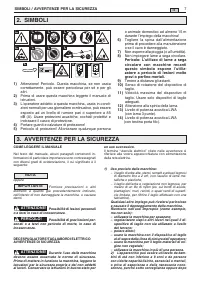
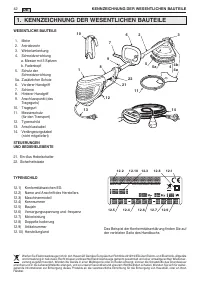
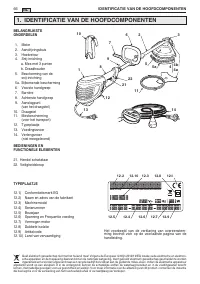
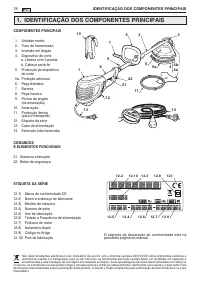
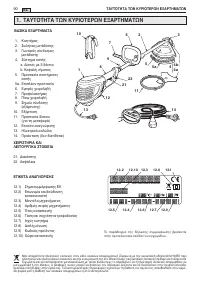
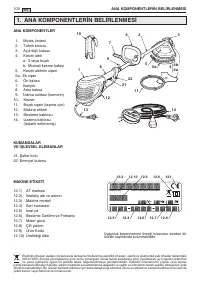
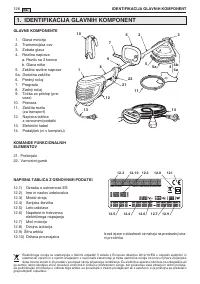
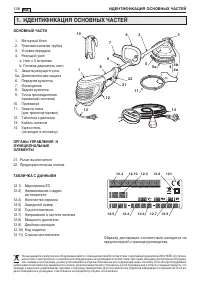
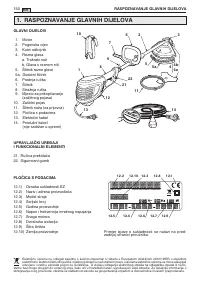
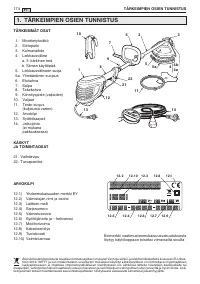
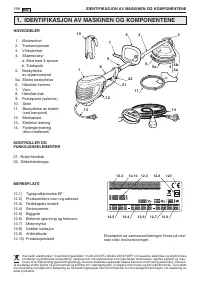
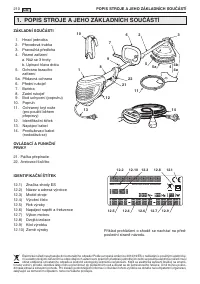
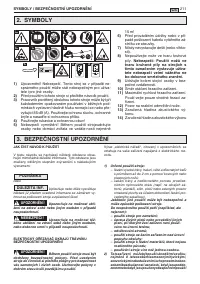
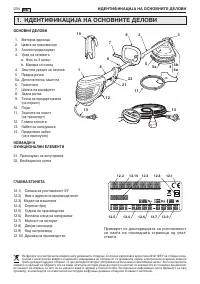
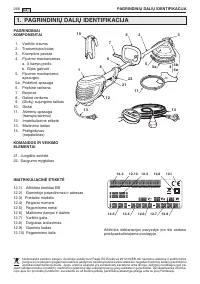
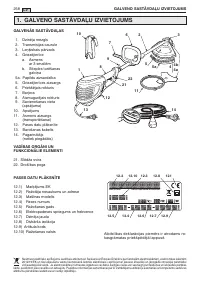
- 141 ИДЕНТИФИKАЦИЯ ОСНОВНЫХ ЧАСТЕЙ
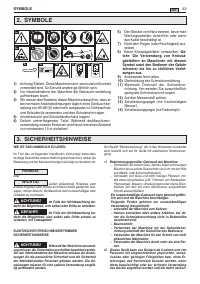
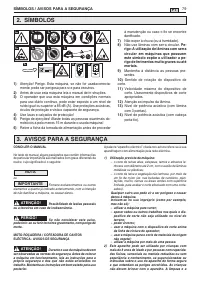
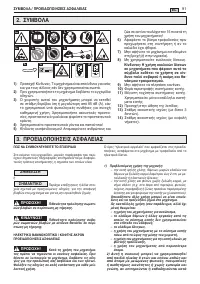
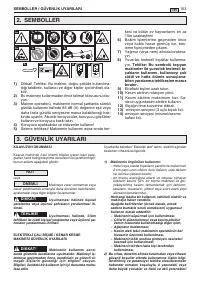
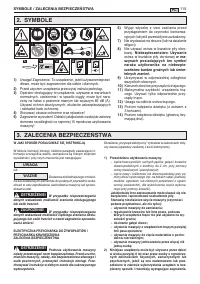
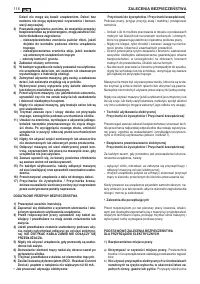
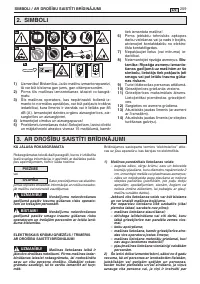
- 142 МЕРЫ ПРЕДОСТОРОЖНОСТИ ДЛЯ ОБЕСПЕЧЕНИЯ БЕЗОПАСНОСТИ
- 143 МЕРЫ ПРЕДОСТОРОЖНОСТИ ДЛЯ ОБЕСПЕЧЕНИЯ БЕЗОПАСНОСТИ
- 145 идет справа налево, поэтому ее надо отвинчивать; СБОРKА МАШИНЫ
- 146 ПОДГОТОВKА K РАБОТЕ; ПРИМЕЧАНИЕ; У головки-держателя нити; по часовой стрелке
- 147 ПОЛЬЗОВАНИЕ МАШИНОЙ
- 149 ТЕХОБСЛУЖИВАНИЕ И ХРАНЕНИЕ
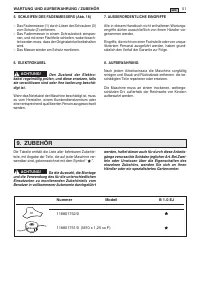
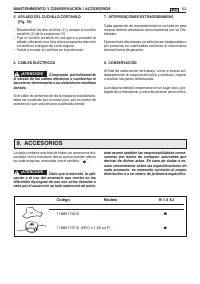
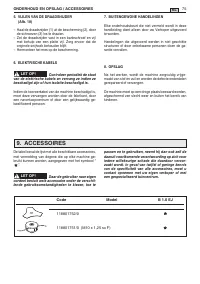
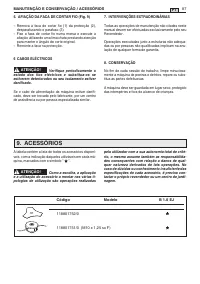
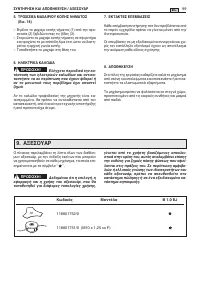
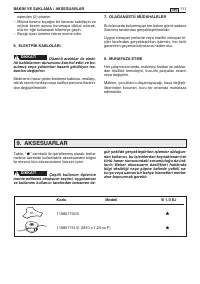
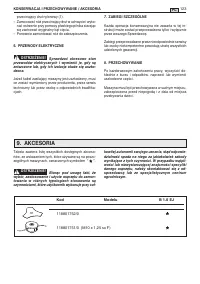
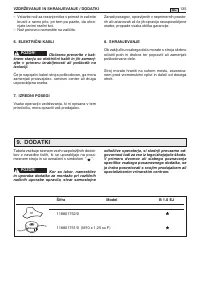
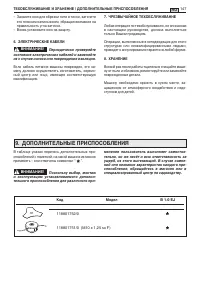
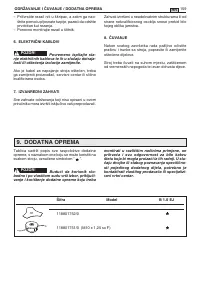
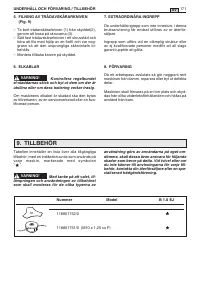
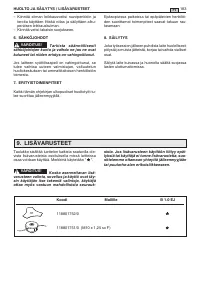
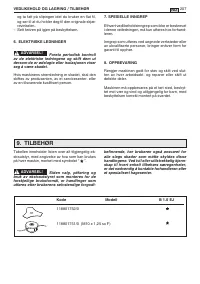
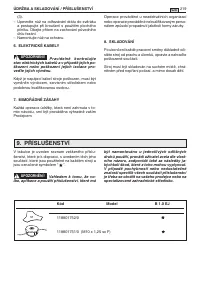
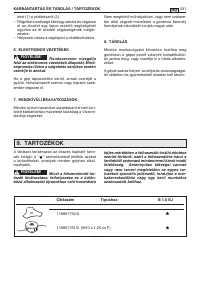
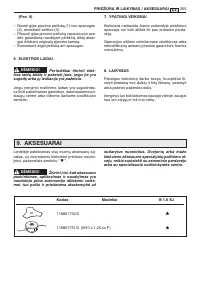
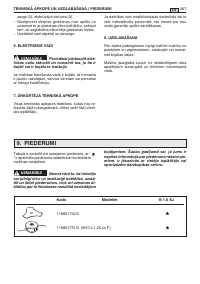
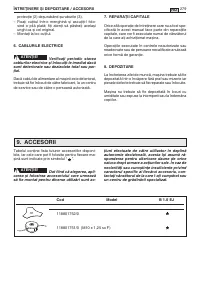
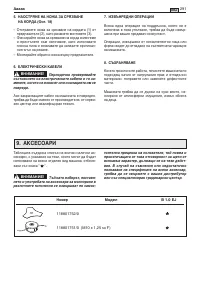
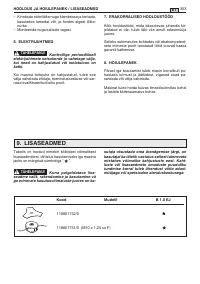
- 150 ДОПОЛНИТЕЛЬНЫЕ ПРИСПОСОБЛЕНИЯ; Kод
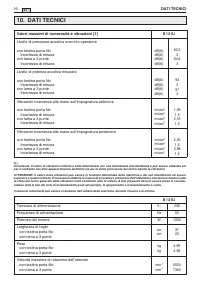
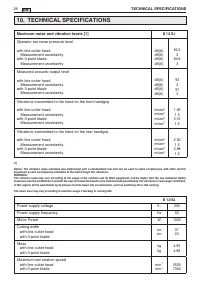
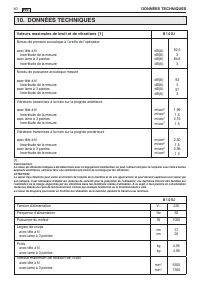
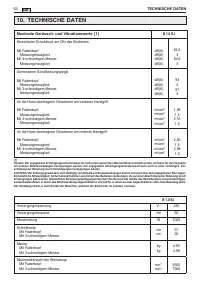
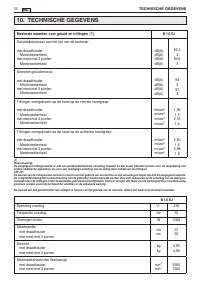
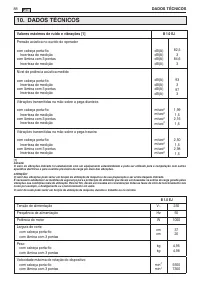
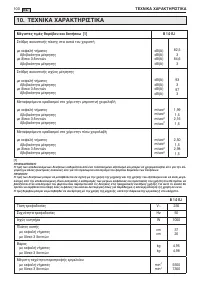
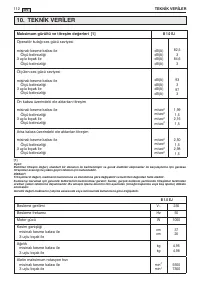
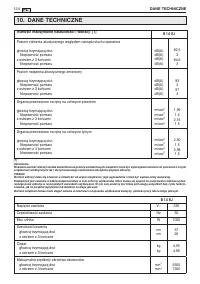
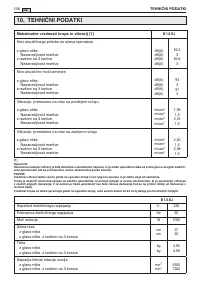
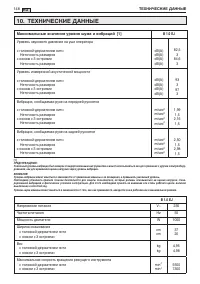
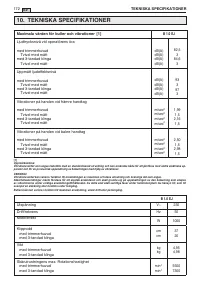
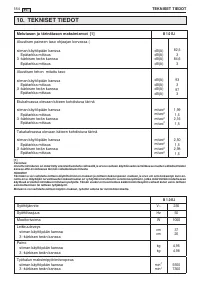
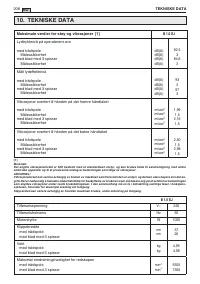
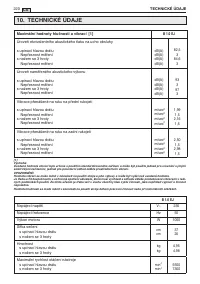
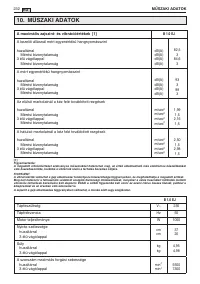
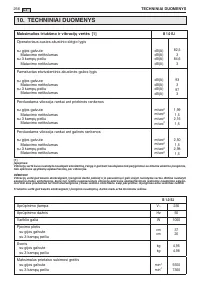
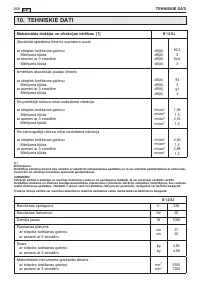
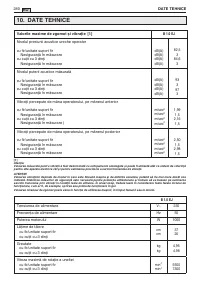
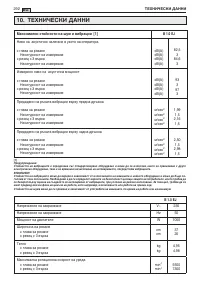
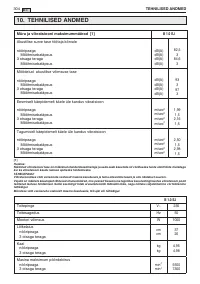
- 151 Максимальные значения уровня шума и вибраций [1]; ТЕХНИЧЕСКИЕ ДАННЫЕ


