Пароварки Zelmer SC1002 - инструкция пользователя по применению, эксплуатации и установке на русском языке. Мы надеемся, она поможет вам решить возникшие у вас вопросы при эксплуатации техники.
Если остались вопросы, задайте их в комментариях после инструкции.
"Загружаем инструкцию", означает, что нужно подождать пока файл загрузится и можно будет его читать онлайн. Некоторые инструкции очень большие и время их появления зависит от вашей скорости интернета.


46
SC1002-002_v01
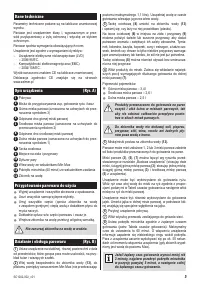
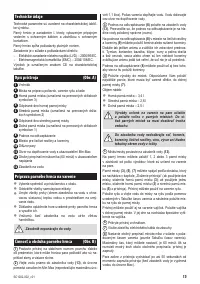
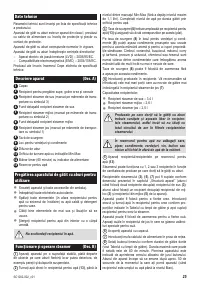
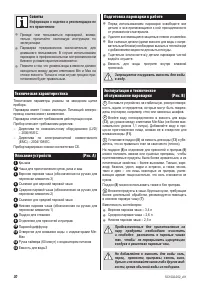
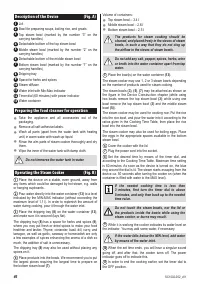
Description of the Device
(Fig. A)
1
Lid
2
Bowl for preparing soups, boiling rice, and groats
3
Top steam bowl (marked by the number “3” on the
carrying handles)
4
Detachable bottom of the top steam bowl
5
Middle steam bowl (marked by the number “2” on the
carrying handles)
6
Detachable bottom of the middle steam bowl
7
Bottom steam bowl (marked by the number “1” on the
carrying handles)
8
Dripping tray
9
Space for herbs and spices
10
Steam diffuser
11
Water inlet with Min-Max indicator
12
Timer dial (60 minutes) with power indicator
13
Water container
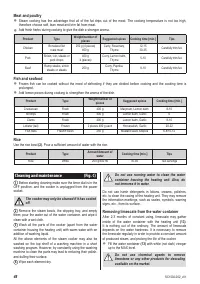
Preparing the food steamer for operation
Take the appliance and all accessories out of the
●
packaging.
Remove all self-adhesive labels.
●
Wash all parts (apart from the water tank with heating
●
unit) in warm water with wash-up liquid.
Rinse the a/m parts of steam cooker thoroughly and dry
●
them.
Wipe the inner of the water tank with damp cloth.
●
Do not immerse the water tank in water.
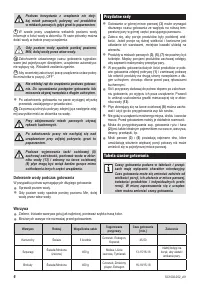
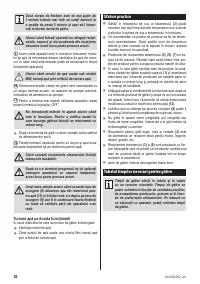
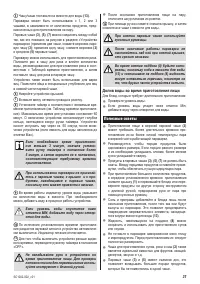
Operating the Steam Cooker
(Fig. B)
1
Place the device on a stable, even ground, away from
any items which could be damaged by hot steam, e.g. walls
or hanging cupboards.
2
Pour water directly into the water container
(13)
to a level
indicated by the MIN-MAX indicator (without exceeding the
maximum level of 1.1 l). In order to replenish the amount of
water during cooking, pour it through the water inlet.
3
Place the dripping tray
(8)
on the water container
(13)
,
and make sure it is secured (lays lat).
The dripping tray
(8)
has a space for herbs and spices
(9)
,
where you may put fresh or dried spices to make your food
healthier and tastier. Thyme, coriander, basil, dill, curry, and
tarragon, as well as garlic, caraway or horseradish are only
a few examples of spices enhancing the aroma of a dish so
much, the addition of salt is unnecessary.
The dripping tray
(8)
may also be used without placing any
spices on it.
4
Place products into the bowls. We recommend you to put
the largest pieces requiring the longest time to prepare on
the bottom steam bowl
(7)
.
Volume of containers:
Top steam bowl – 3.4 l
●
Middle steam bowl – 2.6 l
●
Bottom steam bowl – 2.5 l
●
The products for steam cooking should be
cleaned, and placed freely in the sieves of steam
bowls, in such a way that they do not clog up
the airlow in the sieves of steam bowls.
Do not add any salt, pepper, spices, herbs, wine
or broth into the water container apart from tap
water.
5
Place the bowl(s) on the water container
(13)
.
The steam cooker may use 1, 2 or 3 steam bowls depending
on the number of products used for steam cooking.
The steam bowls
(3)
,
(5)
,
(7)
may be attached as shown on
the igure in the Device Construction chapter (while using
two bowls remove the top steam bowl
(3)
; while using one
bowl remove the top steam bowl
(3)
and the middle steam
bowl
(5)
).
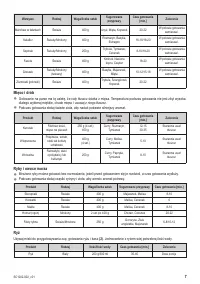
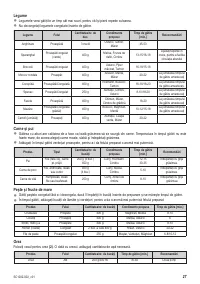
The steam cooker may be used for cooking rice. Put the rice
into the rice bowl, and pour the water into it according to the
ratios given in the Cooking Time Table, then place the rice
bowl into the steam bowl.
The steam cooker may also be used for boiling eggs. Place
the eggs in the appropriate spaces available in the bottom
steam bowl.
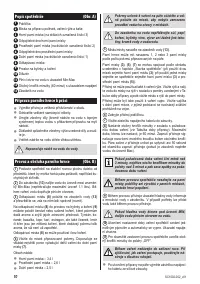
6
Cover the cooker with the lid.
7
Plug the power cord into the socket.
8
Set the desired time by means of the timer dial, and
according to the Cooking Time Table. Maximum time setting
is 60 minutes. As soon as the device is turned on, the blue
ring around the dial is lit. The steam starts escaping from the
device ca. 50 seconds after turning the cooker on (when the
container is illed with water to the MAX level).
If the needed cooking time is less than
3 minutes, irst turn the timer dial to above
5 minutes, and only then back up to the needed
time value.
Do not touch the steam bowls, nor the lid or
the products inside the bowls while using the
steam cooker, or burns may result.
9
While it is working the cooker indicates its water level on
the indicator. You may add some water, if necessary.
If the water falls below the MIN level, add water
by means of the water inlet.
10
When the set time ends, you will hear a singular sound
going off, and after that, the cooker turns off. The power
indicator goes off to indicate this.
11
In order to end the cooking earlier, set the timer dial to
the OFF position.
Содержание
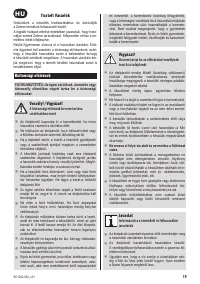
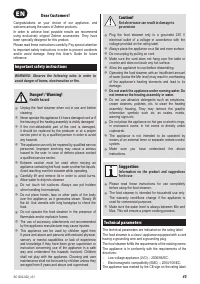
- 27 ВНИМАНИЕ: Следуйте этим правилам во избежа; Не погружайте прибор в воду или другие жидко; R U; Несоблюдение правил грозит травмами
- 29 Долив воды во время приготовления пищи; Полезные советы
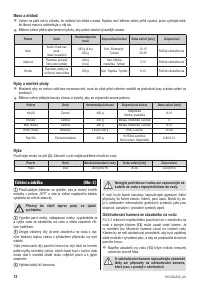
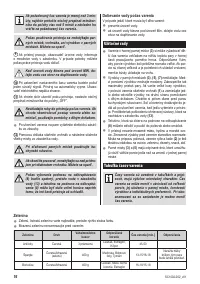
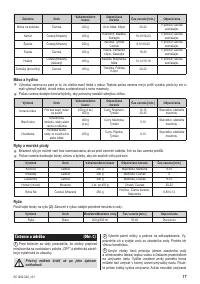
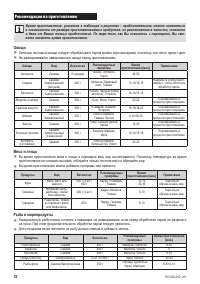
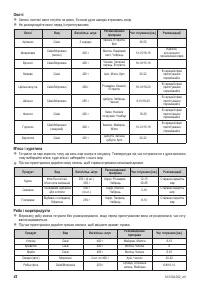
- 30 жете изменять время приготовления.; Овощи; Не размораживайте замороженные овощи перед приготовлением.; Mясо и птица; Во время приготовления можно добавить приправы или пряности.; Рыба и морепродукты; Рекомендации по приготовлению
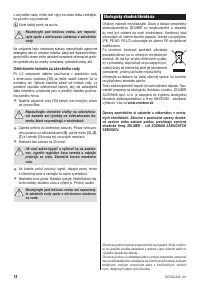
- 31 Чистка и консервация; Удаление накипи из емкости для воды; Экология – забота о окружающей среде


