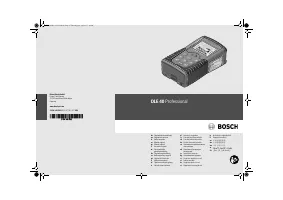
Измерительные приборы Bosch DLE 40 - инструкция пользователя по применению, эксплуатации и установке на русском языке. Мы надеемся, она поможет вам решить возникшие у вас вопросы при эксплуатации техники.
Если остались вопросы, задайте их в комментариях после инструкции.
"Загружаем инструкцию", означает, что нужно подождать пока файл загрузится и можно будет его читать онлайн. Некоторые инструкции очень большие и время их появления зависит от вашей скорости интернета.


English |
13
Bosch Power Tools
2 609 140 582 | (14.7.11)
Operation
Initial Operation
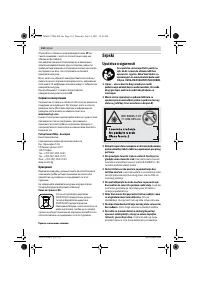
f
Do not leave the switched on measuring tool unattend-
ed and switch the measuring tool off after use.
Other
persons could be blinded by the laser beam.
f
Protect the measuring tool against moisture and direct
sun light.
f
Do not subject the measuring tool to extreme tempera-
tures or variations in temperature.
As an example, do
not leave it in vehicles for longer periods. In case of large
variations in temperature, allow the measuring tool to ad-
just to the ambient temperature before putting it into oper-
ation.
f
Avoid heavy impact to or falling down of the measuring
tool.
After severe exterior effects to the measuring tool, it
is recommended to carry out an accuracy check (see “Ac-
curacy Check of the Measuring Tool”, page 10) each time
before continuing to work.
Switching On and Off
To
switch on
the measuring tool, briefly press the On/Off but-
ton
13
or measuring button
9
. When switching on the measur-
ing tool, the laser beam is not switched on yet.
To
switch off
the measuring tool, press the On/Off button
13
for a few seconds.
If none of the measuring tool buttons are pressed for approx.
5 minutes, the measuring tool switches off automatically in
order to extend the service life of the battery.
When a measured value has been stored, it is retained in auto-
matic switch-off mode. When switching on the measuring tool
again,
“M”
is indicated in the display.
Measuring Procedure
After switching on, the measuring tool is in the length meas-
urement mode. Other measuring modes can be switched to
by pressing the respective function/mode button (see “Meas-
uring Functions”, page 13).
After switching on, the rear edge of the measuring tool is pre-
set as the reference level for the measurement. To change the
reference level, see “Selecting the Reference Level”, page 13.
Upon selection of the measuring function and the reference
level, all further steps are carried out by pushing the measur-
ing button
9
.
With the reference level selected, place the measuring tool
against the desired measuring line (e. g. a wall).
Briefly press the measuring button
9
to switch on the laser
beam.
f
Do not point the laser beam at persons or animals and
do not look into the laser beam yourself, not even from
a large distance.
Aim the laser beam at the target surface. Briefly press the
measuring button
9
again to initate the measurement.
In the continuous measurement mode, the measurement be-
gins immediately upon switching on the function.
Typically, the measured value appears after 0.5 and latest af-
ter 4 seconds. The duration of the measurement depends on
the distance, the light conditions and the reflection proper-
ties of the target surface. The end of the measurement is indi-
cated by a signal tone. The laser beam is switched off auto-
matically upon completion of the measurement.
When no measurement has taken place approx. 20 seconds
after sighting, the laser beam is switched off automatically to
save the batteries.
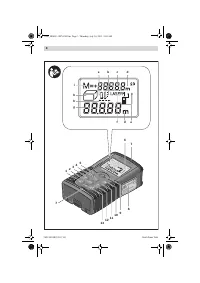
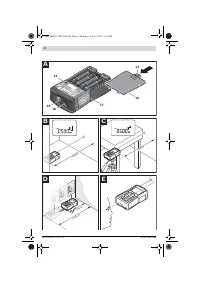
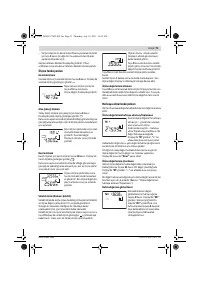
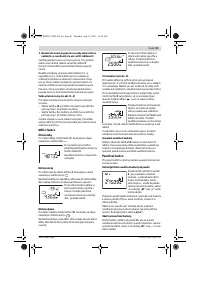
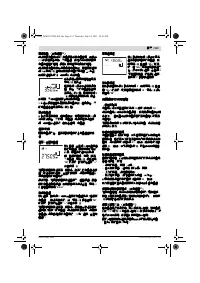
Selecting the Reference Level (see figure B – C)
For the measurement, it is possible to select between two dif-
ferent reference levels:
– For measurements starting from the rear edge of the meas-
uring tool (e. g., when placing against a wall), press button
12
.
– For measurements starting from the front edge of the
measuring tool (e. g., when measuring from onward from a
table edge), press button
1
.
The selected reference level is indicated on the display. Each
time after switching on the measuring tool, the rear end of the
measuring tool is preset as the reference level.
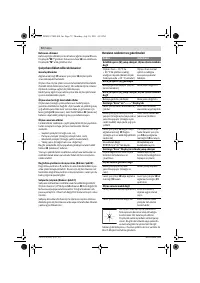
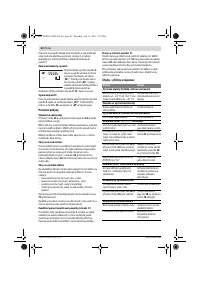
Measuring Functions
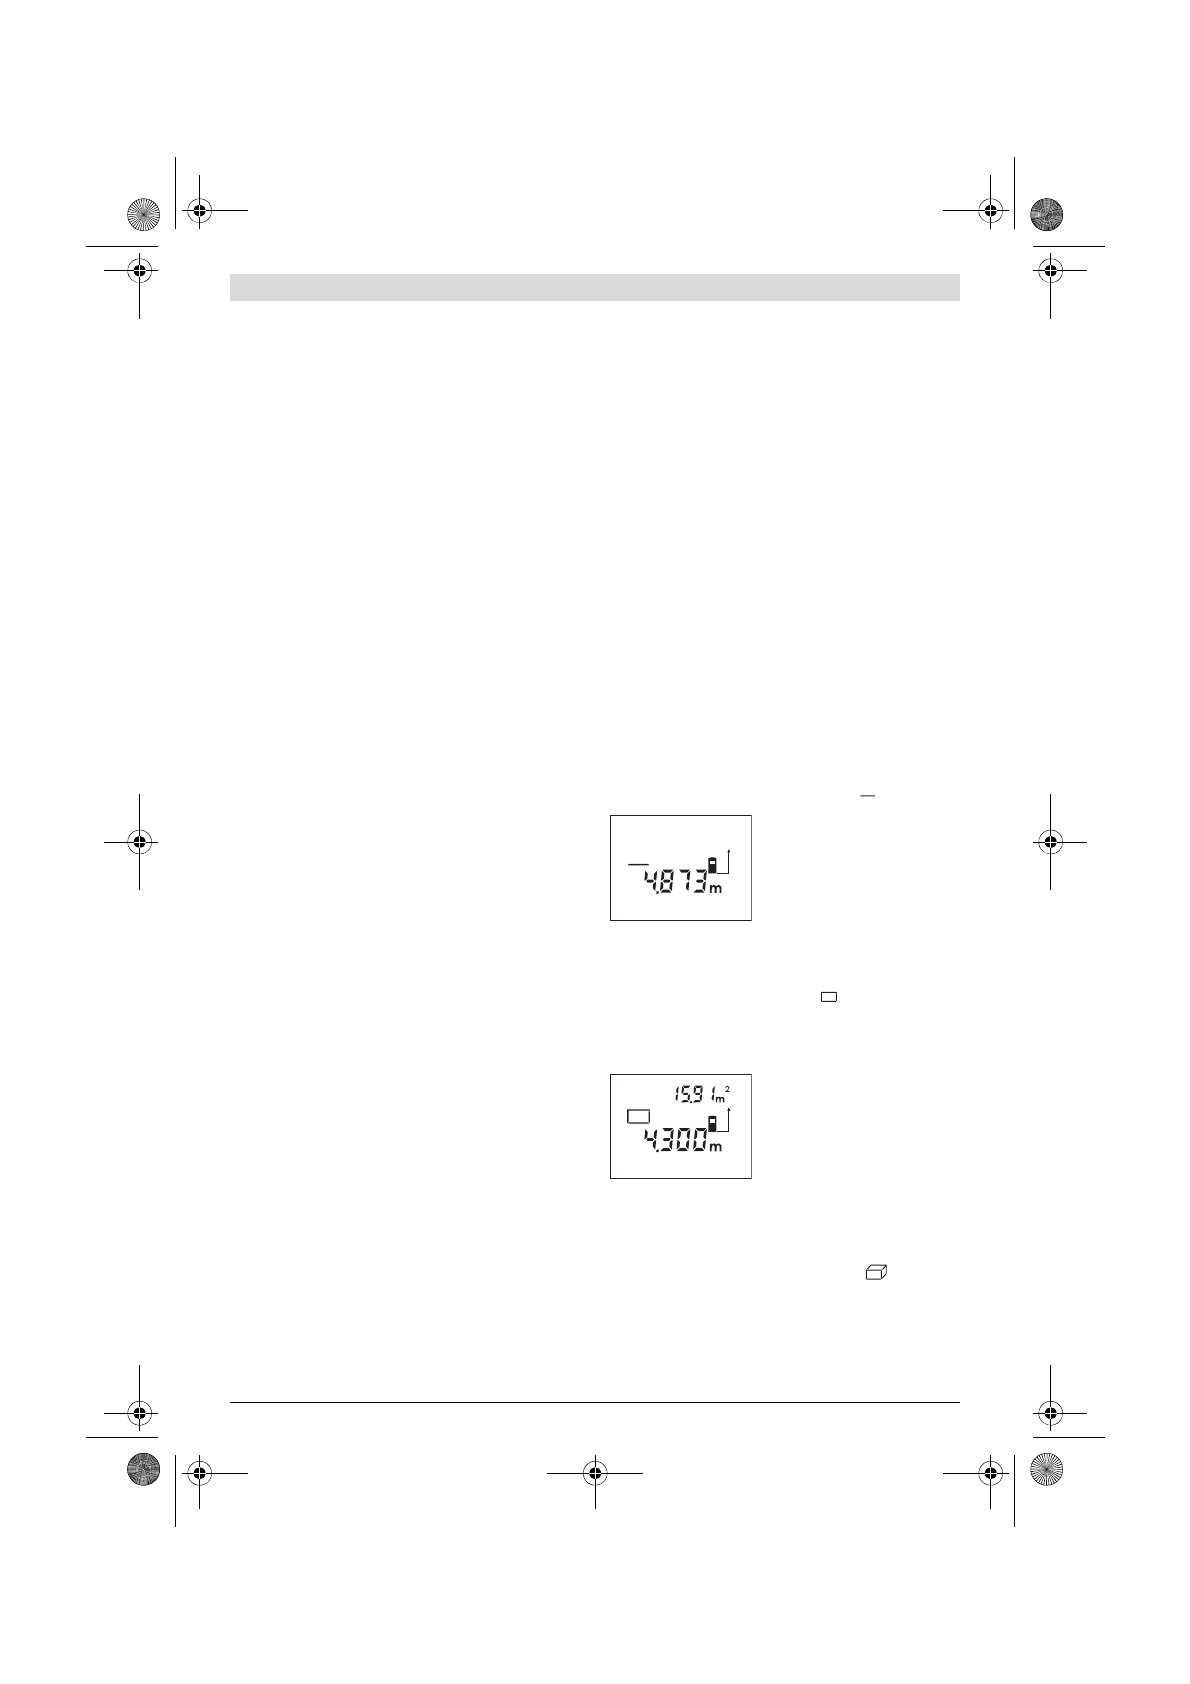
Length Measurement
For length measurement, push button
5
. The indicator for
length measurement appears in the display .
Press the measuring button
9
once
for sighting and once more to take
the measurement.
The measured value is indicated at
the bottom in the display.
Area Measurement
For area measurements, push button
4
. The indicator for area
measurement appears in the display .
Afterwards, measure the length and the width, one after an-
other, in the same manner as a length measurement. The laser
beam remains switched on between both measurements.
After taking the second measure-
ment, the area/surface is automat-
ically calculated and displayed.
The last individual measured value
is indicated at the bottom in the
display, while the final result is
shown at the top.
Volume Measurement
For volume measurements, push button
10
. The indicator for
volume measurement appears in the display
.
Afterwards, measure the length, width and the height, one af-
ter another, in the same manner as for a length measurement.
The laser beam remains switched on between all three meas-
urements.
OBJ_DOKU-27402-001.fm Page 13 Thursday, July 14, 2011 10:43 AM


