Генераторы AL-KO 2000 i - инструкция пользователя по применению, эксплуатации и установке на русском языке. Мы надеемся, она поможет вам решить возникшие у вас вопросы при эксплуатации техники.
Если остались вопросы, задайте их в комментариях после инструкции.
"Загружаем инструкцию", означает, что нужно подождать пока файл загрузится и можно будет его читать онлайн. Некоторые инструкции очень большие и время их появления зависит от вашей скорости интернета.


GB
Original instructions for use
26
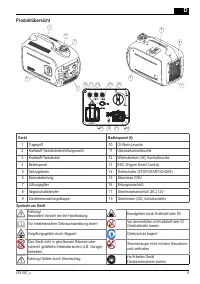
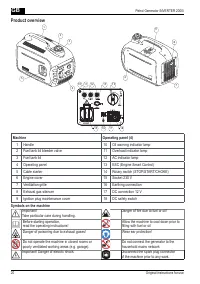
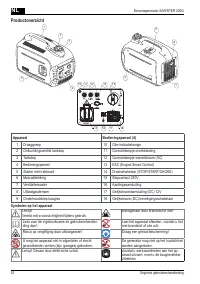
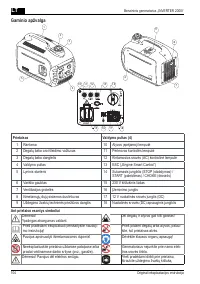
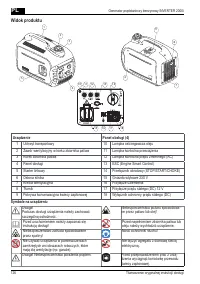
Petrol Generator INVERTER 2000i
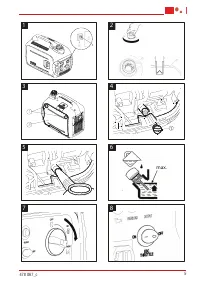
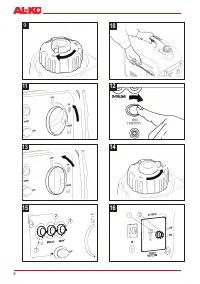
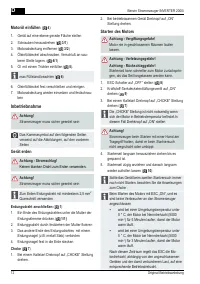
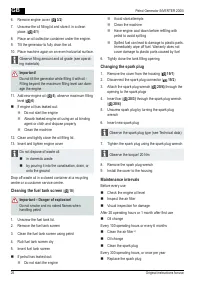
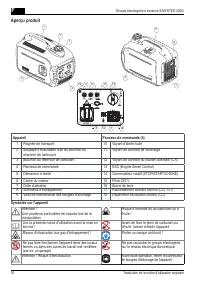
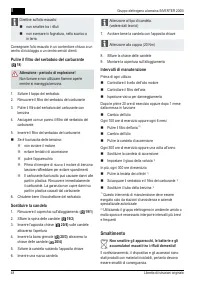
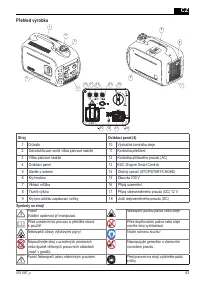
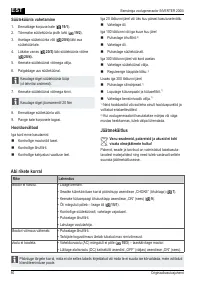
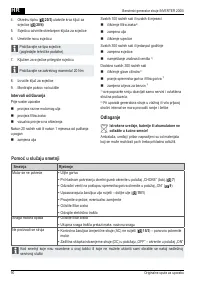
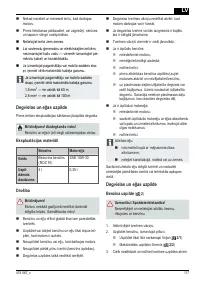
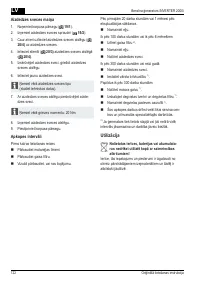
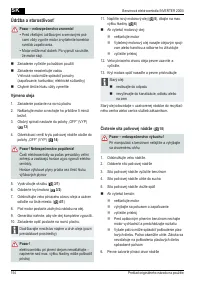
6. Remove engine cover (
3/2
)
7.
Unscrew the oil filling lid and store it in a clean
place. (
4/1
)
8. Place an oil collection container under the engine.
9. Tilt the generator to fully drain the oil.
10. Place machine again on an even horizontal surface.
Observe filling amount and oil grade (see operat
-
ing materials)
Important!
Do not tilt the generator while filling it with oil -
Filling beyond the maximum filling level can dam
-
age the engine
11. Add new engine oil (
5
), observe maximum filling
level (
6
)
If engine oil has leaked out:
Do not start the engine
Absorb leaked engine oil using an oil binding
agent or cloth and dispose properly
Clean the machine
12.
Clean and tightly close the oil filling lid.
13. Insert and tighten engine cover
Do not dispose of waste oil:
in domestic waste
by pouring it into the canalisation, drain, or
onto the ground
Drop off waste oil in a closed container at a recycling
centre or a customer service centre.
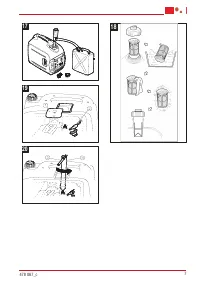
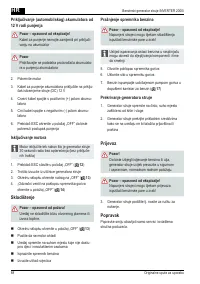
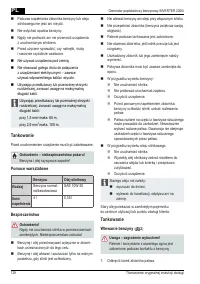
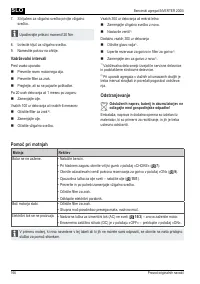
Cleaning the fuel tank screen
(
18
)
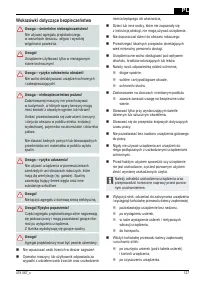
Important – Danger of explosion!
Do not smoke and no naked flames when
handling petrol
1. Unscrew the fuel tank lid.
2. Remove the fuel tank screen
3. Clean the fuel tank screen using petrol
4. Rub fuel tank screen dry
5. Insert fuel tank screen
If petrol has leaked out:
Do not start the engine
Avoid start attempts
Clean the machine
Have engine cool down before refilling with
petrol to avoid spilling
Spilled fuel can lead to damage to plastic parts.
Immediately wipe off fuel. Warranty does not
cover damage to plastic parts caused by fuel
6.
Tightly close the tank filling opening
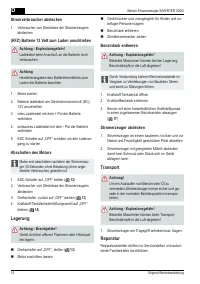
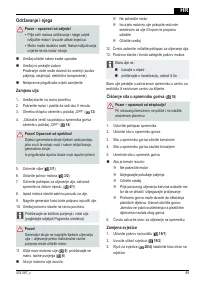
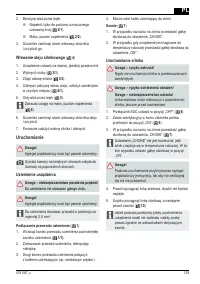
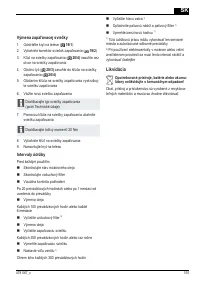
Changing the spark plug
1. Remove the cover from the housing (
19/1
)
2. Disconnect the spark plug connector (
19/2
)
3. Attach the spark plug wrench (
20/4)
through the
opening to the spark plugs
4. Insert bar (
20/3)
through the spark plug wrench
(
20/4)
5. Unscrew spark plug by turning the spark plug
wrench
6. Insert new spark plug
Observe the spark plug type (see Technical data)
7. Tighten the spark plug using the spark plug wrench
Observe the torque! 20 Nm
8. Remove the spark plug wrench
9. Install the cover to the housing
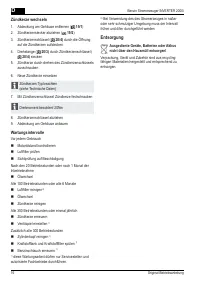
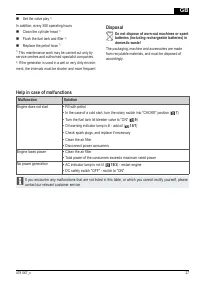
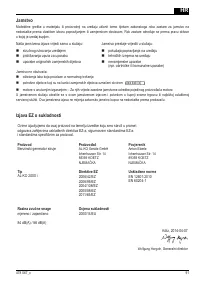
Maintenance intervals
Before every use
Check the engine oil level
Inspect the air filter
Visual inspection for damage
After 20 operating hours or 1 month after first use
Oil change
Every 100 operating hours or every 6 months
Clean the air filter
2)
Oil change
Clean the spark plug
Every 300 operating hours, or once per year
Replace the spark plug
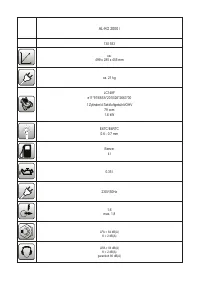
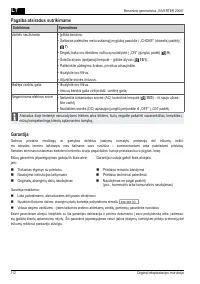
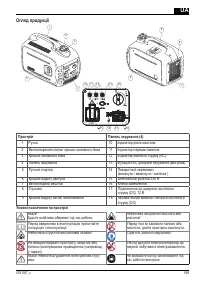
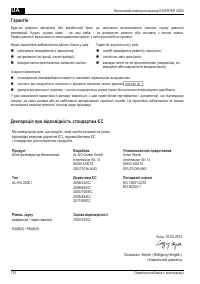
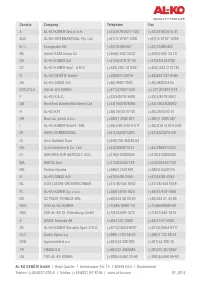
Характеристики

Остались вопросы?Не нашли свой ответ в руководстве или возникли другие проблемы? Задайте свой вопрос в форме ниже с подробным описанием вашей ситуации, чтобы другие люди и специалисты смогли дать на него ответ. Если вы знаете как решить проблему другого человека, пожалуйста, подскажите ему :)


