
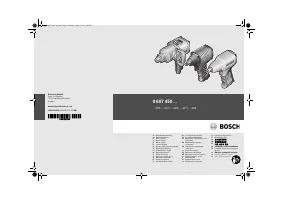
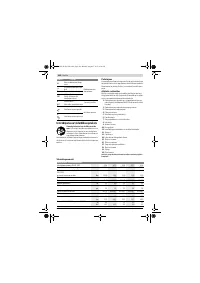
Гайковерты Bosch 1/2″ 310Нм - инструкция пользователя по применению, эксплуатации и установке на русском языке. Мы надеемся, она поможет вам решить возникшие у вас вопросы при эксплуатации техники.
Если остались вопросы, задайте их в комментариях после инструкции.
"Загружаем инструкцию", означает, что нужно подождать пока файл загрузится и можно будет его читать онлайн. Некоторые инструкции очень большие и время их появления зависит от вашей скорости интернета.


20
| English
3 609 929 C65 | (5.8.13)
Bosch Power Tools
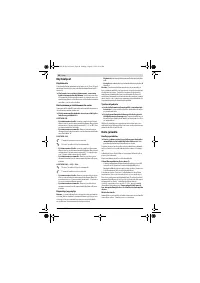
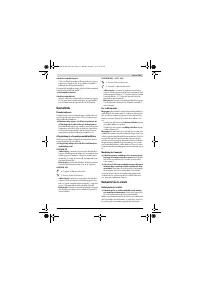
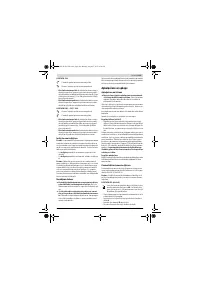
Operation
Starting Operation
The pneumatic tool operates optimally at a working pressure
of 6.3 bar (91 psi), measured at the air inlet of the actuated
pneumatic tool.
Pay attention to the direction of rotation that is set, be-
fore switching on the pneumatic tool.
For example,
when a screw is to be loosened and the direction of rota-
tion is set so that the screw is tightened, this can lead to a
strong uncontrolled movement of the pneumatic tool.
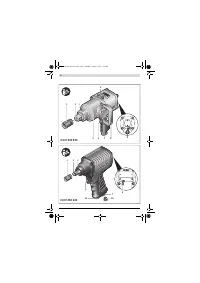
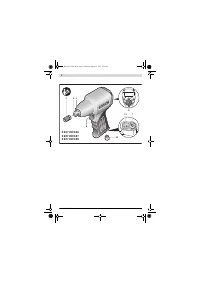
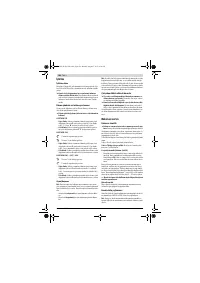
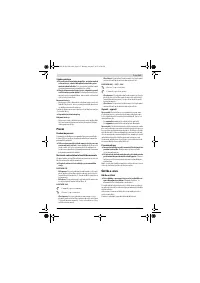
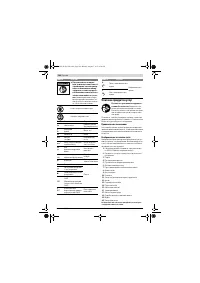
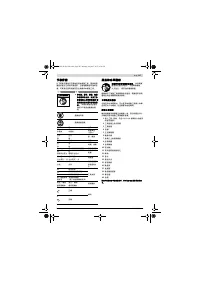
Setting the Direction of Rotation and the Torque
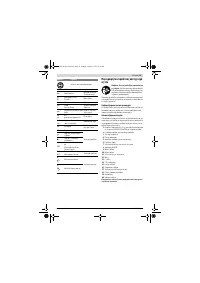
The rotational direction switch
5
is used both for setting the
direction of rotation as well as for setting the torque.
Operate the rotational direction switch only when the
tool is not in use.
0 607 450 593
–
Right rotation:
For screwing in bolts and nuts, turn the ro-
tational direction switch
5
in a clockwise direction to 1
(lowest torque), 2, 3 or to “
R
” (highest torque).
–
Left rotation:
For loosening or unscrewing screws and
nuts, push the rotational direction switch
5
to “
L
”.
0 607 450 622
–
Right rotation:
For screwing in bolts and nuts, turn the ro-
tational direction switch
5
in a clockwise direction to 1
(lowest torque), 2 or to the stop to 3 (highest torque).
–
Left rotation: For loosening bolts and nuts, turn the ro-
tational direction switch
5
in an anticlockwise direction.
0 607 450 626/... 627/... 628
–
Right rotation: For screwing in bolts and nuts, turn the
rotational direction switch
5
in a clockwise direction to
1 (lowest torque), 2 or to the stop (highest torque).
–
Left rotation: For loosening bolts and nuts, turn the ro-
tational direction switch
5
in an anticlockwise direction.
Switching On and Off
Note:
When the pneumatic tool does not start, for example af-
ter a longer rest period, disconnect the air supply, and turn
the motor by the tool holder
3
several times through. This re-
moves the adhesive forces.
– To
switch on
the pneumatic tool, press the On/Off switch
8
.
– To
switch off
the pneumatic tool, release the On/Off
switch
8
.
Note:
The required torque adjustment and the duration of the
driving-in procedure depend on the type of screw connection
and can be best determined by practical trials. Check the trial
screwings with an electronic torque measurer or a torque
wrench. Once the optimal torque setting and driving-in dura-
tion are determined, you should always press the On/Off
switch
8
for the same duration for the same driving-in proce-
dures.
Working Advice
Place the application tool onto the nut/screw only
when the screwdriver is switched off.
Rotating applica-
tion tools can slide off the nut/screw.
In case of an interruption of the air supply or reduced
operating pressure, switch the pneumatic tool off.
Check the operating pressure and start again when the op-
erating pressure is optimal.
Sudden loads cause a sharp drop in speed or a complete stop,
yet do not cause damage to the motor.
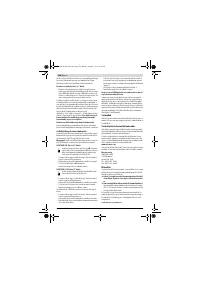
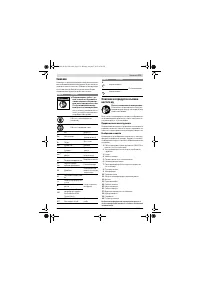
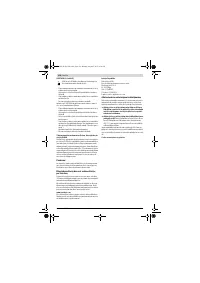
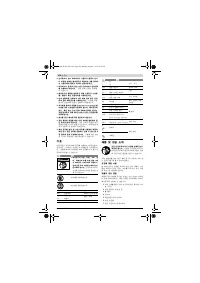
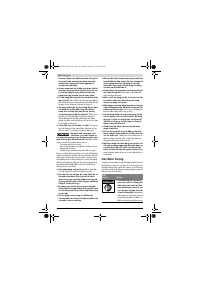
Maintenance and Service
Maintenance and Cleaning
Have maintenance and repair work carried out only
through qualified persons.
This will ensure that the safe-
ty of the pneumatic tool is maintained.
After each service, check the speed with a speed-measuring
device and check the pneumatic tool for increased vibrations.
An authorized Bosch after-sales service agent will carry out
this work quickly and reliably.
Use only original Bosch spare parts.
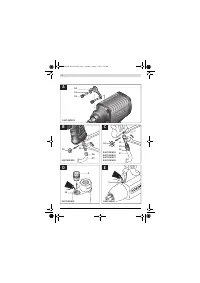
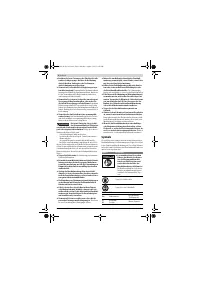
Regular Cleaning (see figure C)
– Regularly clean the filter at the air inlet of the pneumatic
tool. For this, unscrew the hose fitting
15
or tube connec-
tor
18
and remove dust and dirt particles from the filter.
Then retighten the tube connector securely.
Water and debris particles in the compressed air cause rust
and lead to wear of plates, valves etc. To prevent this, fill sev-
eral drops of engine oil into the air intake
7
. Reconnect the
pneumatic tool to the air supply (see “Connecting the Air Sup-
ply”, page 19) and run it for 5 – 10 seconds, while catch-
ing/picking up the escaping oil with a cloth.
Always carry out
this procedure when not using the pneumatic tool for a
longer period of time.
Scheduled Maintenance
The motor plates should be checked regularly by specialised
personnel and replaced, if required.
Lubricating the Pneumatic Tool
For direct lubrication of the pneumatic tool or admixtures to
the service unit, use SAE 10 or SAE 20 engine oil.
Note:
Too much grease affects the performance of the impact
wrench because the striking mechanism sticks.
0 607 450 593 (see figure D)
An oil chamber
20
is installed for lubricating the com-
pressed-air motor. If an oil mister is used, it should be
filled at least once a day using an oil pressure sprayer.
– To do so, turn the pneumatic tool so that the handle points
upward.
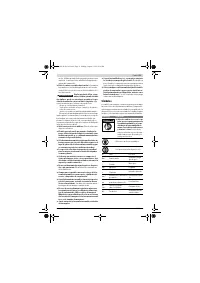
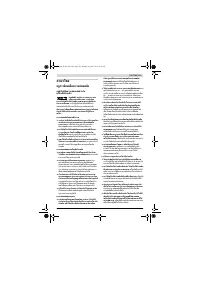
“Forward” stands for right rotation.
“Reverse” stands for left rotation.
“Reverse” stands for left rotation.
“Forward” stands for right rotation.
F
R
R
F
OBJ_DOKU-37022-001.fm Page 20 Monday, August 5, 2013 5:05 PM
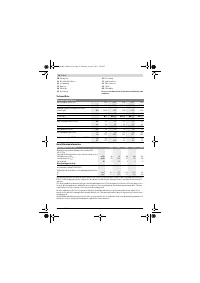
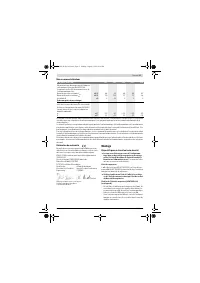
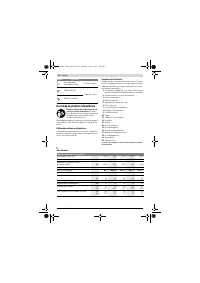
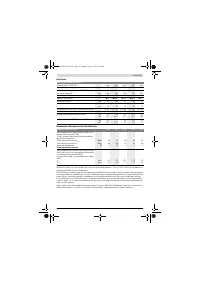
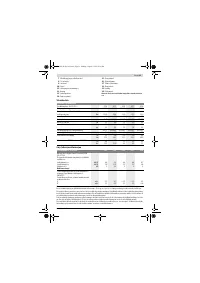
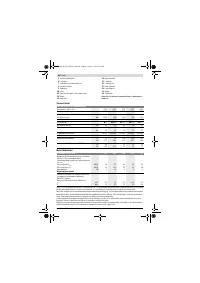
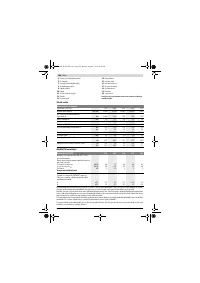
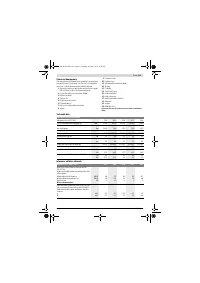
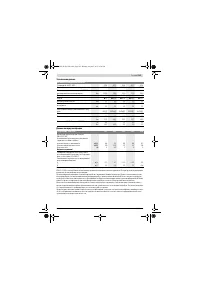
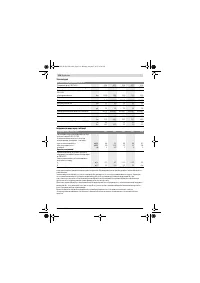
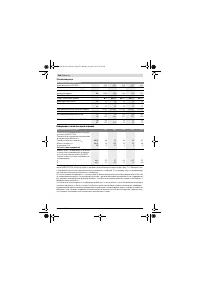
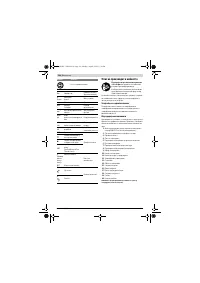
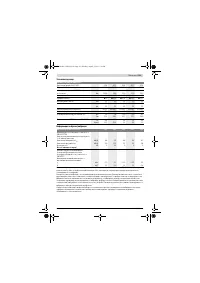
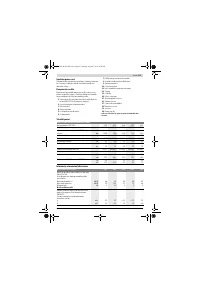
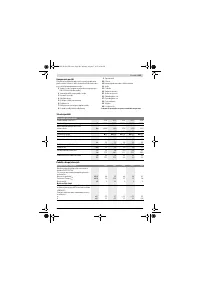
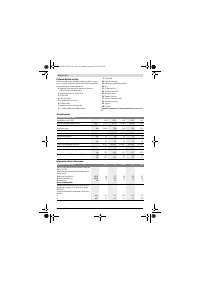
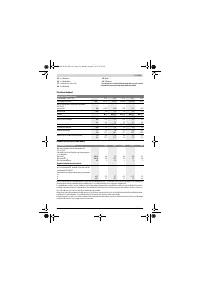
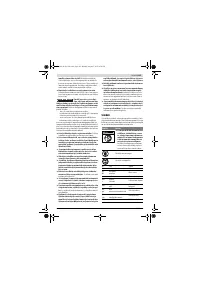
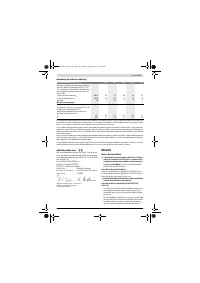
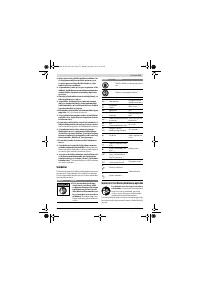
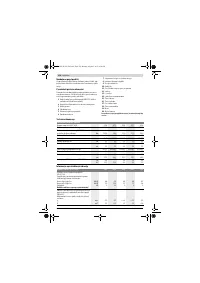
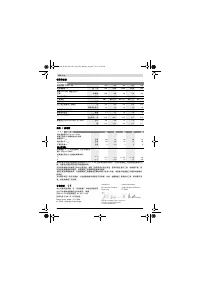
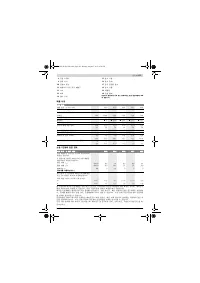
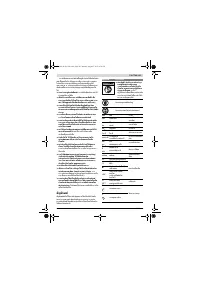
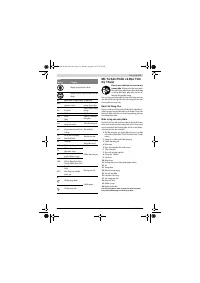
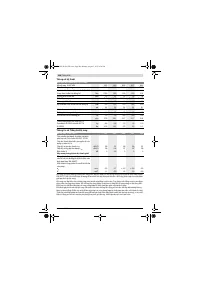
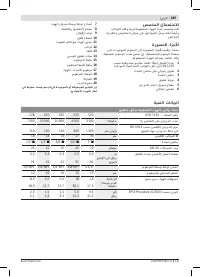
Характеристики

Остались вопросы?Не нашли свой ответ в руководстве или возникли другие проблемы? Задайте свой вопрос в форме ниже с подробным описанием вашей ситуации, чтобы другие люди и специалисты смогли дать на него ответ. Если вы знаете как решить проблему другого человека, пожалуйста, подскажите ему :)


