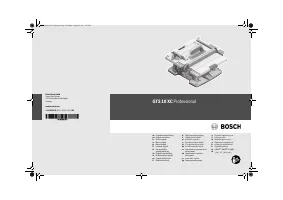
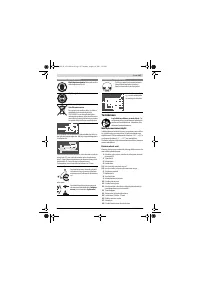
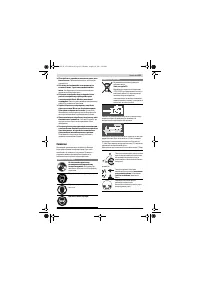
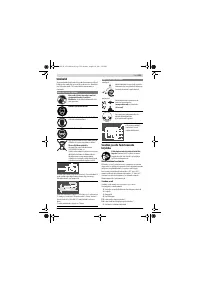
Электропилы Bosch GTS 10 XC - инструкция пользователя по применению, эксплуатации и установке на русском языке. Мы надеемся, она поможет вам решить возникшие у вас вопросы при эксплуатации техники.
Если остались вопросы, задайте их в комментариях после инструкции.
"Загружаем инструкцию", означает, что нужно подождать пока файл загрузится и можно будет его читать онлайн. Некоторые инструкции очень большие и время их появления зависит от вашей скорости интернета.


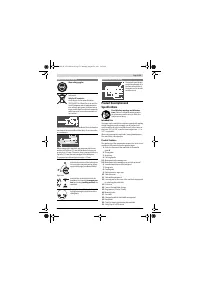


English |
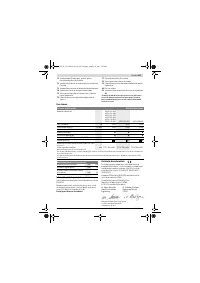
37
Bosch Power Tools
1 619 929 K16 | (29.8.11)
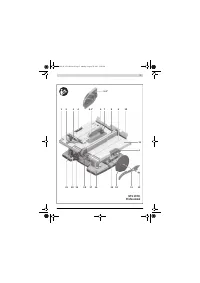
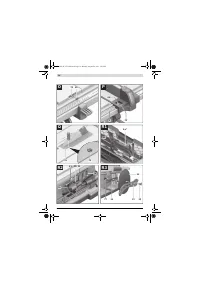
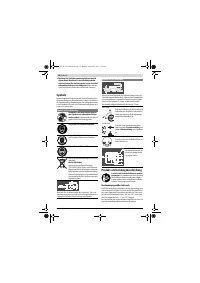
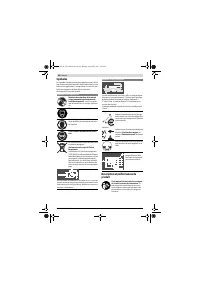
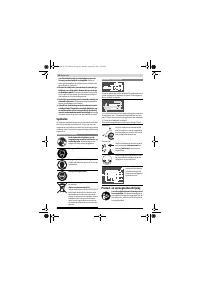
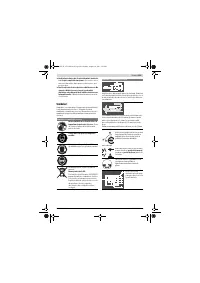
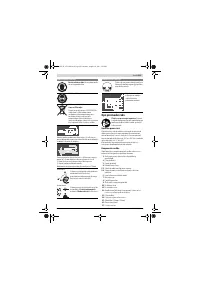
– Completely pull the clamping handle
18
for the table width
enlargement upward.
– Pull table width enlargement
11
outward until clearance
indicator
65
indicates the desired clearance to the saw
blade on the top scale.
– Press clamping handle
18
downward.
The table width enlargement is now locked.
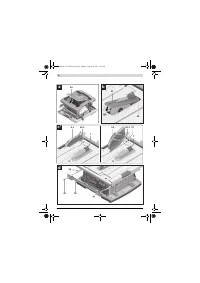
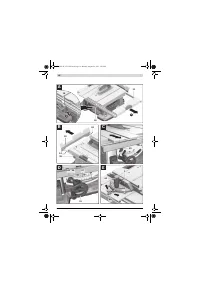
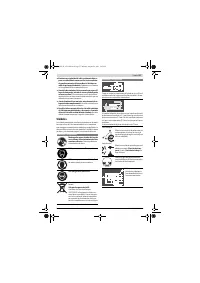
Adjusting the Auxiliary Parallel Guide
(see figure G)
When sawing narrow workpieces and bevel angles,
the
auxiliary parallel guide
49
must be mounted to parallel guide
8
.
The auxiliary parallel guide can be mounted left or right to par-
allel guide
8
as required.
When sawing workpieces, these can become jammed be-
tween the parallel guide and the saw blade, be caught by the
rotating saw blade, and be thrown from the machine.
Therefore, adjust the auxiliary parallel guide in such a manner
that its guiding end is located between the front saw blade
tooth and the front edge of the riving knife.
– For this, loosen all wing nuts and move the auxiliary paral-
lel guide until only the two front screws can be used for fas-
tening.
– Tighten the wing nuts again.
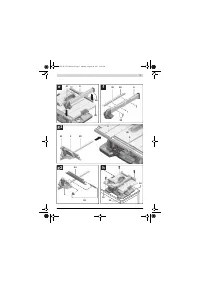
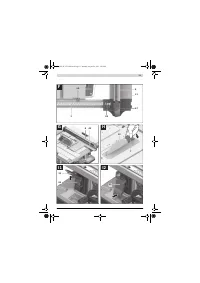
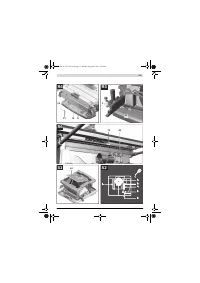
Adjusting the Riving Knife
The riving knife
7
prevents the saw blade
32
from becoming
jammed in the saw cut. Otherwise, there is danger of kickback
when the saw blade becomes wedged in the workpiece.
Always pay attention that the riving knife is properly adjusted:
– The radial clearance between saw blade and riving knife
may not exceed 5 mm (max.).
– The thickness of the riving knife must be smaller than the
cutting width and greater than the blade thickness.
– The riving knife must always be in a line to the saw blade.
– For normal separating cuts, the riving knife must always be
in the highest possible position.
The machine is supplied with the riving knife correctly adjust-
ed.
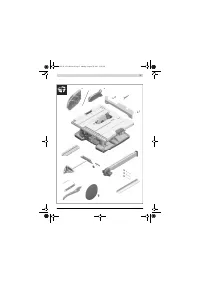
Adjusting the height of the riving knife (see figure H)
For sawing grooves, the height of the riving knife must be ad-
justed.
f
Use the machine for grooving or rebating only with an
appropriately suitable protective device (e. g. a tunnel
blade guard).
– Loosen clamping lever
46.1
or clamping screw
46.2
until
blade guard
5.x
can easily be pulled from the recess in riv-
ing knife
7
.
To protect the blade guard against damage, deposit it in
the provided holding fixture
22
on the housing (also see
figure R1).
– Turn crank
20
clockwise to the stop, so that the saw blade
32
is in the highest possible position above the saw table.
– Push the riving knife
7
down to the stop.
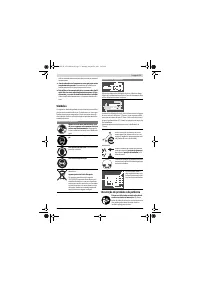
Starting Operation
f
Observe the mains voltage!
The voltage of the power
source must correspond with the data on the type plate of
the machine.
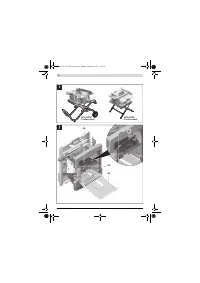
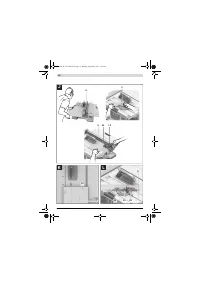
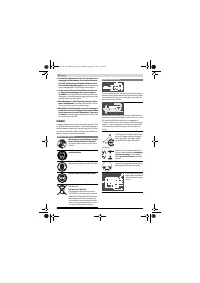
Switching On (see figure I1)
– Tilt safety flap
21
upward.
– To start the operation, press the green ON button
66
.
Switching Off (see figure I2)
– Press on the safety flap
21
.
Power Failure
The ON/OFF switch is a so-called non-voltage switch, which
prevents the power tool from restarting after a power failure
(e. g., when the mains plug is pulled during operation).
To restart the operation of the machine afterwards, the green
ON button
66
must be pressed again.
Working Advice
General Sawing Instructions
f
For all cuts, it must first be ensured that the saw blade
at no time can come in contact with the stops or other
machine parts.
f
Use the machine for grooving or rebating only with an
appropriately suitable protective device (e. g. a tunnel
blade guard).
f
Do not use the machine for cutting slots (stopped
grooves).
Protect the saw blade against impact and shock. Do not sub-
ject the saw blade to lateral pressure.
The riving knife must be in alignment with the saw blade to
avoid jamming of the workpiece.
Do not saw warped/bent workpieces. The workpiece must al-
ways have a straight edge to face against the parallel guide.
Always keep/store the push stick with the power tool.
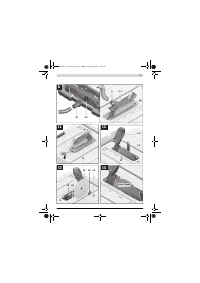
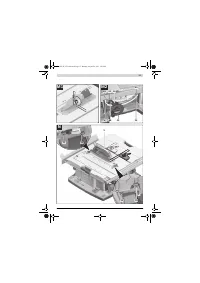
Position of the Operator (see figure J)
f
Do not stand in a line with the saw blade in front of the
machine. Always stand aside of the saw blade.
This pro-
tects your body against possible kickback.
– Keep hands, fingers and arms away from the rotating saw
blade.
Observe the following instructions:
– Hold the workpiece securely with both hands and press it
firmly against the saw table.
– When sawing narrow workpieces and bevel angles, always
use the supplied hold-down stick
13
and the auxiliary par-
allel guide
49
.
Marking the Cutting Line (see figure K)
– Mark the saw blade width on the round yellow sticker
33
.
This allows for exact positioning of the workpiece for saw-
ing, without having to open the blade guard.
OBJ_BUCH-1375-002.book Page 37 Monday, August 29, 2011 5:05 PM


