Видеокамеры JVC SR-VS30E - инструкция пользователя по применению, эксплуатации и установке на русском языке. Мы надеемся, она поможет вам решить возникшие у вас вопросы при эксплуатации техники.
Если остались вопросы, задайте их в комментариях после инструкции.
"Загружаем инструкцию", означает, что нужно подождать пока файл загрузится и можно будет его читать онлайн. Некоторые инструкции очень большие и время их появления зависит от вашей скорости интернета.


13
INITIAL SETTINGS
Auto Set Up
Auto Channel Set/Auto Clock Set/
Auto Guide Program Number Set
A
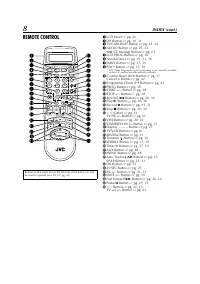
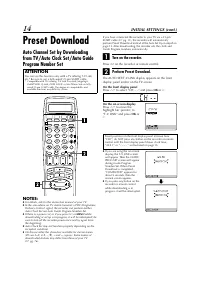
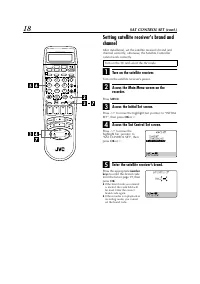
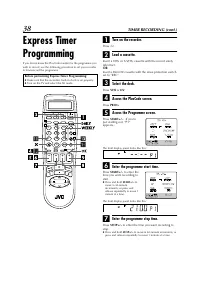
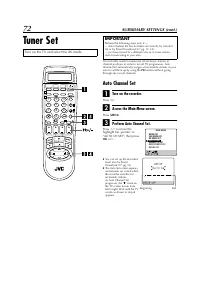
Turn on the recorder.
Press
1
on the recorder or remote control.
B
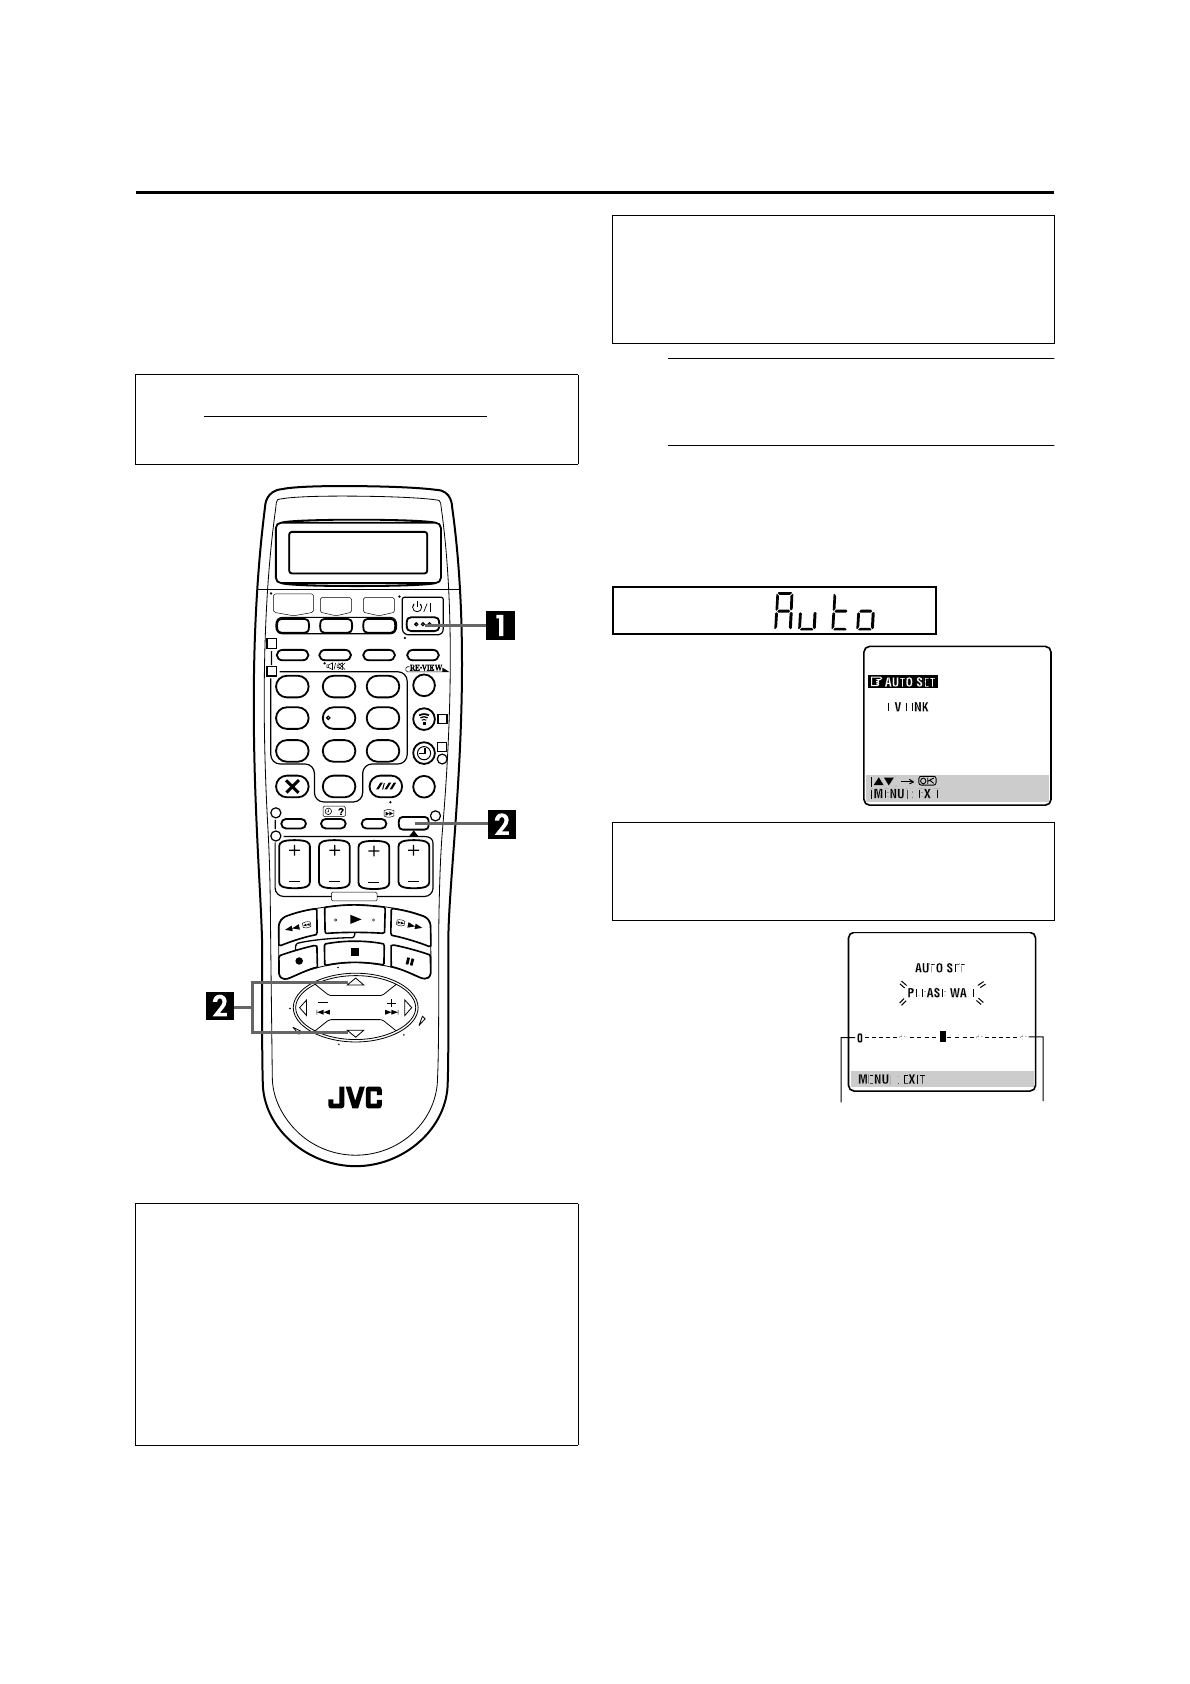
Perform Auto Set Up.
The AUTO SET/T-V LINK display appears on the front
display panel and/or on the TV screen.
On the front display panel
Press
rt
to select “Auto” and press
OK
or
e
.
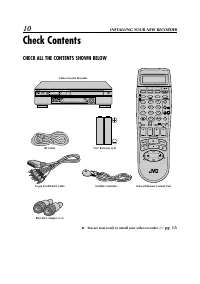
●
When you have connected the video recorder to a TV offering
T-V Link via a fully-wired 21-pin SCART cable (
墌
pg. 11) and
the TV is turned on, the recorder automatically performs the
Preset Download (
墌
pg. 14) even if you select “Auto” for
Auto Set Up function.
NOTES:
●
In the area where no TV station transmits a PDC (Programme
Delivery Control) signal, the recorder can perform neither
Auto Clock Set nor Auto Guide Program Number Set.
●
If there is a power cut, or if you press
1
or
MENU
while Auto
Set Up is in progress, Auto Set Up will be interrupted; be sure
to turn off the recorder power once and try again from step
1
.
●
Auto Clock Set may not function properly depending on the
reception condition.
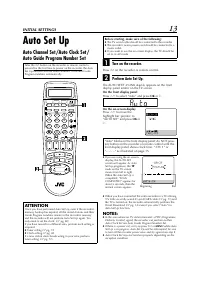
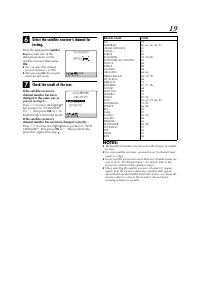
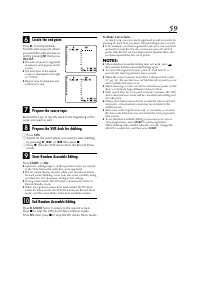
After the
1
button on the recorder or remote control is
pressed for the first time to power on the recorder, the Auto
Set Up function sets the tuner channels, clock and Guide
Program numbers automatically.
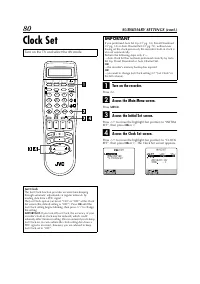
ATTENTION
Once you have performed Auto Set Up, even if the recorder’s
memory backup has expired, all the stored stations and their
Guide Program numbers remain in the recorder’s memory
and the recorder will not perform Auto Set Up again. You
only need to set the clock. (
墌
pg. 80)
If you have moved to a different area, perform each setting as
required.
●
Tuner setting
墌
pg. 72
●
Clock setting
墌
pg. 80
If a new station starts broadcasting in your area, perform
tuner setting (
墌
pg. 72).
1
2
3
4
5
6
7
8
9
1
2
1
2
3
0
3
4
4
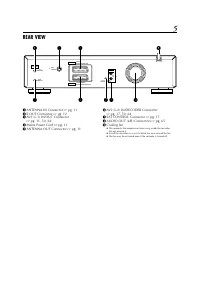
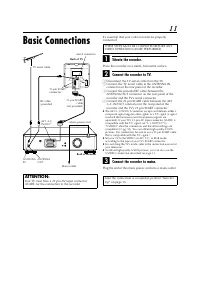
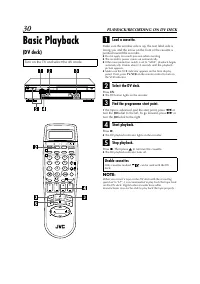
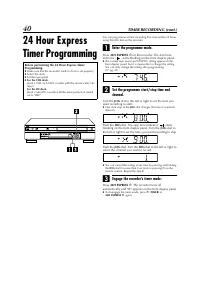
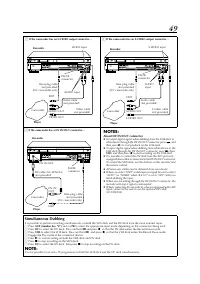
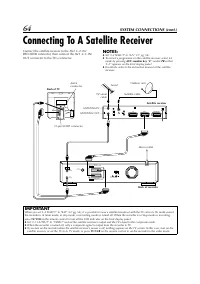
Before starting, make sure of the following:
●
The TV aerial cable should be connected to the recorder.
●
The recorder’s mains power cord should be connected to a
mains outlet.
●
If you want to use the on-screen display, the TV should be
set to its AV mode.
On the on-screen display
Press
rt
to move the
highlight bar (pointer) to
“AUTO SET” and press
OK
or
e
.
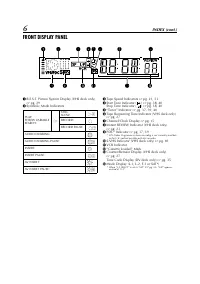
“Auto” blinks on the front display panel; do NOT press
any button on the recorder or remote control until the
front display panel shows clock time, “(CH) 1” or
“– –:– –” as illustrated on page 15.
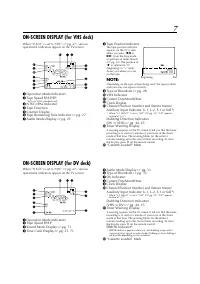
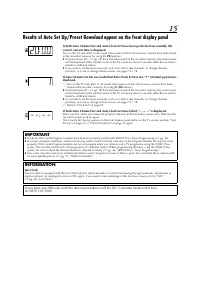
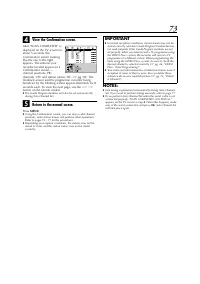
●
If you are using the on-screen
display, the AUTO SET
screen will appear. As Auto
Set Up progresses, the “
q
”
mark on the TV screen
moves from left to right.
When the Auto Set Up is
completed, “SCAN
COMPLETED” appears for
about 5 seconds, then the
normal screen appears.
Beginning
End


