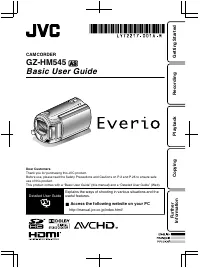
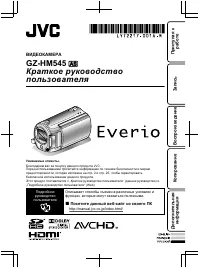
Видеокамеры JVC GZ-HM545 - инструкция пользователя по применению, эксплуатации и установке на русском языке. Мы надеемся, она поможет вам решить возникшие у вас вопросы при эксплуатации техники.
Если остались вопросы, задайте их в комментариях после инструкции.
"Загружаем инструкцию", означает, что нужно подождать пока файл загрузится и можно будет его читать онлайн. Некоторые инструкции очень большие и время их появления зависит от вашей скорости интернета.


●
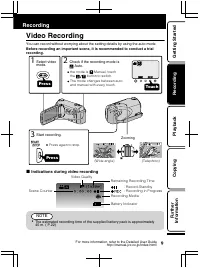
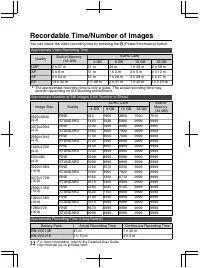
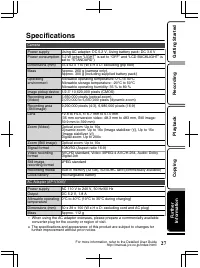
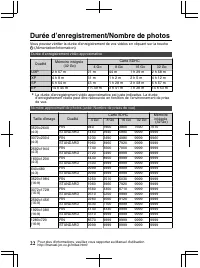
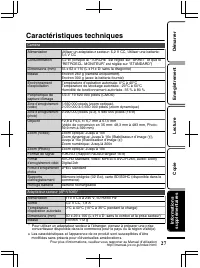
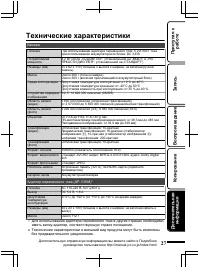
The above are values when “LIGHT” is set to “OFF” and “LCD BACKLIGHT” is set
to “STANDARD”.
●
The actual recording time may be shorter if zooming is used or if recording is
stopped repeatedly. (It is recommended to prepare battery packs ready for three
times the expected recording time.)
●
When the battery life is reached, the recording time becomes shorter even if the
battery pack is fully charged. (Replace the battery pack with a new one.)
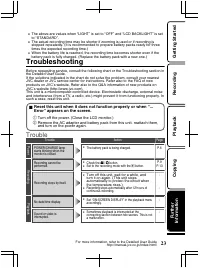
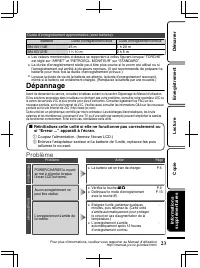
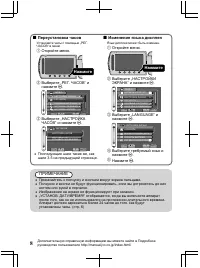
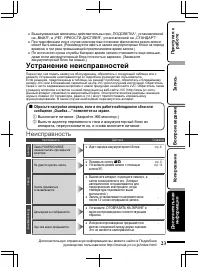
Troubleshooting
Before requesting service, consult the following chart or the Troubleshooting section in
the Detailed User Guide.
If the solutions indicated in the chart do not solve the problem, consult your nearest
JVC dealer or JVC service center for instructions. Refer also to the FAQ of new
products on JVC’s website. Refer also to the Q&A information of new products on
JVC’s website (http://www.jvc.com).
This unit is a microcomputer-controlled device. Electrostatic discharge, external noise
and interference (from a TV, a radio, etc.) might prevent it from functioning properly. In
such a case, reset this unit.
■
Reset this unit when it does not function properly or when “
...
Error” appears on the screen
.
①
Turn off the power. (Close the LCD monitor.)
②
Remove the AC adapter and battery pack from this unit, reattach them,
and turn on the power again.
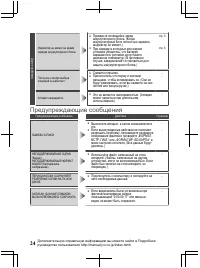
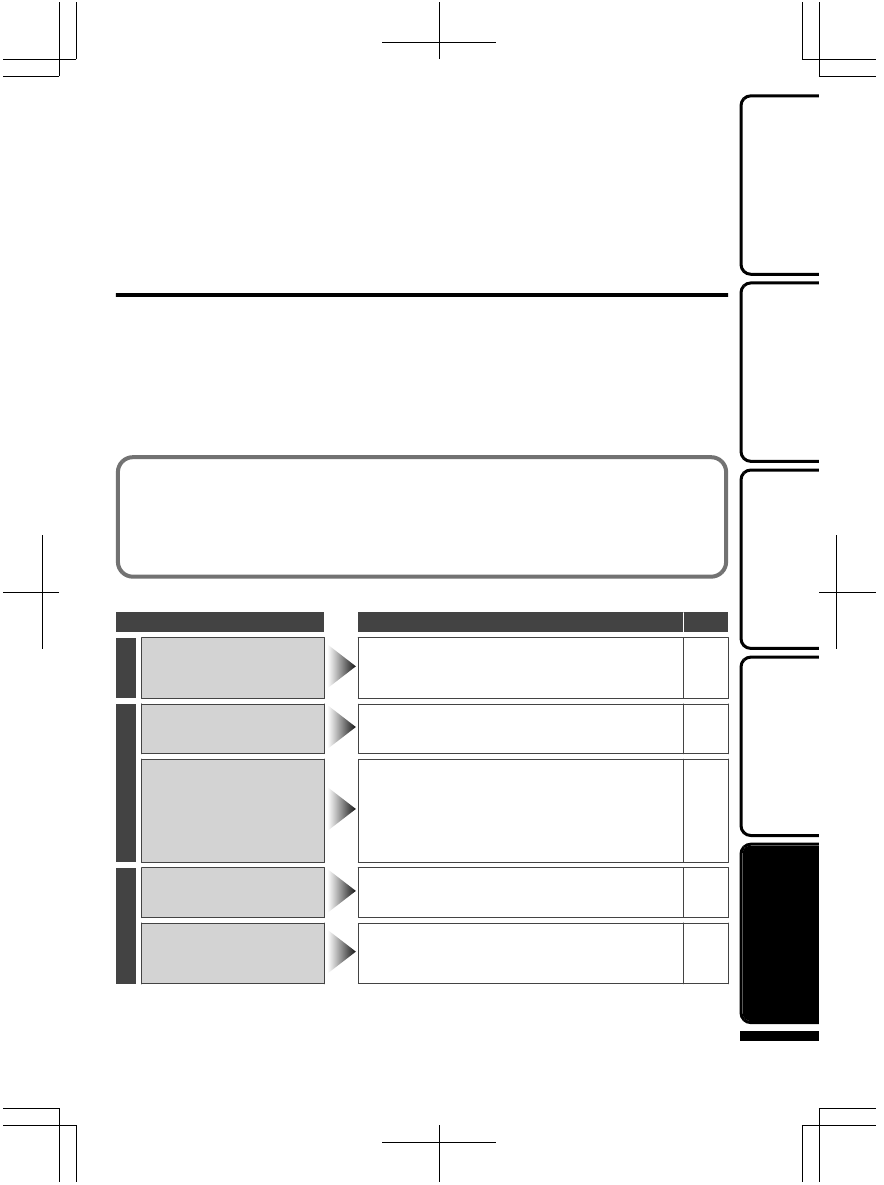
Trouble
Trouble
Action
Page
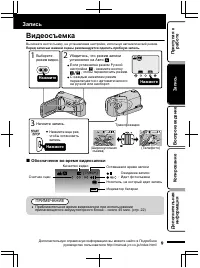
Power
POWER/CHARGE lamp
starts blinking when the
monitor is closed.
●
The battery pack is being charged.
P.6
Recording
Recording cannot be
performed.
●
Check the
/
button.
P.9
●
Set to the recording mode with the
+
button.
P.13
Recording stops by itself.
●
Turn off this unit, wait for a while, and
turn it on again. (This unit stops
automatically to protect the circuit when
the temperature rises.)
-
●
Recording stops automatically after 12 hours of
continuous recording.
-
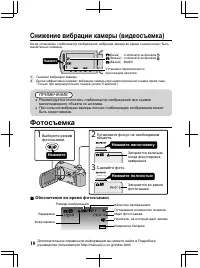
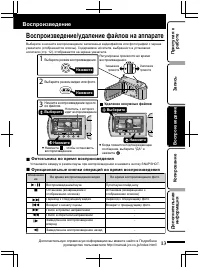
Playback
No date/time display.
●
Set “ON-SCREEN DISPLAY” in the playback menu
accordingly.
-
Sound or video is
interrupted.
●
Sometimes playback is interrupted at the
connecting section between two scenes. This is not
a malfunction.
-
For more information, refer to the Detailed User Guide
http://manual.jvc.co.jp/index.html/
23
Getting Started
Recording
Playback
Copying
Further
Information
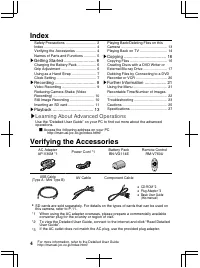
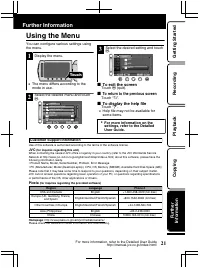
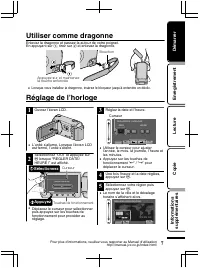
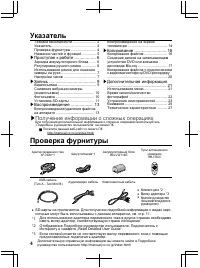
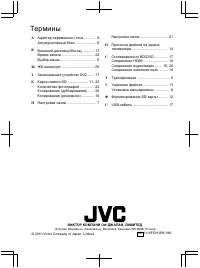
Содержание
- 60 Указатель; DVD; Получение; Проверка; „Read Detailed User Guide“.
- 62 Отсоединение аккумуляторного блока; Приступая
- 63 Выберите
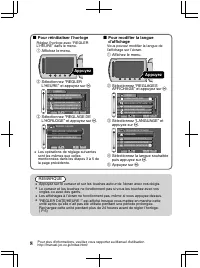
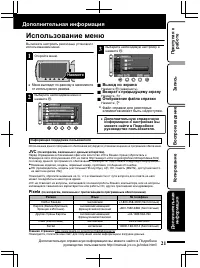
- 64 Изменение; „LANGUAGE“; ПРИМЕЧАНИЕ
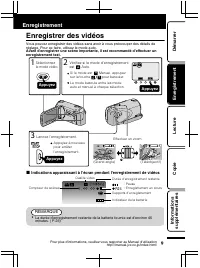
- 65 Видеосъемка; Нажмите; Обозначения; Запись
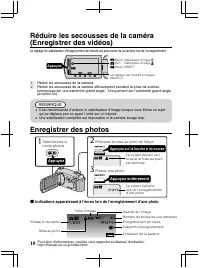
- 66 Фотосъемка; Установите фокус на необходимом
- 67 Извлечение
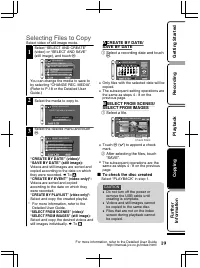
- 69 Удаление ненужных файлов; Воспроизведение
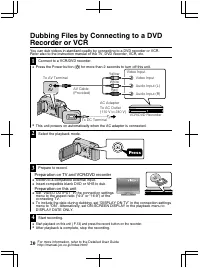
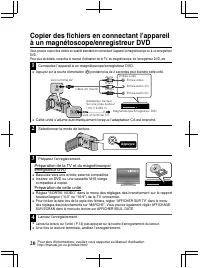
- 70 Подключение
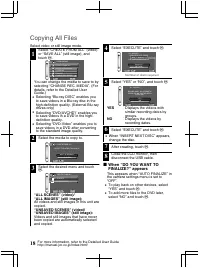
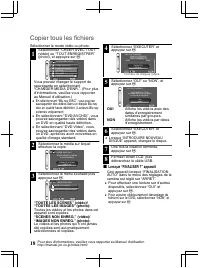
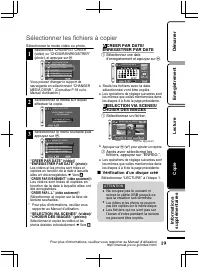
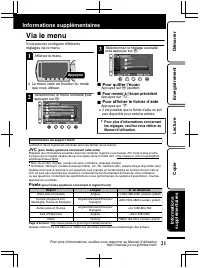
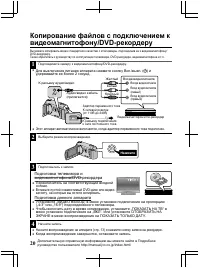
- 72 Копирование
- 74 При
- 77 JVC; Дополнительная
- 81 Внимание
- 83 Камера; Адаптер
- 84 Термины; ВИКТОР КОМПАНИ ОФ ДЖАПАН, ЛИМИТЕД


