
Триммеры VERTO 350 Вт 52G550 - инструкция пользователя по применению, эксплуатации и установке на русском языке. Мы надеемся, она поможет вам решить возникшие у вас вопросы при эксплуатации техники.
Если остались вопросы, задайте их в комментариях после инструкции.
"Загружаем инструкцию", означает, что нужно подождать пока файл загрузится и можно будет его читать онлайн. Некоторые инструкции очень большие и время их появления зависит от вашей скорости интернета.


9
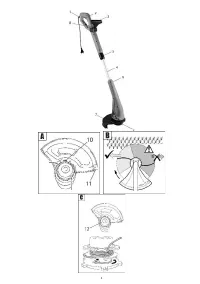
ASSEMBLY OF THE AUXILIARY HANDLE
The auxiliary handle is designed for both right and left-handed
people. Starting work you should always hold the trimmer
ę
firmly, with both hands, using both handles.
•
Remove the auxiliary handle lock nut (
3)
and remove the screw
from the auxiliary handle (
3)
.
•
Put the clamp on the auxiliary handle (
3)
so that its mounting fits
into the socket in the housing of the main handle.
•
Insert the removed screw into the hole and tighten the auxiliary
handle lock nut (
3)
ADJUSTING THE AUXILIARY HANDLE
•
Loosen the lock nut auxiliary handle adjust the auxiliary handle
(3) in the most convenient location for wykonywnej work.
•
Tighten the auxiliary lock nut, the auxiliary handle (3) will lock in
the selected position
LENGTH ADJUSTMENT OF TELESCOPIC TUBE
Adjusting the length of the telescopic tube allows you to adjust the
height of the device for people of different height and posture.
•
Loosen the telescopic tube locking ring (
5)
.
•
Extend / insert the telescopic tube (
4)
to the desired length
•
Lock by tightening the telescopic tube lock ring (
5)
OPERATION / SETTINGS
HANDLING
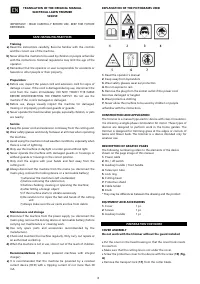
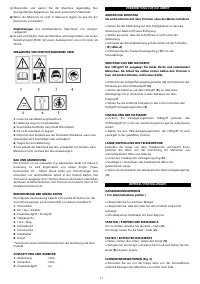
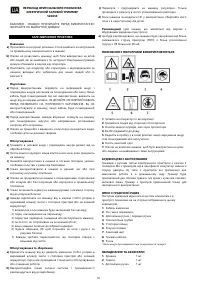
NOTE! Check before commissioning!
•
Check for visible defects.
•
Check that all parts of the product are securely attached.
•
With
abezpieczyć
network cable with a clamp.
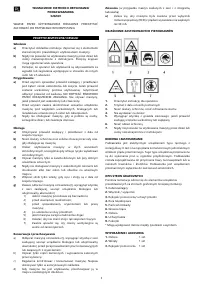
STARTING / STOPPING THE MACHINE A
To start, press the start button (
2)
.
To stop, release the start button (
2)
.
FOLDING / UNFOLDING THE DEVICE
•
Fold, align the holes, tighten the knob (
9)
•
Disassemble, unscrew the knob and slowly pull out the device
(
9)
.
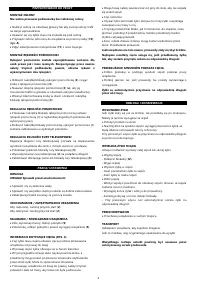
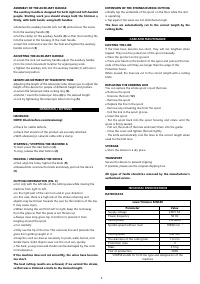
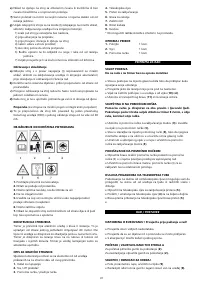
CUTTING INFORMATION (FIG. C)
•
Cut only with the left side of the cutting area while moving the
machine from right to left.
•
In the right part of the vein turn and in your direction:
•
In this case, there is a high risk of the stroke returning and
objects may be thrown towards the user by the rotation of the line.
It may cause injury.
•
When moving the unit from left to right, keep the cord away
from the grass so that the grass is not thrown up.
•
Always mow long grass top to bottom to prevent it from
tangling around the spool.
•
Cut carefully:
•
Only use the tip of the line. This uses less line and prevents the
grass from getting caught in it.
•
Keep the cord as close as necessary to posts, walls, fences, and
similar items. Solid objects wear out the cord very quickly.
•
The bark, young trees and shrubs can be damaged by the cord.
Cord extension
If the machine does not cut smoothly, the wires have become
too short.
The best cutting results are achieved, if we extend the streak,
so that was a trimmed a knife to the desired length.
EXTENSION OF THE STRINGS DURING CUTTING
•
Briefly tap the underside of the spool on the floor while the unit
is operating.
•
Tap again if the wires are not stretched enough.
The lines are automatically cut to the correct length by the
cutting knife.
CARE AND MAINTENANCE
EJECTING THE LINE
If the lines have become too short, they will not lengthen when
tapped. They must be pulled out of the spool manually.
•
Place the product on the ground.
•
Press your hand on the bottom of the spool and pull out the two
ends of the lines until they are longer than the edge of the
Protective Cover.
When reused, the lines are cut to the correct length with a cutting
knife.
REPLACING THE CORDING LINE
You can replace the whole spool or just the lines.
•
Remove the spool
- Unscrew the lock (
12)
.
- Remove the spool.
•
Replace the line in the spool
- Remove any remaining line from the spool.
- Coil the line in the spool groove
•
Insert the spool
- Put the spool back into the spool housing and rotate until the
spool is firmly seated.
- Pull out the ends of the lines and insert them into the guide.
- Close the cover and tighten the lock tightly.
- The knife automatically cuts the lines to the correct length when
used for the first time.
STORAGE
•
Store the device in a dry place.
TRANSPORT
Secure the device to prevent slipping.
If possible, please use the original shipping box.
All types of faults should be removed by the manufacturer's
authorized service.
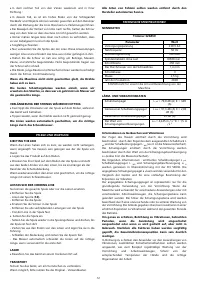
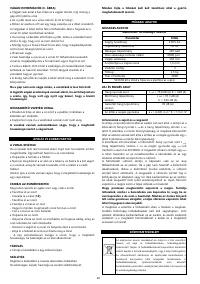
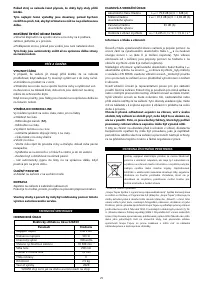
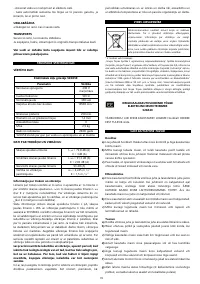
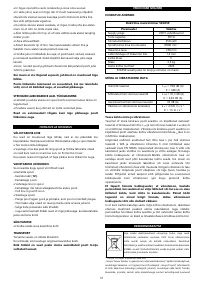
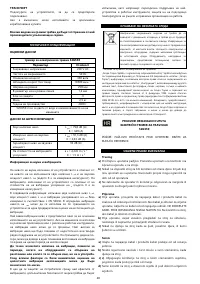
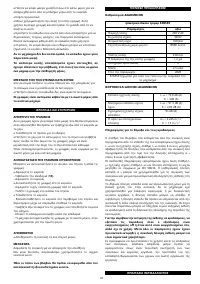
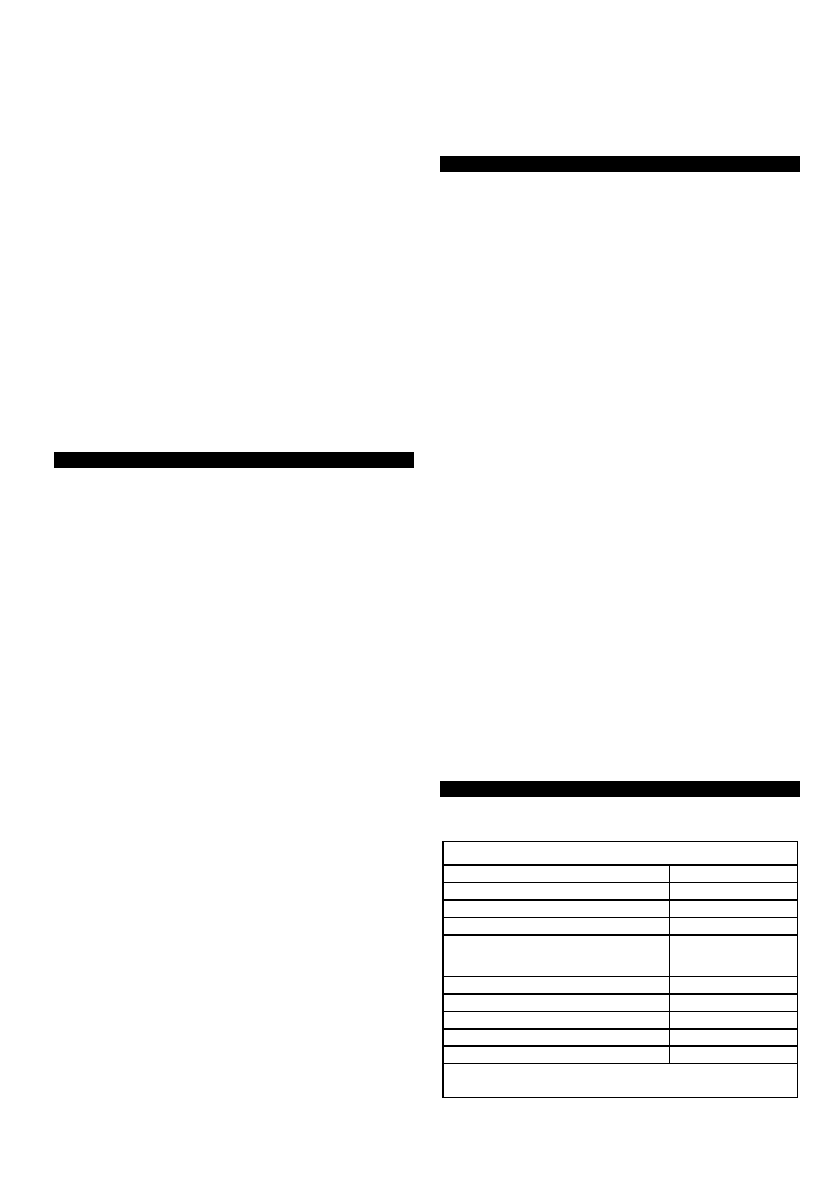
TECHNICAL SPECIFICATIONS
RATED DATA
Lawn Trimmer 52G550
Parameter
Value
Supply voltage
230 V AC
Power frequency
50 Hz
Rated power
350 watts
Spindle speed without load
10500 min
-1
Cutting width
250 mm
The diameter of the cutting line
1.4 mm
Protection class
II
Mass
2.5 kg
Year of production
2020
52G550 stands for both the type and designation of the
machine

