
Мультиметры RIDGID Micro DM-100 37423 - инструкция пользователя по применению, эксплуатации и установке на русском языке. Мы надеемся, она поможет вам решить возникшие у вас вопросы при эксплуатации техники.
Если остались вопросы, задайте их в комментариях после инструкции.
"Загружаем инструкцию", означает, что нужно подождать пока файл загрузится и можно будет его читать онлайн. Некоторые инструкции очень большие и время их появления зависит от вашей скорости интернета.
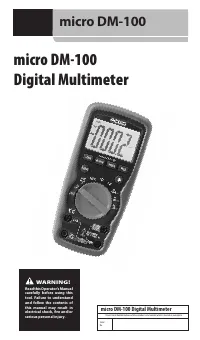

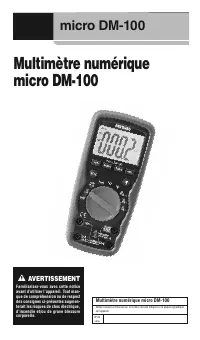


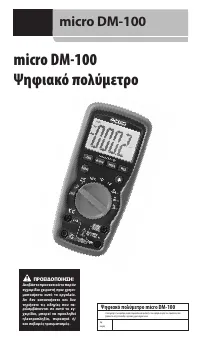


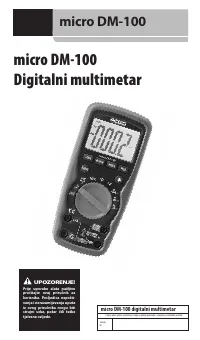


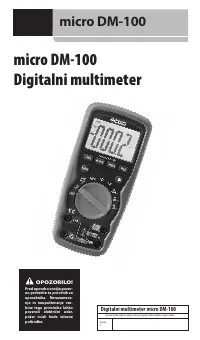


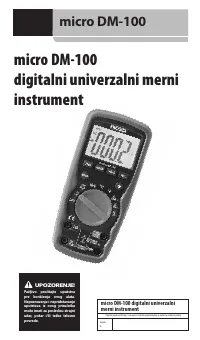


micro DM-100 Digital Multimeter
17
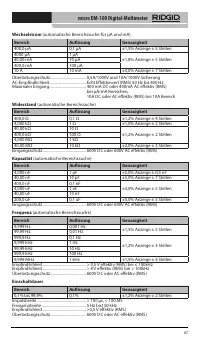
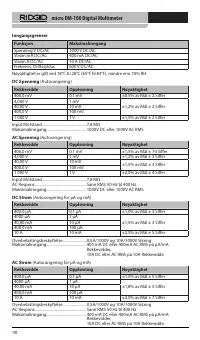
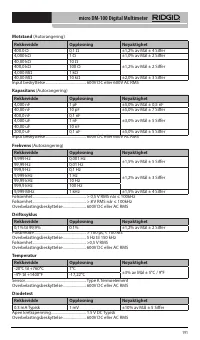
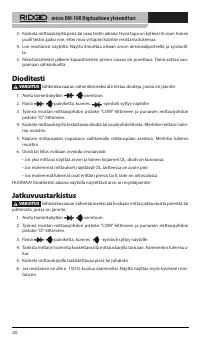
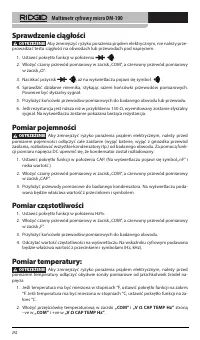
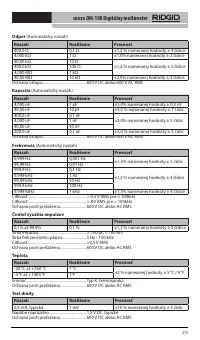
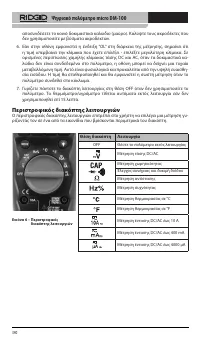
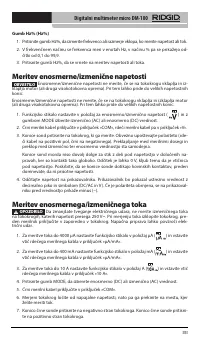
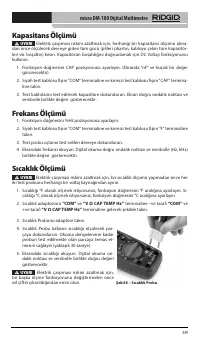
Capacitance Measurement
WARNING
To reduce risk of electric shock, disconnect all power (remove batteries,
unplug cord, discharge all capacitors, etc.) to the circuit being measured before taking any
capacitance measurement. Use the DC Voltage function to confirm that the capacitor is
discharged.
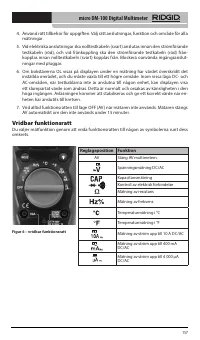
1. Set the function switch to CAP position. (“nF” and a small value will appear in the dis-
play).
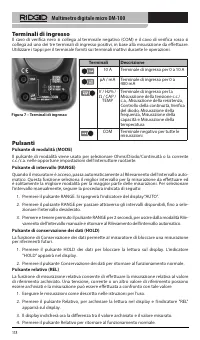
2. Insert the black test lead plug into the “COM” terminal and the red test lead plug into
the “CAP” terminal.
3. Touch the test leads to the capacitor to be tested. The display will indicate the value,
proper decimal point and symbol.
Frequency Measurement
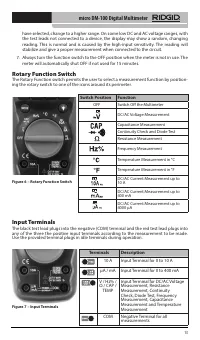
1. Set the function switch to Hz% position.
2. Insert the black test lead plug into the “COM” terminal and the red test lead plug into
the “F” terminal.
3. Touch the test probe tips to the circuit under test.
4. Read the frequency in the display. The digital reading will indicate the value, proper
decimal point and symbols (Hz, kHz).
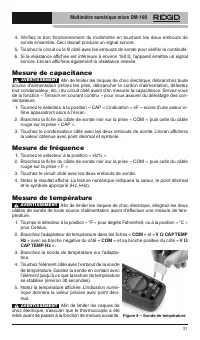
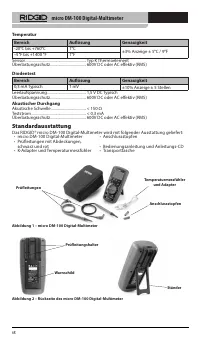
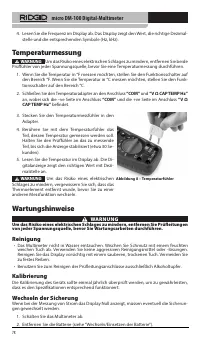
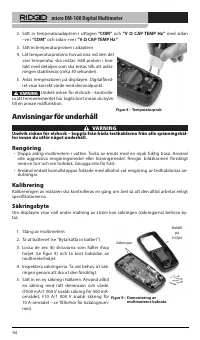
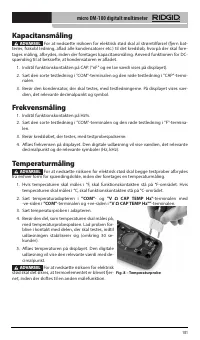
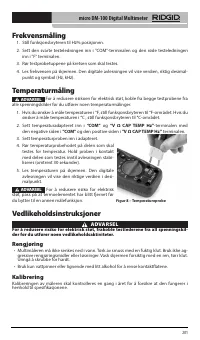
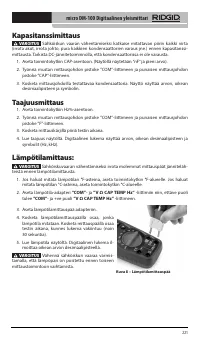
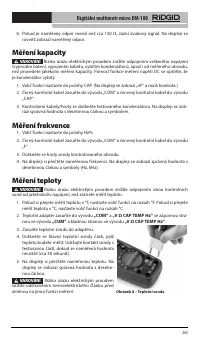
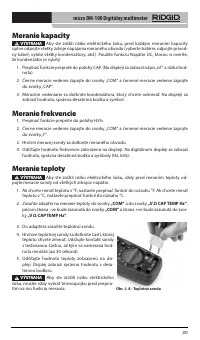
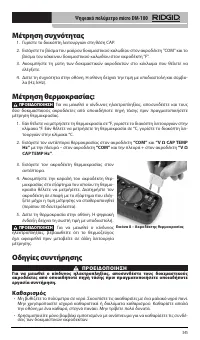
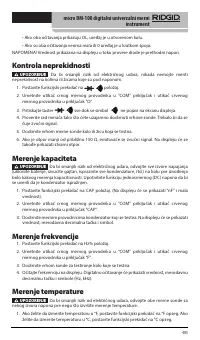
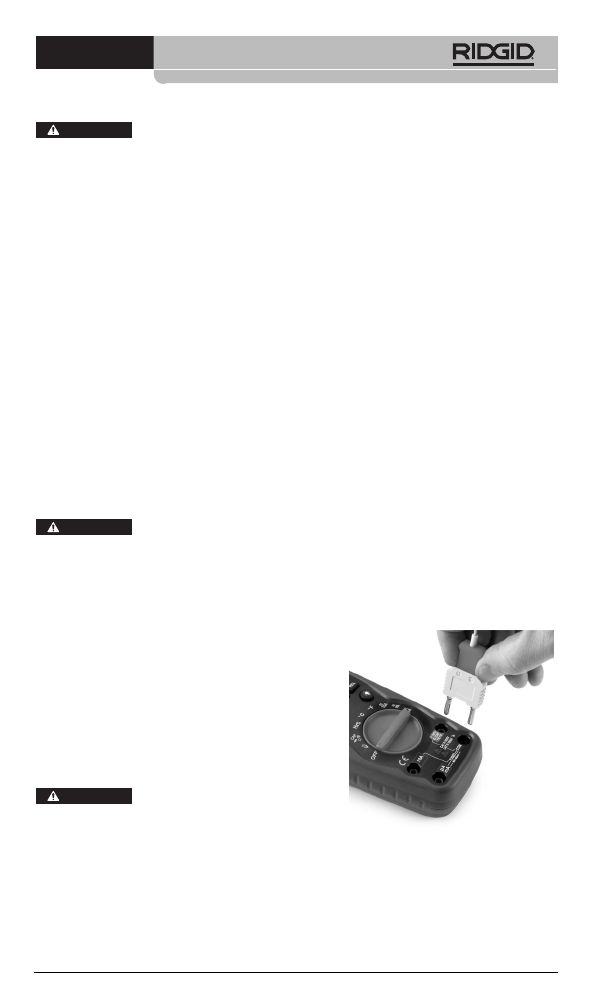
Temperature Measurement
WARNING
To reduce the risk of electric shock, disconnect both test probes from any
source of voltage before making a temperature measurement.
1. If you wish to measure temperature in °F, set the function switch to °F range. If you
wish to measure temperature in °C, set the function switch to °C range.
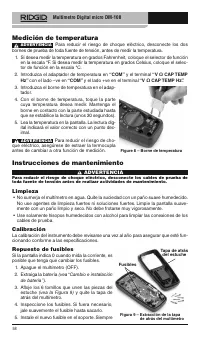
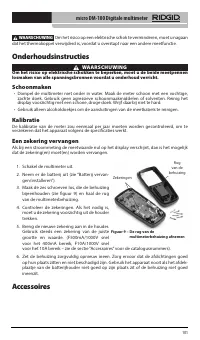
2. Insert the temperature adapter in “COM” and “V Ω CAP TEMP Hz” terminal with
–ve side in “COM” and +ve side in “V Ω CAP TEMP Hz” terminal.
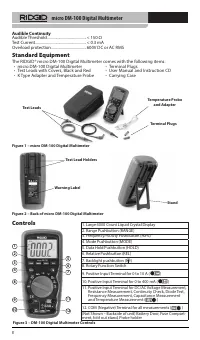
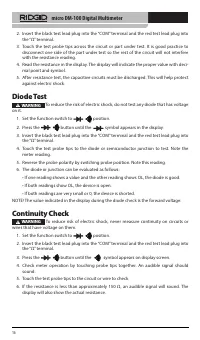
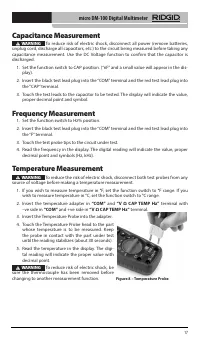
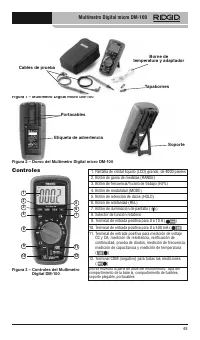
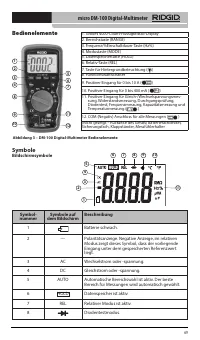
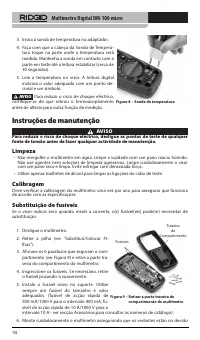
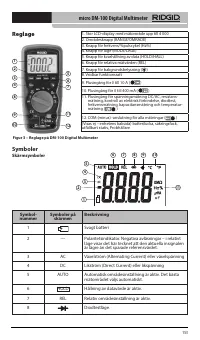
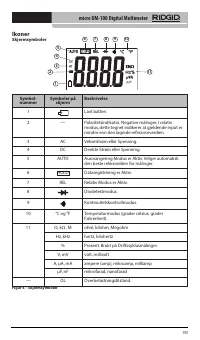
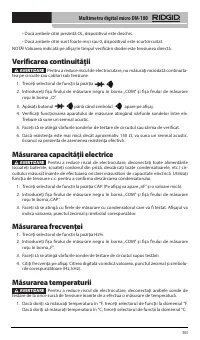
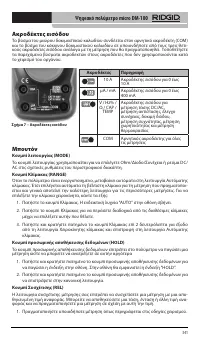
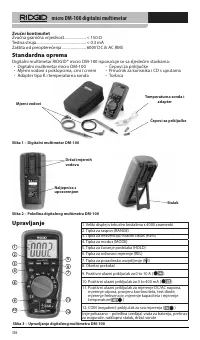
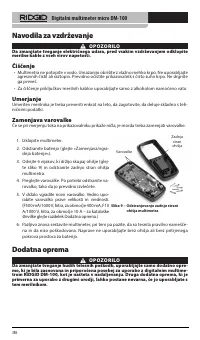
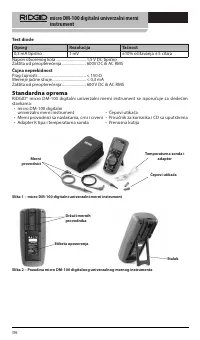
Figure 8 – Temperature Probe
3. Insert the Temperature Probe into the adapter.
4. Touch the Temperature Probe head to the part
whose temperature is to be measured. Keep
the probe in contact with the part under test
until the reading stabilizes (about 30 seconds).
5. Read the temperature in the display. The digi-
tal reading will indicate the proper value with
decimal point.
WARNING
To reduce risk of electric shock, be
sure the thermocouple has been removed before
changing to another measurement function.
Содержание
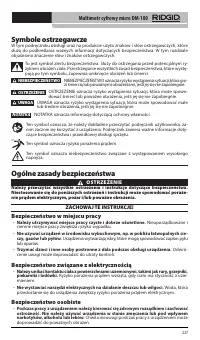
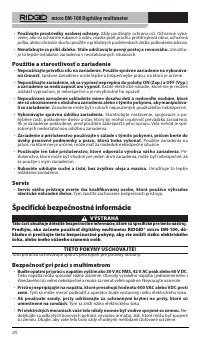
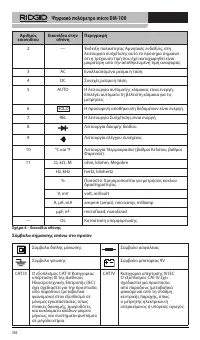
- 411 Содержание; Информация по технике безопасности при работе
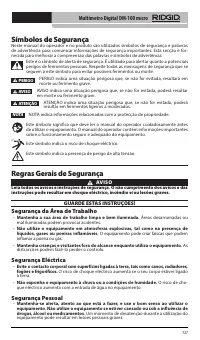
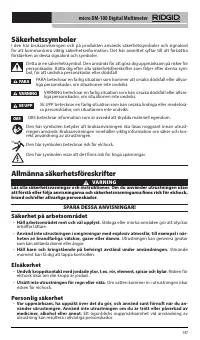
- 412 Предупредительные знаки; Общие правила техники безопасности; СОХРАНИТЕ НАСТОЯЩУЮ ИНСТРУКЦИЮ!; Безопасность в рабочей зоне
- 413 Информация по технике безопасности при
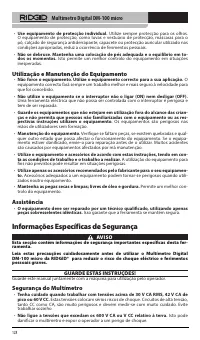
- 414 Техника безопасности при работе с мультиметром
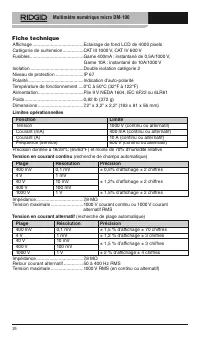
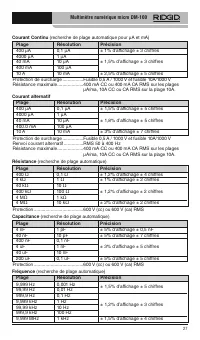
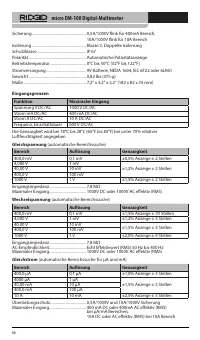
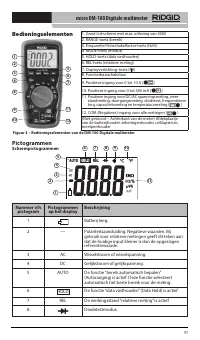
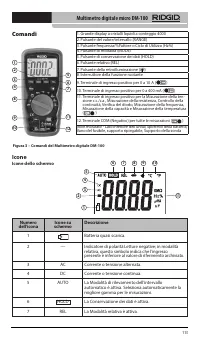
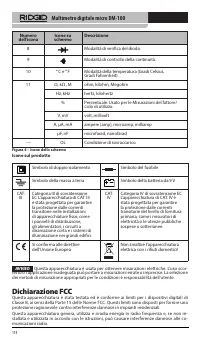
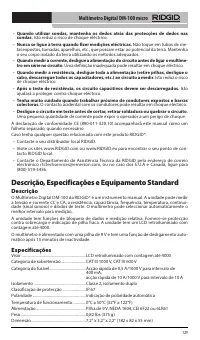
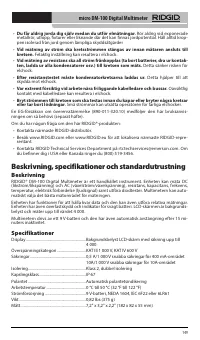
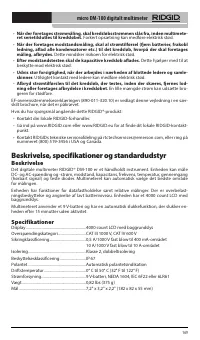
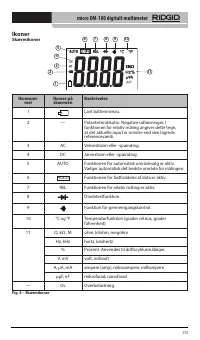
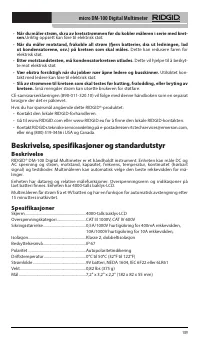
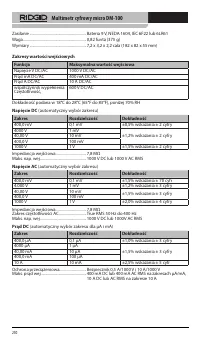
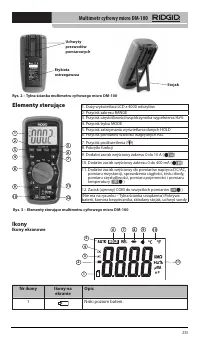
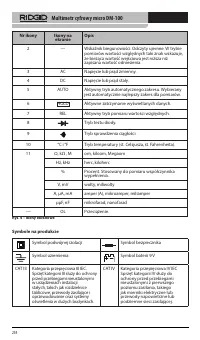
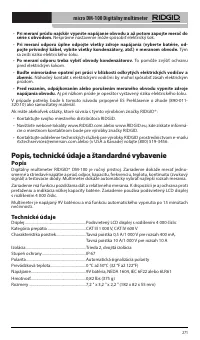
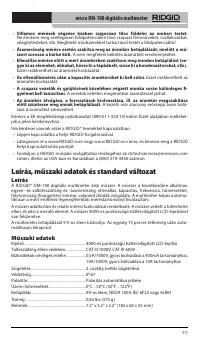
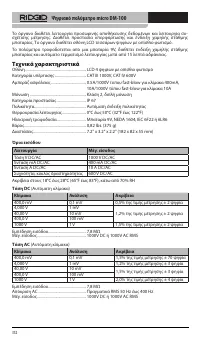
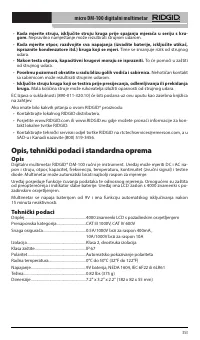
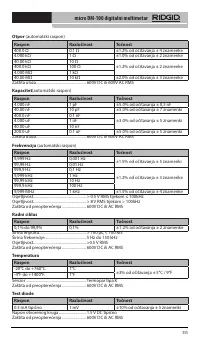
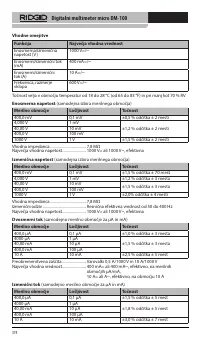
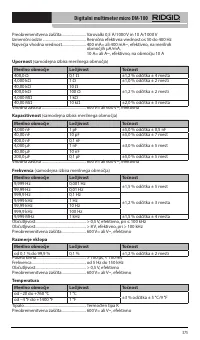
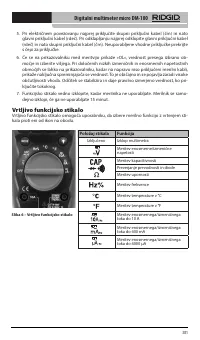
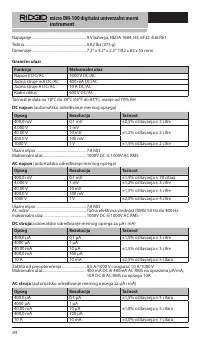
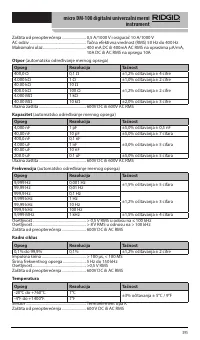
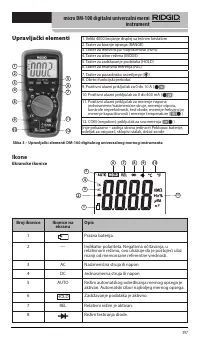
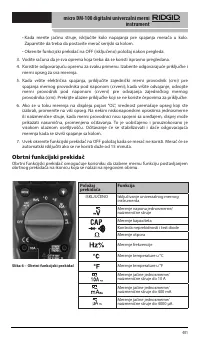
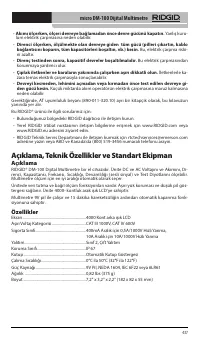
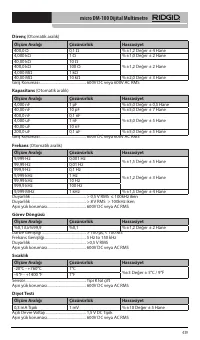
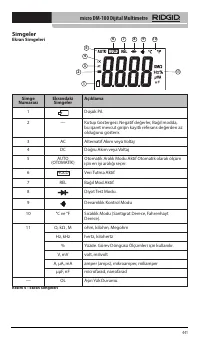
- 415 Описание, технические характеристики и; Описание; Технические характеристики
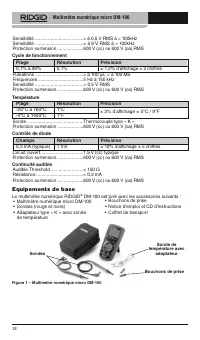
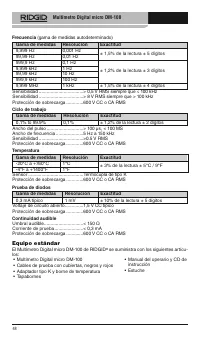
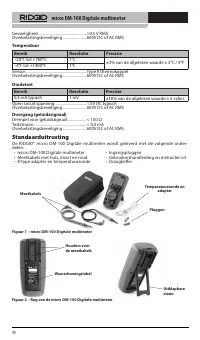
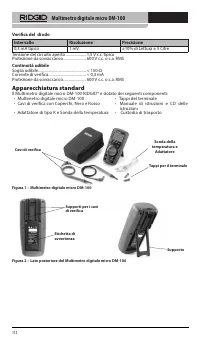
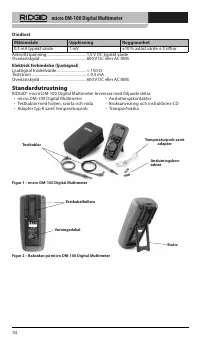
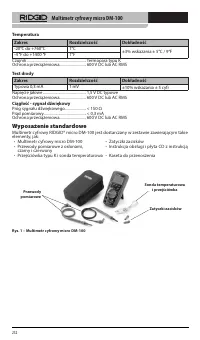
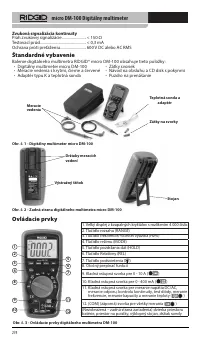
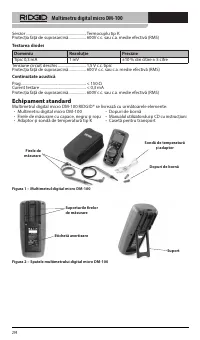
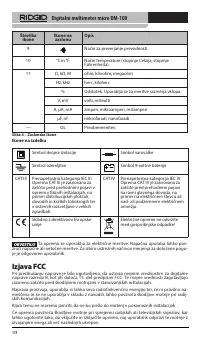
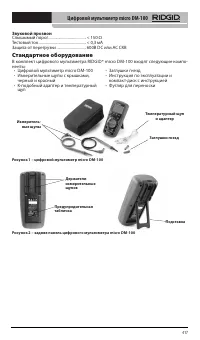
- 418 Стандартное оборудование
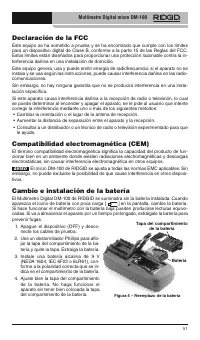
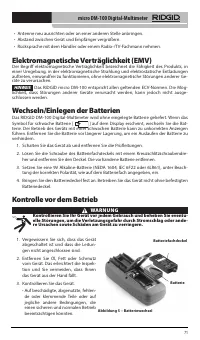
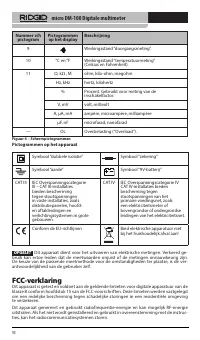
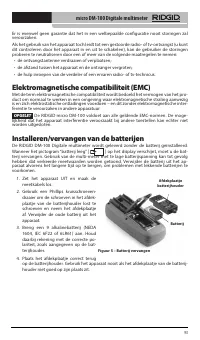
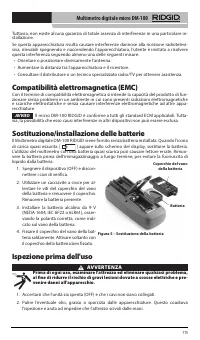
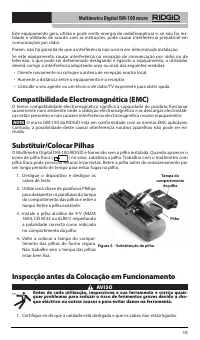
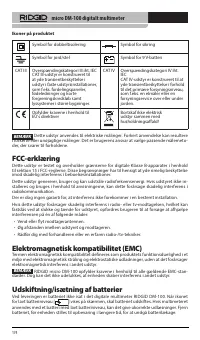
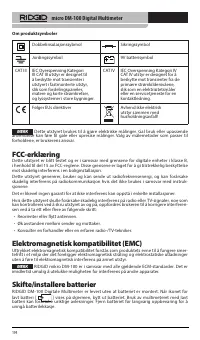
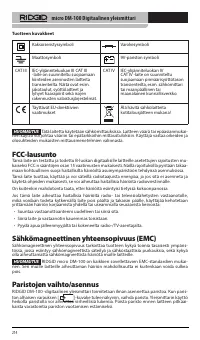
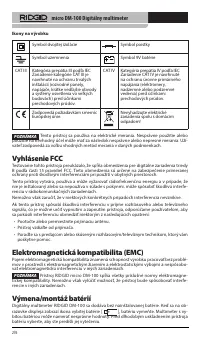
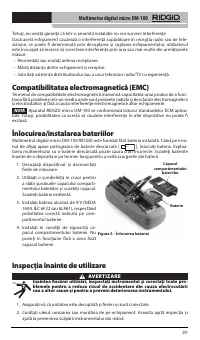
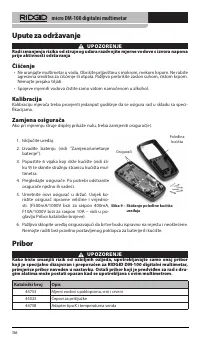
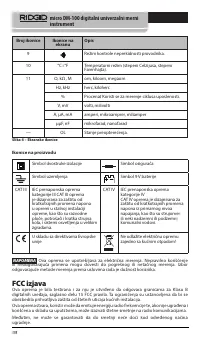
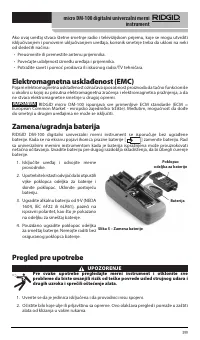
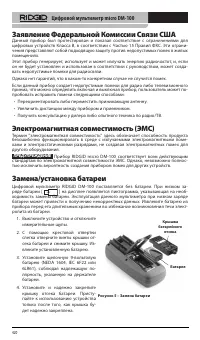
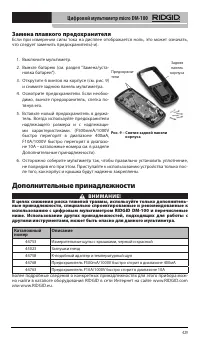
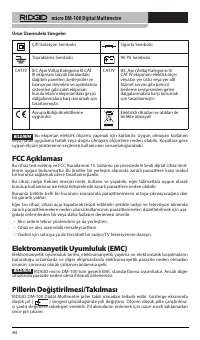
- 421 Заявление Федеральной Комиссии Cвязи США; Замена/установка батареи
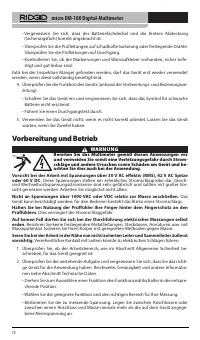
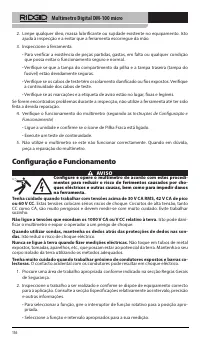
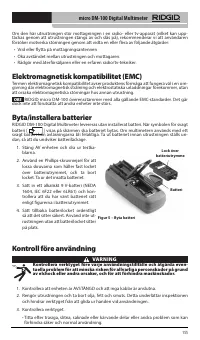
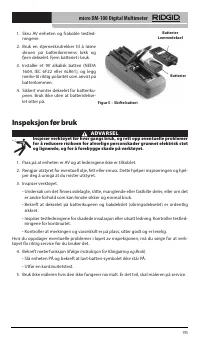
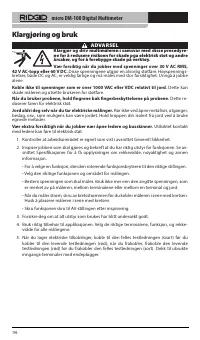
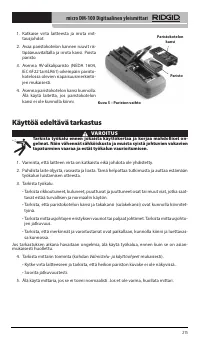
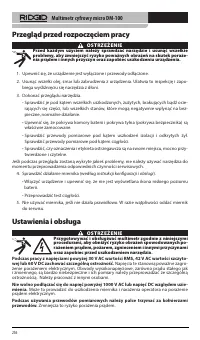
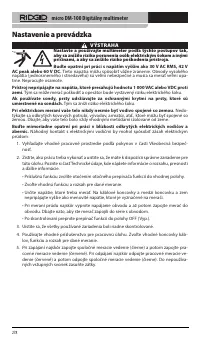
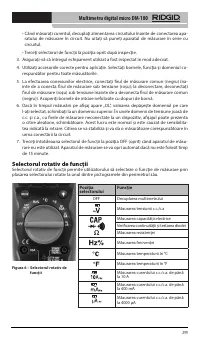
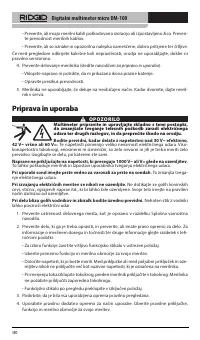
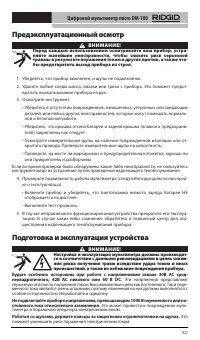
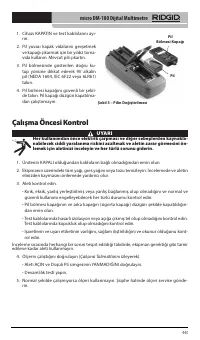
- 422 Предэксплуатационный осмотр; Подготовка и эксплуатация устройства
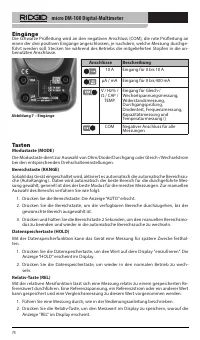
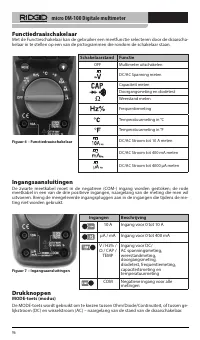
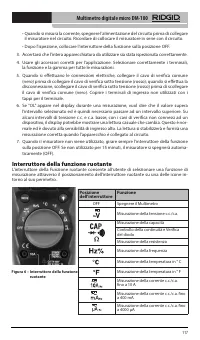
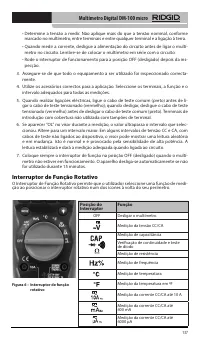
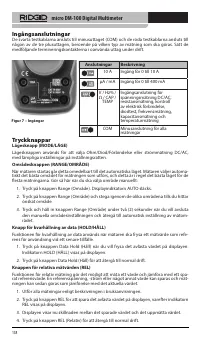
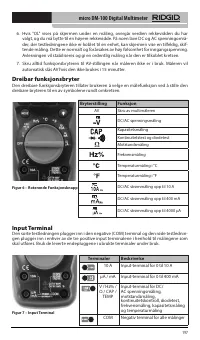
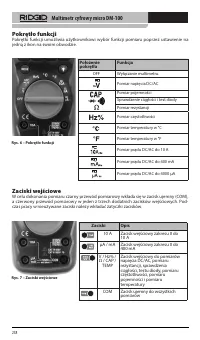
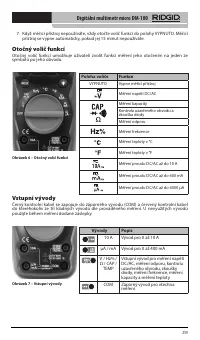
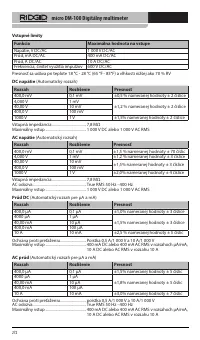
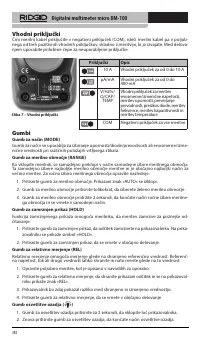
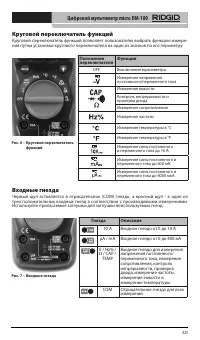
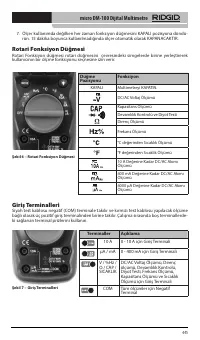
- 424 Входные гнезда
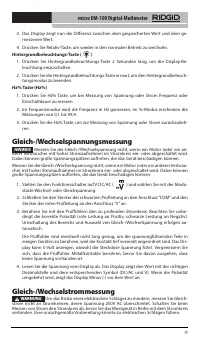
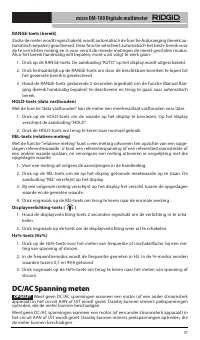
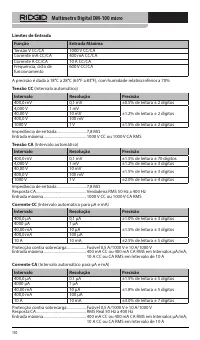
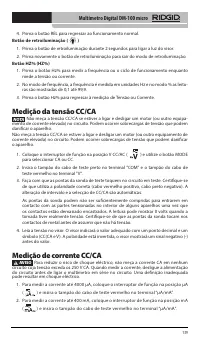
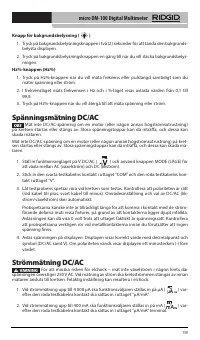
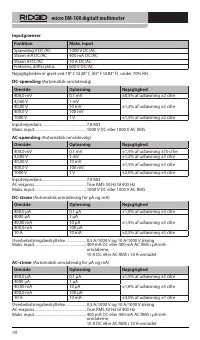
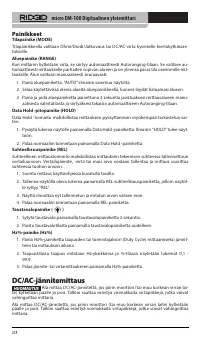
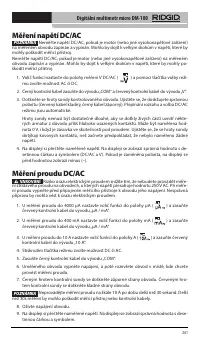
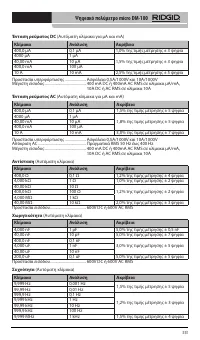
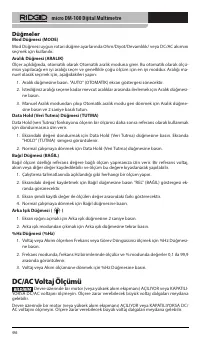
- 426 Измерение напряжения постоянного/; Измерение силы постоянного/переменного тока
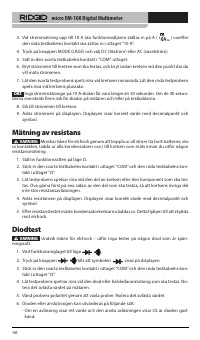
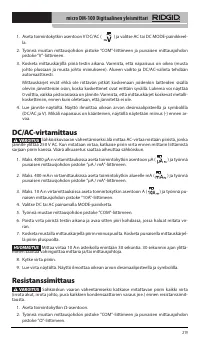
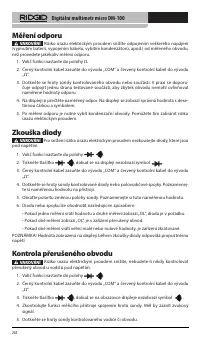
- 427 Измерение сопротивления
- 428 Контроль непрерывности
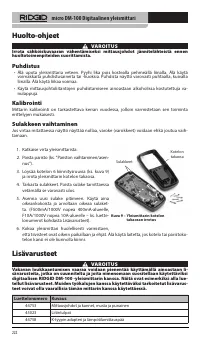
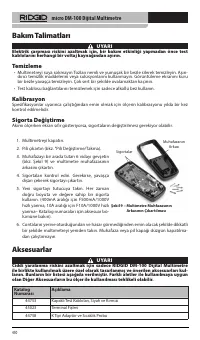
- 429 Инструкции по техническому обслуживанию; Чистка
- 430 Дополнительные принадлежности
- 431 Хранение; Утилизация; Утилизация аккумуляторов
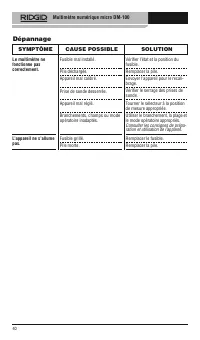
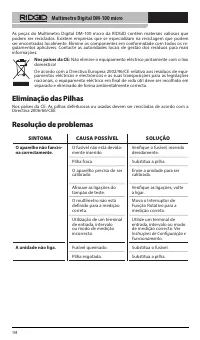
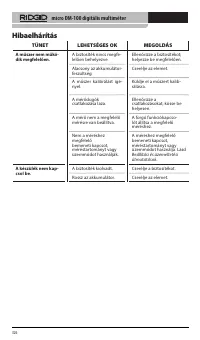
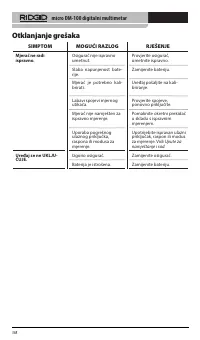
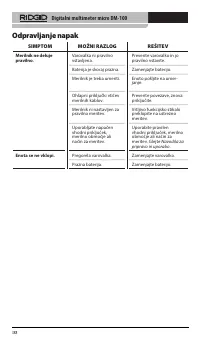
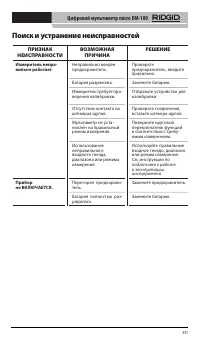
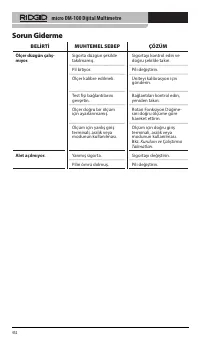
- 432 Поиск и устранение неисправностей; ПРИЗНАК


