Миксеры Zelmer 481 - инструкция пользователя по применению, эксплуатации и установке на русском языке. Мы надеемся, она поможет вам решить возникшие у вас вопросы при эксплуатации техники.
Если остались вопросы, задайте их в комментариях после инструкции.
"Загружаем инструкцию", означает, что нужно подождать пока файл загрузится и можно будет его читать онлайн. Некоторые инструкции очень большие и время их появления зависит от вашей скорости интернета.


116
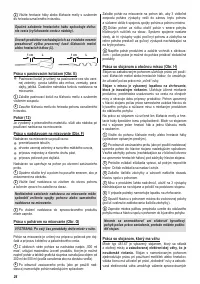
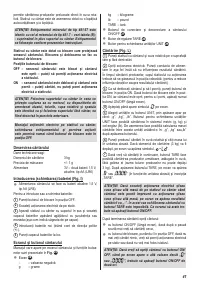
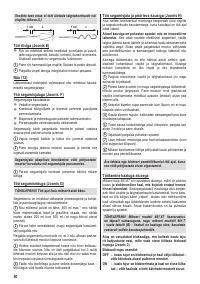
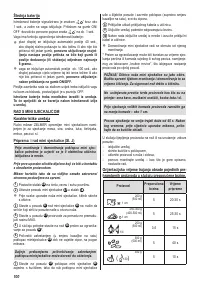
Battery saving
The low battery is indicated by displaying „
” for
approximately 1 sec, than the scales shall switch off.
Pressing ON/OFF switch makes the „
” igures to be
displayed again for approximately 1 sec.
The scales is equipped with battery saving mode:
blue highlight of the display is switched off automatically
●
after 40 seconds, when the display indicates all the time
the same weight or no switch was pressed.
To restart
the highlight press any switch or add (remove)
minimum 8 g of weighted product in one go.,
the scales is switched off automatically after 100 seconds,
●
when the display indicates all the time the same weight
or no switch was pressed,
restarting – after pressing
ON/OFF switch.
After operation with the base, always switch off the scales
with the blocking knob turning it into OFF position.
Remove the worn batteries from the appliance
immediately. It prevents leakage of discharged batteries.
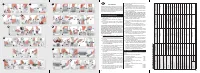
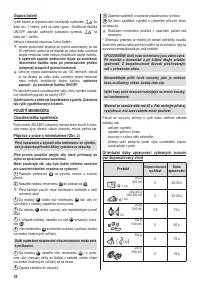
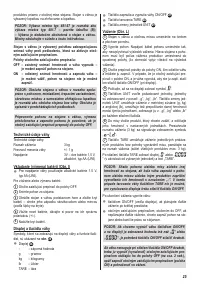
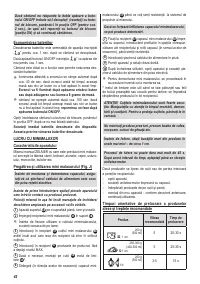
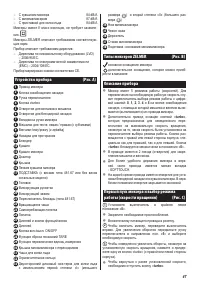
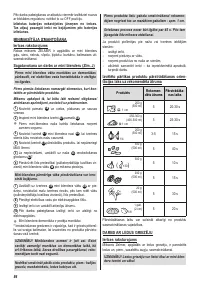
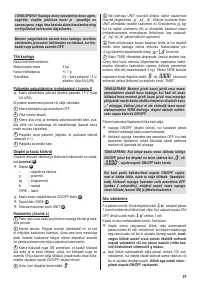
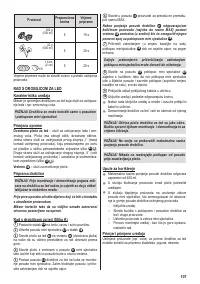
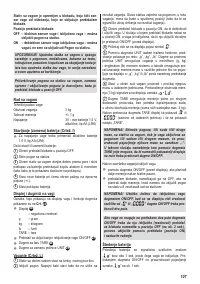
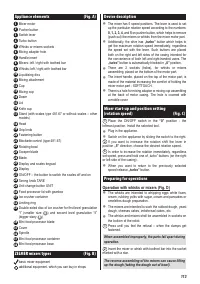
OPERATING THE MINI FOOD PROCESSOR
The appliance characteristics
ZELMER hand blender equipped with mini food processor
is intended for chopping meat, cheese, nuts, onion, garlic,
carrot, roll, etc.
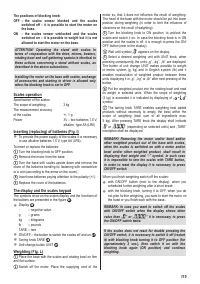
Mini food processor preparation and operation
(ig. J)
Before assembling and disassembling of the mini food
processor cover, make sure that the power supply
cord is unplugged from the mains supply outlet.
Wash the parts in contact with processed product before
irst usage.
Operate the mixer so, that the closed/open markings
located on the appliance are well visible.
1
Place the base
38
on a lat, hard and dry surface.
2
Press the mini food processor container
37
into the
base
38
.
Before each usage of the mini food processor knife,
●
remove the cover out of the blades.
3
Place the mini food processor blade
37
inside the
container
34
so, that the spindle protruding from the
container got into the inlet of the blade.
4
Place the processed products inside the container
37
without exceeding MAX level.
5
If necessary, insert the limiting ring
34
on the
blade
32
*
.
6
Screw the lid
30
of mini food processor with the blender
motor until you can feel it is blocked (clockwise).
Further excessive turning the lid of mini food
processor can lead to damage.
7
Insert the mini food processor cover
37
including the
motor, on the container
30
placing the protrusions in the
container grooves and turn the cover (clockwise), until you
can feel it is blocked.
8
Insert the plug of the power supplying cord into the mains
supply outlet.
9
Switch on the appliance and set the required speed
10
After operation switch off the appliance and unplug it
from the mains supply outlet.
Disassembling of the mini food processor shall be
●
executed reverse to its assembling.
*
The limiting ring is useful for chopping parsley or roll pieces
(dry or fresh) intended for breadcrumbs to prevent spreading
the product all over the container.
ATTENTION! The mini food processor blades are
very sharp. Be very careful during assembling,
disassembling or during cleaning. Store the knife
inside the cover for safety reasons.
Do not mill too hard products, such as: coffee grains,
nutmeg, ice cubes etc.
Before chopping a bigger pieces of product, cut it into
smaller pieces – approximately 1 cm.
The chopping process can not last longer than 45 s.
Wait until the motor cools down before you start up
the blender again.
In case the products stick to the blades or the internal walls
of the container:
switch off the appliance,
–
remove the motor with the cover,
–
remove the products out of the blade and walls,
–
re-assemble the appliance – as deined above and
–
continue the operation.
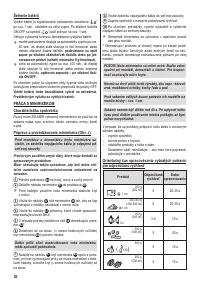
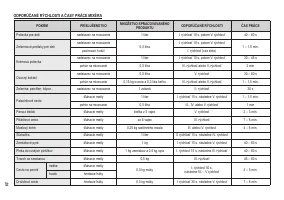
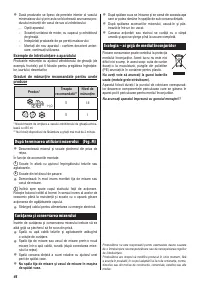
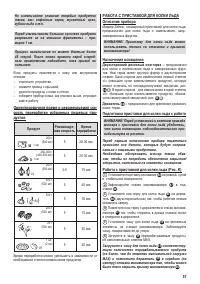
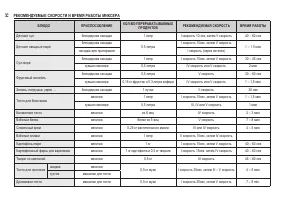
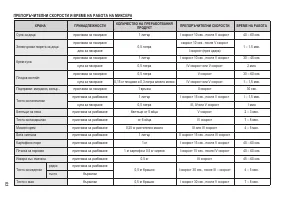
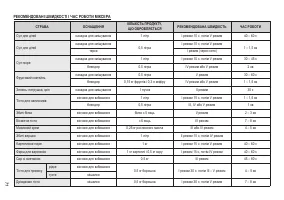
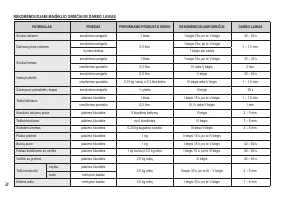
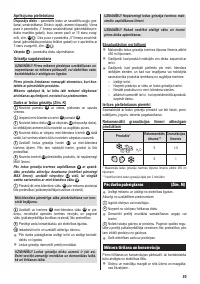
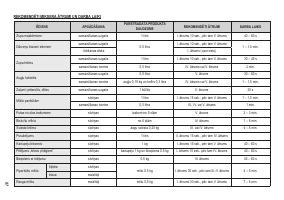
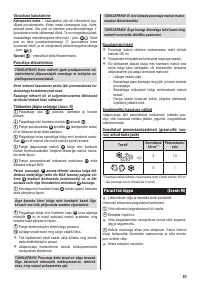
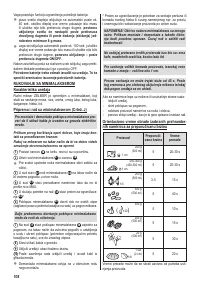
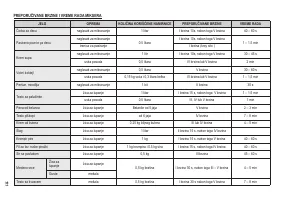
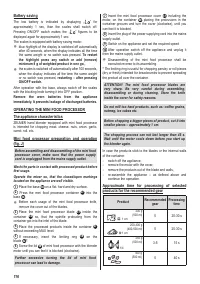
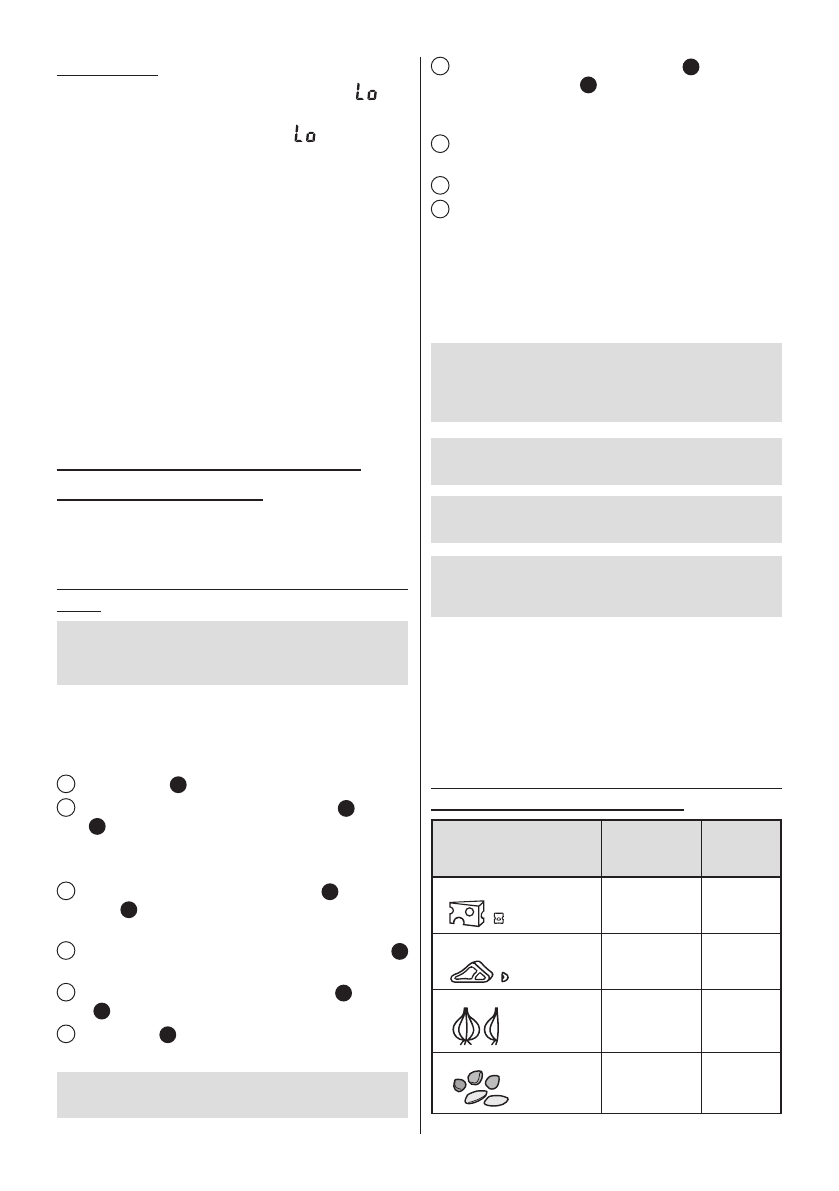
Approximate time for processing of selected
products for the recommended gear
Product
Recommended
gear
Processing
time
5
20-30 s
5
25-30 s
1/4
3-5
15 s
5
40 s
300 g
(500 ml)
200 g
(500 ml)
250 g
(500 ml)
250-300 g
(400-500 ml)
1 cm
1 cm
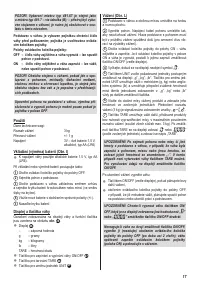
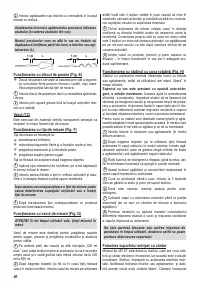
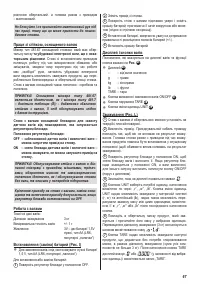
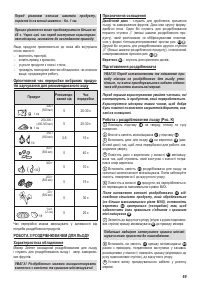
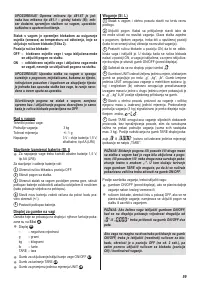
Содержание
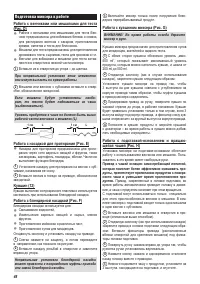
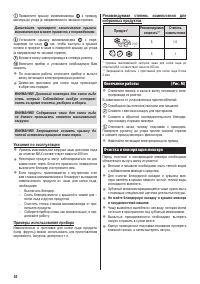
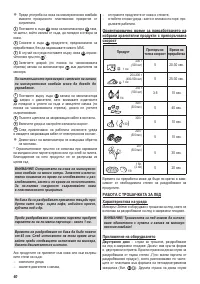
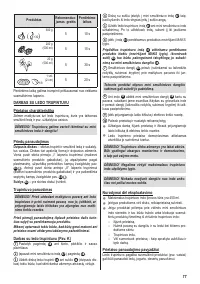
- 44 Подготовка миксера к работе; Pабота с венчиками или мешалками для теста; Привод с чашей оснащен самосгребающей лопаткой,
- 48 Рекомендуемая; Окончание работы; Не мойте блендерную насадку и кувшин миксера
- 49 Экология – Забота о окружающей среде; Не выбрасывайте прибор вместе с коммуналь
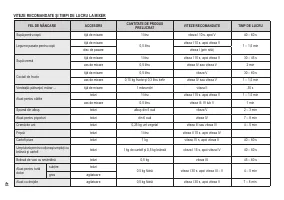
- 50 РЕКОМЕНДУЕМЫЕ СКОРОСТИ И ВРЕМЯ РАБОТЫ МИКСЕРА


