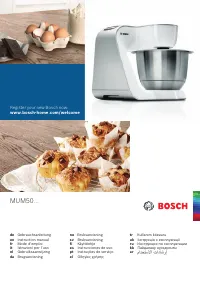
Кухонные комбайны Bosch MUM 50136 - инструкция пользователя по применению, эксплуатации и установке на русском языке. Мы надеемся, она поможет вам решить возникшие у вас вопросы при эксплуатации техники.
Если остались вопросы, задайте их в комментариях после инструкции.
"Загружаем инструкцию", означает, что нужно подождать пока файл загрузится и можно будет его читать онлайн. Некоторые инструкции очень большие и время их появления зависит от вашей скорости интернета.


21
en
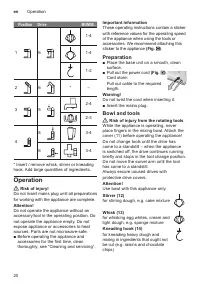
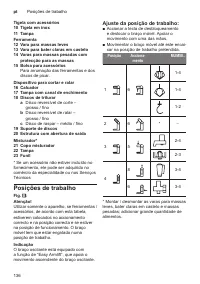
Operation
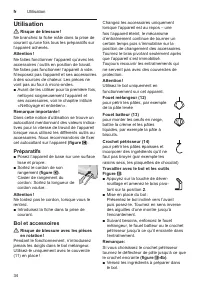
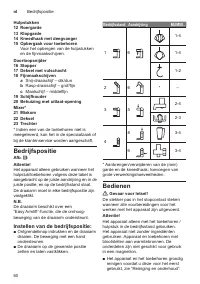
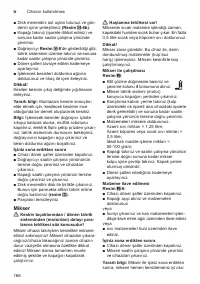
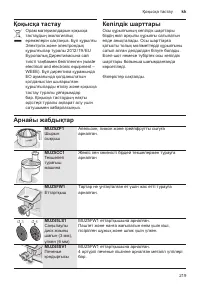
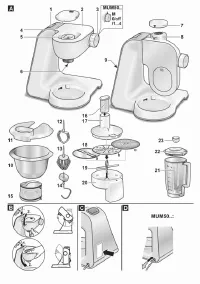
Working with the bowl and the tools
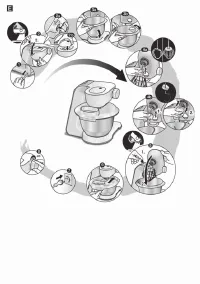
Fig.
E
:
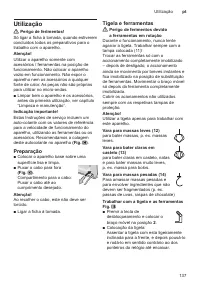
■ Press the Release button and
move the swivel arm to
position
2
.
■ Insert the bowl:
Tilt the bowl forwards and then set it
down. Turn anticlockwise until it locks
into place.
■ Depending on the processing task, insert
the stirrer, whisk or kneading hook until it
locks into position.
Note:
If using the kneading hook, rotate the dough
deflector until the kneading hook can lock
into position
(Fig.
E
-4b)
.
■ Put the ingredients to be processed into
the bowl.
■ Press the Release button and
move the swivel arm to
position
1
.
■ Attach the cover.
■ Set the rotary switch to the desired
setting.
Our recommendation:
–
Stirrer:
first stir in at setting 1, then select
setting 4
–
Whisk:
setting 4, mix in at setting 1
–
Kneading hook:
first stir in at setting 1, knead at setting 2
Adding more ingredients
■ Switch off the appliance with the rotary
switch.
■ Add more ingredients through the feed
tube in the cover.
or
■ Remove lid.
■ Press the Release button and
move the swivel arm to
position
2
.
■ Add ingredients.
After using the appliance
■ Switch off the appliance with the rotary
switch.
■ Remove mains plug.
■ Remove lid.
■ Press the Release button and
move the swivel arm to
position
2
.
■ Take the tool out of the drive.
■ Remove the bowl.
■ Clean all parts, see “Cleaning and
servicing”.
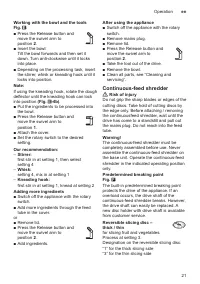
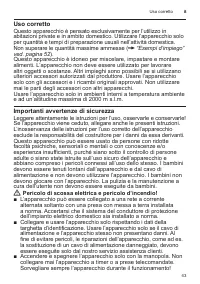
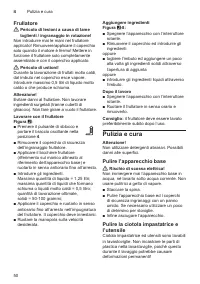
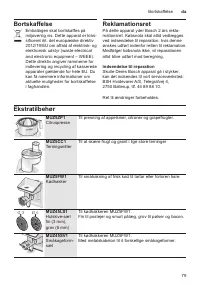
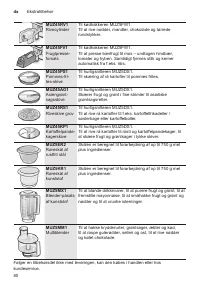
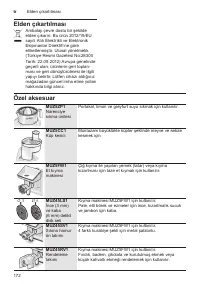
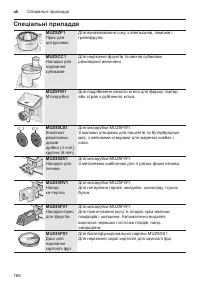
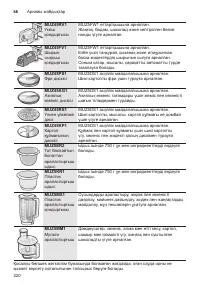
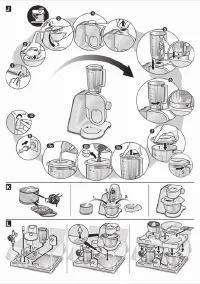
Continuous-feed shredder
W
Risk of injury
Do not grip the sharp blades or edges of the
cutting discs. Take hold of cutting discs by
the edge only. Before attaching / removing
the continuousfeed shredder, wait until the
drive has come to a standstill and pull out
the mains plug. Do not reach into the feed
tube.
Warning!
The continuousfeed shredder must be
completely assembled before use. Never
assemble the continuousfeed shredder on
the base unit. Operate the continuousfeed
shredder in the indicated operating position
only.
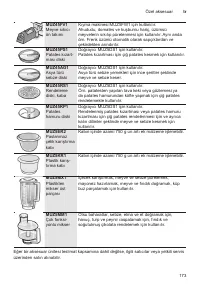
Predetermined breaking point
Fig.
F
:
The builtin predetermined breaking point
protects the drive of the appliance. If an
overload occurs, the drive shaft of the
continuousfeed shredder breaks. However,
the drive shaft can easily be replaced. A
new disc holder with drive shaft is available
from customer service.
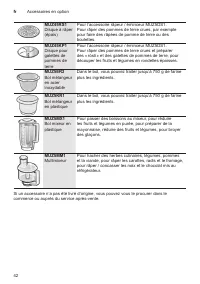
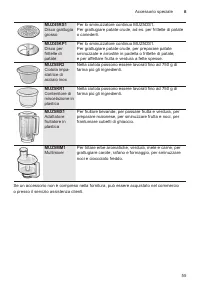
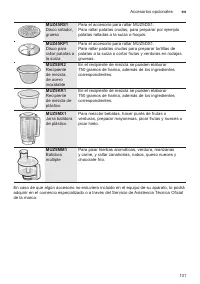
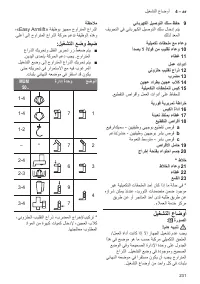
Reversible slicing disc –
thick / thin
for slicing fruit and vegetables.
Process at setting 3.
Designation on the reversible slicing disc:
“1” for the thick slicing side
“3” for the thin slicing side
Содержание
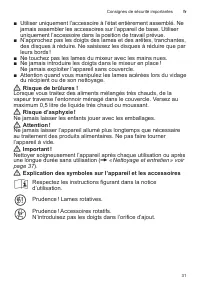
- 191 Не исключена опасность травмирования!
- 192 Опасность ошпаривания!
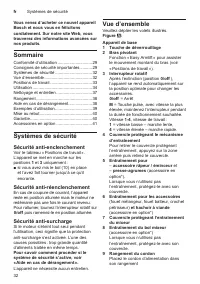
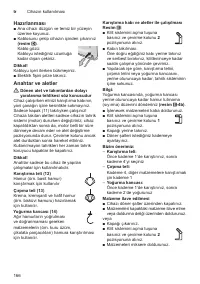
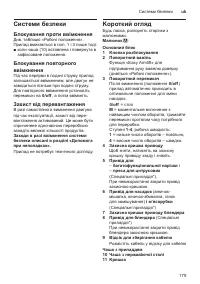
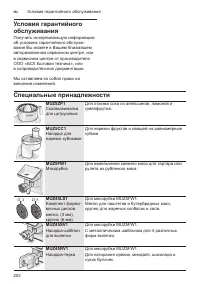
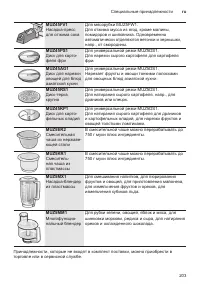
- 193 Системы безопасности; Блокировка включения; Kомплектный обзор
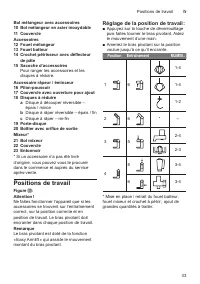
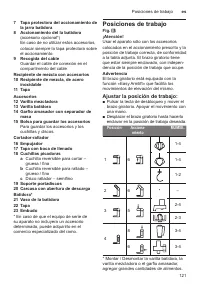
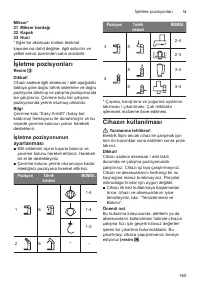
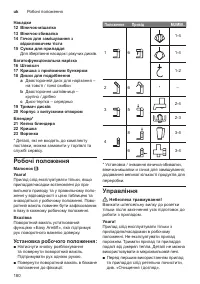
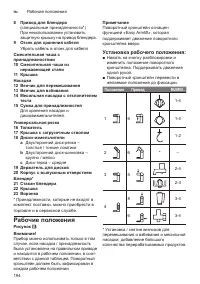
- 194 Рабочие положения; Установка рабочего положения:
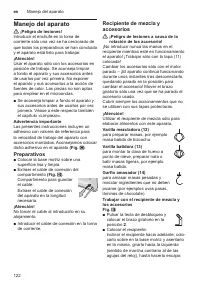
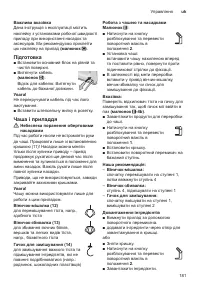
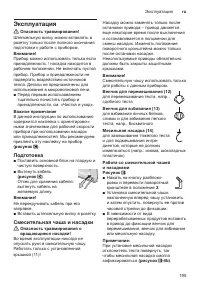
- 195 Эксплуатация; Подготовка
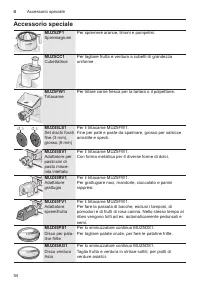
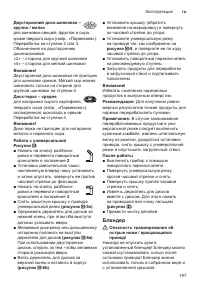
- 196 Универсальная резка
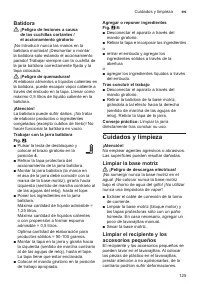
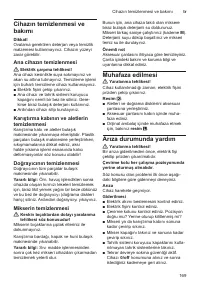
- 198 Чистка и уход; Чистка основного блока
- 199 Чистка блендера; Хранение
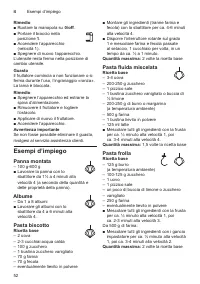
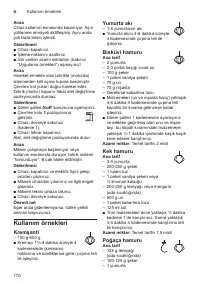
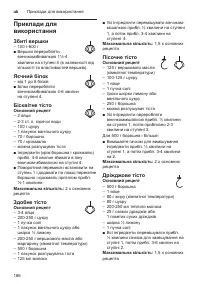
- 200 Примеры использования; Взбитые сливки
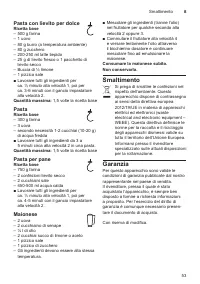
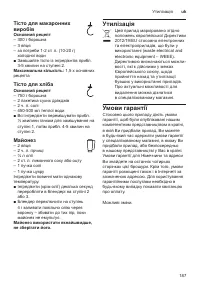
- 201 Утилизация


