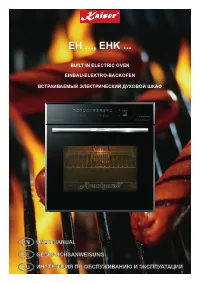
Духовые шкафы Kaiser EH 6981 - инструкция пользователя по применению, эксплуатации и установке на русском языке. Мы надеемся, она поможет вам решить возникшие у вас вопросы при эксплуатации техники.
Если остались вопросы, задайте их в комментариях после инструкции.
"Загружаем инструкцию", означает, что нужно подождать пока файл загрузится и можно будет его читать онлайн. Некоторые инструкции очень большие и время их появления зависит от вашей скорости интернета.


138
EN
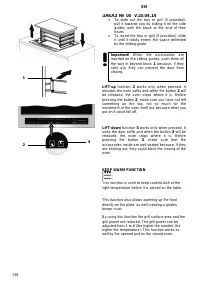
ЗАКАЗ № 05 V.25.04.14
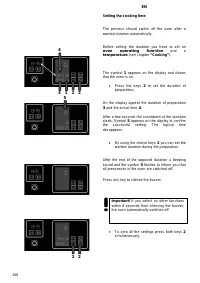
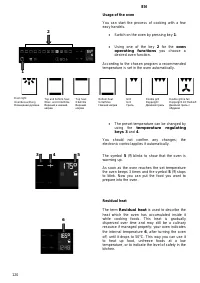
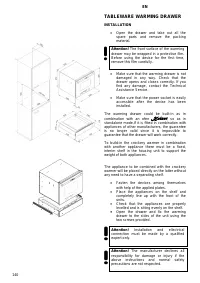
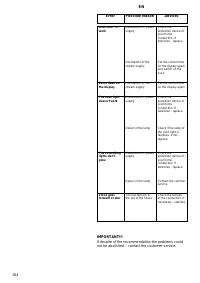
•
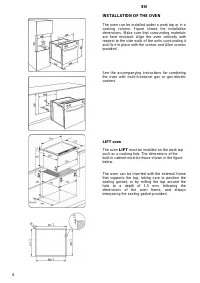
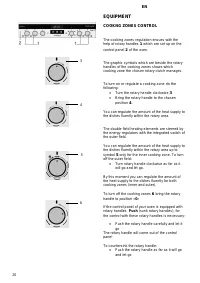
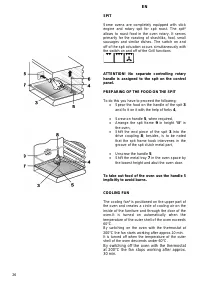
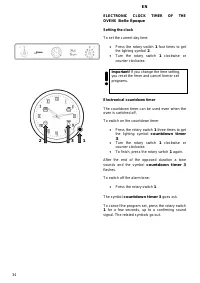
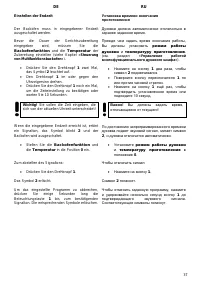
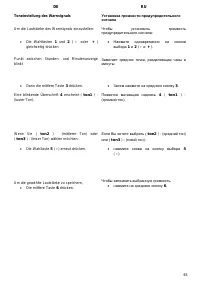
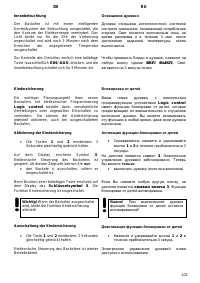
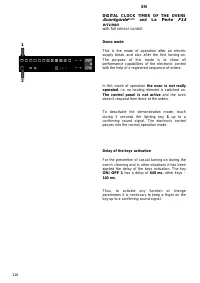
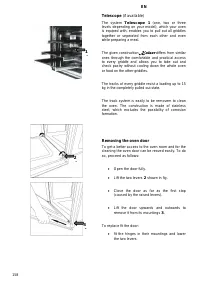
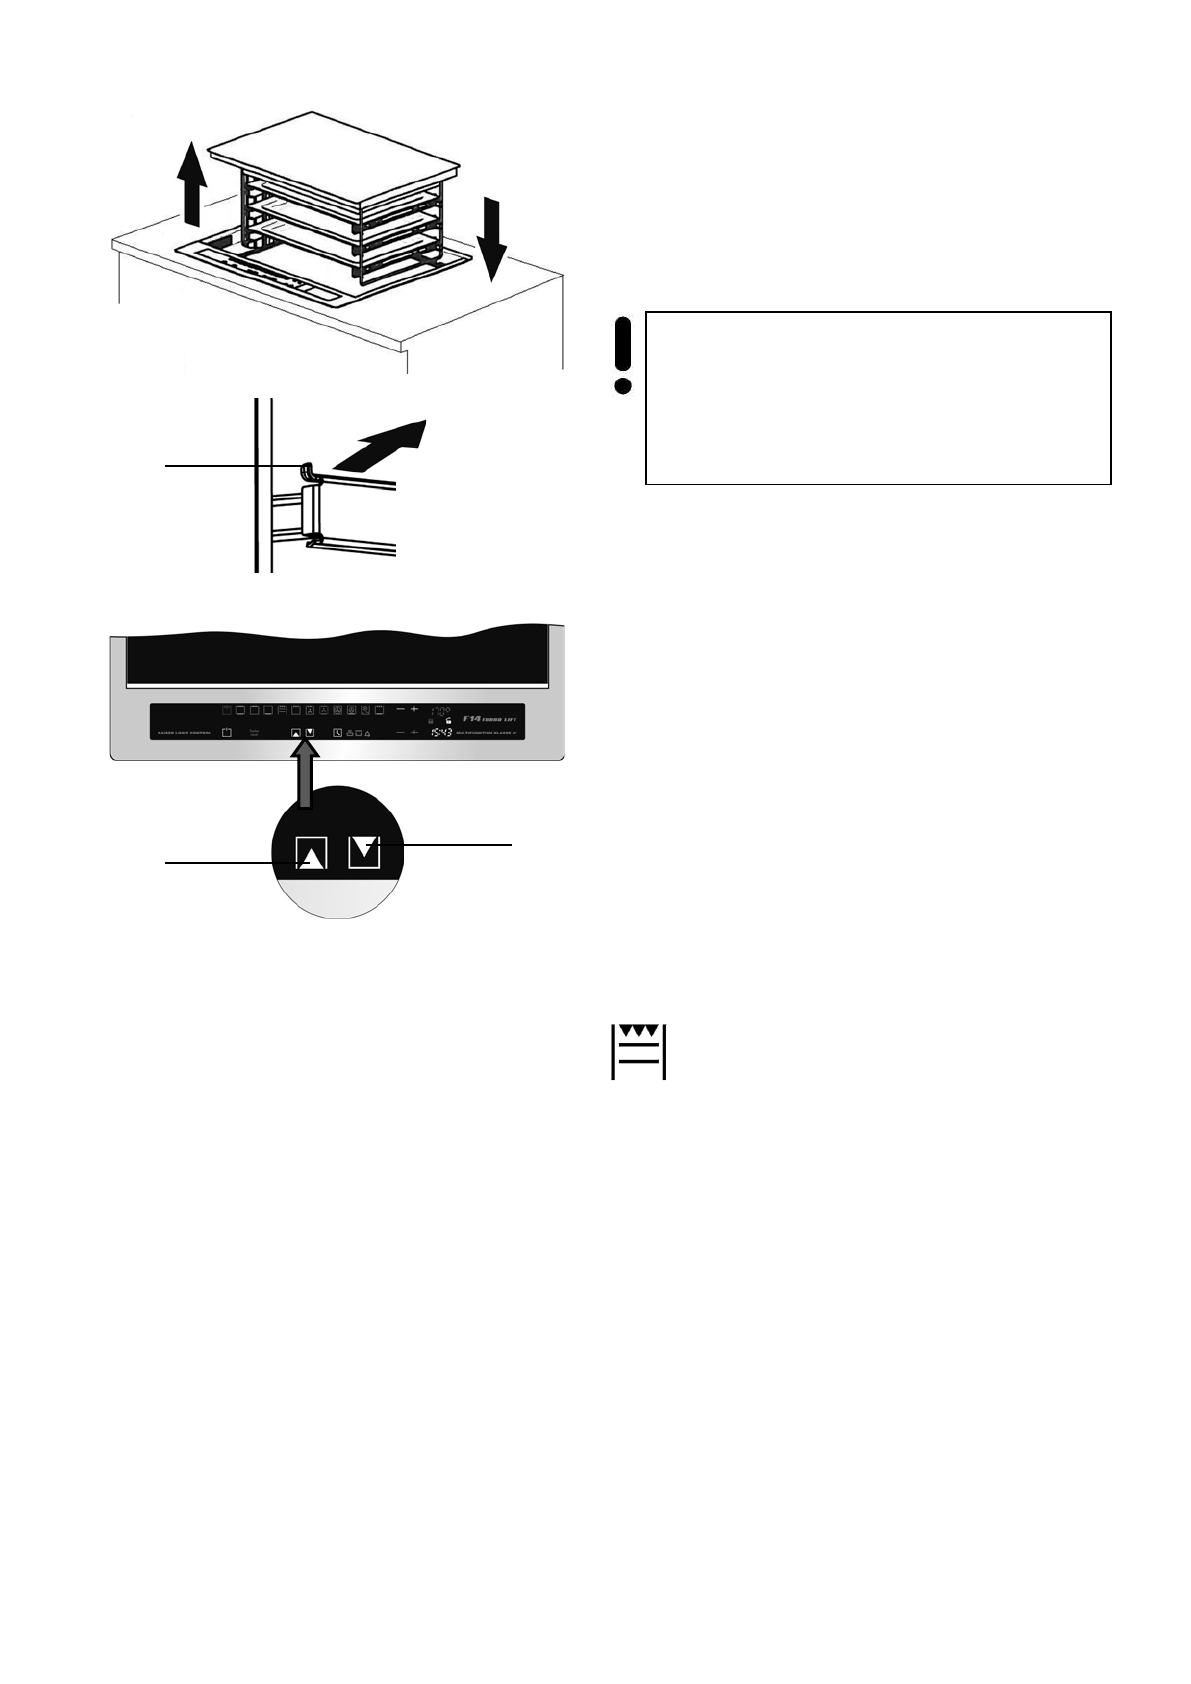
To slide out the tray or grill (if provided),
pull it towards you by sliding it on the side
guides until the block at the end of their
travel.
•
To insert the tray or grill (if provided), slide
it until it totally enters the space delimited
by the sliding guide.
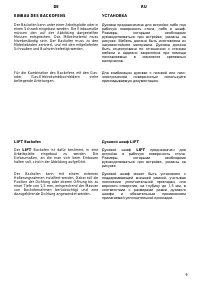
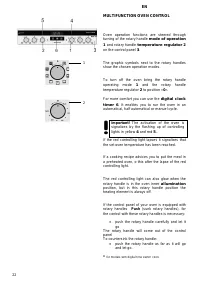
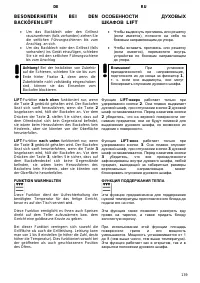
LIFT-up
function
2
works only when pressed. It
elevates the oven softly and when the button
2
will
be released, the oven stops where it is. Before
pressing the button
2
, make sure you have not left
something on the top, not so much for the
movement of the oven itself but because what you
put on it could fall off.
LIFT-down
function
3
works only when pressed. It
sinks the door softly and when the button
3
will be
released, the oven stops where it is. Before
pressing the button
3
, make sure that the
accessories inside are well seated because, if they
are sticking out, they could block the closing of the
oven.
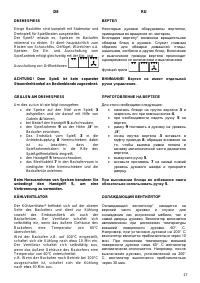
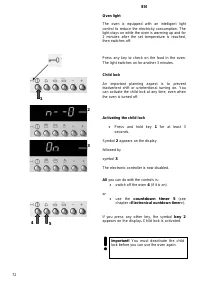
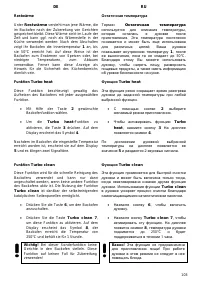
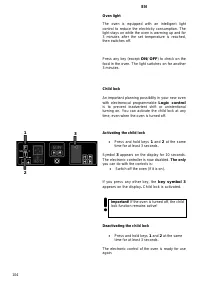
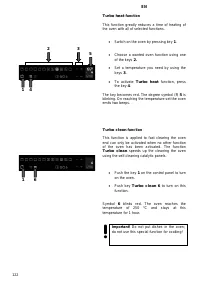
KEEP WARM FUNCTION
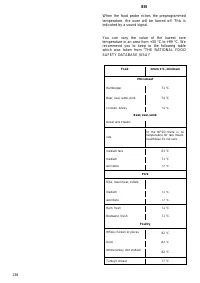
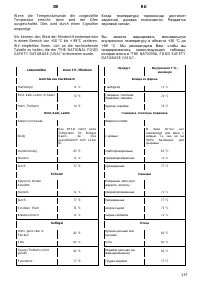
This function is used to keep cooked dish at the
right temperature before it is served on the table.
This function also allows warming up the food
directly on the plate, as well creating a golden
brown crust.
By using this function the grill surface area and the
grill power are reduced. The grill power can be
adjusted from 1 to 8 (the higher the number, the
higher the temperature). This function works as
well by the opened and as the closed oven.
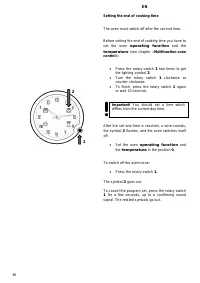
Important!
When the accessories are
inserted on the sliding guides, push them all
the way in beyond block
1
because, if they
stick out, they can prevent the door from
closing.
1
2
3
Содержание
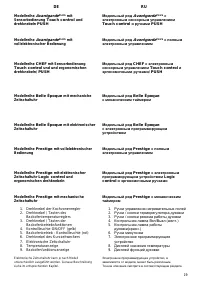
- 5 INHALTSVERZEICHNIS; ОГЛАВЛЕНИЕ
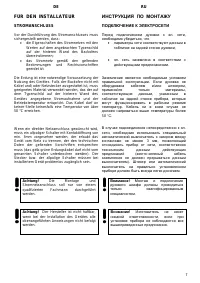
- 7 FÜR DEN INSTALLATEUR; STROMANSCHLUSS; ИНСТРУКЦИЯ ПО МОНТАЖУ; ПОДКЛЮЧЕНИЕ К ЭЛЕКТРОСЕТИ
- 9 УСТАНОВКА; Духовой шкаф
- 11 Электронное
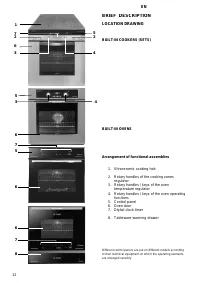
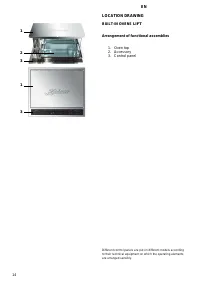
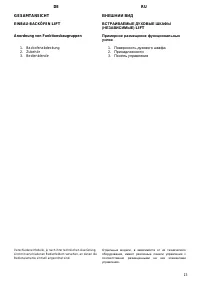
- 13 KURZBESCHREIBUNG; GESAMTANSICHT; КРАТКОЕ ОПИСАНИЕ; ВНЕШНИЙ ВИД; ВСТРАИВАЕМЫЕ ДУХОВЫЕ ШКАФЫ
- 15 Поверхность духового шкафа
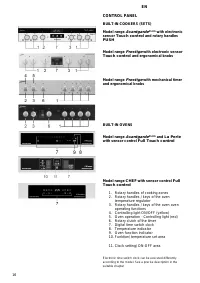
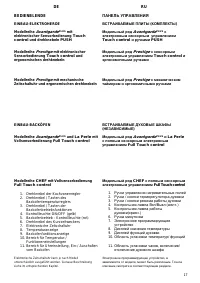
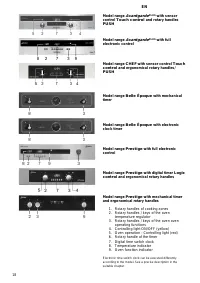
- 17 ПАНЕЛЬ УПРАВЛЕНИЯ
- 21 AUSSTATUNG; ОБОРУДОВАНИЕ; УПРАВЛЕНИЕ РАБОТОЙ
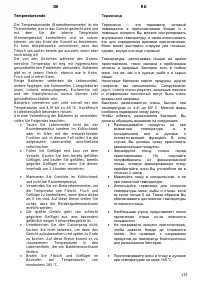
- 25 Temperaturregler; РАБОЧИЕ ФУНКЦИИ ДУХОВОГО ШКАФА; терморегуляторе
- 27 II
- 29 BENUTZUNG; ИСПОЛЬЗОВАНИЕ
- 33 Mechanischer Kurzzeitwecker
- 35 ELEKTRONISCHE ZEITSCHALTUHR VON; BACKÖFEN; ЭЛЕКТРОННОЕ
- 43 Elektronischer Kurzzeitwecker
- 45 das Symbol
- 47 „Gebrauch vom Backofen“; Установка времени окончания
- 49 Backofenfunktion 3
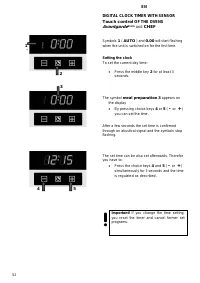
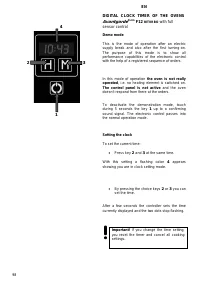
- 53 und; Uhrzeit; Touch control
- 57 „Gebrauch
- 61 Backofenfunktion
- 65 Установка громкости предупредительного
- 67 DE; RU
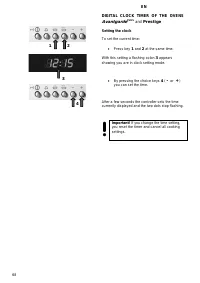
- 69 Tageszeiteinstellung; ЭЛЕКТРОННОЕ ПРОГРАММИРУЮЩЕЕ; Установка текущего времени
- 71 Gebrauch von Backofen
- 73 Kurzzeitwecker
- 75 Ausschaltung der Kindersicherung
- 83 »Einstellen der
- 85 mit Vollsensorbedienung; полным
- 87 Uhrzeiteinstellung
- 91 Logic control
- 93 Funktion
- 97 Mit der; Электроный минутник
- 99 ЭЛЕКТРОННОЕ ПРОГРАММИРУЮЩЕЕ; полным сенсорным управлением
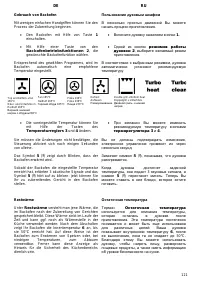
- 101 Turbo heat
- 107 Elektronischer Kurzzeitwecker und Wecker; Elektronischer Wecker
- 109 funktion
- 115 Совет
- 117 La Perle
- 125 Backofenbeleuchtung
- 133 nur
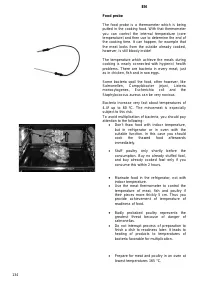
- 135 Temperatursonde
- 141 GESCHIRRWÄRME-SCHUBLADE; EINBAU; Achtung
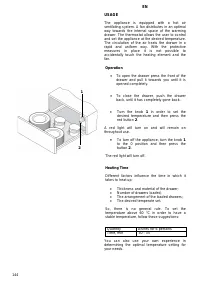
- 145 Gebrauch; Время нагрева
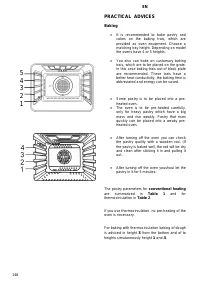
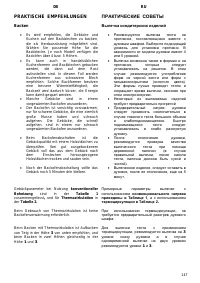
- 147 PRAKTISCHE EMPFEHLUNGEN; Выпечка кондитерских изделий
- 159 Teleskop 1; Телескоп 1
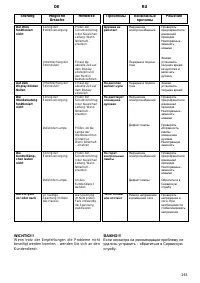
- 165 Если несмотря на рекомендации проблему не
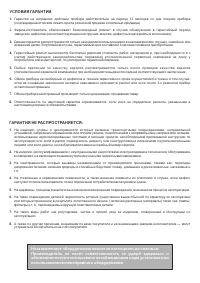
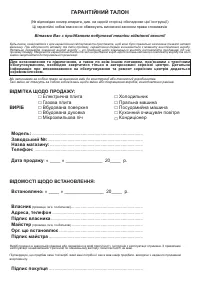
- 169 ГАРАНТИЙНЫЙ ТАЛОН
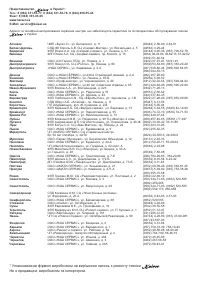
- 171 Уполномочено фирмой
- 174 Не є продавцем, виробником та імпортером.


