
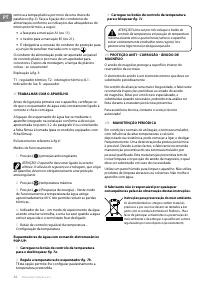
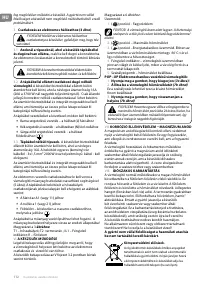
Водонагреватели TESY GCU 1015 L52 RC 304141 - инструкция пользователя по применению, эксплуатации и установке на русском языке. Мы надеемся, она поможет вам решить возникшие у вас вопросы при эксплуатации техники.
Если остались вопросы, задайте их в комментариях после инструкции.
"Загружаем инструкцию", означает, что нужно подождать пока файл загрузится и можно будет его читать онлайн. Некоторые инструкции очень большие и время их появления зависит от вашей скорости интернета.


10
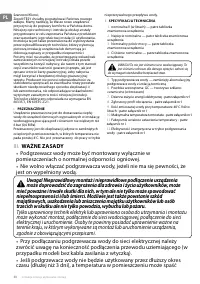
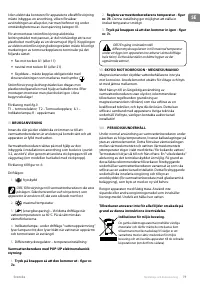
Instructions for use and maintenance
EN
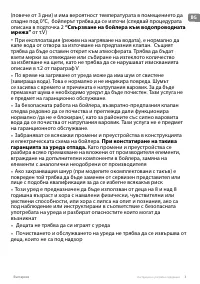
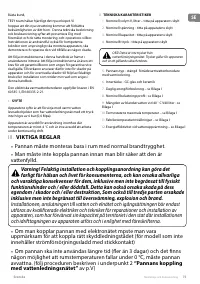
3.
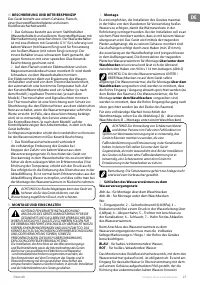
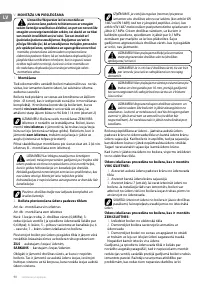
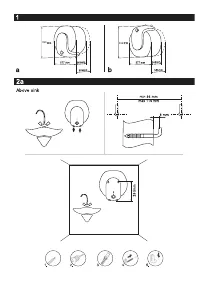
Water heater's electrical connection
(fig.3)
ATTENTION! Before you switch the power supply,
make sure the appliance is full of water.
3.1.
Models fit with power supply cord combined with
a plug
shall be plugged in a socket. The boiler can be
disconnected from the power supply by unplugging.
ATTENTION! The wall-plug must be properly
connected to a separate electrical circle that is
provided with a protector. It must be earthed.
3.2.
Water heaters fitted with a supply cord without a plug
The appliance has to be connected to a separate electricity
circuit of the stationary electrical wiring.The connecting has
to be constant- with no plug contacts. The circuit has to be
supplied with a safety fuse (16A) (20A for power > 3700W)
and with inbuilt device to ensure disconnection of all pole
pieces in the conditions of over-voltage from category III.
The connecting of the conductors of the supply cord of the
appliance has to be carried out as follows:
•
conductor with brown insulation – to the phase
conductor of the electrical wiring (L)
•
conductor with blue insulation- to the neutral
conductor of the wiring (N)
•
conductor with yellow-green insulation – to the safety
conductor of the wiring (
)
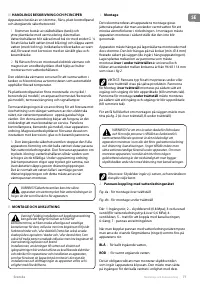
3.3.
Models without power supply cord
The appliance has to be connected to a separate electricity circuit
of the stationary electrical wiring. The circuit has to be supplied
with a safety fuse 16A. Copper single core (rigid – non stranded)
conductor shall be used for the connection – cable 3 x 1.5 mm2 for
power 2000 W.
The electrical circuit supplying the appliance must have an
in-built device ensuring the splitting of all terminal poles
under conditions of super-voltage of category III.
In order to fix the power cable to the water heater, it is
necessary to remove the plastic cover
(fig.5)
. The power
leads connections must be in accordance with the terminal
markings of the thermal circuit breaker:
•
the phase cable must be connected to the A1 (11)
terminal
•
the neutral, to the B1 (21) terminal
•
and the protection terminal, obligatory to the marked
screwed joint
.
The power supply cord can be fixed to the plastic control
panel with a cable stop. After the installation, the plastic
cover must be replaced in its original position!
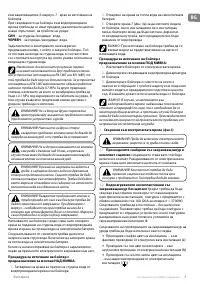
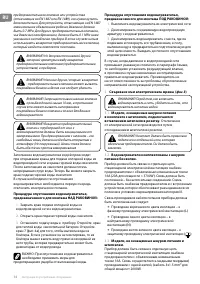
Explanations to
Fig.3
:
T1 – thermal regulator, T2 – thermal circuit breaker, IL1 –
light indicator, R – heater
VI.
OPERATING THE DEVICE
Before initial start of the device, please make sure that the
water heater has been correctly connected to the electrical
network and that it is filled up with water.
Switching on the water heater is done through the device
incorporated in the installation, which is described in sub-
item 3.2 of paragraph V, or by inserting the plug into an
electrical socket (for models with cord with a plug).
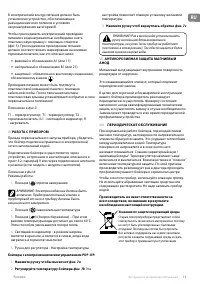
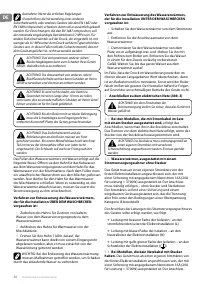
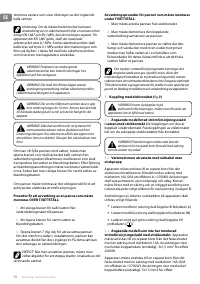
Clarification to
Fig.6
:
Operation modes:
1.
Position (
) anti-freezing mode
WARNING: The electrical power supply of the device
should be switched on. The safety valve and the pipe
connecting it to the device must be secured against freezing.
2.
Position (
) maximum temperature
3.
Position (
) at this mode the water temperature
reaches about 60°С. In this way heat losses are reduced.
4.
Light indicator – at heating mode it is lit in red, and it
is lit in blue when the water has been heated up and the
thermostat has switched off.
5.
Regulator knob – for temperature setting
Water heaters with electrical-mechanical POP-UP
operation:
1.
Push the knob to pop-up
Fig. 7а
.
2.
Set the temperature of the water heater
Fig. 7b
This
setting allows for gradual temperature adjustment.
3.
Push the knob to retract
Fig. 7c
WARNING! Once a month set the knob to the
position ‘maximum temperature’ for a period of 24
hours (unless the device is constantly operated in this mode).
Thus you will ensure better hygiene of the heated water.
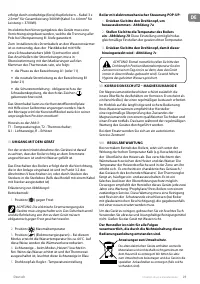
VII.
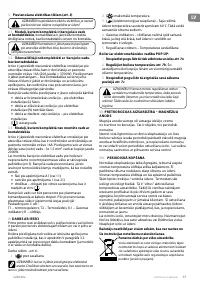
RUST PROTECTION MAGNESIUM ANODE
The magnesium anode protects the water tank's inner surface
from corrosion. The anode element is an element undergoing
wear and tear and is subject to periodic replacement. This is
cost for the user.
In view of the long-term and accident free use of your water
heater, the manufacturer recommends periodic inspections
of the magnesium anode's condition by a qualified technician
and replacement whenever required, and this could be
performed during the appliance's technical preventive
maintenance.
For replacements, please contact the authorized service
stations!
VIII.
PERIODIC MAINTENANCE
Under normal use of the heater, under the influence of high
temperature, lime scale /the so-called lime scale layer/ is
deposited upon the heating element’s surface. This worsens
the heat exchange between the heating element and water.
The heating element’s surface temperature increases along
/of boiling water/. The thermoregulator begins to switch
on and off more frequently. A ‘’deceptive” activation of
the thermal protection is possible. Due to these facts, the
manufacturer recommends preventive maintenance of your
water heater every two years by an authorized service center
or service base. This protective maintenance must include
cleaning and inspection of the anode protector (for water
heaters with glass-ceramic coating), which shall be replace
with a new one if need arises.
In order to clean the appliances use a damp cloth. Do not
clean with abrasive or solvent content detergents. Do not
pour water over the appliance.
The manufacturer does not bare the responsibility
for all consequences caused by not obeying the
instructions, given hereby.
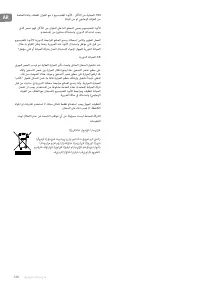
Environmental protection instructions.
Old electric appliances contain prescious materials
and must not be disposed with the domestic waste!
Please make your active contribution to the protection
of the environment and dispose of the appliance in
the stations organized for the purpose (if available).

