Пилы торцовочные Makita MLS100 - инструкция пользователя по применению, эксплуатации и установке на русском языке. Мы надеемся, она поможет вам решить возникшие у вас вопросы при эксплуатации техники.
Если остались вопросы, задайте их в комментариях после инструкции.
"Загружаем инструкцию", означает, что нужно подождать пока файл загрузится и можно будет его читать онлайн. Некоторые инструкции очень большие и время их появления зависит от вашей скорости интернета.


7
does not move freely and close instantly.
Never clamp or tie the blade guard into the
open position.
4.
Do not perform any operation freehand.
The
workpiece must be secured firmly against the turn
base and guide fence with the vise during all
operations. Never use your hand to secure the
workpiece.
5.
Never reach around saw blade.
6.
Turn off tool and wait for saw blade to stop
before moving workpiece or changing
settings.
7.
Unplug tool before changing blade or
servicing.
8.
Do not use the tool in the presence of flammable
liquids or gases.
9.
Check the blade carefully for cracks or damage
before operation.
Replace cracked or damaged blade immediately.
10. Use only flanges specified for this tool.
11. Be careful not to damage the arbor, flanges
(especially the installing surface) or bolt. Damage
to these parts could result in blade breakage.
12. Make sure that the turn base is properly secured
so it will not move during operation.
13. For your safety, remove the chips, small pieces,
etc. from the table top before operation.
14. Avoid cutting nails. Inspect for and remove all
nails from the workpiece before operation.
15. Make sure the shaft lock is released before the
switch is turned on.
16. Be sure that the blade does not contact the turn
base in the lowest position.
17. Hold the handle firmly. Be aware that the saw
moves up or down slightly during start-up and
stopping.
18. Make sure the blade is not contacting the
workpiece before the switch is turned on.
19. Before using the tool on an actual workpiece, let it
run for a while. Watch for vibration or wobbling
that could indicate poor installation or a poorly
balanced blade.
20. Wait until the blade attains full speed before
cutting.
21. Stop operation immediately if you notice anything
abnormal.
22. Do not attempt to lock the trigger in the on
position.
23. Be alert at all times, especially during repetitive,
monotonous operations. Do not be lulled into a
false sense of security. Blades are extremely
unforgiving.
24. Always use accessories recommended in this
manual. Use of improper accessories such as
abrasive wheels may cause an injury.
25.
Do not use the saw to cut other than wood,
aluminum or similar materials.
26.
Connect miter saws to a dust collecting device
when sawing.
27.
Select saw blades in relation to the material to
be cut.
28.
Take care when slotting.
29.
Replace the kerf board when worn.
30.
Do not use saw blades manufactured from
high speed steel.
31.
Some dust created from operation contains
chemicals known to cause cancer, birth
defects or other reproductive harm. Some
examples of these chemicals are:
•
lead from lead-based-painted material and,
•
arsenic and chromium from
chemically-treated lumber.
Your risk from these exposures varies,
depending on how often you do this type
of work. To reduce your exposure to these
chemicals: work in a well ventilated area
and work with approved safety equipment,
such as those dust masks that are
specially designed to filter out microscopic
particles.
32.
To reduce the emitted noise, always be sure
that the blade is sharp and clean.
33.
The operator is adequately trained in the use,
adjustment and operation of the machine.
34.
Use correctly sharpened saw blades. Observe
the maximum speed marked on the saw blade.
35.
Refrain from removing any cut-offs or other
parts of the workpiece from the cutting area
whilst the tool is running and the saw head is
not in the rest position.
SAVE THESE INSTRUCTIONS.
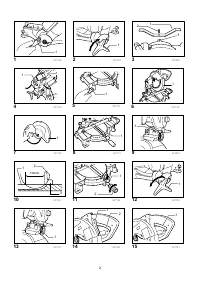
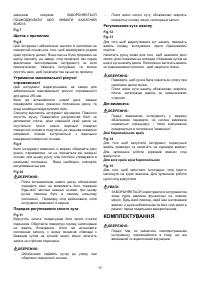
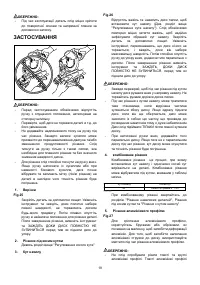
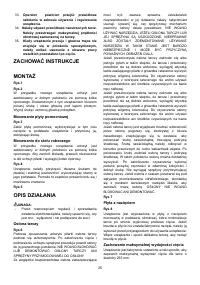
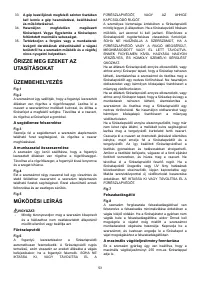
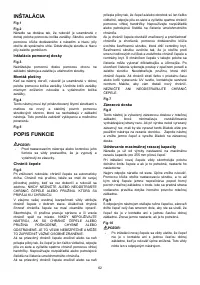
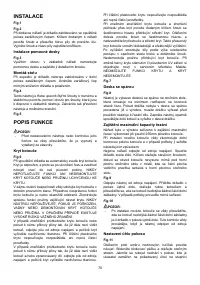
INSTALLATION
Fig.1
Fig.2
When the tool is shipped, the handle is locked in the
lowered position by the stopper pin. Loosen the bolt with
a wrench provided with the tool and move the saw head
to the right angle. Remove the bolt and secure the saw
head with the knob.
Installing auxiliary plate
Fig.3
Installing the auxiliary plate using the hole in the tool's
base and secure it by tightening the screw.
Bench mounting
When the tool is shipped, the handle is locked in the
lowered position by the stopper pin. Release the stopper
pin by lowering the handle slightly and pulling the
stopper pin.
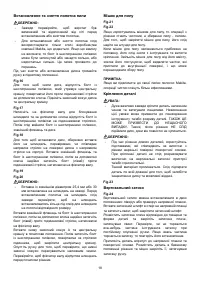
Характеристики

Остались вопросы?Не нашли свой ответ в руководстве или возникли другие проблемы? Задайте свой вопрос в форме ниже с подробным описанием вашей ситуации, чтобы другие люди и специалисты смогли дать на него ответ. Если вы знаете как решить проблему другого человека, пожалуйста, подскажите ему :)


