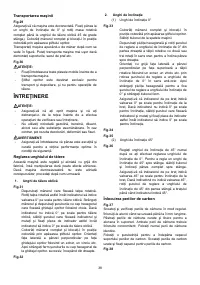
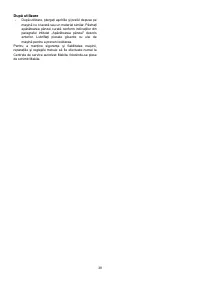
Пилы торцовочные Makita MLS100 - инструкция пользователя по применению, эксплуатации и установке на русском языке. Мы надеемся, она поможет вам решить возникшие у вас вопросы при эксплуатации техники.
Если остались вопросы, задайте их в комментариях после инструкции.
"Загружаем инструкцию", означает, что нужно подождать пока файл загрузится и можно будет его читать онлайн. Некоторые инструкции очень большие и время их появления зависит от вашей скорости интернета.


12
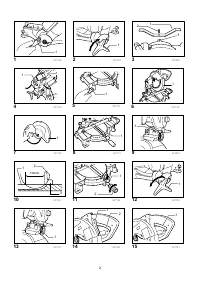
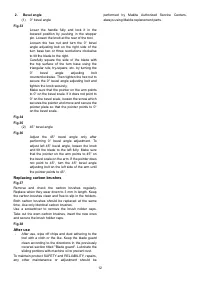
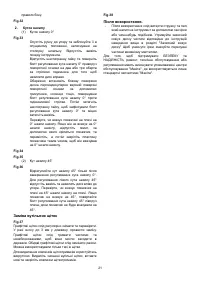
2. Bevel
angle
(1) 0° bevel angle
Fig.33
Lower the handle fully and lock it in the
lowered position by pushing in the stopper
pin. Loosen the knob at the rear of the tool.
Loosen the hex nut and turn the 0° bevel
angle adjusting bolt on the right side of the
turn base two or three revolutions clockwise
to tilt the blade to the right.
Carefully square the side of the blade with
the top surface of the turn base using the
triangular rule, try-square, etc. by turning the
0° bevel angle adjusting bolt
counterclockwise. Then tighten the hex nut to
secure the 0° bevel angle adjusting bolt and
tighten the knob securely.
Make sure that the pointer on the arm points
to 0° on the bevel scale. If it does not point to
0° on the bevel scale, loosen the screw which
secures the pointer and move and secure the
pointer plate so that the pointer points to 0°
on the bevel scale.
Fig.34
Fig.35
(2) 45° bevel angle
Fig.36
Adjust the 45° bevel angle only after
performing 0° bevel angle adjustment. To
adjust left 45° bevel angle, loosen the knob
and tilt the blade to the left fully. Make sure
that the pointer on the arm points to 45° on
the bevel scale on the arm. If the pointer does
not point to 45°, turn the 45° bevel angle
adjusting bolt on the left side of the arm until
the pointer points to 45°.
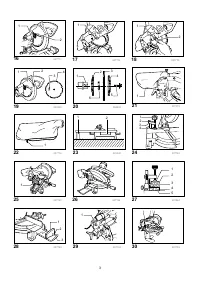
Replacing carbon brushes
Fig.37
Remove and check the carbon brushes regularly.
Replace when they wear down to 3 mm in length. Keep
the carbon brushes clean and free to slip in the holders.
Both carbon brushes should be replaced at the same
time. Use only identical carbon brushes.
Use a screwdriver to remove the brush holder caps.
Take out the worn carbon brushes, insert the new ones
and secure the brush holder caps.
Fig.38
After use
•
After use, wipe off chips and dust adhering to the
tool with a cloth or the like. Keep the blade guard
clean according to the directions in the previously
covered section titled "Blade guard". Lubricate the
sliding portions with machine oil to prevent rust.
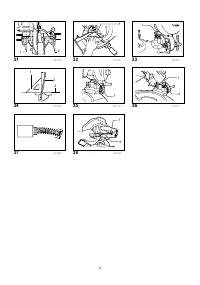
To maintain product SAFETY and RELIABILITY, repairs,
any other maintenance or adjustment should be
performed by Makita Authorized Service Centers,
always using Makita replacement parts.
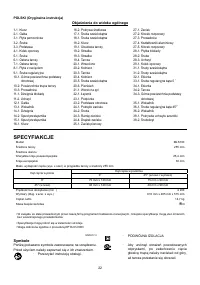
Характеристики

Остались вопросы?Не нашли свой ответ в руководстве или возникли другие проблемы? Задайте свой вопрос в форме ниже с подробным описанием вашей ситуации, чтобы другие люди и специалисты смогли дать на него ответ. Если вы знаете как решить проблему другого человека, пожалуйста, подскажите ему :)


