Пилы торцовочные Makita MLS100 - инструкция пользователя по применению, эксплуатации и установке на русском языке. Мы надеемся, она поможет вам решить возникшие у вас вопросы при эксплуатации техники.
Если остались вопросы, задайте их в комментариях после инструкции.
"Загружаем инструкцию", означает, что нужно подождать пока файл загрузится и можно будет его читать онлайн. Некоторые инструкции очень большие и время их появления зависит от вашей скорости интернета.


10
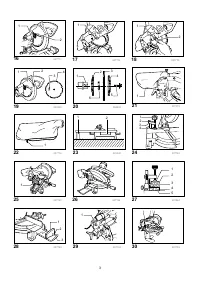
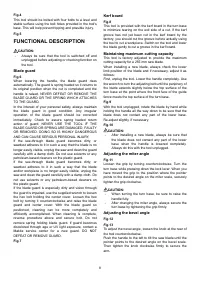
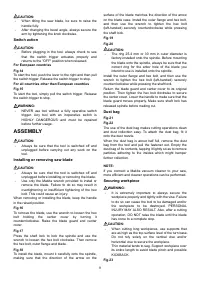
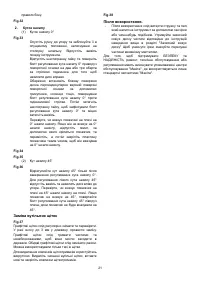
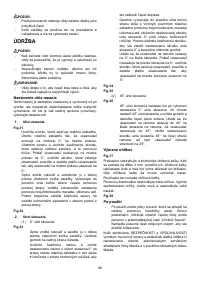
Vertical vise
Fig.24
The vertical vise can be installed in two positions on
either the left or right side of the guide fence. Insert the
vise rod into the hole in the guide fence and tighten the
screw to secure the vise rod.
Position the vise arm according to the thickness and
shape of the workpiece and secure the vise arm by
tightening the screw. Make sure that no part of the tool
contacts the vise when lowering the handle all the way. If
some part contacts the vise, re-position the vise.
Press the workpiece flat against the guide fence and the
turn base. Position the workpiece at the desired cutting
position and secure it firmly by tightening the vise knob.
CAUTION:
•
The workpiece must be secured firmly against the
turn base and guide fence with the vise during all
operations.
OPERATION
010852
CAUTION:
•
Before use, be sure to release the handle from the
lowered position by pulling the stopper pin.
•
Make sure the blade is not contacting the
workpiece, etc. before the switch is turned on.
•
Do not apply excessive pressure on the handle
when cutting. Too much force may result in
overload of the motor and/or decreased cutting
efficiency. Push down handle with only as much
force as is necessary for smooth cutting and
without significant decrease in blade speed.
•
Gently press down the handle to perform the cut. If
the handle is pressed down with force or if lateral
force is applied, the blade will vibrate and leave a
mark (saw mark) in the workpiece and the
precision of the cut will be impaired.
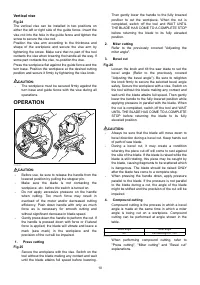
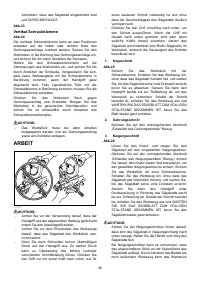
1. Press
cutting
Fig.25
Secure the workpiece with the vise. Switch on the
tool without the blade making any contact and wait
until the blade attains full speed before lowering.
Then gently lower the handle to the fully lowered
position to cut the workpiece. When the cut is
completed, switch off the tool and WAIT UNTIL
THE BLADE HAS COME TO A COMPLETE STOP
before returning the blade to its fully elevated
position.
2. Miter
cutting
Refer to the previously covered "Adjusting the
miter angle".
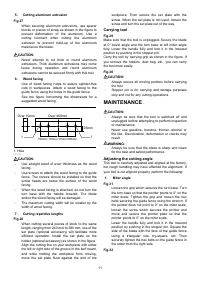
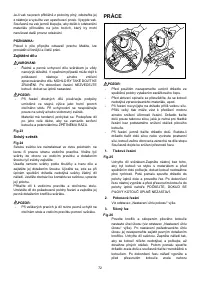
3. Bevel
cut
Fig.26
Loosen the knob and tilt the saw blade to set the
bevel angle (Refer to the previously covered
"Adjusting the bevel angle"). Be sure to retighten
the knob firmly to secure the selected bevel angle
safely. Secure the workpiece with a vise. Switch on
the tool without the blade making any contact and
wait until the blade attains full speed. Then gently
lower the handle to the fully lowered position while
applying pressure in parallel with the blade. When
the cut is completed, switch off the tool and WAIT
UNTIL THE BLADE HAS COME TO A COMPLETE
STOP before returning the blade to its fully
elevated position.
CAUTION:
•
Always be sure that the blade will move down to
bevel direction during a bevel cut. Keep hands out
of path of saw blade.
•
During a bevel cut, it may create a condition
whereby the piece cut off will come to rest against
the side of the blade. If the blade is raised while the
blade is still rotating, this piece may be caught by
the blade, causing fragments to be scattered which
is dangerous. The blade should be raised ONLY
after the blade has come to a complete stop.
•
When pressing the handle down, apply pressure
parallel to the blade. If the pressure is not parallel
to the blade during a cut, the angle of the blade
might be shifted and the precision of the cut will be
impaired.
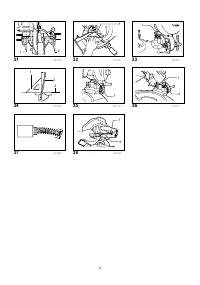
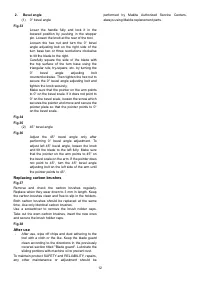
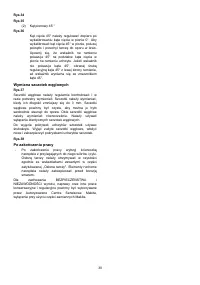
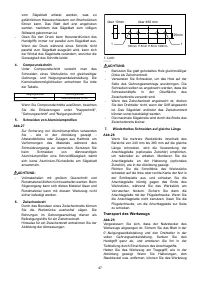
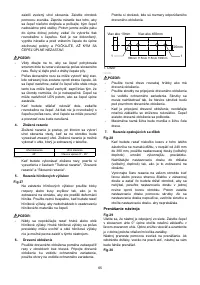
4. Compound
cutting
Compound cutting is the process in which a bevel
angle is made at the same time in which a miter
angle is being cut on a workpiece. Compound
cutting can be performed at angle shown in the
table.
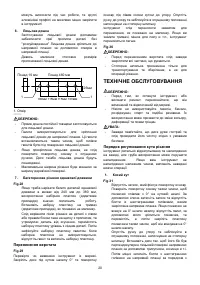
Miter angle
Bevel angle
Left and Right 0 - 45
45
006366
When performing compound cutting, refer to
"Press cutting", "Miter cutting" and "Bevel cut"
explanations.
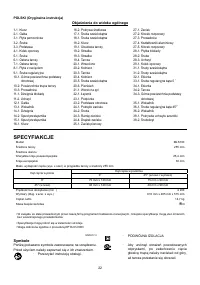
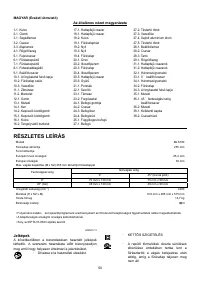
Характеристики

Остались вопросы?Не нашли свой ответ в руководстве или возникли другие проблемы? Задайте свой вопрос в форме ниже с подробным описанием вашей ситуации, чтобы другие люди и специалисты смогли дать на него ответ. Если вы знаете как решить проблему другого человека, пожалуйста, подскажите ему :)


