
Пароочистители Karcher SC 5 EasyFix Iron Plug - инструкция пользователя по применению, эксплуатации и установке на русском языке. Мы надеемся, она поможет вам решить возникшие у вас вопросы при эксплуатации техники.
Если остались вопросы, задайте их в комментариях после инструкции.
"Загружаем инструкцию", означает, что нужно подождать пока файл загрузится и можно будет его читать онлайн. Некоторые инструкции очень большие и время их появления зависит от вашей скорости интернета.


– 9
–
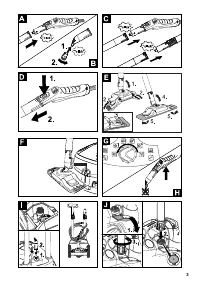
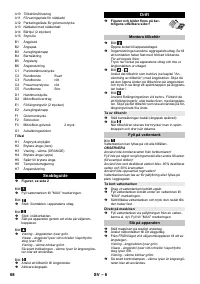
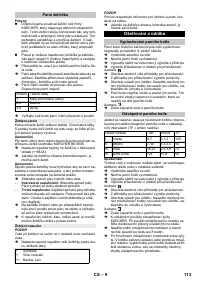
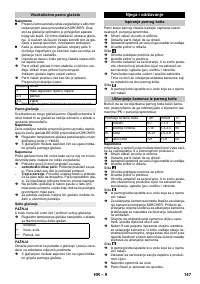
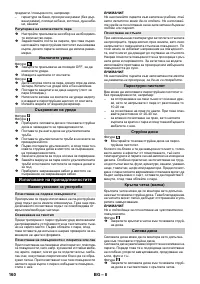
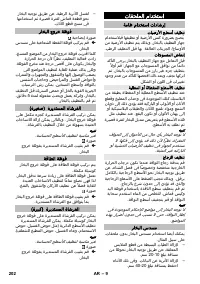
Place the floor nozzle on top of the floor cloth, allow
the side flaps to slide into the two tabs of the floor
cloth.
–
Tip the extension tube back again, thereby the side
flaps lock and the cloth firmly at the floor nozzle.
Illustration
During work breaks, hook the floor nozzle into the
parking holder.
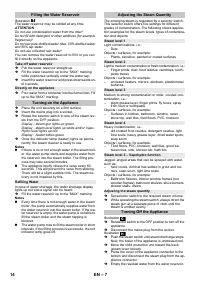
Notes
We recommend using the Kärcher ironing table
with active steam extraction. This ironing table has
been designed to match your new steam cleaner. It
facilitates and, thus, accelerates the ironing pro-
cess substantially. In any case, you should use an
ironing table which is covered with a mesh-type un-
derlay allowing the steam to pass through.
The steam level 5 (VapoHydro function) is blocked
while the steam pressure iron is plugged in to pre-
vent the laundry to be ironed from getting wet.
Make sure that there is fresh tap water in the boiler
of the steam cleaner.
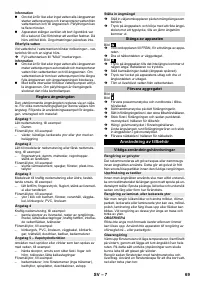
Tightly insert the steam plug of the iron into the ap-
pliance connector. The plug must click into place
audibly.
Display - iron will light up green permanently
Start-up the steam cleaner according to the de-
scription.
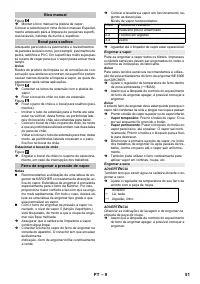
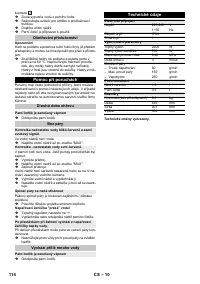
Recommended steam levels:
Wait until the steam cleaner is ready to use.
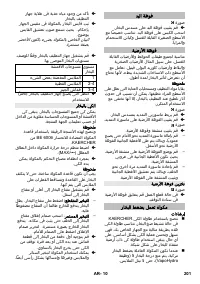
All fabrics can be steam ironed. Delicate imprints or fab-
rics should be ironed on the reverse or according to the
manufacturer’s specifications.
Note
For these sensitive textiles, we recommend using the
KÄRCHER non-stick ironing sole BE 6006.
Adjust the temperature control of the steam iron
within the notched range (•••/MAX).
As soon as the indicator lamp of the heater of the
iron switches off, you can start ironing.
Note
The sole plate must be hot to prevent the steam from
condensing on the sole plate and dripping onto the gar-
ment to be ironded.
Use the top or bottom steam switch.
–
Steaming at intervals:
Press the steam switch.
Steam will be emitted while the switch is pressed.
–
Continuous steaming
: Pull the latch for the steam
switch toward the rear until it locks in. Steam will
escape continuously. To unlock, push the lock for-
ward.
Direct the first burst of steam at the start of the iron-
ing process or after ironing breaks at a separate
piece of cloth until the steam is emitted evenly.
You can hold the iron in an upright position to apply
steam to curtains, dresses, etc.
ATTENTION
Even if you iron without steam, there must be water in
the boiler.
Adjust the temperature of the iron according to the
garment you want to iron.
ATTENTION
Please observe the ironing and washing instructions in
your garment.
As soon as the indicator lamp of the heater of the
iron switches off, you can start ironing.
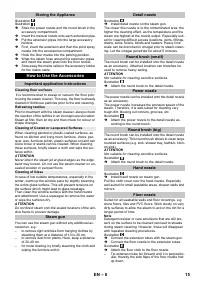
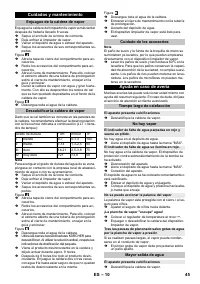
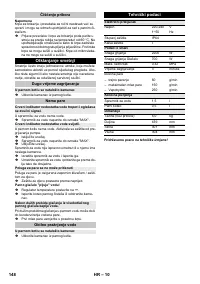
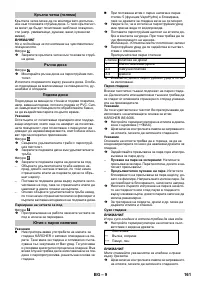
Rinse the steam cleaner boiler at the latest after 8 boiler
fillings.
Disconnect the mains plug from the socket.
Allow the steam cleaner to cool down.
Empty the water reservoir or remove it from the ap-
pliance.
Remove the accessories from the accessory com-
partments.
Illustration
Open the locking door of the accessory compartment.
Remove the accessories from the accessory com-
partment.
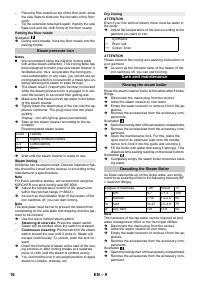
Open the maintenance lock. For this, place the
open end of an extension pipe onto the mainte-
nance lock, lock it into the guide and unscrew it.
Fill the boiler with water and swing it strongly. This
dissolves lime scaling residing on the boiler bottom.
Illustration
Completely empty the steam boiler to remove exist-
ing water.
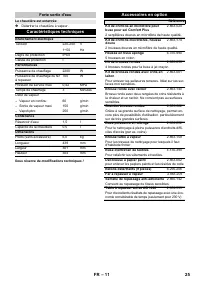
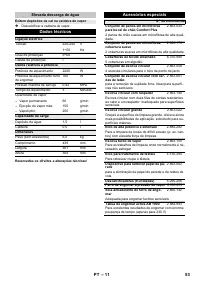
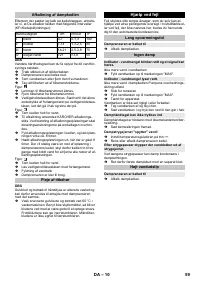
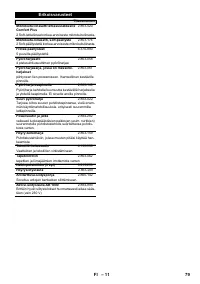
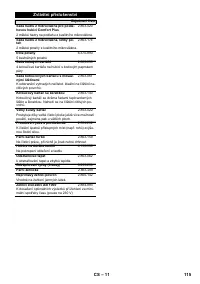
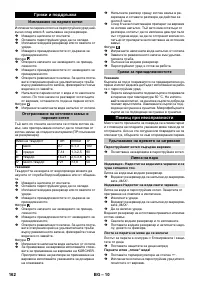
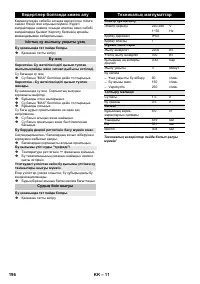
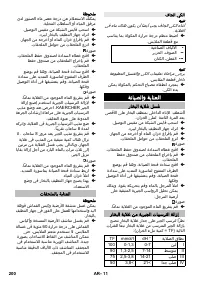
As limes cale builds up on the boiler walls, we recom-
mend to de scale the boiler in the following intervals (RF
= reservoir fillings):
Note
The hardness of the tap water can be inquired at your
water management office or the municipal utilities.
Disconnect the mains plug from the socket.
Allow the steam cleaner to cool down.
Empty the water reservoir or remove it from the ap-
pliance.
Remove the accessories from the accessory com-
partments.
Illustration
Open the locking door of the accessory compartment.
Remove the accessories from the accessory com-
partment.
Parking the floor nozzle
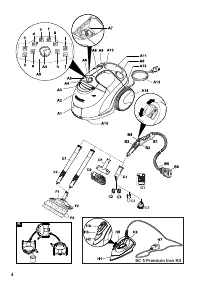
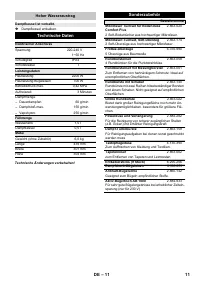
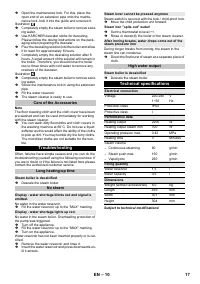
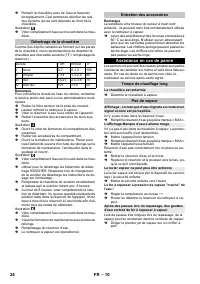
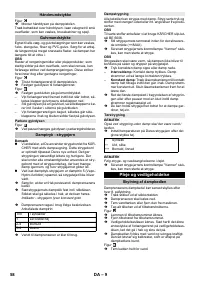
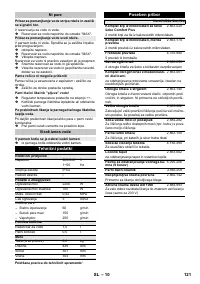
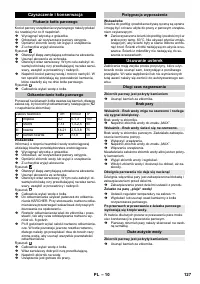
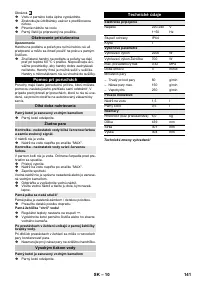
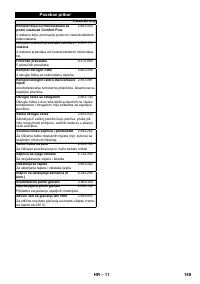
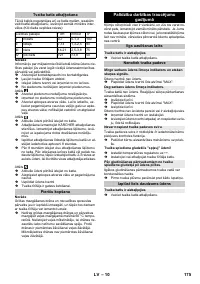
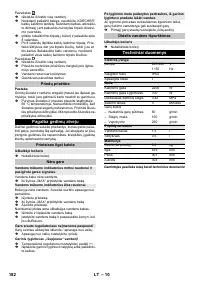
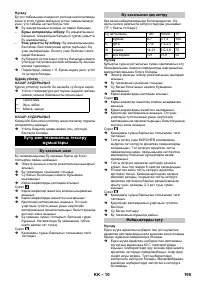
Steam pressure iron
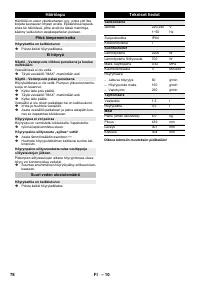
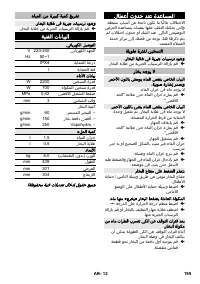
Level
Textiles
1
Slightly wrinkled clothes
2-4
Cotton fabrics
3-4
Jeans
Steam ironing
Dry ironing
•
Synthetics
••
Wool, silk
••• Cotton, linen
Care and maintenance
Rinsing the steam boiler
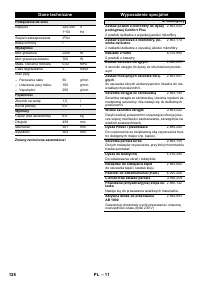
Descaling the Steam Boiler
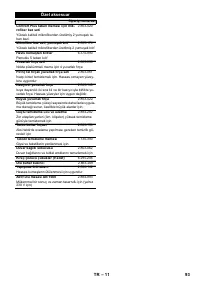
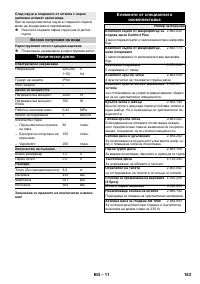
Degree of hardness
° dH
mmol/l
TF
I
soft
0-7
0-1,3
100
II
medium
7-14
1,3-2,5
90
III
hard
14-21
2,5-3,8
75
IV
very hard
>21
>3,8
50
16
EN
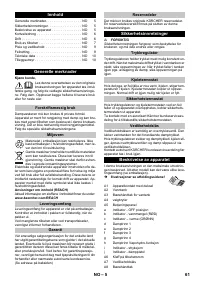
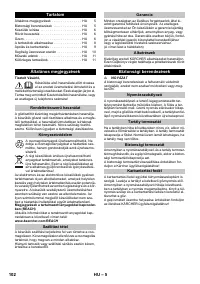
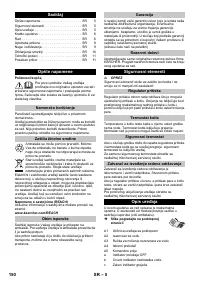
Содержание
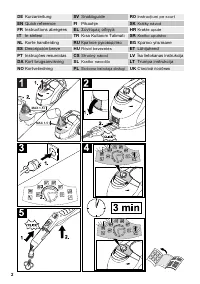
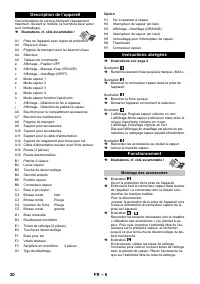
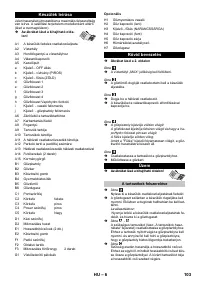
- 95 Описание прибора; Параметр; Краткое руководство
- 96 Эксплуатация; Установка принадлежностей
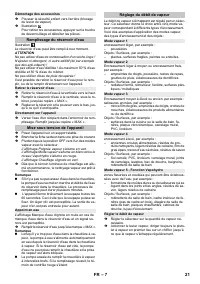
- 97 Выключение прибора; Использование принадлежностей; Важные указания по использованию
- 98 Указание; Форсунка точечной струи; Паркование форсунки для пола
- 99 Уход и техническое обслуживание; Промывка парового котла
- 100 Уход за принадлежностями; Помощь в случае неполадок; Длительное время нагрева; Технические данные
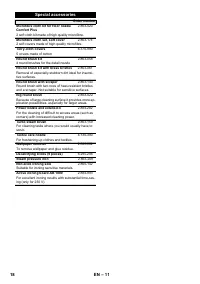
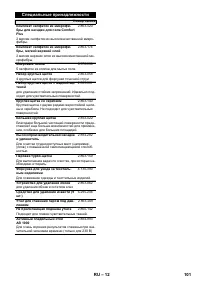
- 101 Специальные принадлежности
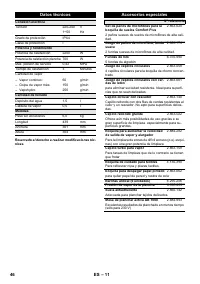
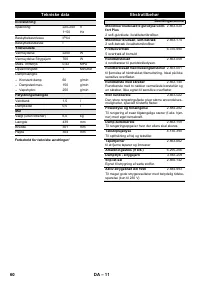
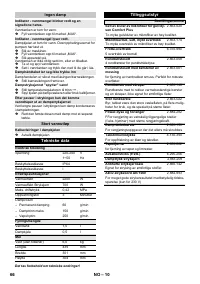
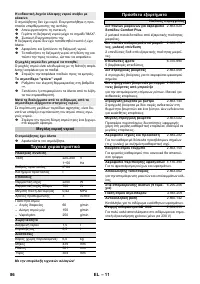
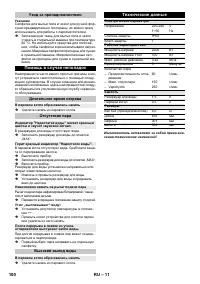
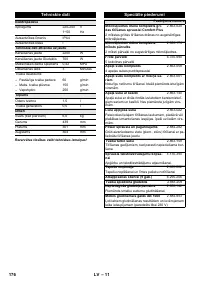
Характеристики

Остались вопросы?Не нашли свой ответ в руководстве или возникли другие проблемы? Задайте свой вопрос в форме ниже с подробным описанием вашей ситуации, чтобы другие люди и специалисты смогли дать на него ответ. Если вы знаете как решить проблему другого человека, пожалуйста, подскажите ему :)


