Телефоны Sanyo scp 8100 - инструкция пользователя по применению, эксплуатации и установке на русском языке. Мы надеемся, она поможет вам решить возникшие у вас вопросы при эксплуатации техники.
Если остались вопросы, задайте их в комментариях после инструкции.
"Загружаем инструкцию", означает, что нужно подождать пока файл загрузится и можно будет его читать онлайн. Некоторые инструкции очень большие и время их появления зависит от вашей скорости интернета.


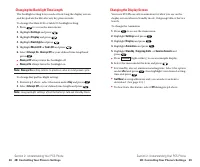


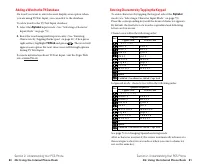

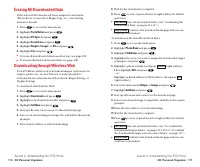


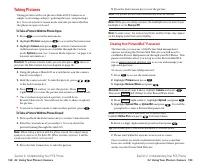


Selecting a Character Input Mode
Your PCS Phone provides convenient ways to enter words, letters,
punctuation, and numbers whenever you are prompted to enter
text (for example, when adding an Internal Phone Book entry).
To change the character input mode:
1.
When you display a screen where you can enter text, press the
right softkey button.
2.
Select a character input mode, highlight it and press
.
䊳
T9 Word
to enter characters using T9 Text Input (see page 80).
䊳
Alphabet
to enter characters by tapping the keypad
䊳
SYMBOL
to enter symbols (see page 82).
䊳
NUMBER
to enter numbers (see page 82).
䊳
CANNED SUFFIX
to enter a canned suffix (see page 83).
䊳
SMILEYS
to enter smiley pictures (see page 83).
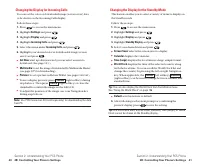
Entering Characters Using T9 Text Input
T9 Text Input lets you enter text in your PCS Phone by pressing
keys just once per letter. (To select the
T9 Word
mode when
entering text, see “Selecting a Character Input Mode” on
page 79.)
T9 Text Input analyzes the letters you enter using an intuitive
word database and creates a suitable word. (The word may
change as you type.) If the word you want does not display after
you have entered all the letters, press
to scroll through
additional word selections. To accept a word and insert a space,
press
.
If you make a mistake, press
to erase a single character.
Press and hold
to delete an entire entry.
Section 2: Understanding Your PCS Phone
2G: Using the Internal Phone Book
79
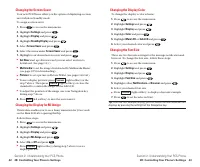
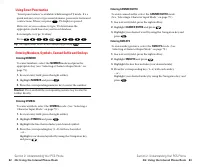
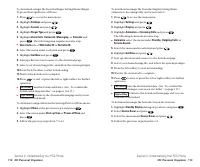
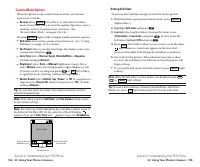
Internal Phone Book Entry Options
To access an Internal Phone Book Entry’s options, display the
entry list, highlight an entry and press
, then select a phone
number and press
(right softkey). To select an option,
highlight it and press
.
䊳
Edit
to edit your desired label.
䊳
Call
to dial the phone number. (If you are roaming and have
the Call Guard feature activated, you are required to take an
extra step to proceed. See “Controlling Roaming Charges
Using Call Guard” on page 65.)
䊳
Call Alarm
to set the call alarm to the entry (see page 99).
䊳
Set Speed Dial
to set the Speed Dial to the entry
䊳
Set Voice Dial
to set the Voice Dial to the entry (see page122).
䊳
Prepend
to alter a phone number by adding additional numbers
When you are in edit display, the following options are displayed:
䊳
Send PCS Mail
to send an Email (only Email label).
䊳
Visit Site
to go to the Web site (only Web label).
䊳
Edit
to edit your desired label.
䊳
Erase
to erase your desired label.
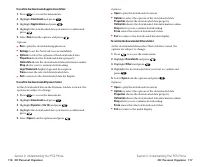
Tip:
You can view the next entry by pressing the right Navigation key or
view the previous entry by pressing the left Navigation key.
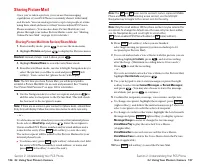
You can erase the selected entry from the Phone Book list.
1.
Press the right Navigation key to display the Phone Book list.
2.
Press
(right softkey).
3.
Highlight
Erase Entry
and press
.
4.
Highlight
Yes
and press
.
Options
Options
Section 2: Understanding Your PCS Phone
78
2G: Using the Internal Phone Book

