
Миксеры KitchenAid 5KSM7990XESL - инструкция пользователя по применению, эксплуатации и установке на русском языке. Мы надеемся, она поможет вам решить возникшие у вас вопросы при эксплуатации техники.
Если остались вопросы, задайте их в комментариях после инструкции.
"Загружаем инструкцию", означает, что нужно подождать пока файл загрузится и можно будет его читать онлайн. Некоторые инструкции очень большие и время их появления зависит от вашей скорости интернета.


7
English
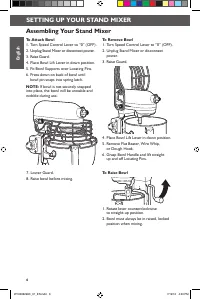
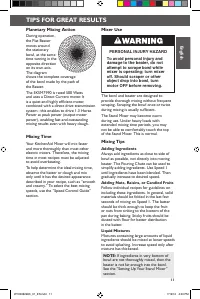
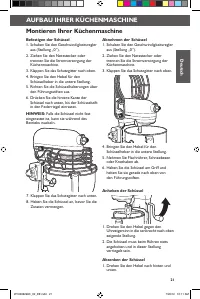
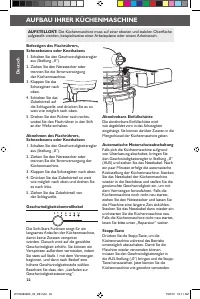
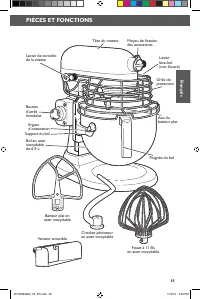
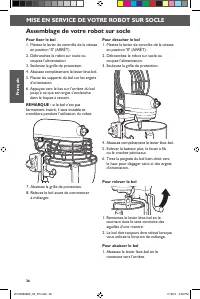
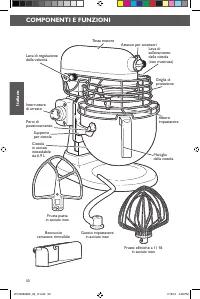
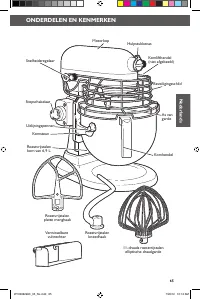
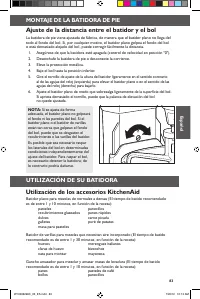
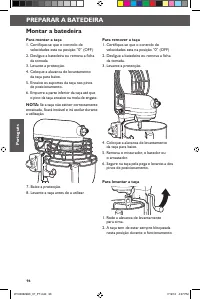
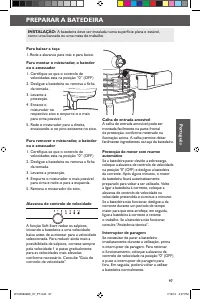
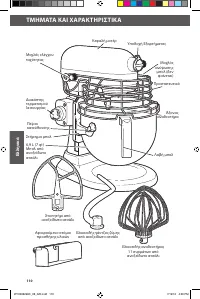
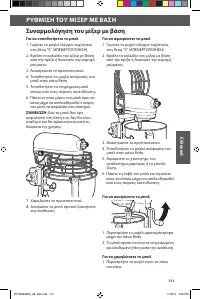
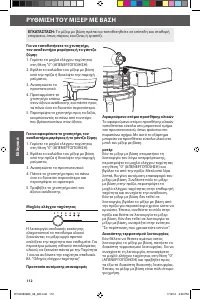
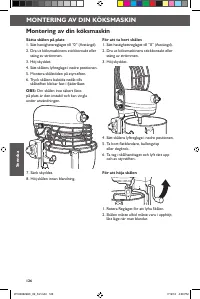
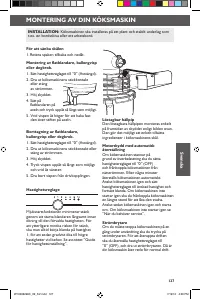
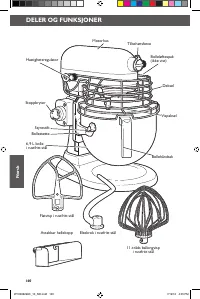
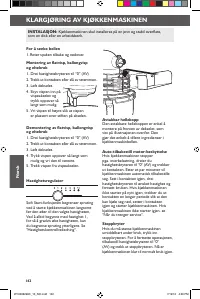
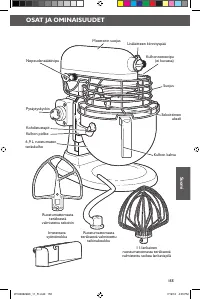
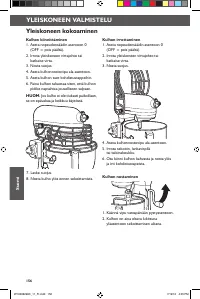
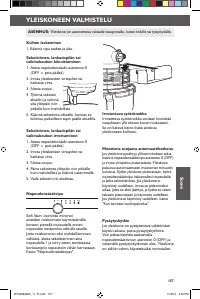
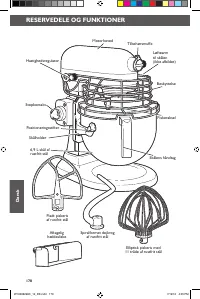
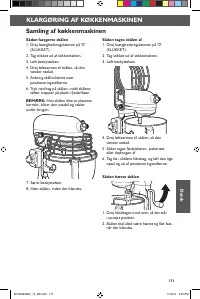
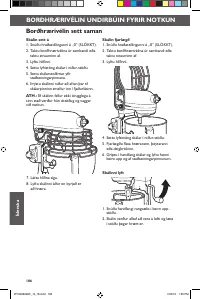
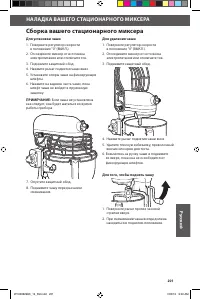
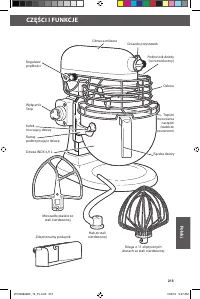
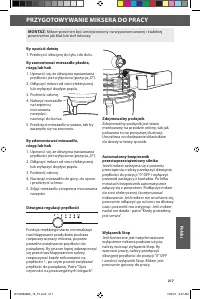
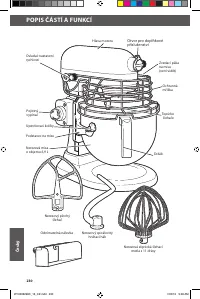
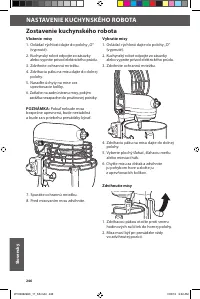
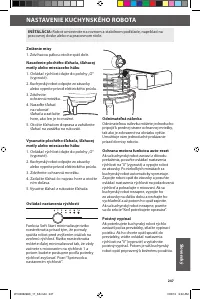
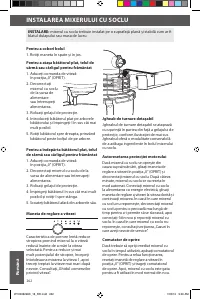
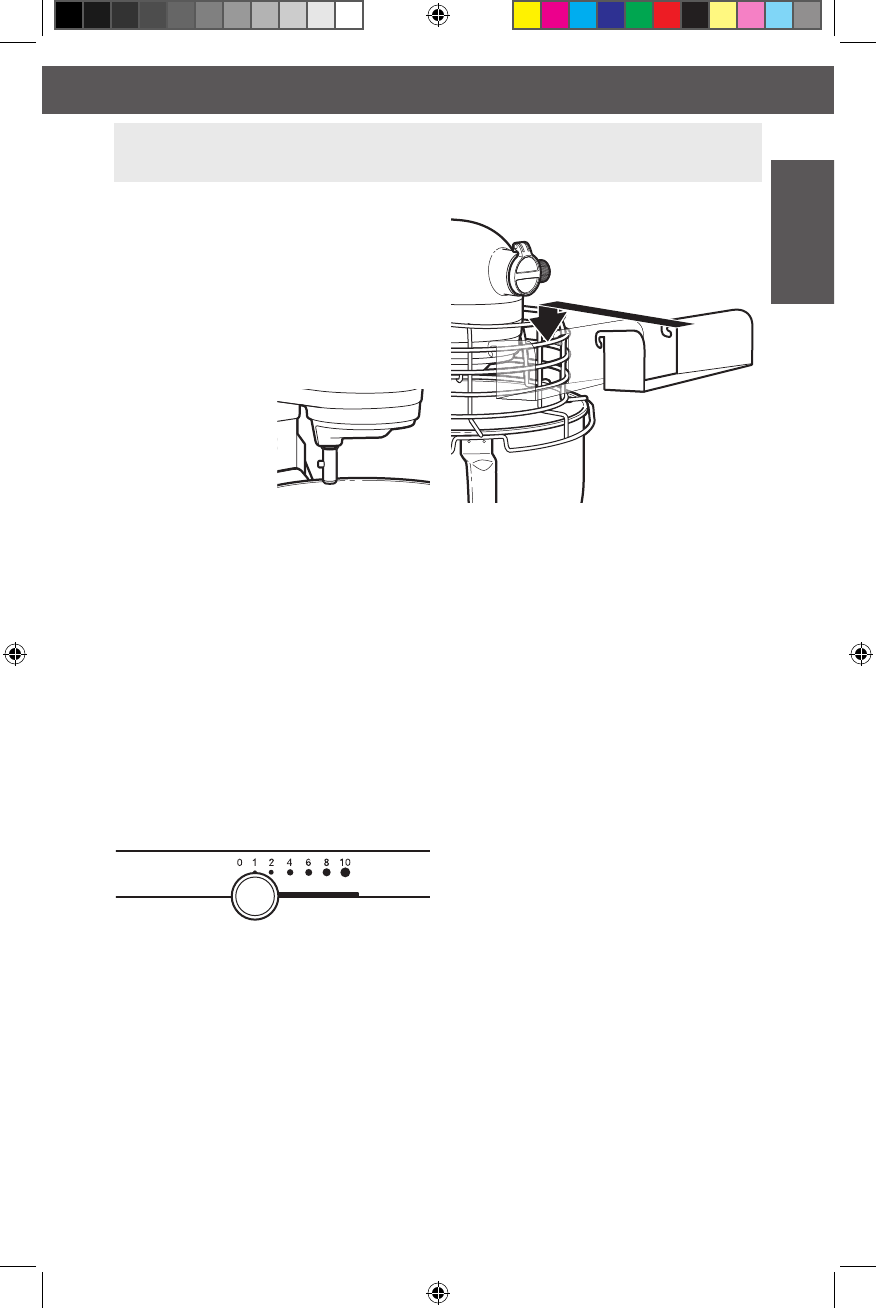
To Lower Bowl
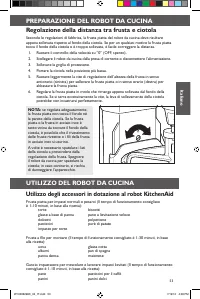
1. Rotate lever back and down.
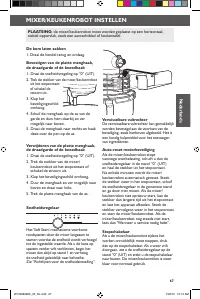
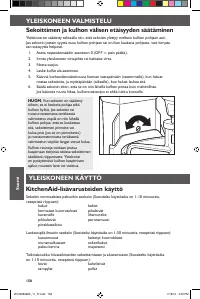
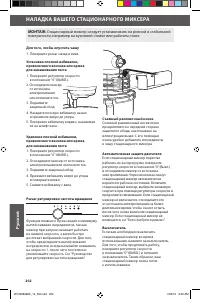
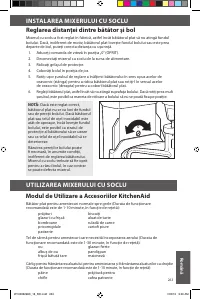
To Attach Flat Beater, Wire Whip,
or Dough Hook
1. Turn Speed Control Lever to “0” (off).
2. Unplug Stand Mixer or
disconnect power.
3. Raise Guard.
4. Slip flat Beater
on Beater Shaft
and press upward
as far as possible.
5. Turn beater to right, hooking beater
over the pin on shaft.
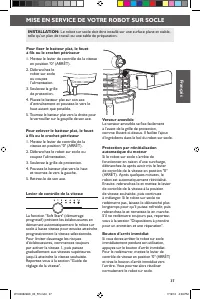
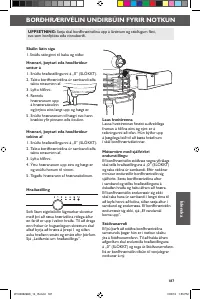
To Remove Flat Beater, Wire Whip,
or Dough Hook
1. Turn Speed Control Lever to “0” (off).
2. Unplug Stand Mixer or disconnect
power.
3. Raise Guard.
4. Press beater upward as far as
possible and turn left.
5. Pull beater from Beater Shaft.
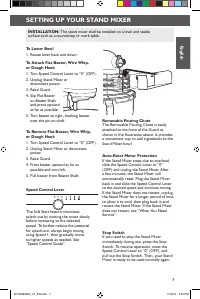
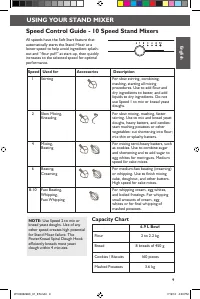
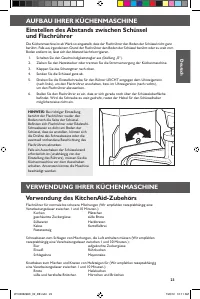
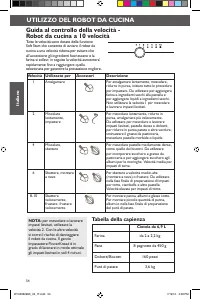
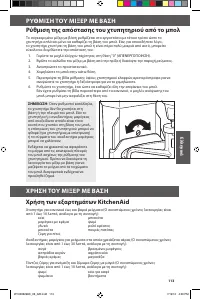
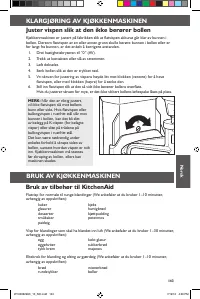
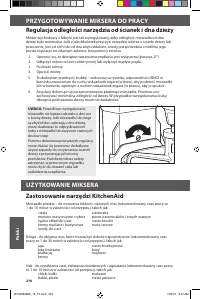
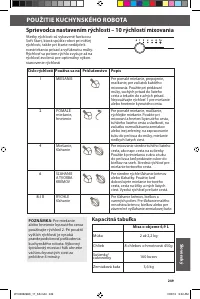
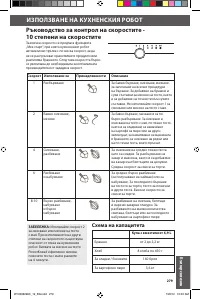
Speed Control Lever
The Soft Start feature minimizes
splash-out by starting the mixer slowly
before increasing to the selected
speed. To further reduce the potential
for splash-out, always begin mixing
using Speed 1, then gradually move
to higher speeds as needed. See
“Speed Control Guide”.
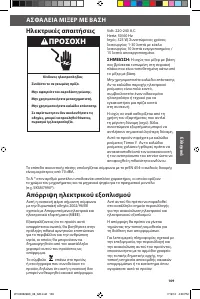
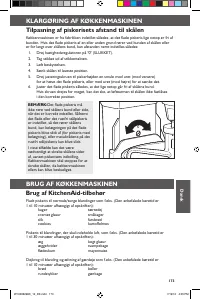
Auto-Reset Motor Protection
If the Stand Mixer stops due to overload,
slide the Speed Control Lever to “0”
(off) and unplug the Stand Mixer. After
a few minutes, the Stand Mixer will
automatically reset. Plug the Stand Mixer
back in and slide the Speed Control Lever
to the desired speed and continue mixing.
If the Stand Mixer does not restart, unplug
the Stand Mixer for a longer period of time
to allow it to cool, then plug back in and
restart the Stand Mixer. If the Stand Mixer
does not restart, see “When You Need
Service”.
Stop Switch
If you need to stop the Stand Mixer
immediately during use, press the Stop
Switch. To resume operation, reset the
Speed Control Lever to “0” (off), and
pull out the Stop Switch. Then, your Stand
Mixer is ready to be used normally again.
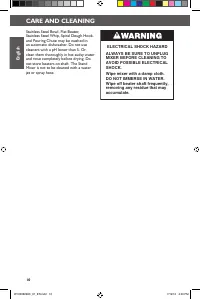
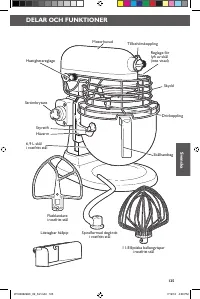
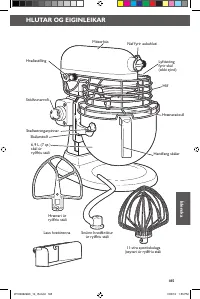
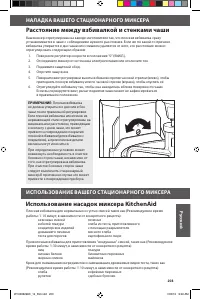
Removable Pouring Chute
The Removable Pouring Chute is easily
attached to the front of the Guard as
shown in the illustration above. It provides
a convenient way to add ingredients to the
Stand Mixer bowl.
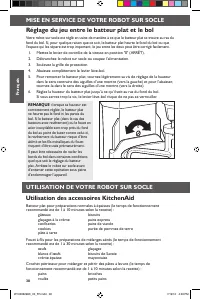
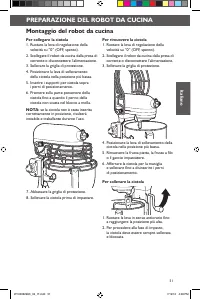
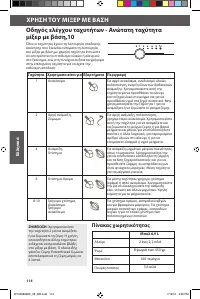
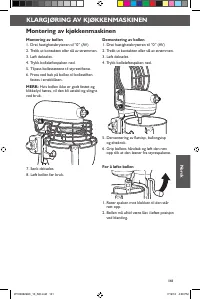
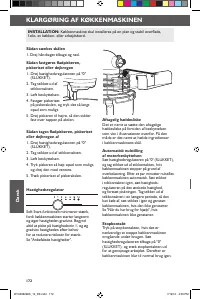
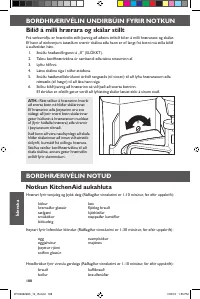
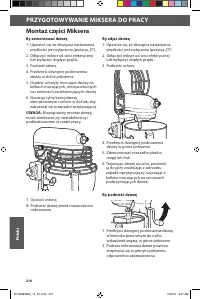
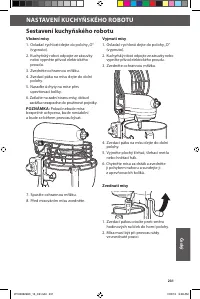
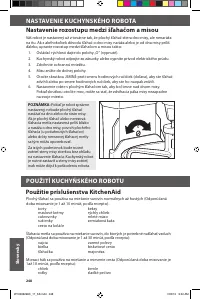
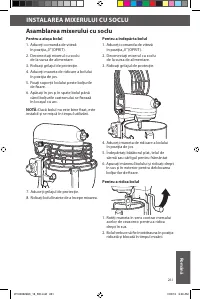
SETTING UP YOUR STAND MIXER
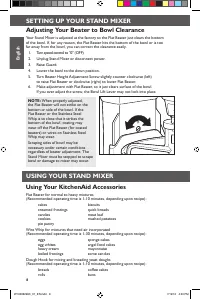
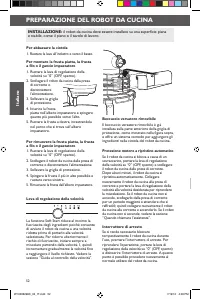
INSTALLATION: The stand mixer shall be installed on a level and stable
surface such as a countertop or work table.
W10308298C_01_EN.indd 7
7/19/12 4:40 PM
Содержание
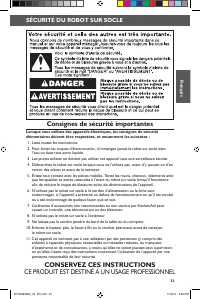
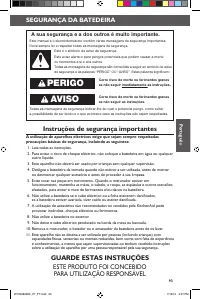
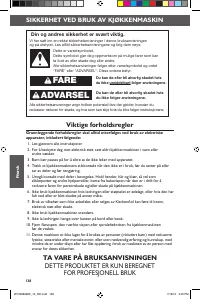
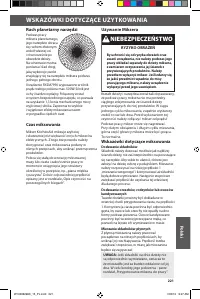
- 198 СОХРАНИТЕ ДАННОЕ РУКОВОДСТВО; Меры предосторожности; ОПАСНОСТЬ; ИНСТРУКцИИ ПО ТЕХНИКЕ БЕзОПАСНОСТИ; ДаННОЕ УСТРОйСТВО ПРЕДНазНачЕНО ТОлькО
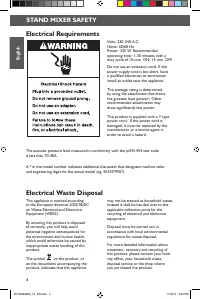
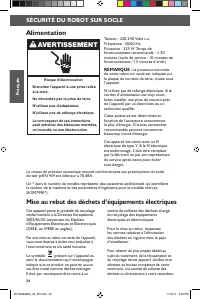
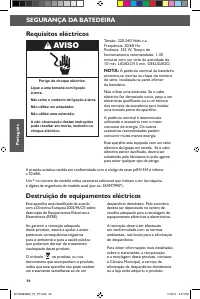
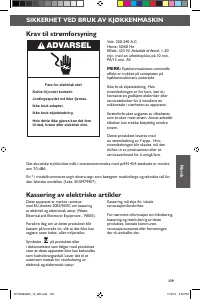
- 199 Требования к электропитанию; ВНИМАНИЕ; Утилизация электрических отходов
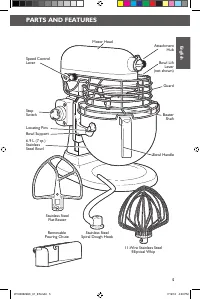
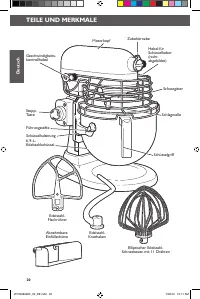
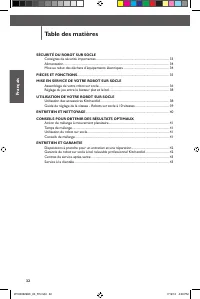
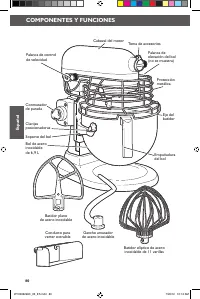
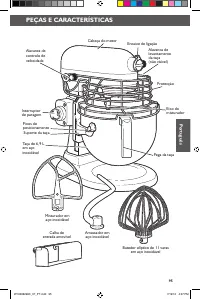
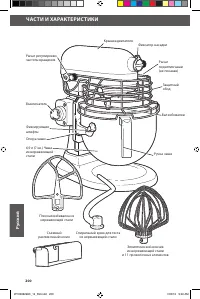
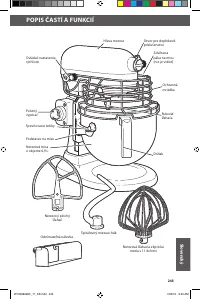
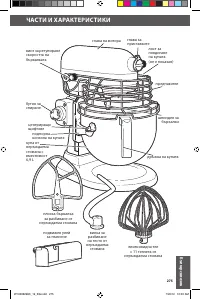
- 200 ЧАСТИ И ХАРАКТЕРИСТИКИ
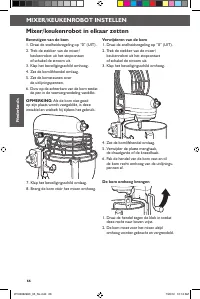
- 201 НАЛАДКА ВАШЕГО СТАцИОНАРНОГО МИКСЕРА; Сборка вашего стационарного миксера
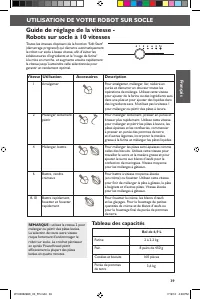
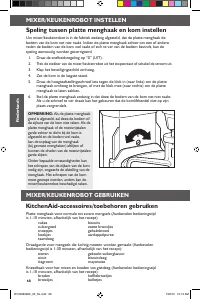
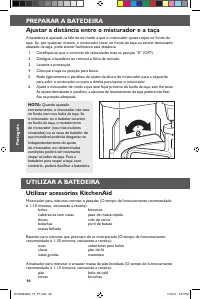
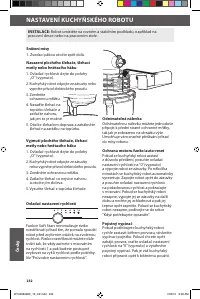
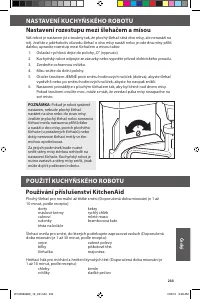
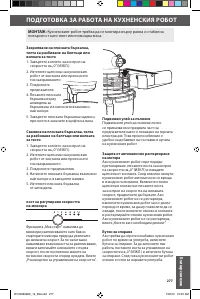
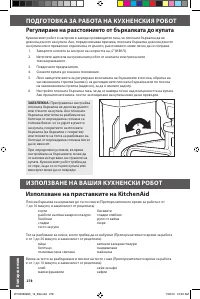
- 203 Расстояние между взбивалкой и стенками чаши; Использование насадок миксера KitchenAid; ИСПОЛЬзОВАНИЕ ВАШЕГО СТАцИОНАРНОГО МИКСЕРА
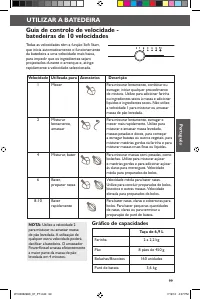
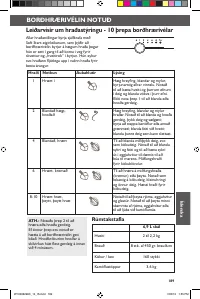
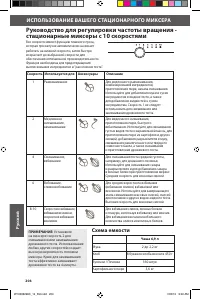
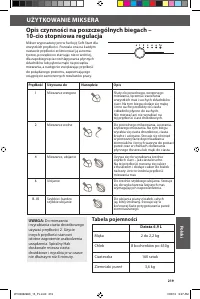
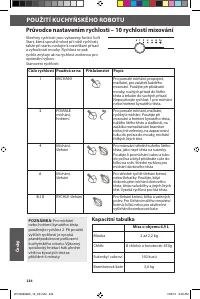
- 204 Схема емкости; Руководство для регулировки частоты вращения -
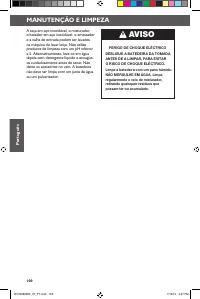
- 205 УХОД И ОЧИСТКА
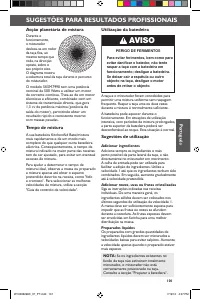
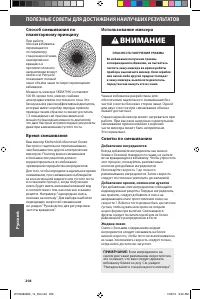
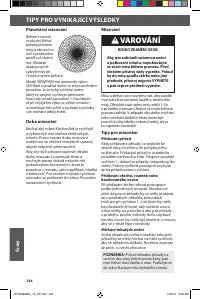
- 206 ПОЛЕзНЫЕ СОВЕТЫ ДЛЯ ДОСТИЖЕНИЯ НАИЛУЧШИХ РЕзУЛЬТАТОВ; Советы по смешиванию
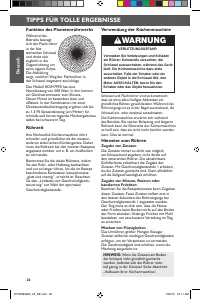
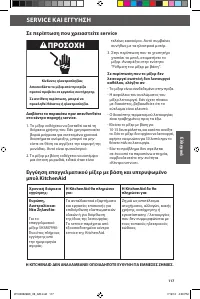
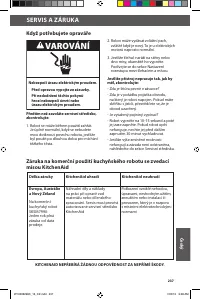
- 207 ТЕХНИЧЕСКОЕ ОБСЛУЖИВАНИЕ И ГАРАНТИЯ; Если требуется ремонт
- 208 центры обслуживания
Характеристики

Остались вопросы?Не нашли свой ответ в руководстве или возникли другие проблемы? Задайте свой вопрос в форме ниже с подробным описанием вашей ситуации, чтобы другие люди и специалисты смогли дать на него ответ. Если вы знаете как решить проблему другого человека, пожалуйста, подскажите ему :)


