Культиваторы AL-KO MH 7505 V2R - инструкция пользователя по применению, эксплуатации и установке на русском языке. Мы надеемся, она поможет вам решить возникшие у вас вопросы при эксплуатации техники.
Если остались вопросы, задайте их в комментариях после инструкции.
"Загружаем инструкцию", означает, что нужно подождать пока файл загрузится и можно будет его читать онлайн. Некоторые инструкции очень большие и время их появления зависит от вашей скорости интернета.


Installation
441582_a
21
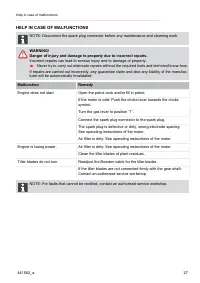
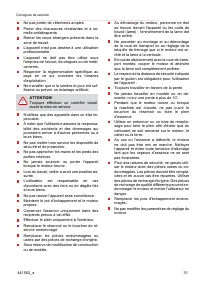
Wear sturdy, non-slip shoes.
Remove foreign bodies from the working
area.
The machine is not allowed to be used in
commercial applications.
Do not operate the machine if you are under
the influence of alcohol, drugs or medication.
Comply with working time regulations in force
in your country.
Only work with sufficient daylight or artificial
lighting.
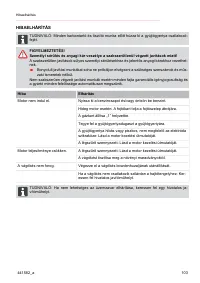
CAUTION!
Always perform a visual check prior to
start-up.
Only use the machine if it is in perfect techni-
cal condition.
Note that the user is responsible for accidents
and damage that may befall other persons or
their property.
Do not disable safety and protective devices.
Do not place your hands and feet close to any
rotating parts.
Never lift or carry the machine when the en-
gine is running.
Make sure you can stand securely when
working.
The user is responsible for accidents invol-
ving other people and their property.
Do not leave the machine unsupervised.
Keep the exhaust and motor clean.
Only use appropriate containers to store pe-
trol.
Only refuel outdoors.
Renew the tank or tank cap if damaged.
Only replace damaged or worn parts by ge-
nuine spare parts.
Subject to changes in design and configura-
tion.
No one should be standing in front of the de-
vice and/or tiller blades when starting the mo-
tor - the tiller blade drive must be turned off.
When attaching and removing the transport
wheel and/or when adjusting the depth skid,
the motor must be turned off and the tiller bla-
des must be upright.
When moving the device using the attached
transport wheel, turn off the motor and wait
for the tiller blades to come to a standstill.
The device may only be operated by main-
taining the safety distance provided by the
handlebar.
Always operate parallel to the slope.
Do not operate the device up or down the
slope, as well as on slopes with a gradient of
more than 10°.
Do not open the tank cap or refuel with petrol
while the motor is still running and while the
machine is still hot.
Use a funnel or a filler pipe when refuelling so
that no fuel is spilled on the engine, the deck
or the ground.
Do not start the engine if petrol has over-
flowed. The appliance may be cleaned, and
any attempt at ignition may be made, only
when the petrol vapours have dissipated.
For safety reasons, never use the machine
with worn or damaged parts. The parts must
be replaced and are never allowed to be re-
paired. Use original spare parts. Non-equiva-
lent spare parts can damage the motor and
endanger the operator.
Renew exhaust silencers if damaged.
Do not change the engine governor settings.
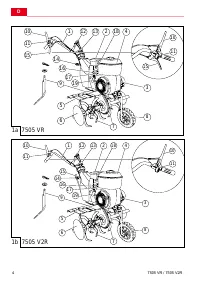
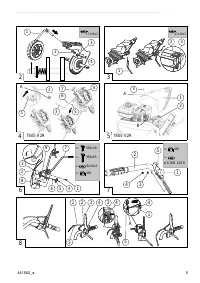
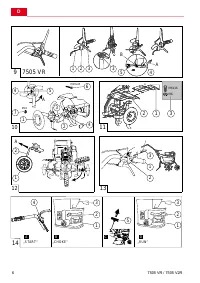
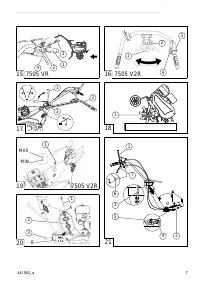
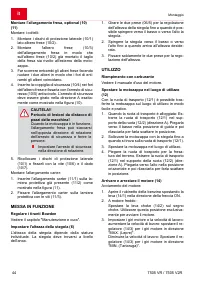
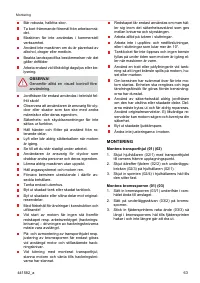
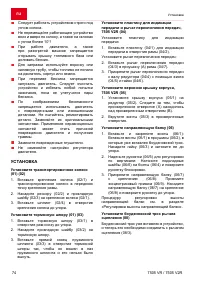
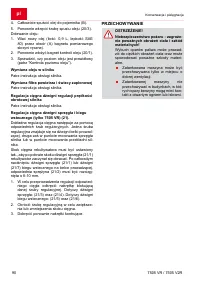
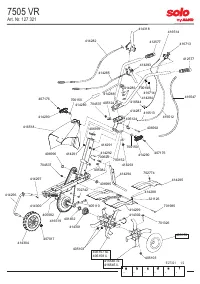
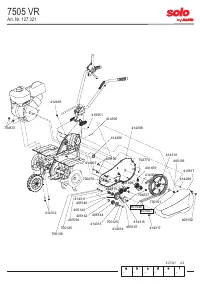
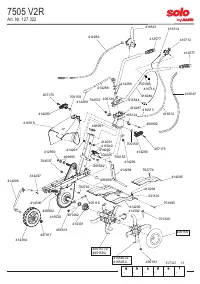
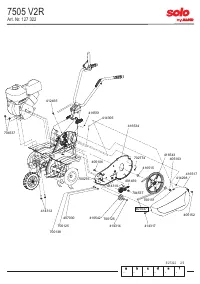
INSTALLATION
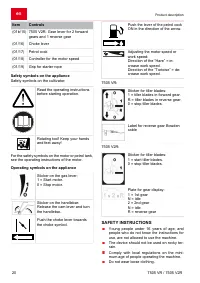
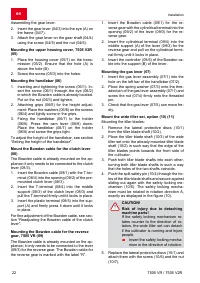
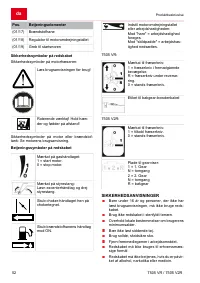
Assembling the transport wheel (01) (02)
1. Push the wheel mount (02/1) with the trans-
port wheel into the front support point of the
frame.
2. Push the spring (02/2) and the washer (02/3)
onto the wheel mount (02/1).
3. Push the split pin (02/4) into the hole of the
wheel mount until it fits tightly.
Assembling the depth skid (01) (03)
1. Insert the depth skid (03/1) into the hole of the
frame up to the stop from below.
2. Place the washer (03/2) on the depth skid.
3. Insert the straight end of the spring split pin
(03/3) into the hole of the depth skid until the
spring split pin locks in place and cannot be
pulled out again.
Assembling the plate for the gear display and
gear lever, 7505 V2R (04)
Assembling the plate for the gear display:
1. Insert the plate (04/1) for the gear display into
the holes in the frame (04/2).
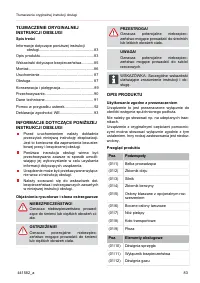
Содержание
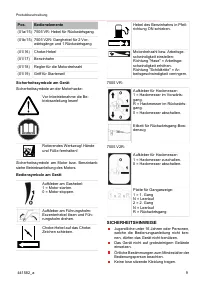
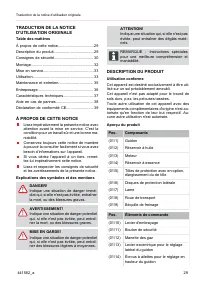
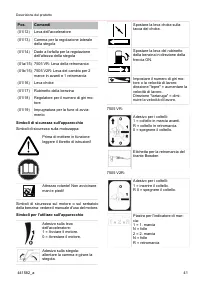
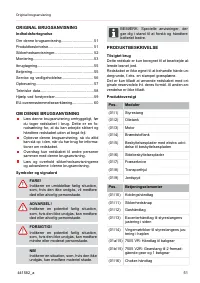
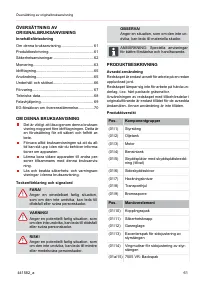
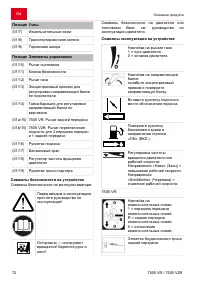
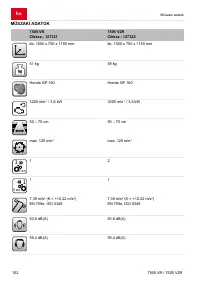
- 71 ПЕРЕВОД ОРИГИНАЛЬНОГО; ОПИСАНИЕ ПРОДУКТА
- 72 Позиция Узлы
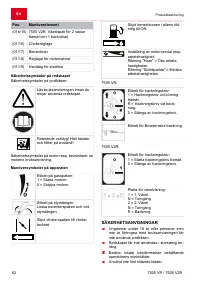
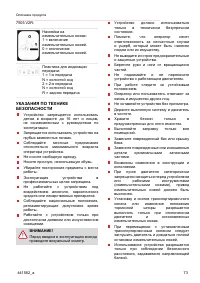
- 73 УКАЗАНИЯ ПО ТЕХНИКЕ
- 74 УСТАНОВКА; Установите транспортировочное колесо
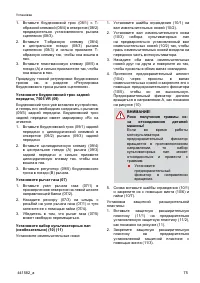
- 75 Установите боуденовский трос задней
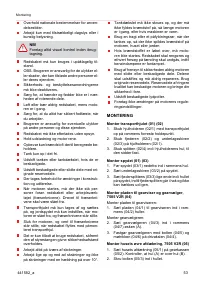
- 76 ВВОД В ЭКСПЛУАТАЦИЮ; Регулировка боуденовских тросов; ПОСЛЕДОВАТЕЛЬНОСТЬ; Заполнение топливом
- 77 Использование тормозной шпоры; ТЕХОБСЛУЖИВАНИЕ И УХОД; во время проведения работ по
- 78 среды отходами отработанного
- 79 ХРАНЕНИЕ
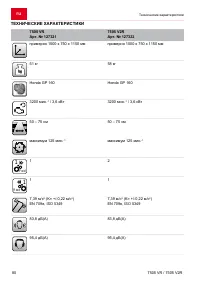
- 80 ТЕХНИЧЕСКИЕ ХАРАКТЕРИСТИКИ
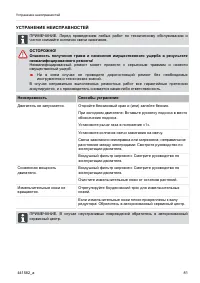
- 81 УСТРАНЕНИЕ НЕИСПРАВНОСТЕЙ
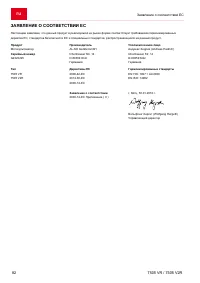
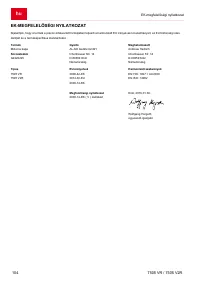
- 82 ЗАЯВЛЕНИЕ О СООТВЕТСТВИИ ЕС


