Кухонные комбайны Philips HR7638 - инструкция пользователя по применению, эксплуатации и установке на русском языке. Мы надеемся, она поможет вам решить возникшие у вас вопросы при эксплуатации техники.
Если остались вопросы, задайте их в комментариях после инструкции.
"Загружаем инструкцию", означает, что нужно подождать пока файл загрузится и можно будет его читать онлайн. Некоторые инструкции очень большие и время их появления зависит от вашей скорости интернета.


E N G L I S H
1 2
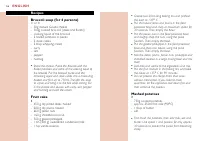
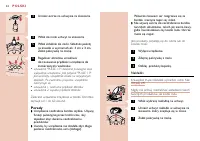
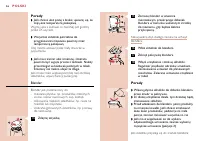
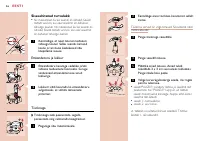
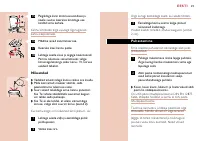
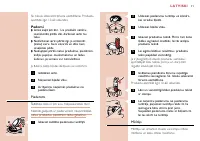
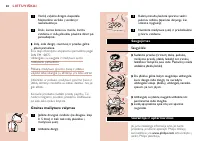
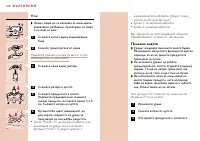
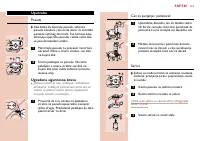
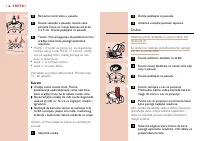
Cleaning
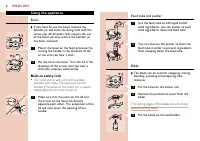
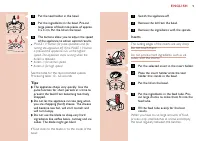
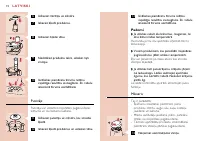
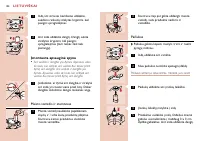
Always unplug the appliance before you start
cleaning the motor unit.
1
Clean the motor unit with a damp cloth.
Do not immerse the motor unit in water
and do not rinse it either.
2
Always clean the parts that have come
into contact with food in hot water with
washing-up liquid immediately after use.
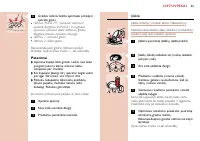
◗
The bowl, the lid of the bowl, the pusher and
the accessories can also be washed in a
dishwasher.
These parts have been tested for dishwasher
resistance according to DIN EN 12875.
The cover with insert storage space and the
blender jar are not dishwasher proof!
Clean the blade, the blade unit of the blender and
the inserts very carefully. Their cutting edges are
very sharp!
Make sure that the cutting edges of the blade, the
blade unit of the blender and the inserts do not
come into contact with hard objects. This could
cause them to become blunt.
Certain ingredients may cause discolourations on
the surface of the accessories. This does not have
a negative effect on the accessories. The
discolourations usually disappear after some time.
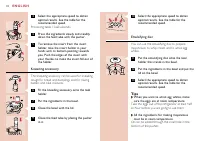
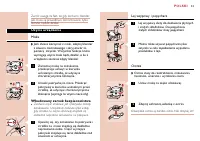
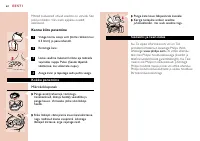
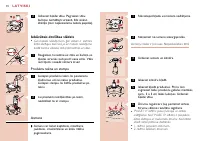
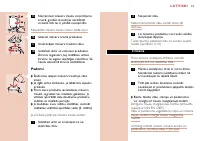
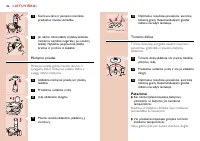
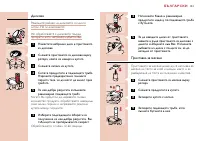
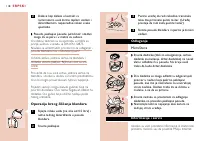
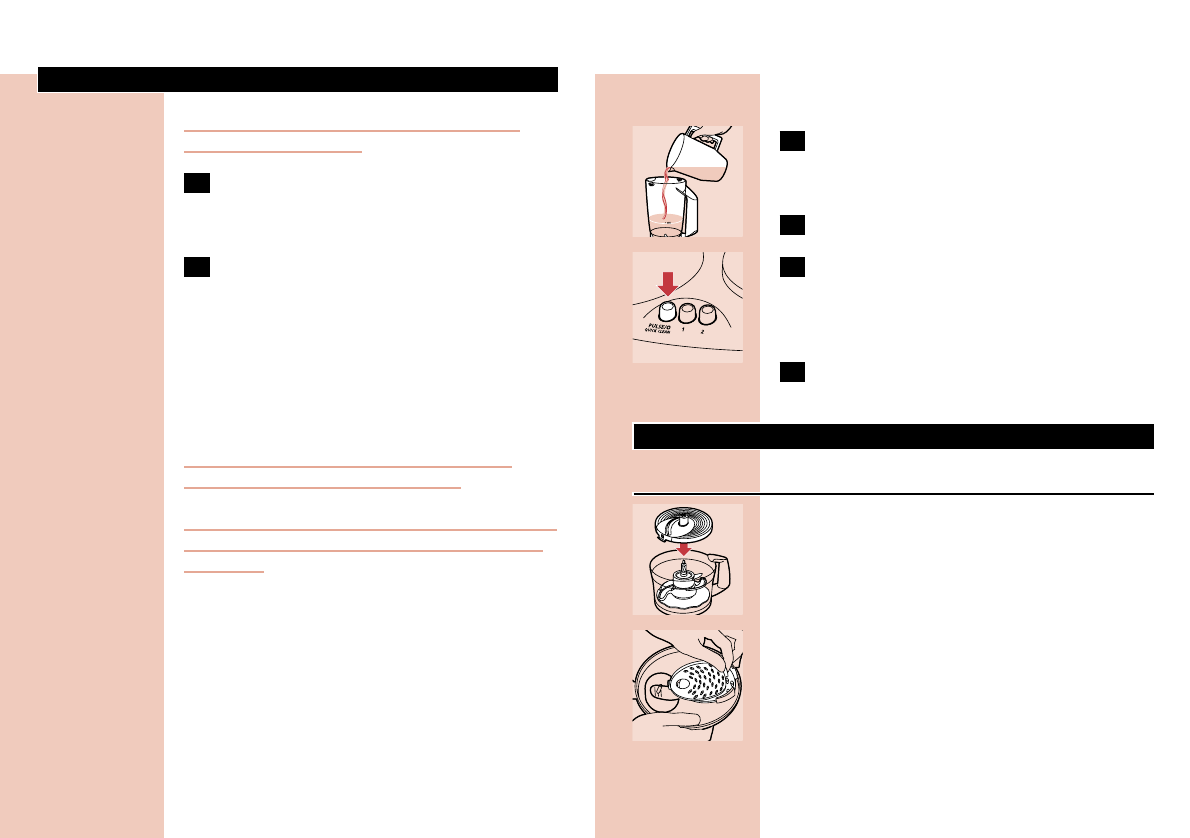
Blender quick-cleaning operation
C
1
Pour lukewarm water (not more than
0.5 litres) and some washing-up liquid into
the blender jar.
2
Assemble the lid.
C
3
Let the appliance run for a few moments
by pressing the Pulse button. (The
appliance stops running when you release
the button.)
4
Detach the blender jar and rinse it with
clean water.
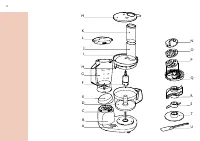
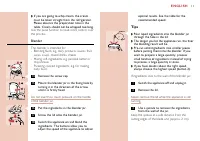
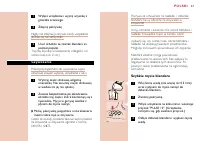
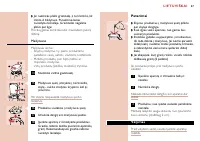
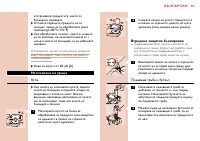
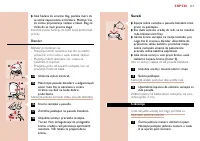
Storage
MicroStore
C
◗
Put the accessories (emulsifying disc, blade,
kneading accessory, insert holder) on the tool
holder and store them in the bowl. Always
end up with the insert holder.
C
◗
Two inserts can be stored in the storage
space in the cover that covers the lid of the
bowl, as indicated on the inside of the cover.
The inserts have to be slid into the cover, not
pressed.
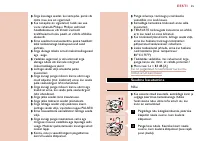
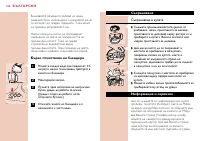
Содержание
- 36 Р У С С К И Й; Введение; Включите электроприбор повторно.; Внимание
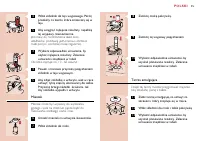
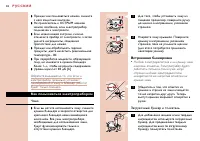
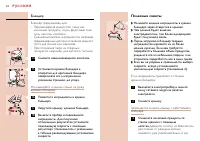
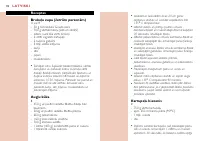
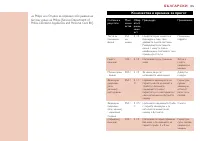
- 38 Как пользоваться электроприбором; Чаша; Встроенная блокировка; Загрузочный бункер и толкатель
- 39 Установите чашу на блок.; Полезные советы
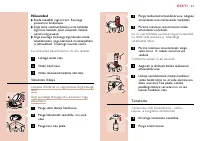
- 40 Снимите с чаши крышку.; Насадка для замешивания теста
- 41 Поместите в чашу ингредиенты.; Диск для перемешивания жидкостей
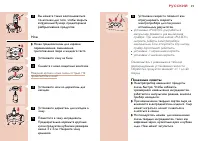
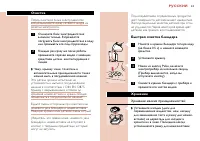
- 42 - Приготовления пюре из отварных; Держите лопатку на безопасном
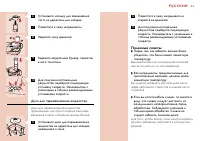
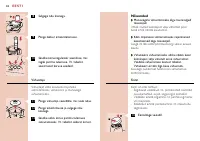
- 43 Очистка; Хранение мелких принадлежностей
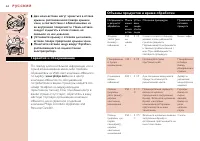
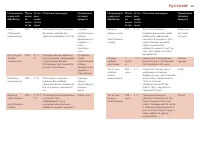
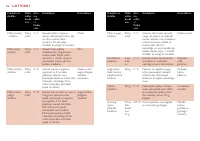
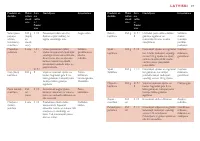
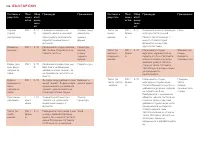
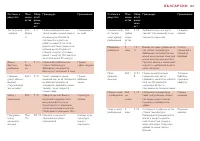
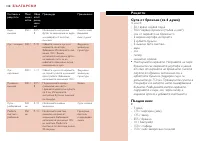
- 44 Гарантия и обслуживание; или в центр; Объемы продуктов и время обработки
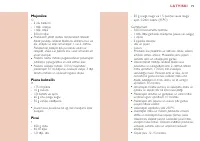
- 48 Рецепты; или; Фруктовый пирог; пополам
- 49 Картофельное пюре; C в течение
- 50 Нагрейте духовку до температуры 250; Молочный коктейль
- 51 С) и подрумянивайте блюдо в течение
- 52 Украсьте мусс веточками водяного кресса.; Паста для сандвичей; моркови; Испанский салат из капусты
- 53 Цацики; - сок 1 апельсина и 2 столовые ложки; Бисквит; С в


