Кофеварка Philco PHEM1000 - инструкция пользователя по применению, эксплуатации и установке на русском языке. Мы надеемся, она поможет вам решить возникшие у вас вопросы при эксплуатации техники.
Если остались вопросы, задайте их в комментариях после инструкции.
"Загружаем инструкцию", означает, что нужно подождать пока файл загрузится и можно будет его читать онлайн. Некоторые инструкции очень большие и время их появления зависит от вашей скорости интернета.


25
Revision 06/2014
Copyright © 2014, Fast ČR, a. s.
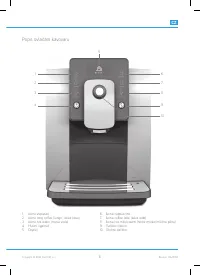
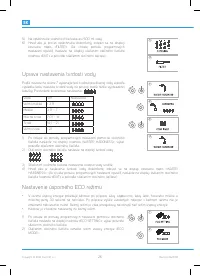
EN
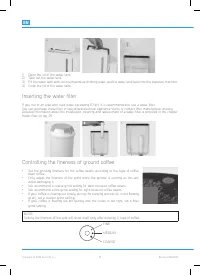
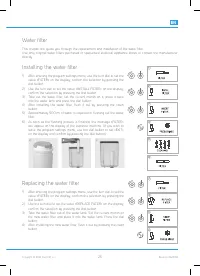
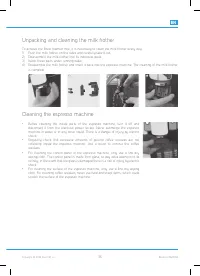
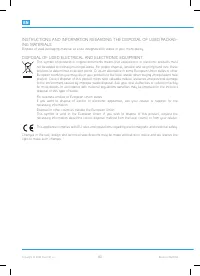
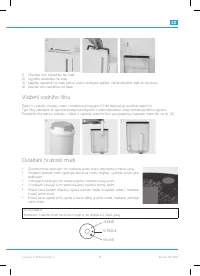
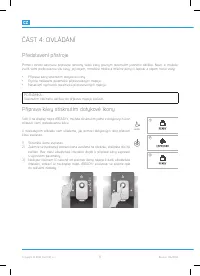
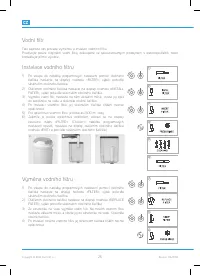
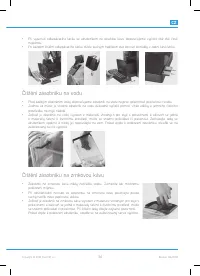
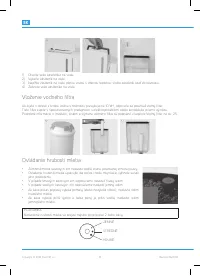
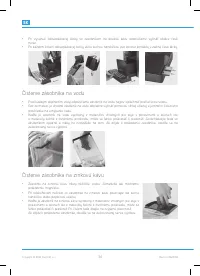
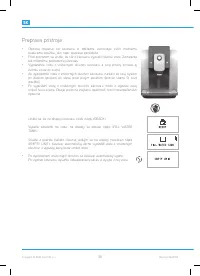
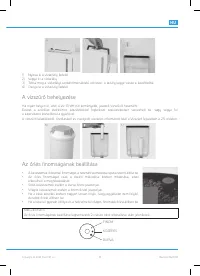
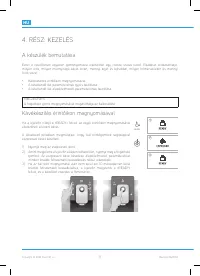
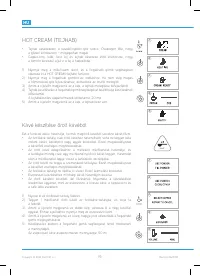
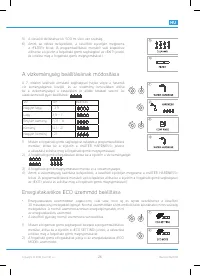
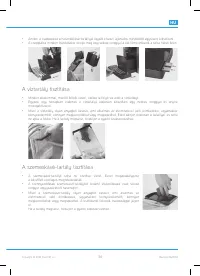
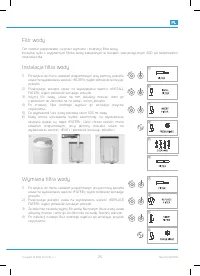
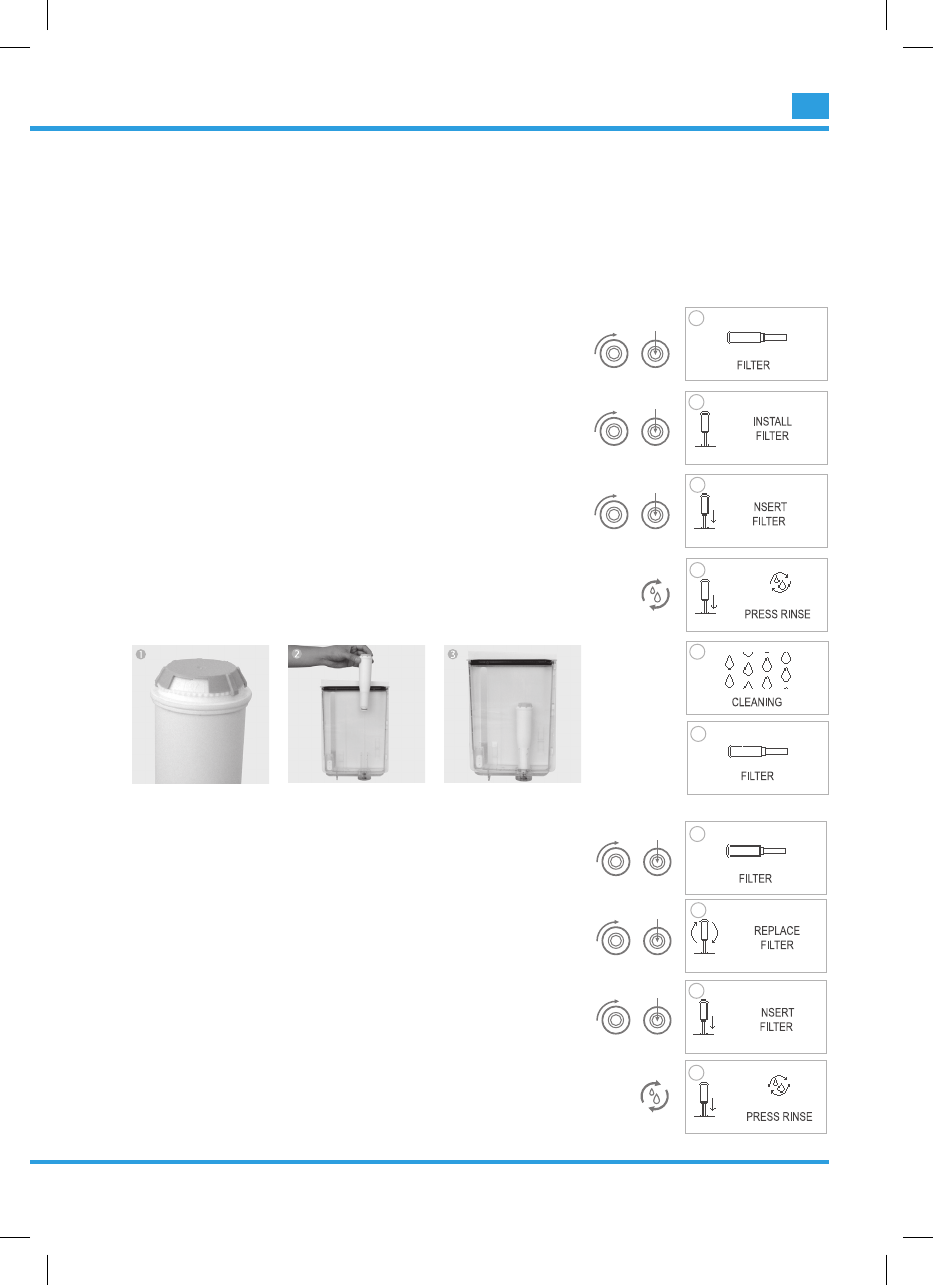
Water fi lter
This chapter will guide you through the replacement and installation of the water fi lter.
Use only original water fi lters purchased in specialised electrical appliance stores or contact the manufacturer
directly.
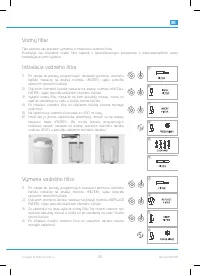
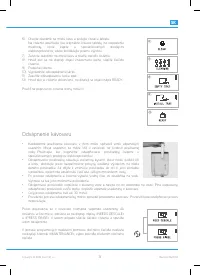
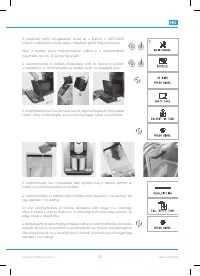
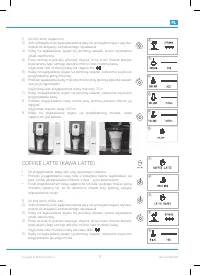
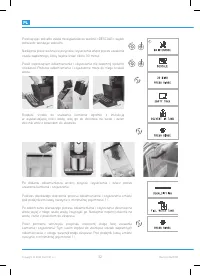
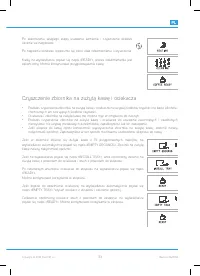
Installing the water fi lter
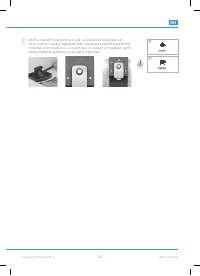
1)
After entering the program settings menu, use the turn dial to set the
value «FILTER» on the display; confi rm the selection by pressing the
dial button.
2) Use the turn dial to set the value «INSTALL FILTER» on the display;
confi rm the selection by pressing the dial button.
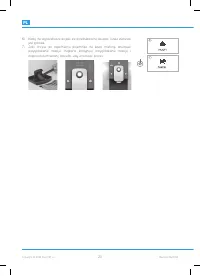
3) Take out the water fi lter, set the current month on it, place it back
into the water tank and press the dial button.
4) After installing the water fi lter, fl ush it out by pressing the clean
button.
5) Approximately 500 ml of water is required for fl ushing out the water
fi lter.
6) As soon as the fl ushing process is fi nished, the message «FILTER»
will appear on the display of the espresso machine. (If you wish to
leave the program settings menu, use the dial button to set «EXIT»
on the display and confi rm by pressing the dial button.)
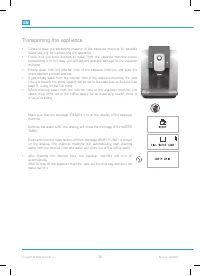
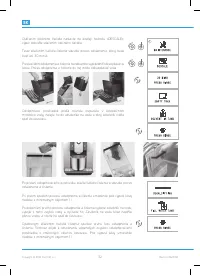
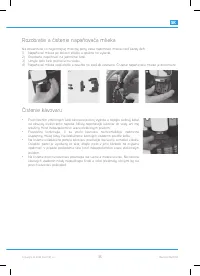
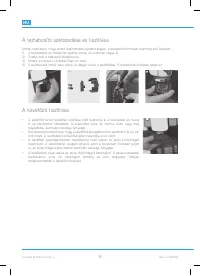
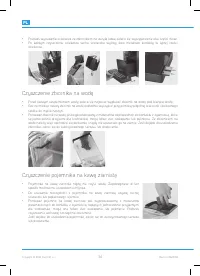
Replacing the water fi lter
1)
After entering the program settings menu, use the turn dial to set the
value «FILTER» on the display; confi rm the selection by pressing the
dial button.
2) Use the turn dial to set the value «REPLACE FILTER» on the display;
confi rm the selection by pressing the dial button.
3) Take the water fi lter out of the water tank. Set the current month on
the new water fi lter and place it into the water tank. Press the dial
button.
4) After installing the new water fi lter, fl ush it out by pressing the clean
button.
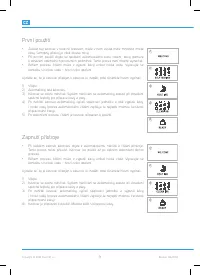
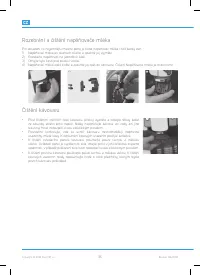
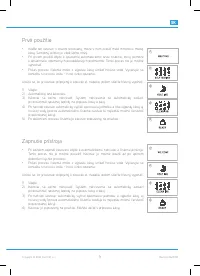
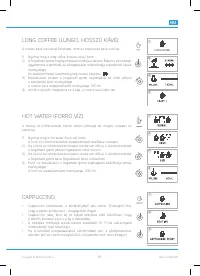
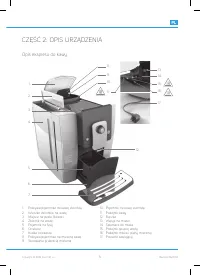
1
2
3
4
5
6
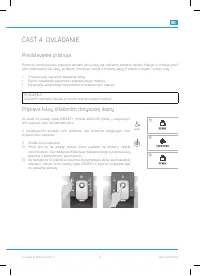
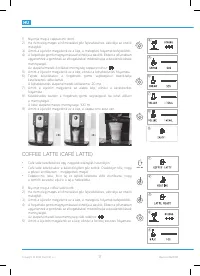
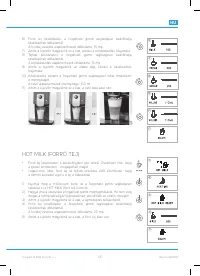
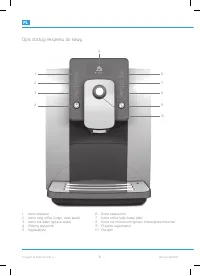
1
2
3
4
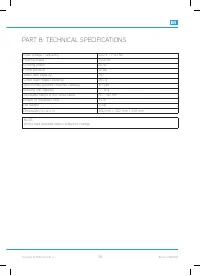
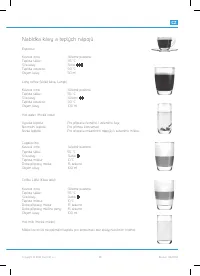
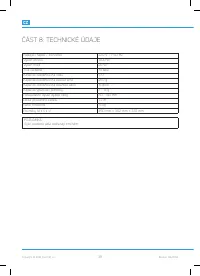
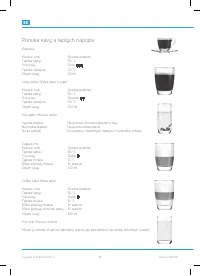
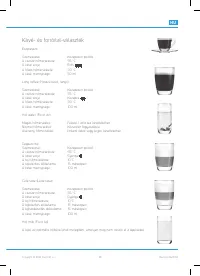
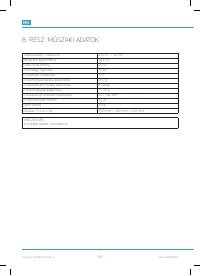
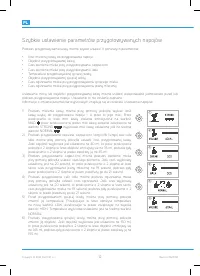
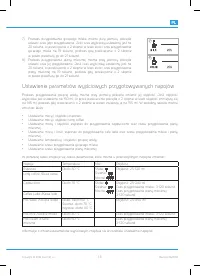
Характеристики

Остались вопросы?Не нашли свой ответ в руководстве или возникли другие проблемы? Задайте свой вопрос в форме ниже с подробным описанием вашей ситуации, чтобы другие люди и специалисты смогли дать на него ответ. Если вы знаете как решить проблему другого человека, пожалуйста, подскажите ему :)


