
Кофемашина Oursson AM6250/DC - инструкция пользователя по применению, эксплуатации и установке на русском языке. Мы надеемся, она поможет вам решить возникшие у вас вопросы при эксплуатации техники.
Если остались вопросы, задайте их в комментариях после инструкции.
"Загружаем инструкцию", означает, что нужно подождать пока файл загрузится и можно будет его читать онлайн. Некоторые инструкции очень большие и время их появления зависит от вашей скорости интернета.


34
35
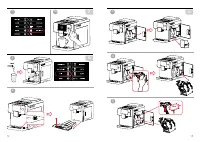
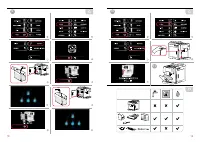
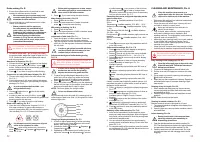
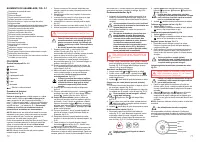
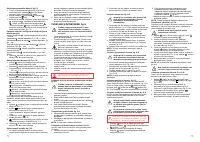
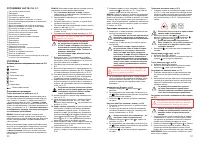
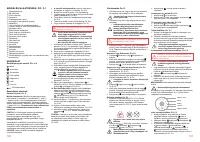
Milk frother cleaning, Pic. G-6
•
Ensure that the unit is disconnected from
electricity network prior assembling or
dissembling procedures.
1. Disconnect milk frother unit by slightly pressing from
the both sides, Fig. G-6-1.
2. Dissemble the milk frother according to the scheme.
Wash him with the warm flow water, G-6-3.
3. Clean the both holes with brush, Fig. G-6-2.
4. Assemble the milk frother and install it to the unit, Fig.
G-6-4
NOTE:
Clean the milk frother once per
week.
cleaning of brew unit with tablets, Pic. G-8
After a long-term usage of coffee machine, particles of
coffee powder and oils a in the brew unit, perform the
cleaning procedures.
•
Use only special tablets intended for brew
unit cleaning. Ensure that tablets are suitable
for your type of coffee machine.
•
Do not interrupt the cleaning process, it can
cause damage to the machine. Wait until the
cleaning process is complete.
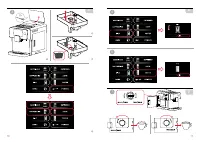
cleaning of the pouring holes, Pic. G-7
Clean the pouring holes with a wet soft cloth on a daily
basis. Ensure that holes have no scurf, Pic. G-11.
To clean the holes, select menu at the main display,
then cleaning and select flushing, Pic. G-7. After
flushing, main menu will appear at the display.
1. Select Menu at the main display, then select
cleaning and choose brew unit, Pic.G-8-1...G-8-3.
2. Put an empty container under the pouring holes.
Select , to start cleaning of the brew unit, Pic.
G-8-4.
3. When the relevant image will appear at the display,
open coffee beans container, remove grind coffee lid
and add a tablet, Pic. G-8-6, close the both containers
and press , Pic.G-8-7.
4. Coffee machine will return to standby mode after
completion of cleaning.
NOTE:
Clean the brew unit once per month.
Be careful, protect your eyes and skin from
contact with cleaning substance. In the
event of contact – immediately flush them
with clean water.
3. Install brew unit back to the coffee machine till it goes
click (do not push the lever), Pic. G-5.
4. Install back residue container and close the door.
NOTE:
Clean the brew unit once per week.
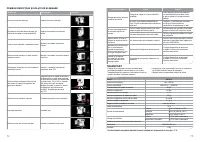
Scale removal, Pic. G-9
Everyday exploitation of coffee machine leads to scale
formation inside the machine. Scale volume depends on
water hardness.
•
Use only special agents for scale removal.
1. Press menu at the main display, then cleaning
and press scale removal.
2. Fill container with clean water, add the required amount
of special agents according to the manual. Total amount
of liquid shall be at MAX level, Pic. G-9-5.
cleaning of milk frother, Pic. G-10.
After a long-term exploitation of coffee machine, milk frother
shall be cleaned.
1. Press menu at the main display, then cleaning
and choose milk frother, Pic.G-10-3.
2. Connect milk feeding pipe to the milk frother hole, install
the other end of pipe to the hole at tray grating, Pic.
G-10-4.
3. Follow the instructions at the display. Press
, to
start cleaning procedures.
4. Coffee machine will return to standby mode after
completion of cleaning. Discharge water from the tray.
3. Put a big empty container under the pouring holes,
press , to start cleaning, Pic. G-9-6. The cycle ends
when the water container is empty.
4. Follow instructions at the display. Fill water container
with clean water, Pic. G-9-8. Press , to start the
cleaning cycle.
5. Coffee machine will return to standby mode after
completion of cleaning.
NOTE:
We recommend to remove scale once per month.
•
It is prohibited to drink the substance, which
comes out during the cleaning process.
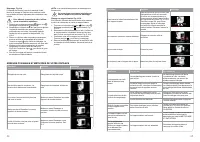
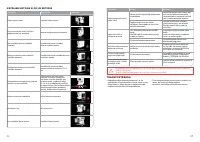
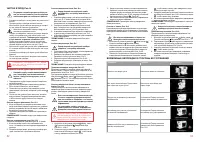
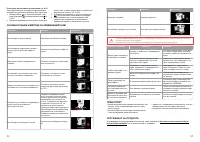
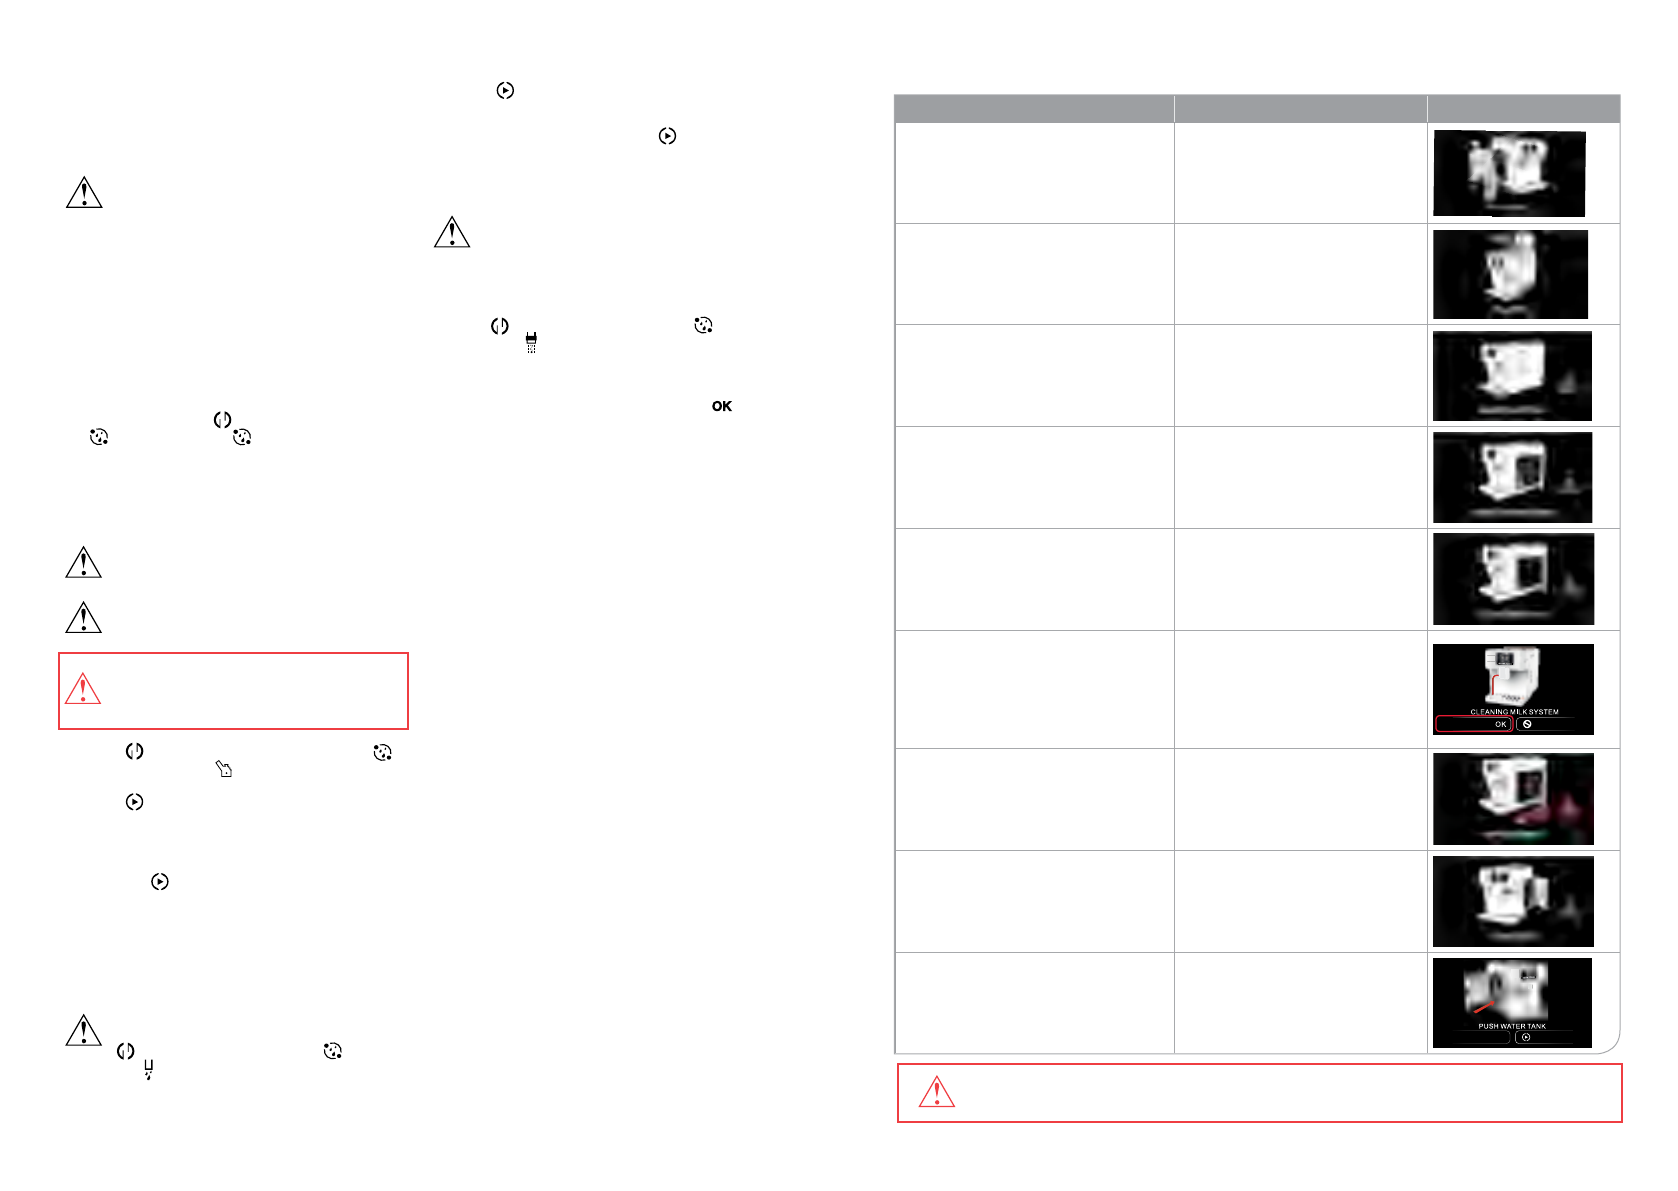
Issue
Solutions
Indication
Water container is empty.
Fill the water container
Coffee beans container is empty. Coffee
drinks are not available.
Fill the container with coffee beans.
Tray is not installed / incorrect installation. Install/ reinstall the liquid tray.
Residue container is not installed /
incorrect installation.
Install/ reinstall the residue container
Brew unit is not installed / incorrect
installation
Install / reinstall the brew unit,
Pic. G-5
Cleaning of milk feeding pipe and milk
frother is required
Ensure that one end of milk feeding
pipe is connected to the milk frother,
and the other one is in the tray grat
-
ing, Fig. G-10-4. Press OK to start
cleaning. Coffee machine will return
to standby mode after completion of
cleaning. Dispose water from the tray.
Residue container is full
Clean the residue container
The door is opened
Close the door
Water container is not installed
Install the water container
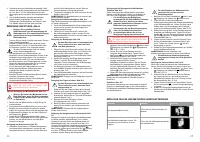
POSSIBLE FAULTS AND METHODS OF THEIR ELIMINATION
Do not store the machine the temperature below 0°C. Residue water in the heating
system may freeze and damage the unit.
Discharge water from container if the machine will not be operated for a long time.
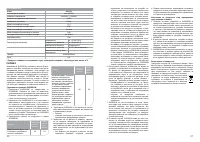
Содержание
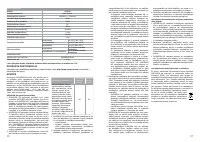
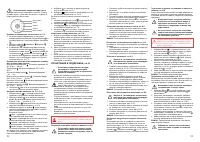
- 40 ИСПОЛЬЗОВаНИЕ; Панель управления сенсорная,; Замену фильтра необходимо проводить; РЕкОмЕНДаЦИИ; • Во время работы прибор нагревается. Не; ИНСТРУкЦИЯ ПО БЕЗОПаСНОСТИ,; Символ опасности; Напоминание пользователю о высоком напряжении.
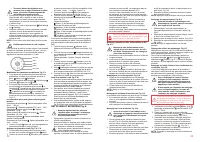
- 42 ВОЗмОЖНЫЕ НЕПОЛаДкИ И СПОСОБЫ ИХ УСТРаНЕНИЯ
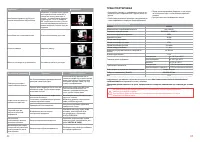
- 43 ТРаНСПОРТИРОВка; Технические характеристики; чИСТка И УХОД
- 44 СЕРВИСНОЕ ОБСЛУЖИВаНИЕ; Условия Гарантийных обязательств
- 45 талон признается недействительным.; ПРЕПОРЪкИ; • Уреда се загрява по време на работа.; Знак за риск от изгаряне; ИНСТРУкЦИИ За БЕЗОПаСНОСТ,


