Грили Fulgor Milano CPH 402 ID TY TC X/2 - инструкция пользователя по применению, эксплуатации и установке на русском языке. Мы надеемся, она поможет вам решить возникшие у вас вопросы при эксплуатации техники.
Если остались вопросы, задайте их в комментариях после инструкции.
"Загружаем инструкцию", означает, что нужно подождать пока файл загрузится и можно будет его читать онлайн. Некоторые инструкции очень большие и время их появления зависит от вашей скорости интернета.

16
17
GB
Setting of the Timer value
- Following the selection of the time, the related LED
flashes as described above. The countdown time
of the desired timer can be set by means of the +/-
buttons.
- Starting with the plus button, the first value displayed
is “01” and progressively increases from 1 to a
maximum value of “99” (upper limit).
- Starting with the minus button, the value displayed on
the indication is “30” and diminishes to “01” (first lower
limit). When this value is reached, an acoustic signal
is emitted. By pressing the minus button again, the
display “00” will not be modified (second lower limit).
- Setting can be performed by permanently pressing
the plus or minus buttons or by intermittently pressing
them (selection: press button, release, press button,
release, etc).
- If the button is permanently pressed, the regulation
speed automatically accelerates, meaning that the
time between one step and the next is reduced, until
the button is released.
- If the Plus or Minus buttons are not pressed within
10 sec. (parameter), after having selected the timer
of the current cooking zone (the display remains on
“00”), the indication and allocation of the +/- buttons
automatically switch to the cooking zone.
- When a timer is used as an alarm, the indication
and allocation of the buttons does not switch to the
cooking zone, being that this cannot be activated.
- The timer normally starts in countdown, if programmed
with two values that are not 0. For example: the timer
starts when the Plus button is released after the timer
value has been set at “01”.
- The timer settings have priority over the delimitation
of the operating time if high cooking levels have been
set.
- If only one alarm has been programmed, the control
remains at first in the standby mode (no other cooking
zone is on). If no other new values are introduced, the
TC behaves as described above and switches to the
OFF mode.
Timer laps/ timer alarm and confirmation
- The last 10 sec. before the timer lapses are displayed
(countdown up to alarm).
- Once the set time of the timer has lapsed, the timer
alarm is activated and the assigned cooking zone is
switched off.
- The display and the selected timer LED flash
alternating the cooking level from “00” to “H”, if there
is residual heat.
- The warning alarm lasts for at least 2 minutes if the
user does not switch it off before.
- The alarm signal switches off after the 2 minutes is up
or if any button is pushed.
The buzzer and the timer control light are switched
off.
Timer off /Modification of the timer setting
- The timer settings can be modified in the Standby
or On mode at any time after the selection has been
made by pressing the Plus or Minus buttons.
- The timer can be switched off, setting it to value “00”,
by pressing the Minus button or by pressing the Plus
and Minus buttons together.
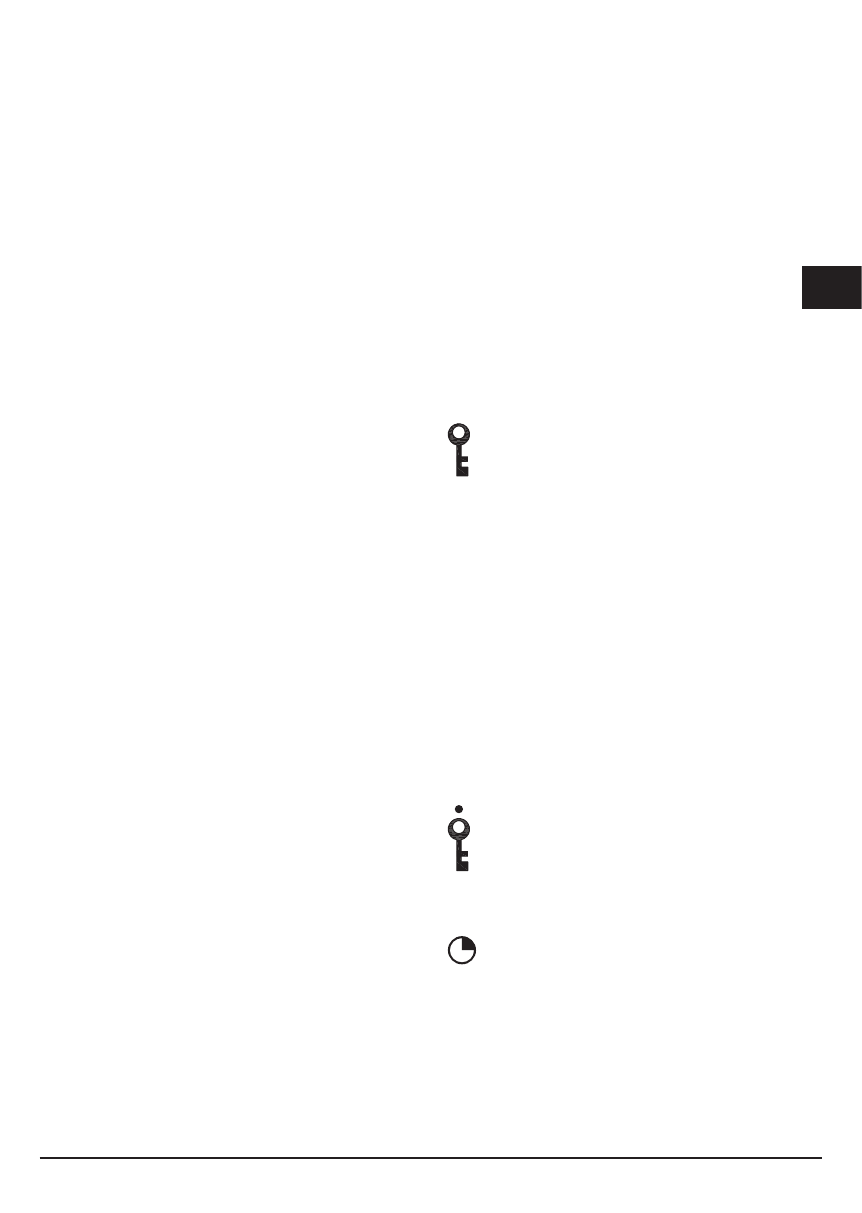
Key Lock (child safety)
Locking/ unlocking of the Key Lock
The keypad is blocked when the Key Lock button is
pressed in the Standby or On mode; the Key-Lock
LED “9” lights permanently.
The control continues to operate in the previously set
mode but can no longer be controlled by other buttons,
except by the Key-Lock button or the ON/OFF button.
Switching off with the ON/OFF button is also possible
when locked. The Key-lock button LED switches off
when the Touch control and Key-Lock function are
switched off. The LED lights again if reactivated (within
10 sec.) until it is deactivated by pressing the Key-Lock
button once again. The activation/ deactivation of the
Key-Lock function is not possible in the OFF mode.
Unlocking/ deactivation of the Key Lock
The keypad is unlocked and the Key-Lock LED is
switched off when the Key-Lock button is pressed again
in the Standby or On mode. All sensor buttons can once
again be activated.
Key-Lock (child safety)
Activation and deactivation
The activation of the key-lock in the pause or active
mode causes the deactivation of the power to both
burners.
The symbol “11” appears on the display. It can only
be totally turned off with the ON/OFF bu on or the
release by activating the key-lock symbol and then the
“+” o “-” symbol a er the beep.
To block the regulation of a burner in safety,
activate the TIMER symbol and the “-” symbol
related to the burner at the same time. The key-lock “9”
LED will light. The control will continue to operate in the
previously set mode and cannot be controlled by other
bu ons, except for switching off with the key-lock bu on.
The release is performed by activating again the TIMER
symbol and the “-” symbol together.
Характеристики
Остались вопросы?Не нашли свой ответ в руководстве или возникли другие проблемы? Задайте свой вопрос в форме ниже с подробным описанием вашей ситуации, чтобы другие люди и специалисты смогли дать на него ответ. Если вы знаете как решить проблему другого человека, пожалуйста, подскажите ему :)


