Водонагреватели Electrolux NPX 6 Sensomatic - инструкция пользователя по применению, эксплуатации и установке на русском языке. Мы надеемся, она поможет вам решить возникшие у вас вопросы при эксплуатации техники.
Если остались вопросы, задайте их в комментариях после инструкции.
"Загружаем инструкцию", означает, что нужно подождать пока файл загрузится и можно будет его читать онлайн. Некоторые инструкции очень большие и время их появления зависит от вашей скорости интернета.


Torq 1.5 User Guide
Chapter 1
86
Torq 1.5 User Guide
Chapter 15
86
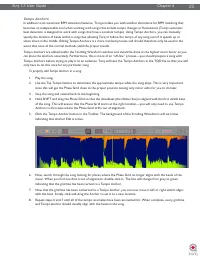
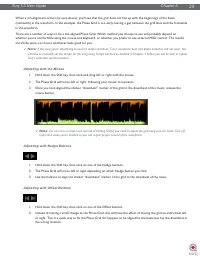
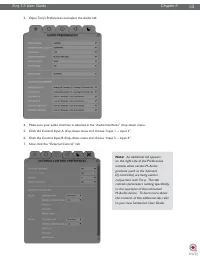
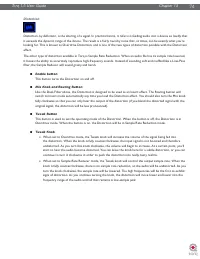
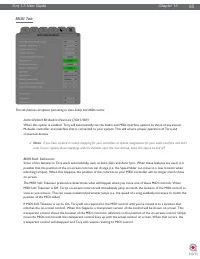
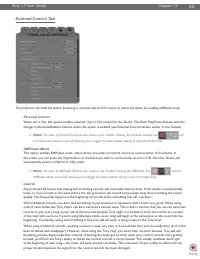
Scratch Sensitivity
This option allows you to configure how rapidly a Deck
will respond to messages sent from a MIDI controller (it
has no effect on External Control with Vinyl or CDs). It is
designed for controllers that will move the waveform back
and forth, typically those with jog wheels.
1. By increasing the number, the Deck will respond
more rapidly.
2. By decreasing the number, the Deck will respond
more slowly.
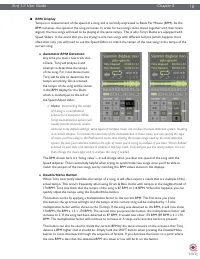
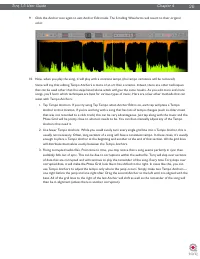
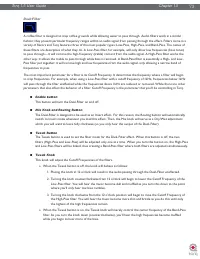
Nudge Sensitivity
This setting allows you to adjust Torq’s sensitivity to
“nudging” or gradually slipping the phase of one deck to
match the phase of the other deck.
By default this parameter is set to 5, however:
1. By increasing the number, the Deck will nudge your
track more rapidly.
2. By decreasing the number, the Deck will nudge
your track more gradually.
Note that this setting differs from the “Scratch Sensitivity”
parameter which changes Torq’s sensitivity to scratches, which
“push” or “pull” your waveform much more quickly and forcefully than a nudge. Unlike a scratch, a nudge very gently slows down
or speeds up a track and is used to fine tune the timing of two tracks.
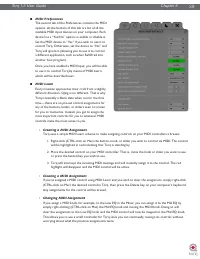
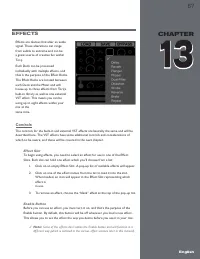
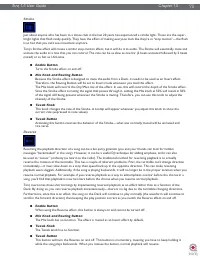
Crossfader Curve Control
This preference allows you to assign a MIDI controller to the Crossfader Curve parameter. You can then control the
Crossfader Curve with a knob or slider on your MIDI controller.
1. Press the button labeled “Learn” to activate it. The button will turn red.
2. Turn a knob on your MIDI controller.
3. Torq will immediately assign the knob to the Crossfader Curve and the button will turn green. Check this by
looking at the Crossfader graphic in the main window while turning the knob.
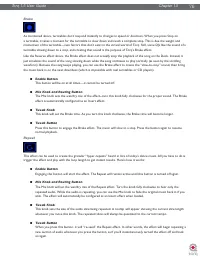
MIDI SHIFT Key
When using Torq, the SHIFT key on your computer’s keyboard is used rather often. This option lets you assign a MIDI
Note to function as “SHIFT” in Torq, thus allowing you to do SHIFT-based combinations (such as SHIFT+Nudge) entirely
from an external MIDI controller. To assign a MIDI note:
1. Press the button labeled “Learn” to activate it. The button will turn red.
2. Push a button or key on your MIDI controller. The MIDI Shift Key button will turn green.
3. Torq will immediately assign the button as a Shift key for use within the program.
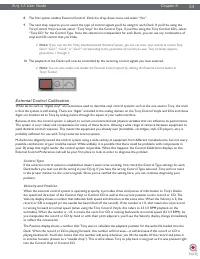
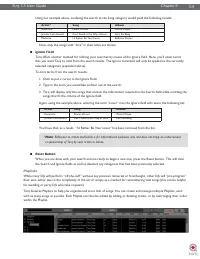
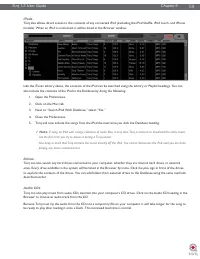
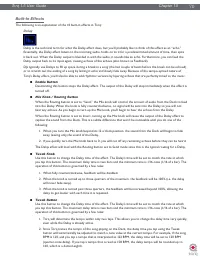
Instant Doubles
Torq will automatically copy the song from one Deck and place it on the other when using the Instant Doubles feature.
This function can be triggered by keys on your computer’s keyboard or with an external MIDI controller. There are two
preferences here—Instant Double A->B will copy the song from Deck A over to Deck B while Instant Doubles B->A will
do the opposite. To assign keys to these actions:
1. Click the button labeled “Learn” to activate it. It will turn red.
2. Push a button or key on your MIDI controller or keyboard. The Learn button will turn green.
3. Torq will immediately assign the key or button to the action—it is now ready for use.
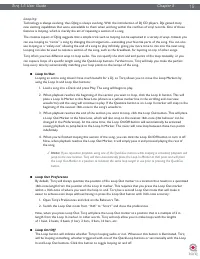
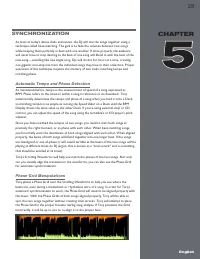
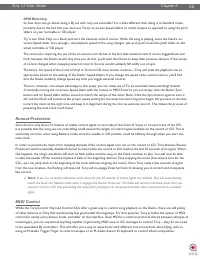
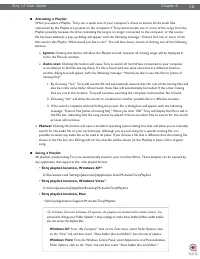
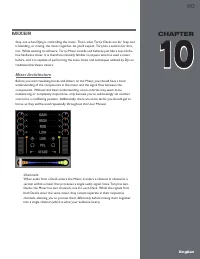
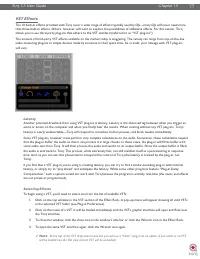
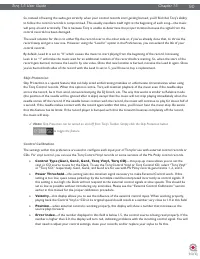
DJ oriented MIDI controllers with turntable
platters will vary in how they handle scratching and
nudging. Certain products will allow you to control
only nudging, while others (such as the M-Audio
Xponent) will allow you to control both nudging
and scratching. Refer to the product’s user guide to
learn if each turntable platter is capable of sending
out both MIDI note and CC information. If so,
assign each turntable’s MIDI note and CC commands
to the corresponding Main Waveform Display in
Torq (this is done using the “MIDI Learn” feature
described in the MIDI Preferences section of this
guide).
If your turntable can only send out MIDI CC
information but not MIDI note data (i.e., the
turntable is not touch sensitive), then you will only
be able to control nudging. Assign the turntable’s
MIDI CC output to control the corresponding Main
Waveform Display in Torq (again, this is done using
the “MIDI Learn” feature described in the MIDI
Preferences section of this guide).


