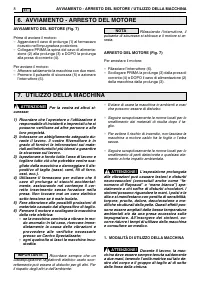
Триммеры Alpina B1.0EJ - инструкция пользователя по применению, эксплуатации и установке на русском языке. Мы надеемся, она поможет вам решить возникшие у вас вопросы при эксплуатации техники.
Если остались вопросы, задайте их в комментариях после инструкции.
"Загружаем инструкцию", означает, что нужно подождать пока файл загрузится и можно будет его читать онлайн. Некоторые инструкции очень большие и время их появления зависит от вашей скорости интернета.


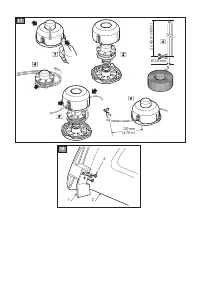

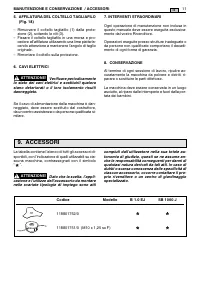
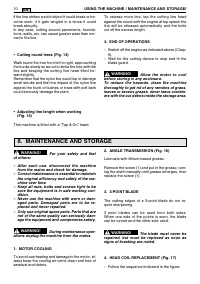

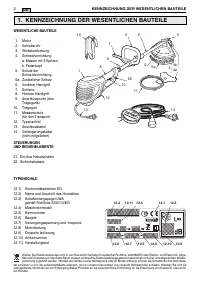
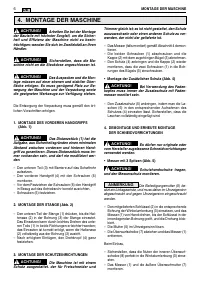


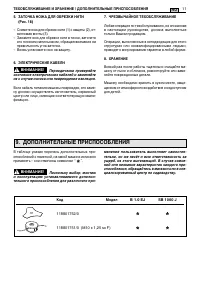


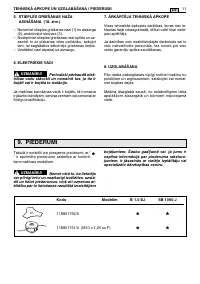


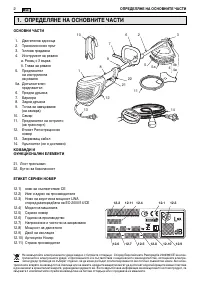
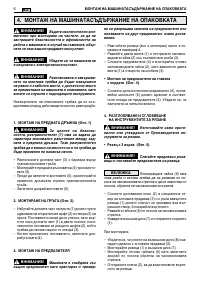


2. ANGLE TRANSMISSION (Fig. 16)
Lubricate with lithium-based grease.
Remove the screw (1) and put in the grease, turn-
ing the shaft manually until grease emerges, then
replace the screw (1).
3. 3-POINT BLADE
The cutting edges of a 3-point blade do not re-
quire sharpening.
3 point blades can be used from both sides.
When one side of the points is worn, the blade
can be turned and the other side used.
The blade must never be
repaired, but must be replaced as soon as
signs of breaking are noted.
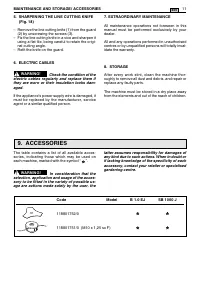
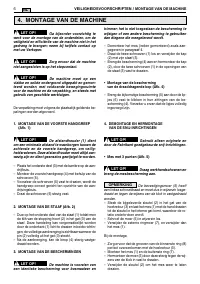
4. HEAD COIL REPLACEMENT (Fig. 17)
– Follow the sequence indicated in the figure.
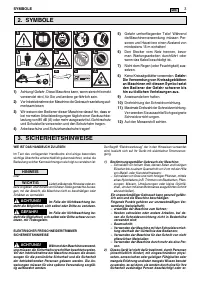
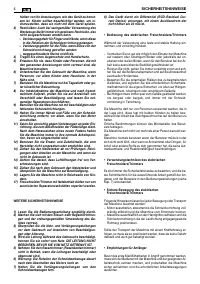
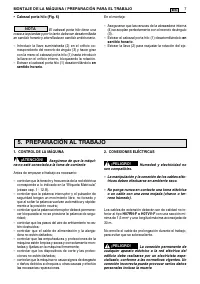
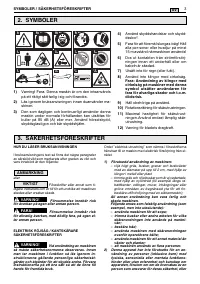
WARNING!
For your safety and that
of others:
– After each use, disconnect the machine
from the mains and check for damage.
– Correct maintenance is essential to maintain
the original efficiency and safety of the ma-
chine over time.
– Keep all nuts, bolts and screws tight to be
sure the equipment is in safe working con-
dition.
– Never use the machine with worn or dam-
aged parts. Damaged parts are to be re-
placed and never repaired.
– Only use original spare parts. Parts that are
not of the same quality can seriously dam-
age the equipment and compromise safety.
During maintenance oper-
ations unplug the machine from the mains.
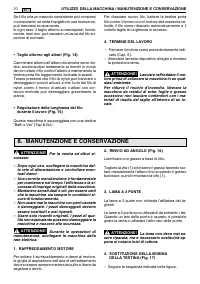
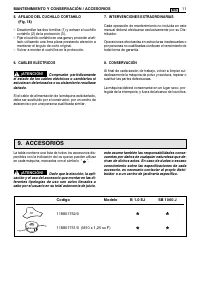
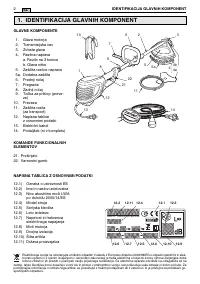
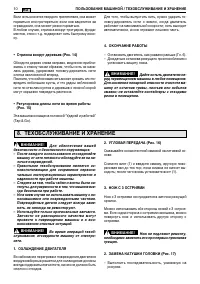
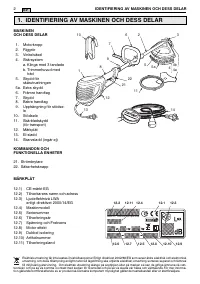
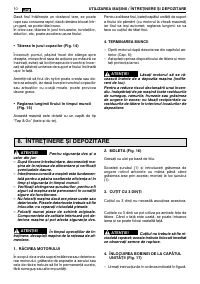
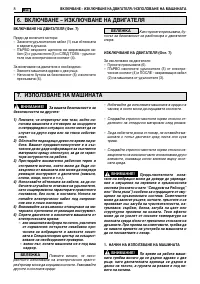
1. MOTOR COOLING
To avoid overheating and damage to the motor, al-
ways keep the cooling air vents clean and free of
sawdust and debris.
WARNING!
WARNING!
To release more line, tap the cutting line head
against the round with the engine at top speed: the
line will be released automatically and the knife
cut off the excess length.
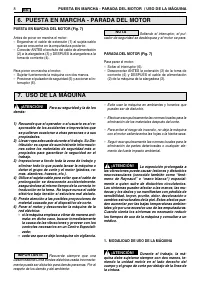
4. END OF OPERATIONS
– Switch off the engine as indicated above (Chap.
6).
– Wait for the cutting device to stop and fit the
blade guard.
Allow the motor to cool
before storing in any enclosure.
To reduce fire hazards, clean the machine
thoroughly to get rid of any remains of grass,
leaves or excess grease, never leave contain-
ers with the cut debris inside the storage area.
WARNING!
If the line strikes a solid object it could break or be-
come worn; if it gets tangled in a fence it could
break abruptly.
In any case, cutting around pavements, founda-
tions, walls, etc. can cause greater wear than nor-
mal in the line.
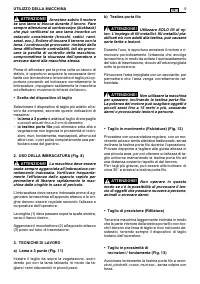
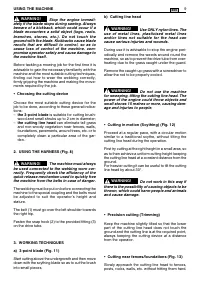
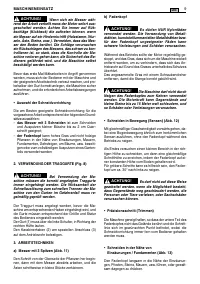
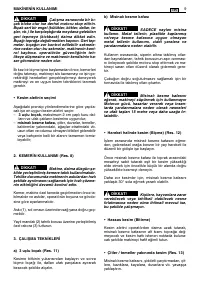
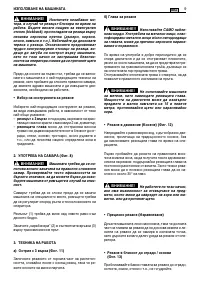
• Cutting round trees (Fig. 14)
Walk round the tree from left to right, approaching
the trunks slowly so as not to strike the tree with the
line and keeping the cutting line head tilted for-
ward slightly.
Remember that the nylon line could lop or damage
small shrubs and that the impact of the nylon line
against the trunk of bushes or trees with soft bark
could seriously damage the plant.
•
Adjusting line length when working
(Fig. 15)
This machine is fitted with a “Tap & Go” head.
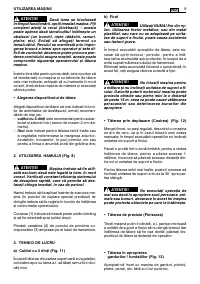
10
USING THE MACHINE / MAINTENANCE AND STORAGE/
EN
8. MAINTENANCE AND STORAGE
Содержание
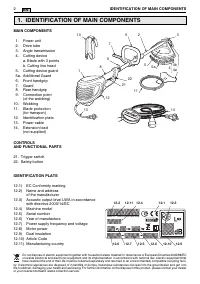
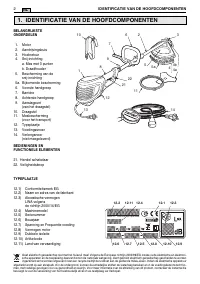
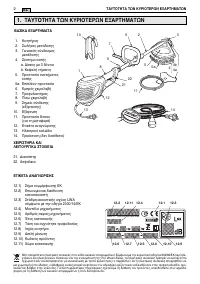
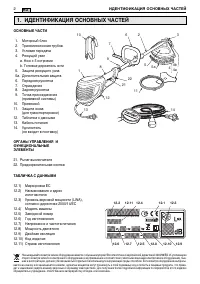
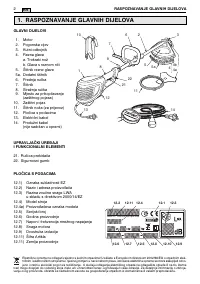
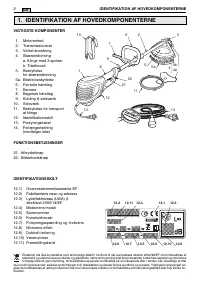
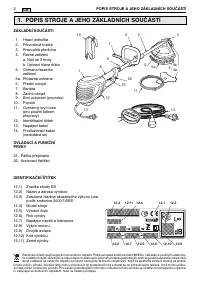
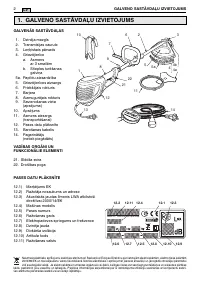
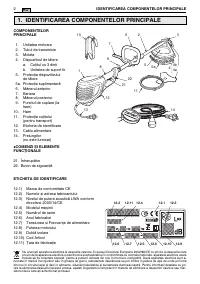
- 140 ИДЕНТИФИKАЦИЯ ОСНОВНЫХ ЧАСТЕЙ
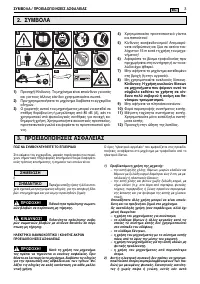
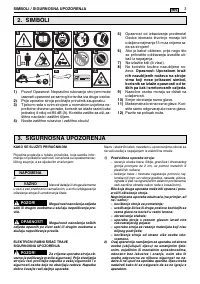
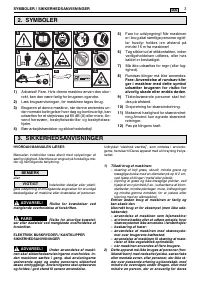
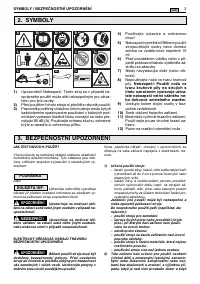
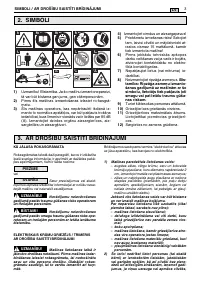
- 141 МЕРЫ ПРЕДОСТОРОЖНОСТИ ДЛЯ ОБЕСПЕЧЕНИЯ БЕЗОПАСНОСТИ
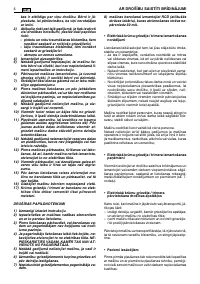
- 142 МЕРЫ ПРЕДОСТОРОЖНОСТИ ДЛЯ ОБЕСПЕЧЕНИЯ БЕЗОПАСНОСТИ
- 144 ПРИМЕЧАНИЕ
- 145 ПОДГОТОВKА K РАБОТЕ; по часовой стрелке
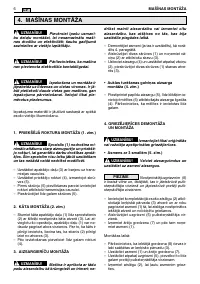
- 146 ПОЛЬЗОВАНИЕ МАШИНОЙ
- 148 ТЕХОБСЛУЖИВАНИЕ И ХРАНЕНИЕ
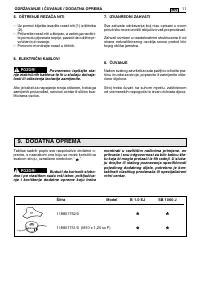
- 149 ДОПОЛНИТЕЛЬНЫЕ ПРИСПОСОБЛЕНИЯ
- 150 ТЕХНИЧЕСКИЕ ДАННЫЕ
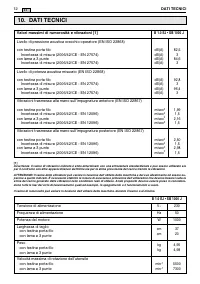
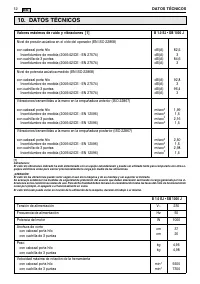
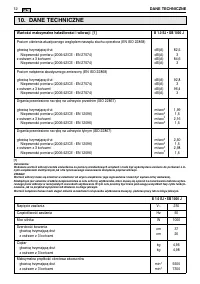
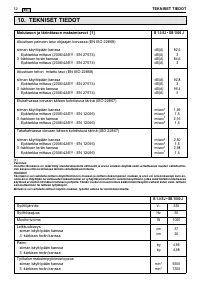
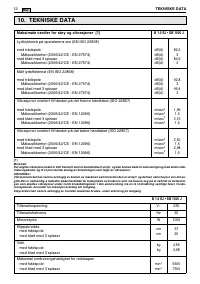
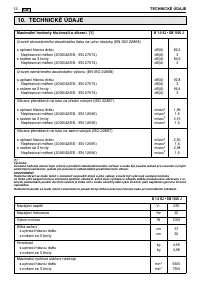
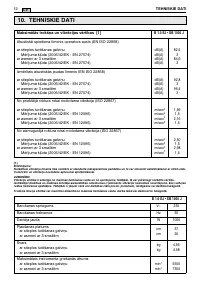
Характеристики

Остались вопросы?Не нашли свой ответ в руководстве или возникли другие проблемы? Задайте свой вопрос в форме ниже с подробным описанием вашей ситуации, чтобы другие люди и специалисты смогли дать на него ответ. Если вы знаете как решить проблему другого человека, пожалуйста, подскажите ему :)


