
Швейная машина Janome DC 4030 - инструкция пользователя по применению, эксплуатации и установке на русском языке. Мы надеемся, она поможет вам решить возникшие у вас вопросы при эксплуатации техники.
Если остались вопросы, задайте их в комментариях после инструкции.
"Загружаем инструкцию", означает, что нужно подождать пока файл загрузится и можно будет его читать онлайн. Некоторые инструкции очень большие и время их появления зависит от вашей скорости интернета.


33
q
w
e
Applique
q
Stitch pattern:
w
Needle thread tension:
A
e
Presser foot:
Satin stitch foot: F
r
Presser foot pressure lever: 2 or 1
q
w
e
r
q
Applique fabric
w
Slit
e
Edge
Applique, a technique for stitching fabric shapes onto
another fabric, opens limitless design possibilities.
Dimension and texture can be added by lightly stuffing
all or par t of design. This machine has several different
patterns that can be used to enhance your applique.
In this type of applique, raw edges are folded under. First
cut the applique design out of cardboard. Next, place the
cardboard design on the fabric. Then cut the fabric
slightly larger than the cardboard. Fold the fabric raw
edge around the cardboard and press to form a perfectly
shaped design.
Remove the cardboard. Tape or pin the applique in place
and sew, using the slit on the satin stitch foot as a guide
next to the folded edge of the applique.
q
w
w
q
w
e
Patchwork
q
Stitch pattern:
w
Thread tension dial:
A
e
Presser foot:
Satin stitch foot: F
• To sew
q
Wrong side of fabric
w
Right side of fabric
Sew seam with straight stitch pattern 1 and press seam
allowance to open. Sew pattern stitch pattern 7 on right
side of garment centering over the seam line.
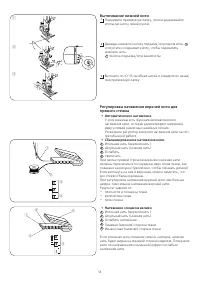
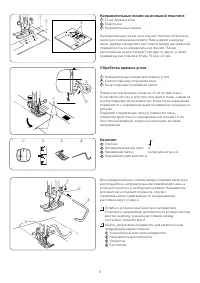
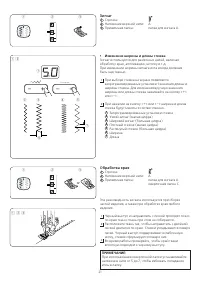
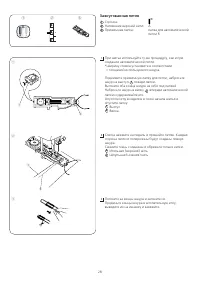
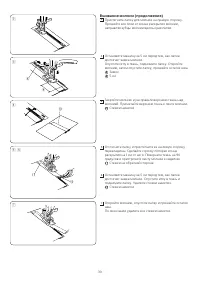
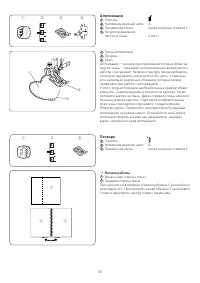
Аппликация
Строчка:
Натяжение верхней нити:
А
Прижимная лапка:
лапка атласных стежков F
Регулятор давления
лапки на ткань:
2 или 1
Ткань аппликации
Прорезь
Край
Аппликация – техника пристрачивания готовых форм на
другую ткань – открывает неограниченные возможности
работы с рисунками. Размер и текстуру можно добавить,
слегка распушив весь рисунок или его часть. У машины
есть несколько различных образцов, которые можно
применять при работе с аппликацией.
У этого типа аппликации необработанные края загибают
вовнутрь. Сначала вырежьте рисунок из картона. Затем
положите картон на ткань. Далее отрежьте ткань немного
больше размера картона. Подложите необработанные
края ткань под картон и прижмите, создайте форму.
Уберите картон. Приметайте или приколите булавками
аппликацию на нужное место. Прошейте по всей длине,
используя прорезь в лапке как направитель, идущий
вдоль сложенного края аппликации.
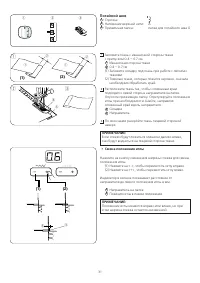
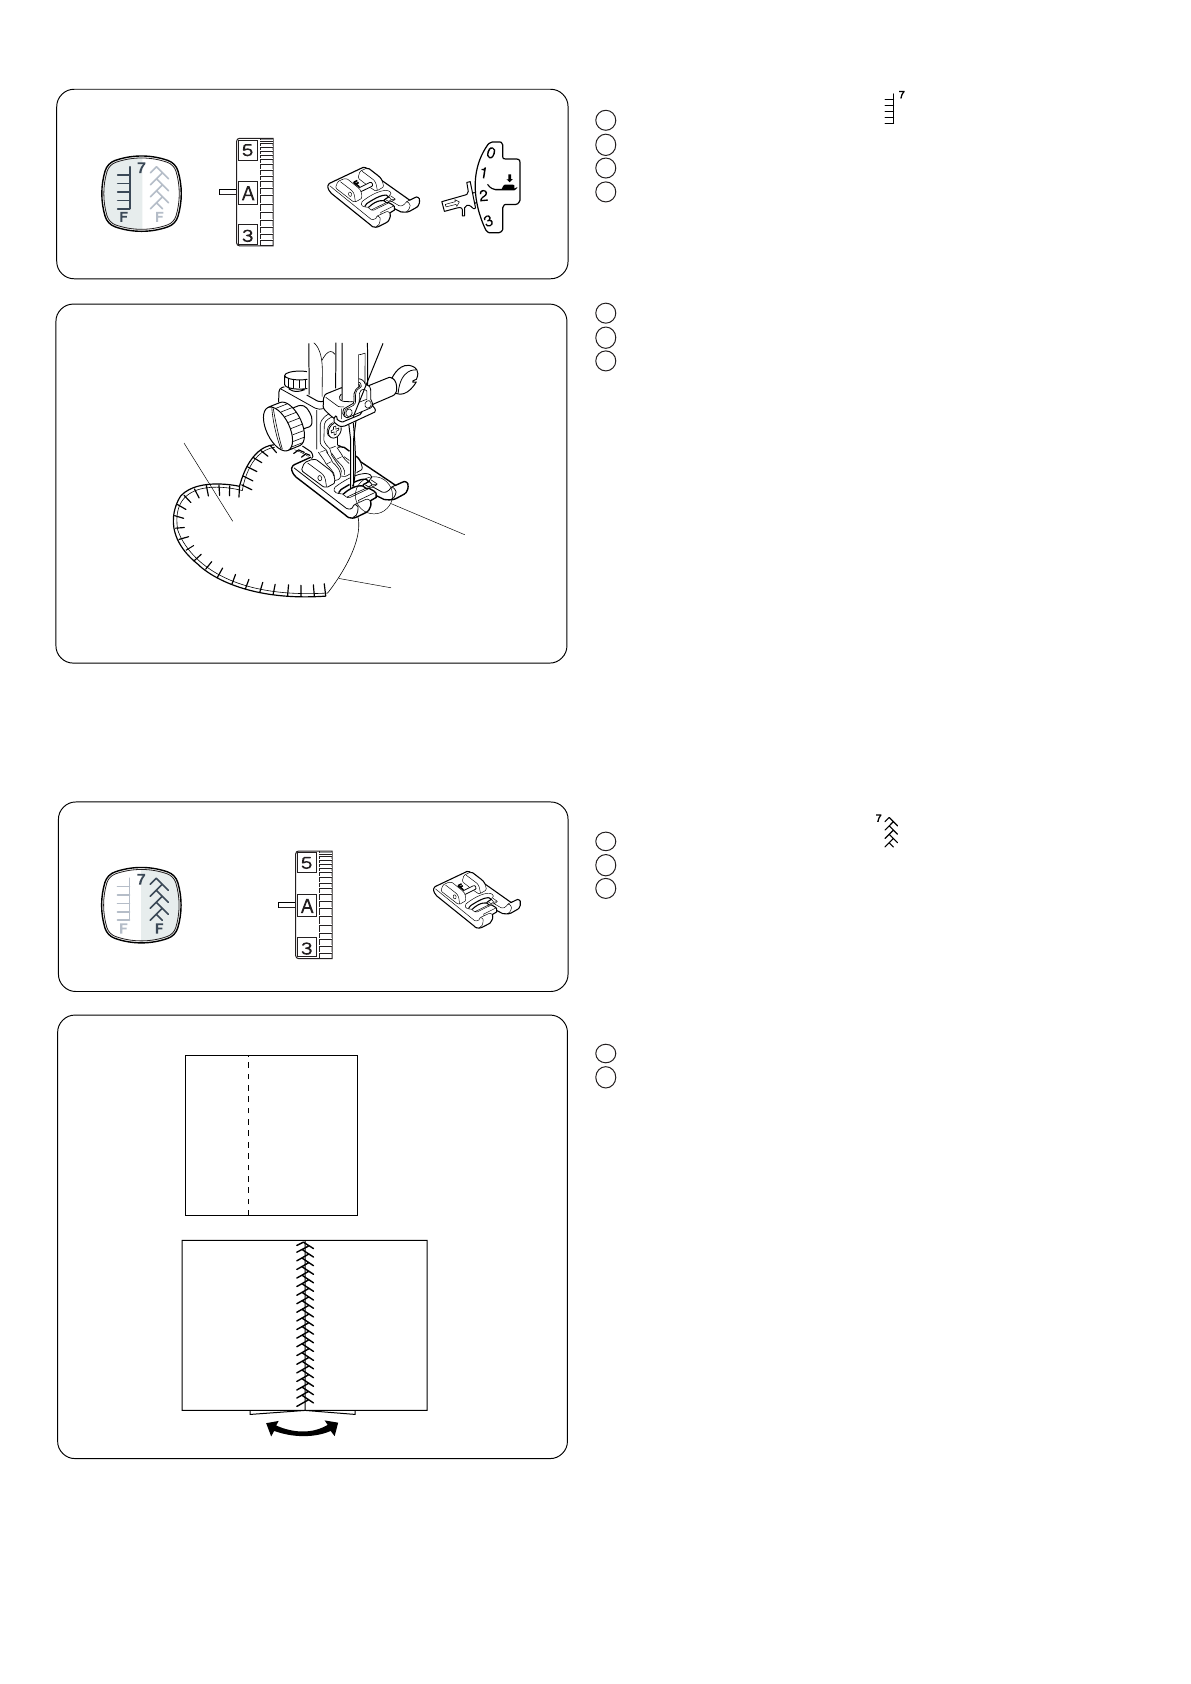
Пэчворк
Строчка:
Натяжение верхней нити:
А
Прижимная лапка:
лапка атласных стежков F
• Начало работы
Изнаночная сторона ткани
Лицевая сторона ткани
Прострочите шов прямым стежком образца 1, раскройте и
разгладьте его. Прострочите стежки образца 7 на лицевой
стороне изделия по центру поверх линии шва.
33
q
w
e
Applique
q
Stitch pattern:
w
Needle thread tension:
A
e
Presser foot:
Satin stitch foot: F
r
Presser foot pressure lever: 2 or 1
q
w
e
r
q
Applique fabric
w
Slit
e
Edge
Applique, a technique for stitching fabric shapes onto
another fabric, opens limitless design possibilities.
Dimension and texture can be added by lightly stuffing
all or par t of design. This machine has several different
patterns that can be used to enhance your applique.
In this type of applique, raw edges are folded under. First
cut the applique design out of cardboard. Next, place the
cardboard design on the fabric. Then cut the fabric
slightly larger than the cardboard. Fold the fabric raw
edge around the cardboard and press to form a perfectly
shaped design.
Remove the cardboard. Tape or pin the applique in place
and sew, using the slit on the satin stitch foot as a guide
next to the folded edge of the applique.
q
w
w
q
w
e
Patchwork
q
Stitch pattern:
w
Thread tension dial:
A
e
Presser foot:
Satin stitch foot: F
• To sew
q
Wrong side of fabric
w
Right side of fabric
Sew seam with straight stitch pattern 1 and press seam
allowance to open. Sew pattern stitch pattern 7 on right
side of garment centering over the seam line.
33
1
2
3
1
2
3
1
2
3
1
2
4
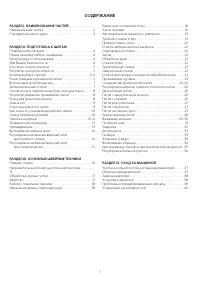
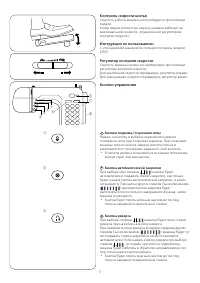
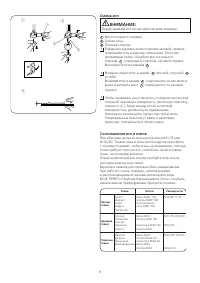
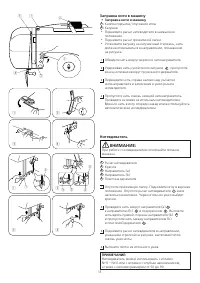
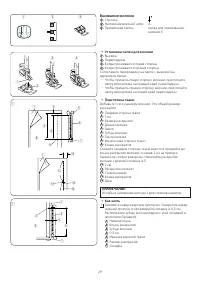
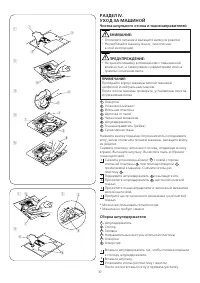
Содержание
- 3 СОДЕРЖАНИЕ
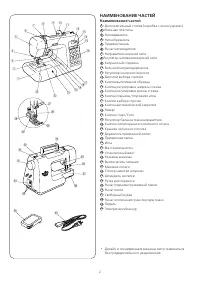
- 4 НАИМЕНОВАНИЕ ЧАСТЕЙ; Наименование частей
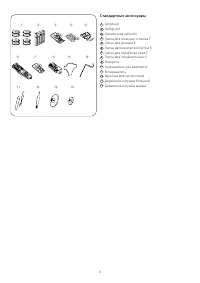
- 5 Стандартные аксессуары
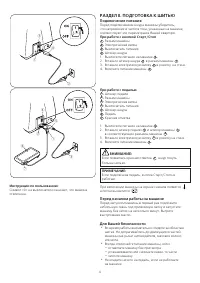
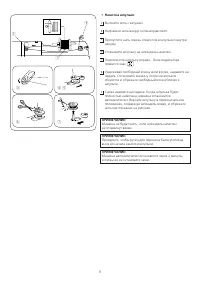
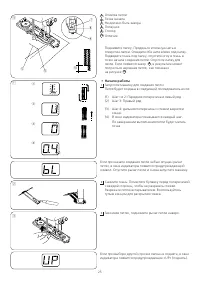
- 6 РАЗДЕЛ II. ПОДГОТОВКА К ШИТЬЮ; Подключение питания; При работе с кнопкой Старт/Стоп; Перед началом работы на машине; Инструкции по пользованию:
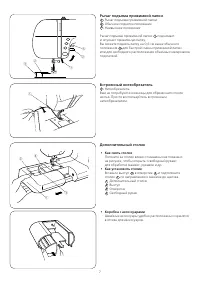
- 7 Кнопка подъема/опускания иглы
- 8 Кнопка вытягивания
- 9 Как снять столик
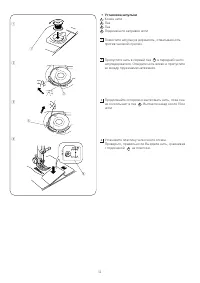
- 13 • Намотка шпульки; v b
- 14 • Установка шпульки
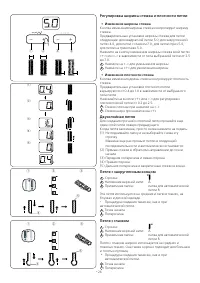
- 15 Заправка нити в машину; • Заправка нити в машину; Нитевдеватель
- 16 • Автоматическое натяжение
- 17 • Натяжение слишком слабое; Регулировка натяжения верхней нити; • Сбалансированное натяжение нити
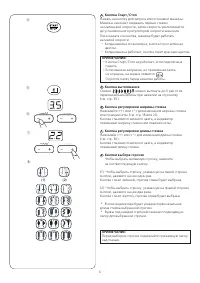
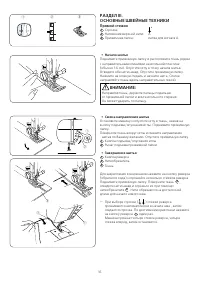
- 18 ОСНОВНЫЕ ШВЕЙНЫЕ ТЕХНИКИ; Прямой стежок; • Начало шитья
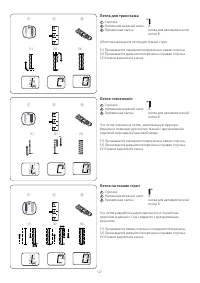
- 23 Зигзаг; Изменение ширины и длины стежка; Обработка края; z x; z x c; or
- 25 Пришивание пуговиц; z x c v b
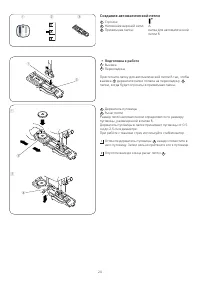
- 26 Создание автоматической петли; • Подготовка к работе
- 28 Double Layer Buttonhole; • To change the stitch width; Регулировка ширины стежка и плотности петли; • Изменение ширины стежка; Двухслойная петля; Round End Buttonhole; • To change the stitch width; Double Layer Buttonhole
- 29 Faux Chain Buttonhole
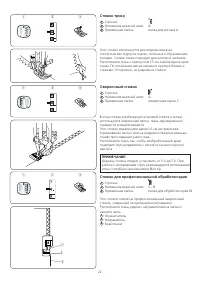
- 31 • Установка лапки для молнии; Zipper Sewing
- 32 b n
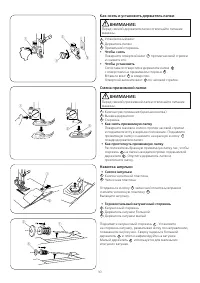
- 33 Blind Hemming; Blind Hemming; • Adjusting the needle drop position; Blind Hemming
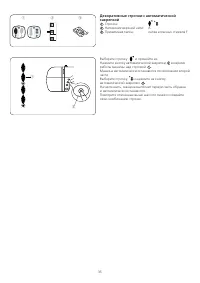
- 34 • To sew a shorter tack; • Короткая закрепка; Bartacking; • To sew a shorter tack
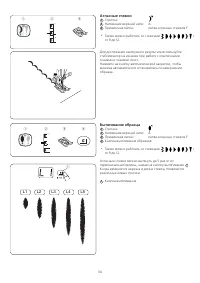
- 35 Applique; Аппликация; • Начало работы; Applique; • To sew; Applique; Patchwork; • To sew
- 36 Elongation
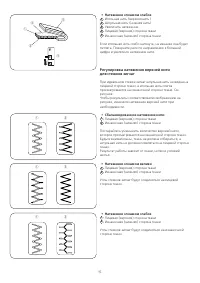
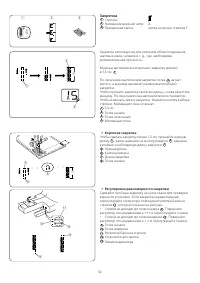
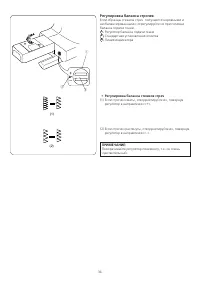
- 38 Регулировка баланса строчек; • Регулировка баланса стежков стреч; Adjusting Pattern Balance; Feed balancing dial; turning the dial in the direction of “+”.; • Adjusting distorted stretch stitch patterns
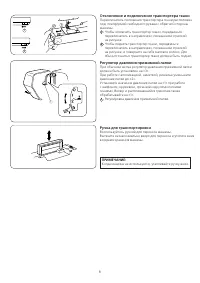
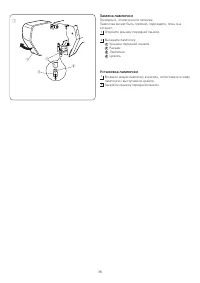
- 39 УХОД ЗА МАШИНОЙ; Чистка шпульного отсека и тканенаправителей; SECTION IV. CARE OF YOUR MACHINE
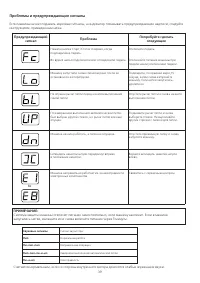
- 41 Проблемы и предупреждающие сигналы; Предупреждающий
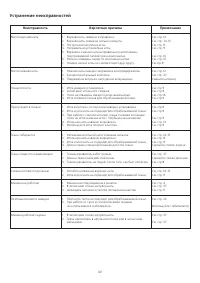
- 42 Устранение неисправностей


