
Швейная машина Janome DC 4030 - инструкция пользователя по применению, эксплуатации и установке на русском языке. Мы надеемся, она поможет вам решить возникшие у вас вопросы при эксплуатации техники.
Если остались вопросы, задайте их в комментариях после инструкции.
"Загружаем инструкцию", означает, что нужно подождать пока файл загрузится и можно будет его читать онлайн. Некоторые инструкции очень большие и время их появления зависит от вашей скорости интернета.


28
q
w
z
x
e
r
c
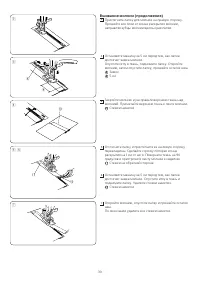
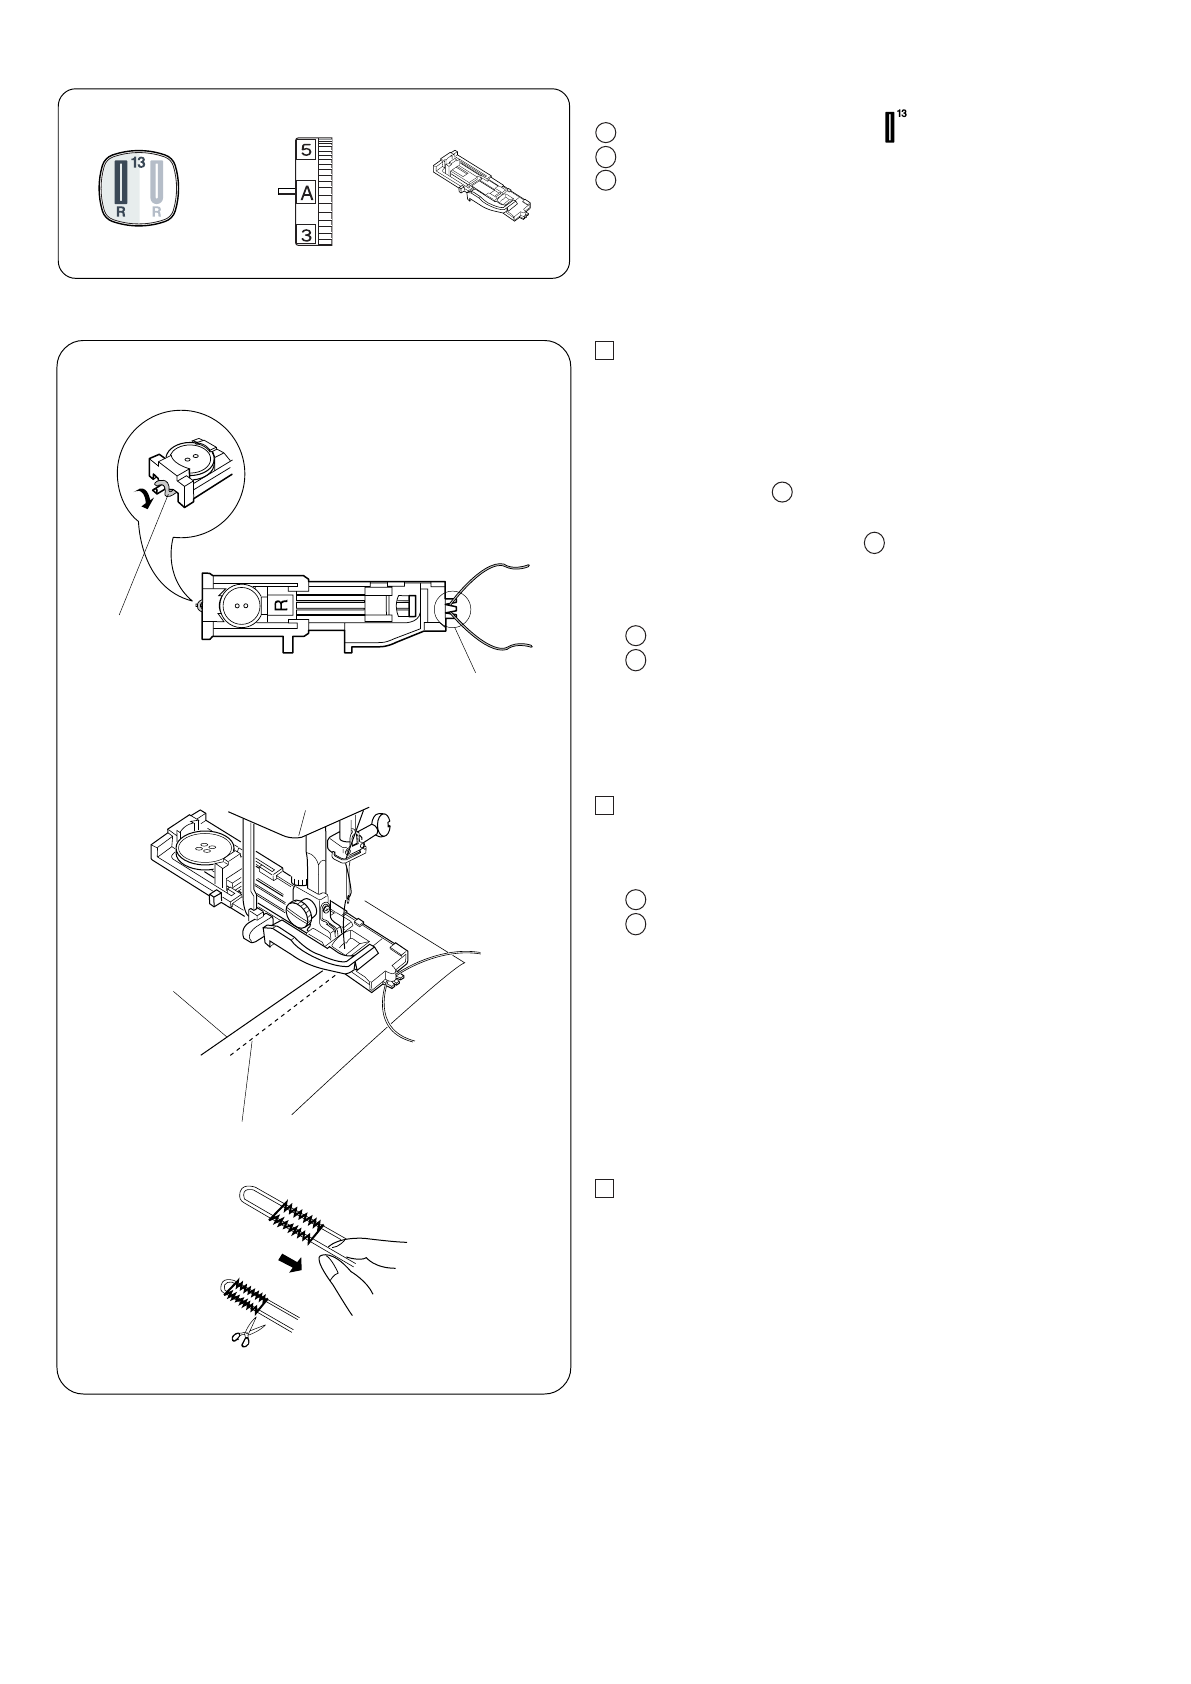
Corded Buttonhole
q
Stitch pattern:
w
Thread tension dial:
A
e
Presser foot:
Automatic buttonhole foot: R
z
Use the same procedure as the automatic buttonhole
procedure.
* Set the stitch width to match the thickness of the cord
used.
With the buttonhole foot raised, hook the filler cord on
the spur
q
at the back of the buttonhole foot.
Bring the ends toward you under the buttonhole foot,
clearing the front end.
Hook the filler cord into the forks
w
on the front of the
automatic buttonhole foot to hold them tight.
Lower the needle into the garment where the buttonhole
will start, and lower the foot.
q
Spur
w
Forks
x
Depress the foot control gently, and sew the buttonhole.
Each side of the buttonhole and the bar tacks will be
sewn over the cord.
Remove the fabric from the machine, and cut the
sewing threads only.
e
Needle thread (Top thread)
r
Bobbin thread (Bottom thread)
c
Pull the loose ends of the filler cord to tighten it.
Thread the end of the cord through a hand-sewing
needle. Then draw them to the wrong side of the fabric
and knot.
q
w
e
1
2
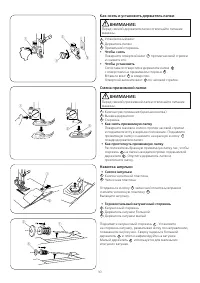
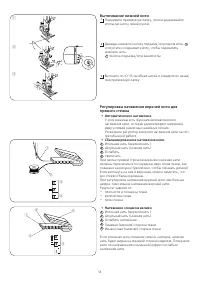
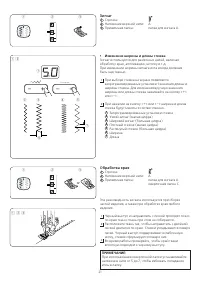
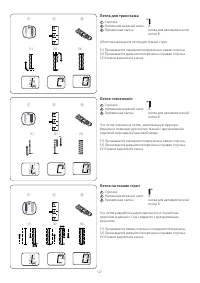
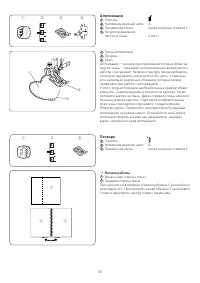
Зажгутованная петля
Строчка:
Натяжение верхней нити:
А
Прижимная лапка:
лапка для автоматической
петли R
При шитье используйте ту же процедуру, как и при
создании автоматической петли.
* Ширину стежка установите в соответствии
с толщиной используемого шнура.
Поднимите прижимную лапку для петли, набросьте
шнур на выступ позади лапки.
Вытяните оба конца шнура на себя под лапкой.
Набросьте шнур на вилку впереди автоматической
лапки и удерживайте его.
Опустите иглу в изделие в точке начала шитья и
опустите лапку.
Выступ
Вилка
Слегка нажмите на педаль и прошейте петлю. Каждая
сторона петли и поперечины будут созданы поверх
шнура.
Снимите ткань с машины и обрежьте только нитки.
Игольная (верхняя) нить
Шпульная (нижняя) нить
Потяните за концы шнура и затяните их.
Проденьте концы шнура в штопательную иглу,
выведите их на изнанку и завяжите.
28
q
w
z
x
e
r
c
Corded Buttonhole
q
Stitch pattern:
w
Thread tension dial:
A
e
Presser foot:
Automatic buttonhole foot: R
z
Use the same procedure as the automatic buttonhole
procedure.
* Set the stitch width to match the thickness of the cord
used.
With the buttonhole foot raised, hook the filler cord on
the spur
q
at the back of the buttonhole foot.
Bring the ends toward you under the buttonhole foot,
clearing the front end.
Hook the filler cord into the forks
w
on the front of the
automatic buttonhole foot to hold them tight.
Lower the needle into the garment where the buttonhole
will start, and lower the foot.
q
Spur
w
Forks
x
Depress the foot control gently, and sew the buttonhole.
Each side of the buttonhole and the bar tacks will be
sewn over the cord.
Remove the fabric from the machine, and cut the
sewing threads only.
e
Needle thread (Top thread)
r
Bobbin thread (Bottom thread)
c
Pull the loose ends of the filler cord to tighten it.
Thread the end of the cord through a hand-sewing
needle. Then draw them to the wrong side of the fabric
and knot.
q
w
e
28
1
2
3
1
2
3
1
3
4
2
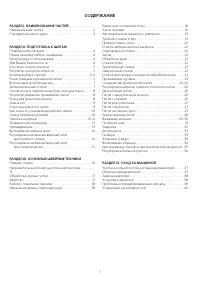
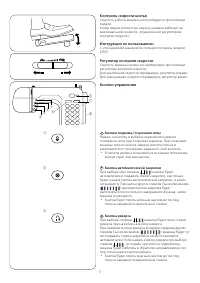
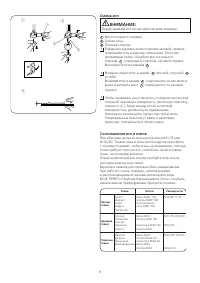
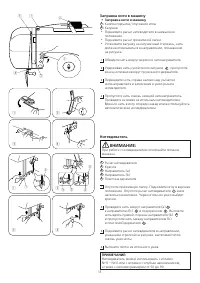
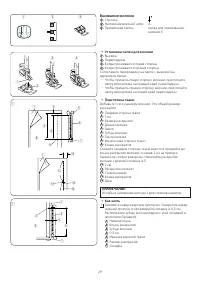
Содержание
- 3 СОДЕРЖАНИЕ
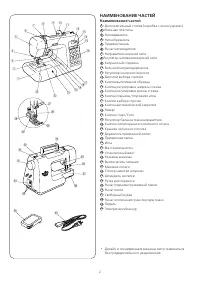
- 4 НАИМЕНОВАНИЕ ЧАСТЕЙ; Наименование частей
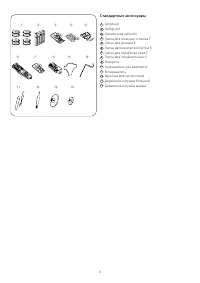
- 5 Стандартные аксессуары
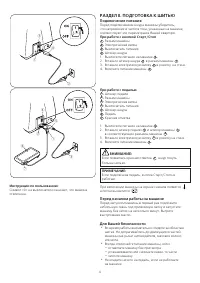
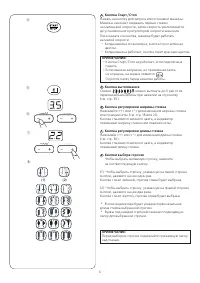
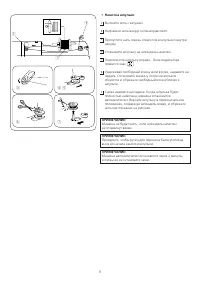
- 6 РАЗДЕЛ II. ПОДГОТОВКА К ШИТЬЮ; Подключение питания; При работе с кнопкой Старт/Стоп; Перед началом работы на машине; Инструкции по пользованию:
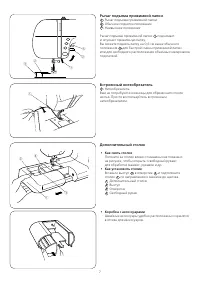
- 7 Кнопка подъема/опускания иглы
- 8 Кнопка вытягивания
- 9 Как снять столик
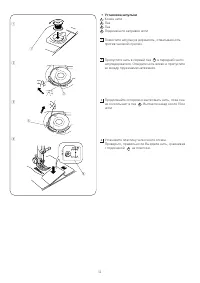
- 13 • Намотка шпульки; v b
- 14 • Установка шпульки
- 15 Заправка нити в машину; • Заправка нити в машину; Нитевдеватель
- 16 • Автоматическое натяжение
- 17 • Натяжение слишком слабое; Регулировка натяжения верхней нити; • Сбалансированное натяжение нити
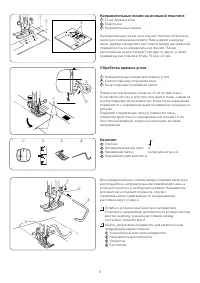
- 18 ОСНОВНЫЕ ШВЕЙНЫЕ ТЕХНИКИ; Прямой стежок; • Начало шитья
- 23 Зигзаг; Изменение ширины и длины стежка; Обработка края; z x; z x c; or
- 25 Пришивание пуговиц; z x c v b
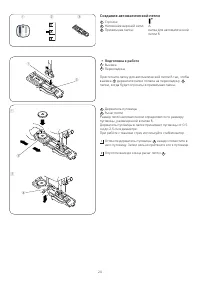
- 26 Создание автоматической петли; • Подготовка к работе
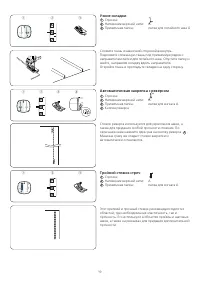
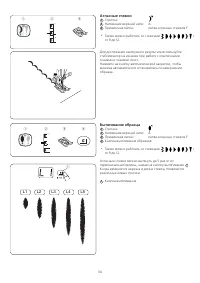
- 28 Double Layer Buttonhole; • To change the stitch width; Регулировка ширины стежка и плотности петли; • Изменение ширины стежка; Двухслойная петля; Round End Buttonhole; • To change the stitch width; Double Layer Buttonhole
- 29 Faux Chain Buttonhole
- 31 • Установка лапки для молнии; Zipper Sewing
- 32 b n
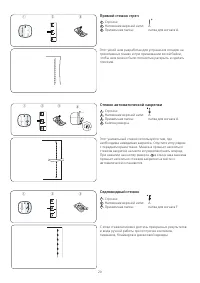
- 33 Blind Hemming; Blind Hemming; • Adjusting the needle drop position; Blind Hemming
- 34 • To sew a shorter tack; • Короткая закрепка; Bartacking; • To sew a shorter tack
- 35 Applique; Аппликация; • Начало работы; Applique; • To sew; Applique; Patchwork; • To sew
- 36 Elongation
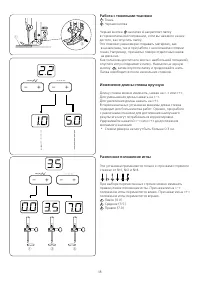
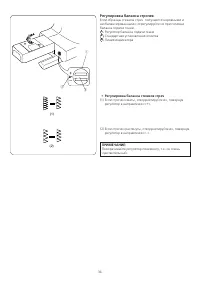
- 38 Регулировка баланса строчек; • Регулировка баланса стежков стреч; Adjusting Pattern Balance; Feed balancing dial; turning the dial in the direction of “+”.; • Adjusting distorted stretch stitch patterns
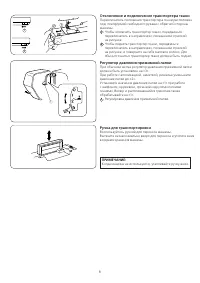
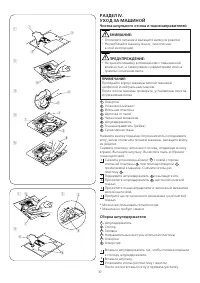
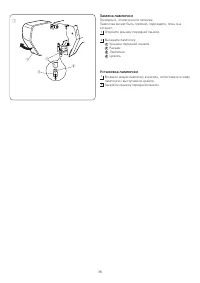
- 39 УХОД ЗА МАШИНОЙ; Чистка шпульного отсека и тканенаправителей; SECTION IV. CARE OF YOUR MACHINE
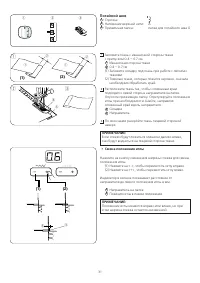
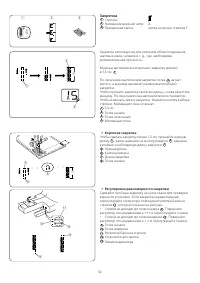
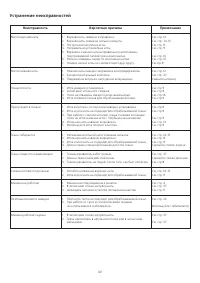
- 41 Проблемы и предупреждающие сигналы; Предупреждающий
- 42 Устранение неисправностей


