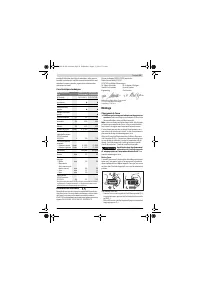
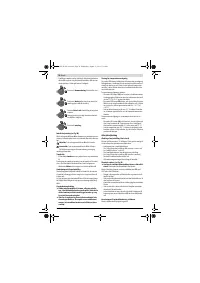
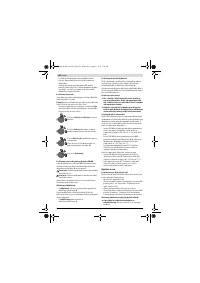
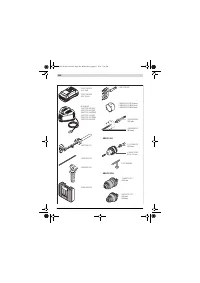
Перфораторы Bosch SDS Plus GBH 36 FV LI - инструкция пользователя по применению, эксплуатации и установке на русском языке. Мы надеемся, она поможет вам решить возникшие у вас вопросы при эксплуатации техники.
Если остались вопросы, задайте их в комментариях после инструкции.
"Загружаем инструкцию", означает, что нужно подождать пока файл загрузится и можно будет его читать онлайн. Некоторые инструкции очень большие и время их появления зависит от вашей скорости интернета.


English |
19
Bosch Power Tools
1 609 929 V40 | (17.8.11)
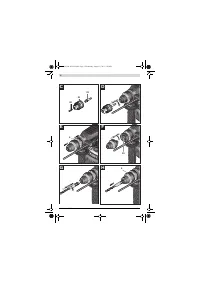
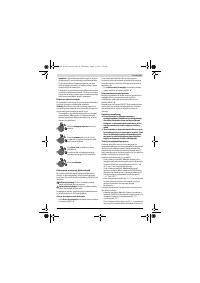
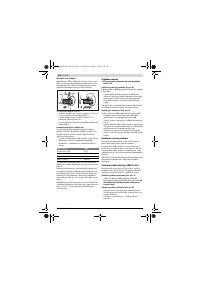
– Firmly hold the retaining ring
25
of the quick change
chuck. Open the tool holder by turning the front sleeve
24
until the tool can be inserted. Tightly hold the retaining ring
25
and firmly turn the front sleeve
24
in the direction of the
arrow until a distinct latching noise can be heard.
– Check the tight seating by pulling the tool.
Note:
If the tool holder was opened to the stop, then the latch-
ing noise possibly may be heard while closing the tool holder
and the tool holder will not close.
In this case, turn the front sleeve
24
once in the opposite di-
rection of the arrow. Afterwards, the tool holder can be
closed (tightened) again.
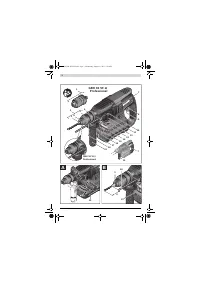
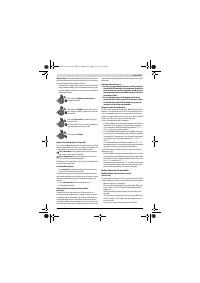
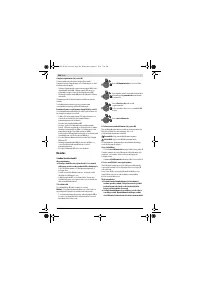
– Turn the mode selector switch
11
to the “drilling” position.
Removing Drilling Tools without SDS-plus (GBH 36 VF-LI)
(see figure J)
– Firmly hold the retaining ring
25
of the quick change
chuck. Open the tool holder by turning the front sleeve
24
in the direction of the arrow until the tool can be removed.
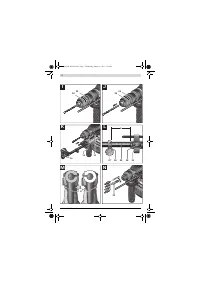
Dust Extraction with the Dust Extraction Attach-
ment (Accessory)
f
Dusts from materials such as lead-containing coatings,
some wood types, minerals and metal can be harmful to
one’s health. Touching or breathing-in the dusts can cause
allergic reactions and/or lead to respiratory infections of
the user or bystanders.
Certain dusts, such as oak or beech dust, are considered
as carcinogenic, especially in connection with wood-treat-
ment additives (chromate, wood preservative). Materials
containing asbestos may only be worked by specialists.
– As far as possible, use a dust extraction system suita-
ble for the material.
– Provide for good ventilation of the working place.
– It is recommended to wear a P2 filter-class respirator.
Observe the relevant regulations in your country for the
materials to be worked.
f
Prevent dust accumulation at the workplace.
Dusts can
easily ignite.
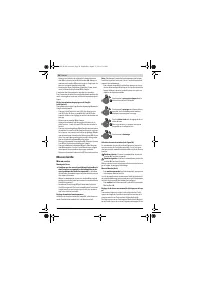
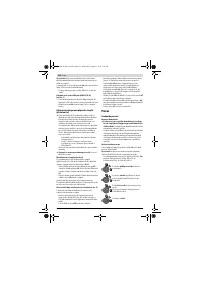
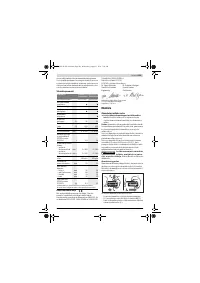
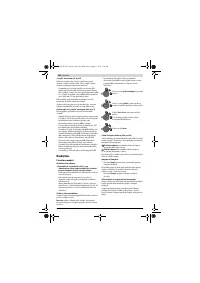
Mounting the Dust Extraction Attachment (see figure K)
For dust extraction, the dust extraction attachment (accesso-
ry) is required. When drilling, the dust extraction attachment
retracts so that the attachment head is always close to the
surface at the drill hole.
– Press the button for depth stop adjustment
13
and remove
the depth stop
18
. Press button
13
again and insert the
dust extraction attachment into the auxiliary handle
19
from the front.
– Connect an extraction hose (diameter 19 mm, accessory)
to the extraction sleeve
26
of the dust extraction attach-
ment.
The vacuum cleaner must be suitable for the material being
worked.
When vacuuming dry dust that is especially detrimental to
health or carcinogenic, use a special vacuum cleaner.
Adjusting the Drilling Depth on the Dust Extraction At-
tachment (see figure L)
The required drilling depth
X
can also be adjusted when the
dust extraction attachment is mounted.
– Insert the SDS-plus drilling tool to the stop into the SDS-
plus tool holder
3
. Otherwise, the movability of the SDS-
plus drilling tool can lead to incorrect adjustment of the
drilling depth.
– Loosen the wing bolt
30
on the dust extraction attach-
ment.
– Without switching the power tool on, apply it firmly to the
drilling location. The SDS-plus drilling tool must face
against the surface.
– Position the the guide pipe
31
of the dust extraction at-
tachment in its holding fixture in such a manner that the
head of the dust extraction attachment faces against the
surface to be drilled. Do not slide the guide pipe
31
further
over the telescopic pipe
29
of the dust extraction attach-
ment than required, so that as much as possible of the
scale
29
on the telescopic pipe remains visible.
– Retighten the wing bolt
30
again. Loosen the clamping
screw
27
on the depth stop of the dust extraction attach-
ment.
– Move the depth stop
28
on the telescopic pipe
29
in such
a manner that the clearance
X
shown in the figure corre-
sponds with the required drilling depth.
– Tighten the clamping screw
27
in this position.
Operation
Starting Operation
Inserting the Battery
f
Use only original Bosch lithium ion batteries with the
voltage listed on the nameplate of your power tool.
Us-
ing other batteries can lead to injuries and pose a fire haz-
ard.
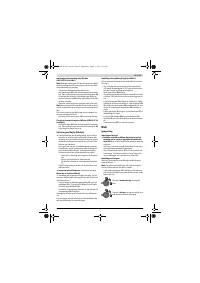
– Set the rotational direction switch
8
to the centre position
to protect the power tool against accidental starting.
– Insert the charged battery
17
from the front into the base
of the power tool. Push the battery completely into the
base until the red stripe can no longer be seen and the bat-
tery is securely locked.
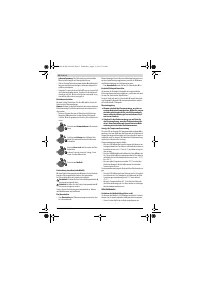
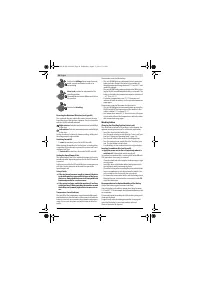
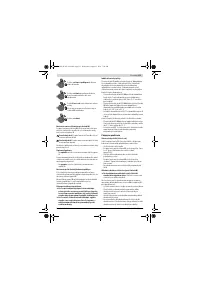
Setting the Operating Mode
The operating mode of the power tool is selected with the
mode selector switch
11
.
Note:
Change the operating mode only when the machine is
switched off! Otherwise, the machine can be damaged.
– To change the operating mode, push the release button
10
and turn the mode selector switch
11
to the requested po-
sition until it can be heard to latch.
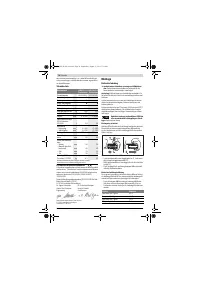
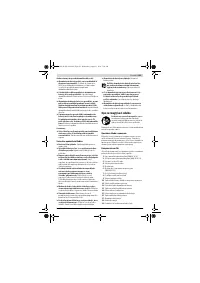
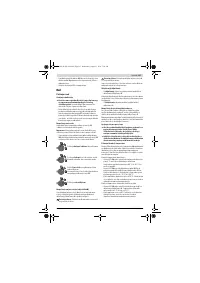
Position for
hammer drilling
in concrete or
stone
OBJ_BUCH-283-005.book Page 19 Wednesday, August 17, 2011 7:50 AM


