
Фрезеры Bosch 0.601.626.000 - инструкция пользователя по применению, эксплуатации и установке на русском языке. Мы надеемся, она поможет вам решить возникшие у вас вопросы при эксплуатации техники.
Если остались вопросы, задайте их в комментариях после инструкции.
"Загружаем инструкцию", означает, что нужно подождать пока файл загрузится и можно будет его читать онлайн. Некоторые инструкции очень большие и время их появления зависит от вашей скорости интернета.


18
| English
1 609 92A 2NP | (19.8.16)
Bosch Power Tools
Switching On and Off
Adjust the depth-of-cut before switching on or off; see Sec-
tion “Adjusting the Depth-of-cut”.
To
start
the machine, press the On/Off switch
29
and keep it
pressed.
To lock the
pressed
On/Off switch
29
, press the lock-on but-
ton
2
.
To
switch off
the machine, release the On/Off switch
29
or
when it is locked with the lock-on button
2
, briefly press the
On/Off switch
29
and then release it.
To save energy, only switch the power tool on when using it.
Constant Electronic Control
Constant electronic control holds the speed constant at no-
load and under load, and ensures uniform working perfor-
mance.
Soft Starting
The electronic soft starting feature limits the torque upon
switching on and increases the working life of the motor.
Overload Protection
The overload protection prevents impermissibly high current
consumption in the event of extreme overload. This can lead
to a reduction in motor speed and power output or in extreme
cases to motor standstill.
Once the load has been removed from the power tool, the mo-
tor immediately runs up or back to working speed.
Restarting Protection
The restarting protection feature prevents uncontrolled restart-
ing of the machine after an interruption in the power supply.
To
restart the operation
, switch the On/Off switch
29
to the
Off position and start the machine again.
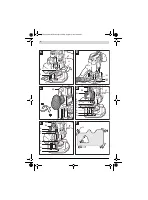
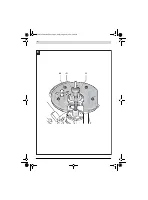
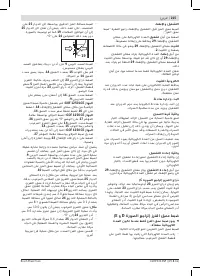
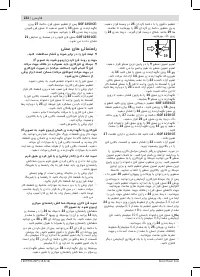
Release lever (see figure C)
The release lever
23
is automatically reset when you let go of
it. For better holding force, the release lever
23
must be
pulled back all the way. The holding force can be readjusted if
required. To do so, insert an Allen key (4 mm) into the open-
ing on the handle. Turn the Allen key clockwise to increase the
holding force, and turn it anticlockwise to reduce the holding
force.
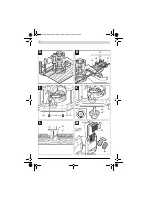
Adjusting the Depth-of-cut (see figure D and E)
The adjustment of the depth-of-cut may only be carried
out when the router is switched off.
For coarse adjustment of the depth-of-cut, proceed as fol-
lows:
– Place the machine with the router bit mounted on the
workpiece to be machined.
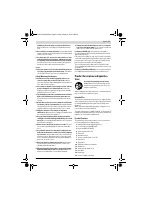
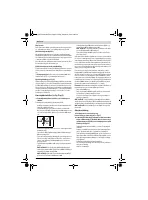
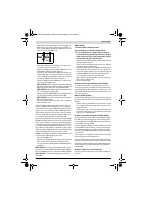
– Set the fine-adjustment path to the centre position with
the adjustment knob
25
. For this, turn the adjustment
knob
25
until the marks
19
match as shown in the figure.
Afterwards, set the scale
24
to “0”.
– Set the step buffer
9
to the lowest position; the step buffer
engages noticeably.
– Loosen the screw
15
on the depth stop
14
so that the
depth stop
14
is freely movable.
– Press the release lever
23
back and slowly guide the router
down until the router bit
5
touches the workpiece surface.
Let go of the release lever
23
again to lock this position.
– Press the depth stop
14
down until it sits on the step buffer
9
.
GOF 1250 LCE:
Switch on the digital depth setting at the
On/Off switch
18
. Press the button
16
for setting the zero
point of the depth stop
14
.
GOF 1250 CE:
Set the slide with the index mark
27
to po-
sition “0” on the depth-of-cut scale
26
.
– Set the depth stop
14
to the required depth-of-cut and
tighten the screw
15
on the depth stop
14
.
GOF 1250 CE:
Make sure you do not adjust the slide with
the index mark
27
any more.
– Push the release lever
23
and guide the plunge router to
the uppermost position.
For deep cuts, it is recommended to carry out several cuts,
each with little material removal. By using the step buffer
9
,
the cutting process can be divided into several steps. For this,
adjust the desired depth-of-cut with the lowest step of the
step buffer and select the higher steps first for the initial cuts.
The clearance of the steps can be changed by screwing the
adjusting screws
10
further in or out.
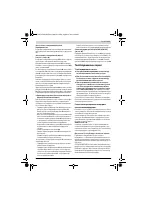
After a test run, the depth-of-cut can be set to the required di-
mension by turning the adjustment knob
25
; turning in a
clockwise direction increases the depth-of-cut; turning in an
anticlockwise direction decreases the depth-of-cut. The scale
24
can be used for guidance. One revolution corresponds
with a setting range of 2,0 mm, one of the graduation marks
on the bottom edge of the scale
24
changes the setting range
by 0,1 mm. The maximum setting range is ± 8 mm.
Example:
The required depth-of-cut should be 10.0 mm, and
the test cut resulted in a depth-of-cut of 9.6 mm.
– Turn the scale
24
to “0”.
– Turn the adjustment knob
25
clockwise by 0.4 mm/4 grad-
uation marks (difference between target and actual val-
ues).
– Check the selected depth-of-cut by carrying out another
trial cut.
GOF 1250 CE
: After setting the depth-of-cut, do not change
the position of the slide
27
on the depth stop
14
any more so
that you can always read the current depth-of-cut on the scale
26
.
GOF 1250 LCE
: The current depth-of-cut is shown on the dis-
play
21
.
Working Advice
Protect router bits against shock and impact.
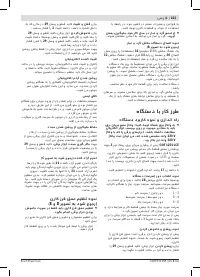
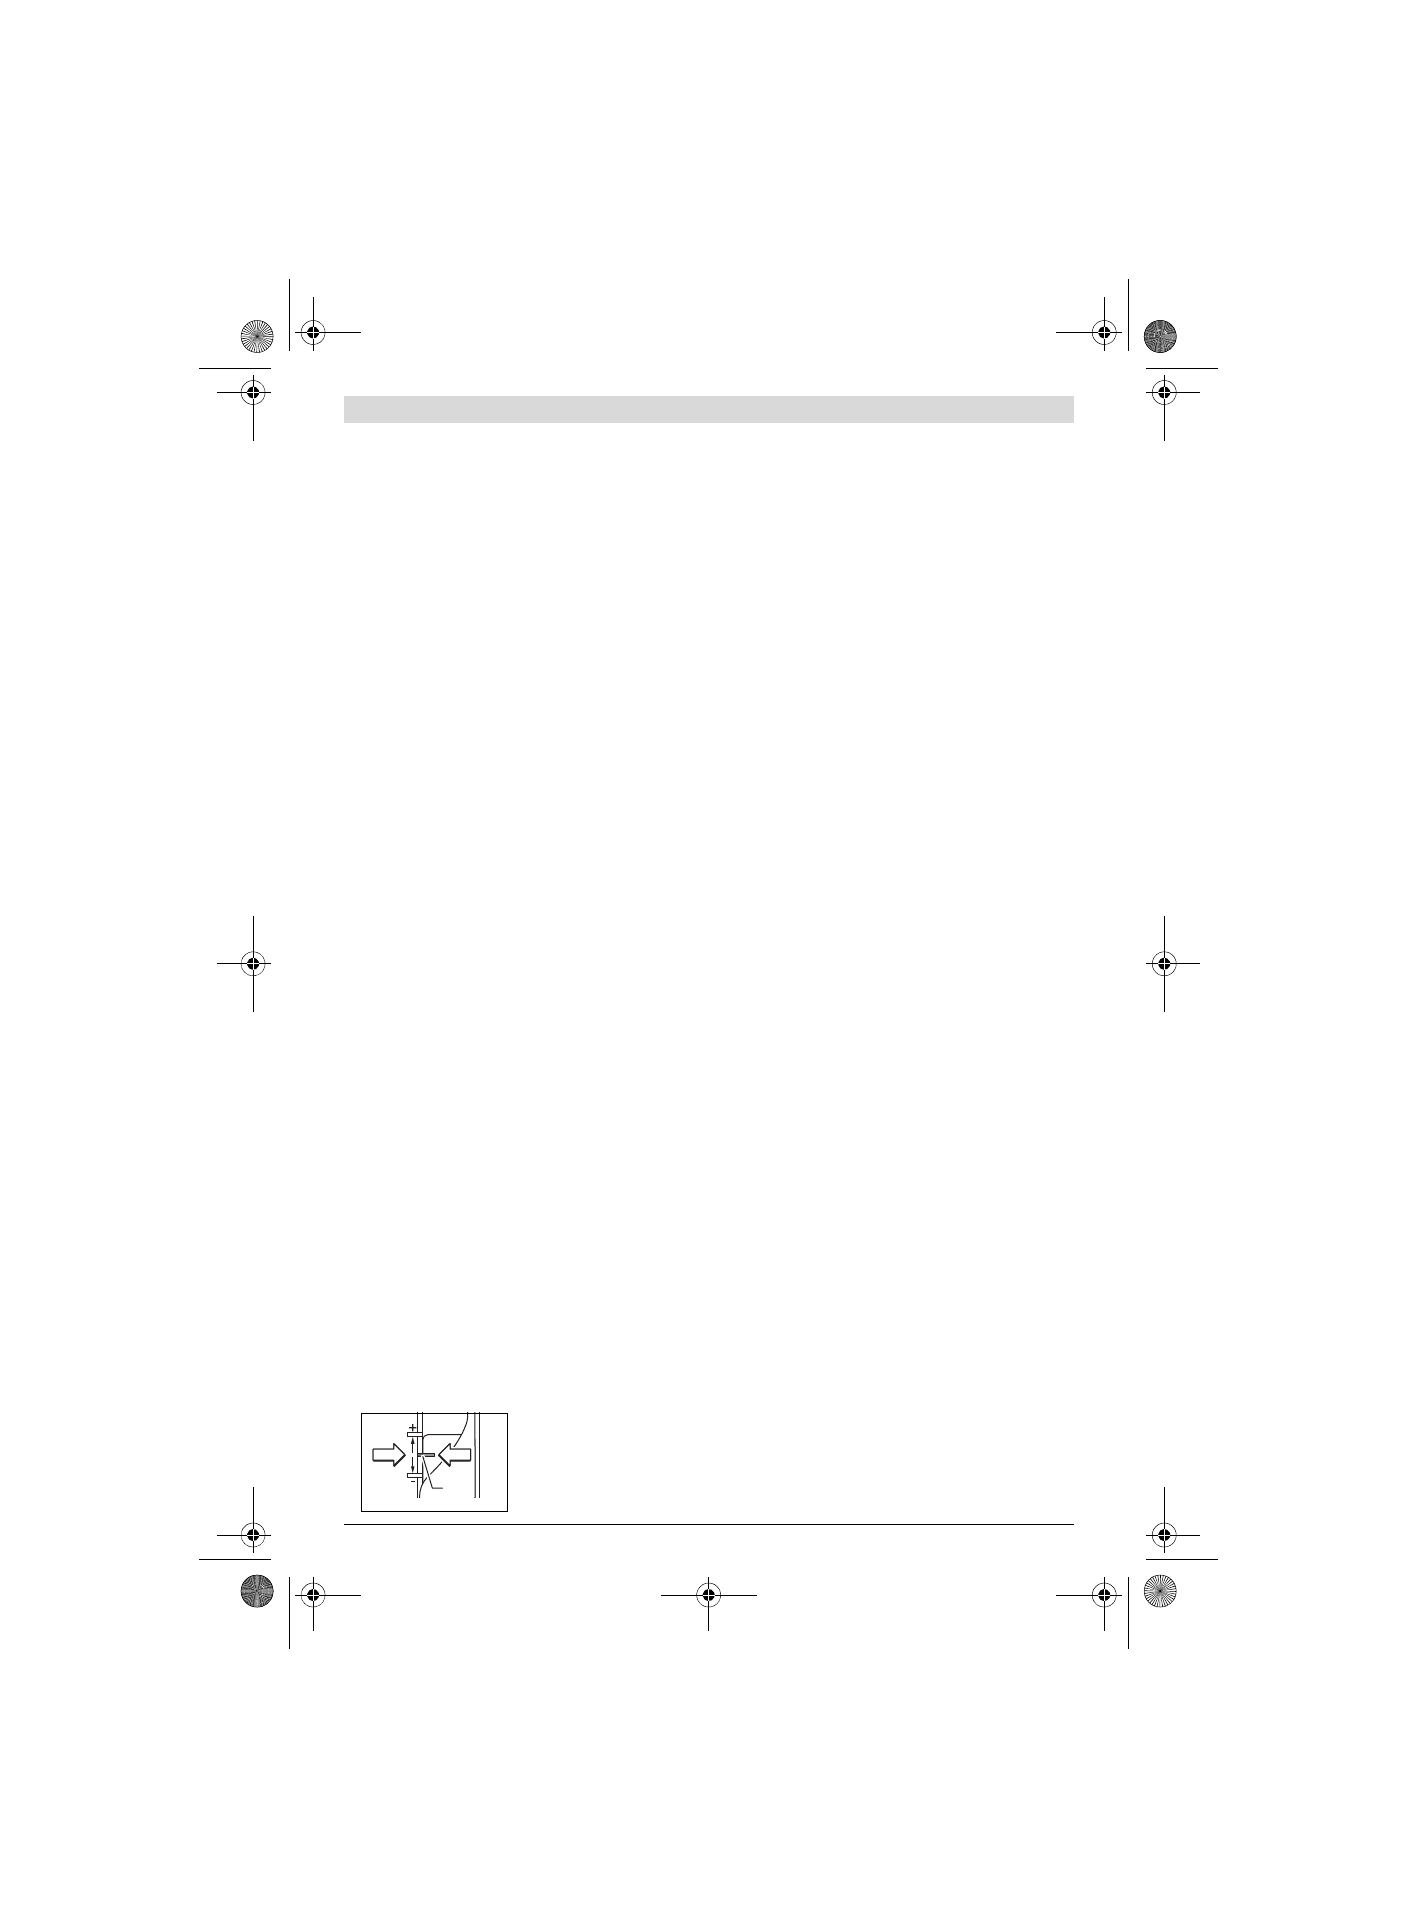
Direction of Feed and Routing Process (see figure F)
The routing process must always be carried out against
the rotation direction of the router bit 5 (up-cutting
motion). When routing in the direction with the rota-
tion of the router (down-cutting), the machine can
break loose, eliminating control by the user.
19
OBJ_BUCH-2018-005.book Page 18 Friday, August 19, 2016 9:44 AM
Характеристики

Остались вопросы?Не нашли свой ответ в руководстве или возникли другие проблемы? Задайте свой вопрос в форме ниже с подробным описанием вашей ситуации, чтобы другие люди и специалисты смогли дать на него ответ. Если вы знаете как решить проблему другого человека, пожалуйста, подскажите ему :)


