
Дрели Bosch 0.601.14E.500 - инструкция пользователя по применению, эксплуатации и установке на русском языке. Мы надеемся, она поможет вам решить возникшие у вас вопросы при эксплуатации техники.
Если остались вопросы, задайте их в комментариях после инструкции.
"Загружаем инструкцию", означает, что нужно подождать пока файл загрузится и можно будет его читать онлайн. Некоторые инструкции очень большие и время их появления зависит от вашей скорости интернета.


English |
15
Bosch Power Tools
1 609 92A 0NE | (3.6.14)
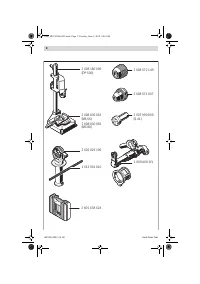
Removing the Drill Chuck (see figure E)
Disassemble the auxiliary handle and set the gear selector
10
to the centre position between the 1st and 2nd gear.
Insert a steel pin with a diameter of Ø 4 mm and approx.
50 mm of length into the drill hole on the spindle neck in order
to lock the drill spindle.
Clamp the short end of an Hex key
13
into the keyless chuck
1
.
Place the machine on a stable surface (e. g. a workbench).
Hold the machine firmly and loosen the keyless chuck
1
by
turning the Hex key
13
in rotation direction
. Loosen a tight-
seated keyless chuck by giving the long end of the Hex key
13
a light blow. Remove the Hex key from the keyless chuck and
completely unscrew the keyless chuck.
Mounting the Drill Chuck (see figure F)
The keyless chuck is mounted in reverse order.
Remove the steel pin from the drill hole on the spindle
neck after mounting is completed.
The drill chuck must be tightened with a tightening
torque of approx. 30 – 35 Nm.
Dust/Chip Extraction
Dusts from materials such as lead-containing coatings,
some wood types, minerals and metal can be harmful to
one’s health. Touching or breathing-in the dusts can cause
allergic reactions and/or lead to respiratory infections of
the user or bystanders.
Certain dusts, such as oak or beech dust, are considered
as carcinogenic, especially in connection with wood-treat-
ment additives (chromate, wood preservative). Materials
containing asbestos may only be worked by specialists.
– Provide for good ventilation of the working place.
– It is recommended to wear a P2 filter-class respirator.
Observe the relevant regulations in your country for the mate-
rials to be worked.
Prevent dust accumulation at the workplace.
Dusts can
easily ignite.
Operation
Starting Operation
Observe correct mains voltage! The voltage of the pow-
er source must agree with the voltage specified on the
nameplate of the machine. Power tools marked with
230 V can also be operated with 220 V.
Reversing the rotational direction (see figures G – H)
Actuate the rotational direction switch 3 only when the
machine is at a standstill.
The rotational direction switch
3
is used to reverse the rota-
tional direction of the machine. However, this is not possible
with the On/Off switch
5
actuated.
Right Rotation:
For drilling and driving in screws, push the
rotational direction switch
3
upward on the left side and at the
same time downward on the right side.
Left Rotation:
For loosening and unscrewing screws and
nuts, push the rotational direction switch
3
downward on the
left side and at the same time upward on the right side.
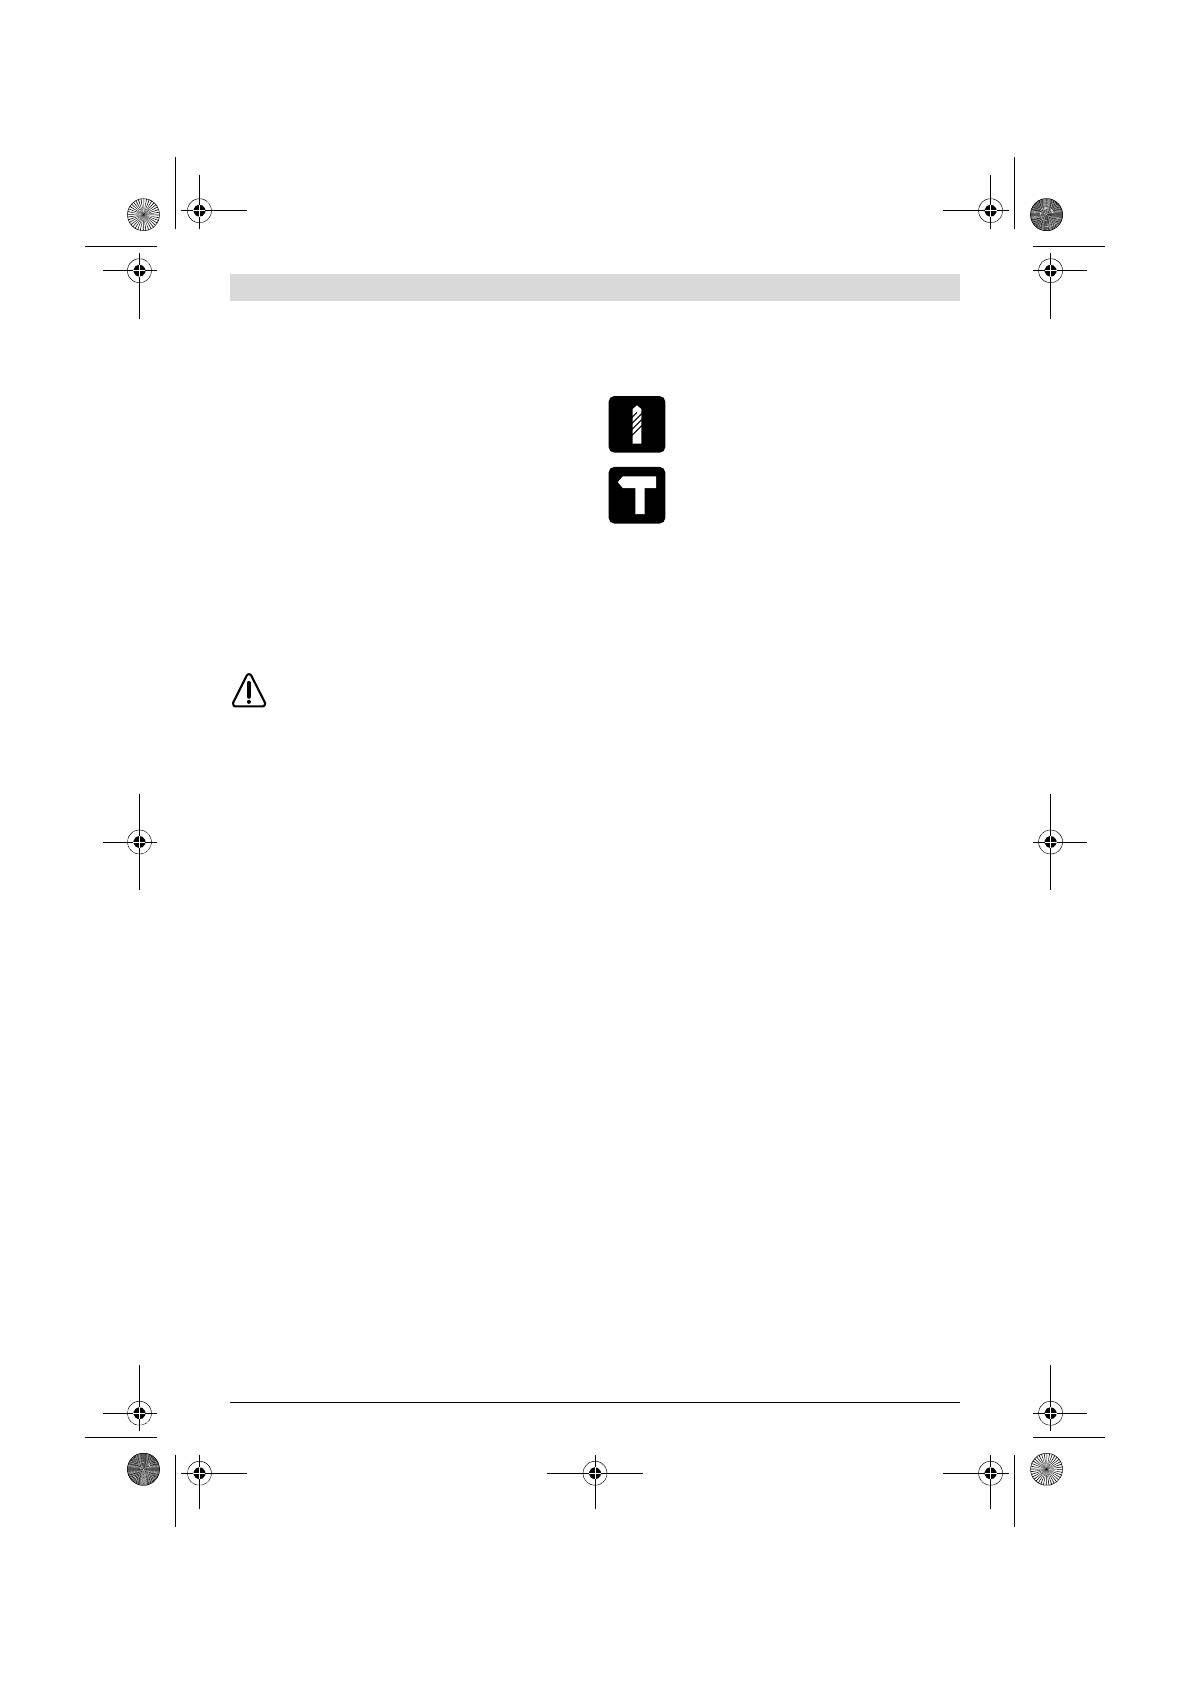
Setting the operating mode
Drilling and Screwdriving
Set the selector switch
2
to the “Drilling” symbol.
Impact Drilling
Set the selector switch
2
to the “Impact drilling”
symbol.
The selector switch
2
engages noticeably and can also be ac-
tuated with the machine running.
Switching On and Off
To
start
the machine, press the On/Off switch
5
and keep it
pressed.
To lock the
pressed
On/Off switch
5
, press the lock-on button
4
.
To
switch off
the machine, release the On/Off switch
5
or
when it is locked with the lock-on button
4
, briefly press the
On/Off switch
5
and then release it.
To save energy, only switch the power tool on when using it.
Adjusting the Speed/Impact Frequency
The speed/impact rate of the switched on power tool can be
variably adjusted, depending on how far the On/Off switch
5
is pressed.
Light pressure on the On/Off switch
5
results in low speed/im-
pact rate. Further pressure on the switch increases the
speed/impact rate.
Preselecting the Speed/Impact Frequency
With the thumbwheel for speed preselection
6
, the required
speed/impact frequency can be preselected even during op-
eration.
The required speed/impact frequency depends on the mate-
rial and the working conditions, and can be determined
through practical testing.
Working Advice
Before any work on the machine itself, pull the mains
plug.
Apply the power tool to the screw/nut only when it is
switched off.
Rotating tool inserts can slip off.
After longer periods of working at low speed, allow the ma-
chine to cool down by running it for approx. 3 minutes at max-
imum speed with no load.
For drilling in tiles, set the selector switch
2
to the “Drilling”
symbol. Do not switch over to the symbol “Impact Drilling” or
work with impact until after drilling through the tile.
Use carbide tipped drill bits when working in concrete, ma-
sonry and brick wall.
For drilling in metal, use only perfectly sharpened HSS drill
bits (HSS = high-speed steel). The appropriate quality is guar-
anteed by the Bosch accessories program.
OBJ_BUCH-806-003.book Page 15 Tuesday, June 3, 2014 9:44 AM
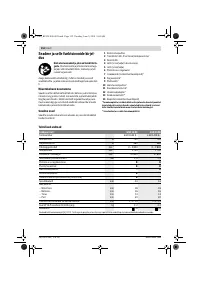
Содержание
- 100 Указания по технике безопасности для дрелей
- 101 Описание продукта и услуг; Применение по назначению
- 102 Данные по шуму и вибрации; Заявление о соответствии; Сборка
- 103 Замена рабочего инструмента
- 104 Работа с инструментом; Включение электроинструмента; Техобслуживание и сервис; Техобслуживание и очистка
- 105 Утилизация
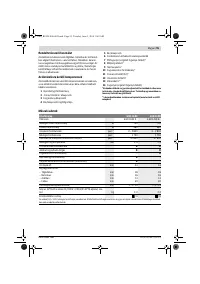
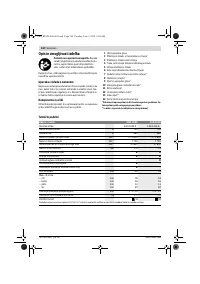
Характеристики

Остались вопросы?Не нашли свой ответ в руководстве или возникли другие проблемы? Задайте свой вопрос в форме ниже с подробным описанием вашей ситуации, чтобы другие люди и специалисты смогли дать на него ответ. Если вы знаете как решить проблему другого человека, пожалуйста, подскажите ему :)


