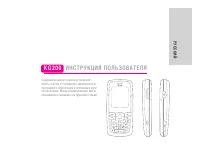
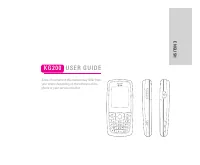
Смартфоны LG KG200 - инструкция пользователя по применению, эксплуатации и установке на русском языке. Мы надеемся, она поможет вам решить возникшие у вас вопросы при эксплуатации техники.
Если остались вопросы, задайте их в комментариях после инструкции.
"Загружаем инструкцию", означает, что нужно подождать пока файл загрузится и можно будет его читать онлайн. Некоторые инструкции очень большие и время их появления зависит от вашей скорости интернета.


56
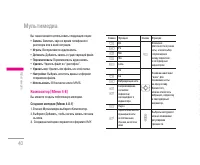
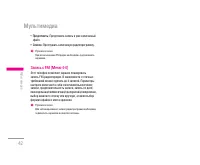
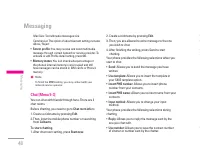
Settings [Menu 8-9]
Your phone provides you various setting options to
personalize your phone, including,
1.
Caller picture:
Allows you to use your friend’s photo
or any other picture as his/her picture ID when
calling.
2.
Caller ring Tone:
Allows you to personalize the
incoming ring tone for specific person or caller group
in your contact list.
3.
Caller video:
Allows you to use certain video clip for
specific person in your contact list.
4.
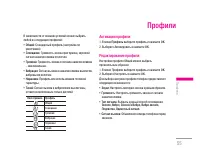
Memory status:
You can check what percentage of
the phone’s internal memory is unoccupied and how
many name and number entries can still be stored in
SIM card’s and Phone’s memory.
5.
Preferred storage:
You can choose your preferred
storage in phone, SIM or both.
6.
Fields:
You may customize the contact information
you want to show on your display.
7.
My vCard:
You can edit your vCard information and
share to others from this option.
8.
Human voice prompt:
Your phone designed to able
to play human voice for 0~9, * and # keys. You can
choose either turn on or off the human voice keypad
tone.
!
Note
You could get PC suite tool via www.wowlg.com. PC suite
tool could let you to manage your contact lists stored in
mobile and SIM
Contacts
|
Contacts
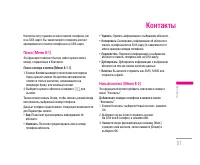
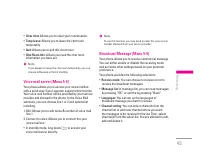
Time & Date [Menu 9-1]
This function allows you to set your home city, view and
change the time and date set in your phone. You can
also choose to auto update the date and time.
Set home city
1. In
Settings
menu, choose
Time & Date,
press
OK.
2. Select “Set home city”, press
OK.
3. All major cities are listed in the phone. You may user
navigation keys to scroll up/down for your selection.
Or, pressing first character of home city you wish to
find by numeric key for quick search.
4. After finding your home city, press
OK
to back Time &
Date submenu.
Set time & date
1. In
Settings
menu, choose
Time & Date,
press
OK.
2. Set time & date by using navigation and numeric keys
followed by press
OK.
3. You can choose turn on/off daylight saving.
Set time format
1. In
Settings
menu, choose
Time & Date,
press
OK.
2. Choose
Set Format,
press
OK.
3. Choose
Time and Date format,
press
OK.
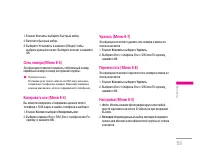
Auto update
This function is to set the phone for updating the time
and date automatically according to the current time
zone.
1. In
Settings
menu, choose
Auto update,
press
OK.
2. Select
On
or
Off
to have the auto update function.
3. Finally, choose
Yes
to confirm the request.
!
Note
Auto update of date and time does not change the time you
have set for the alarm clock, calendar or the alarm notes.
They are in local time. Updating may cause some alarms
you have set to expire.
Settings
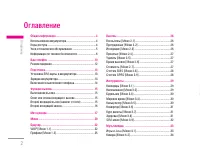
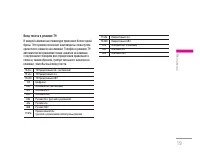
Содержание
- 2 И Н С Т Р У К Ц И Я П О Л Ь З О В А Т Е Л Я
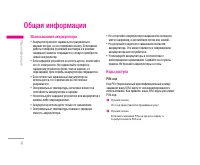
- 5 Общая информация; Использование аккумулятора; Код телефона; Уход и техническое обслуживание; Уход за изделием
- 7 Информация по технике безопасности; Радиочастотное излучение
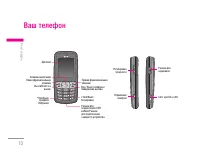
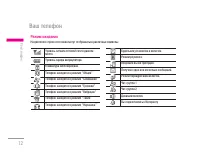
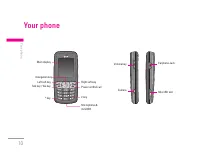
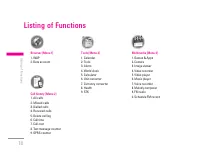
- 11 Ваш телефон
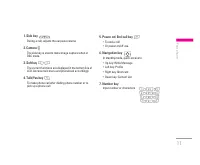
- 12 Функциональные клавиши
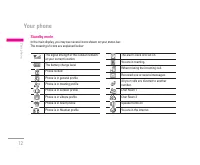
- 13 Подготовка; Режим ожидания
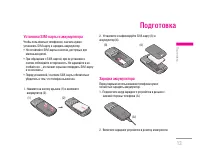
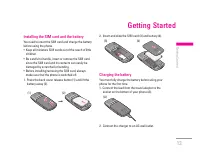
- 14 Установка SIM-карты и аккумулятора
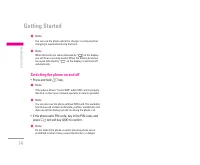
- 15 Включение и выключение телефона
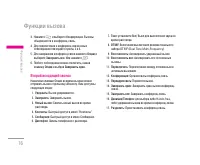
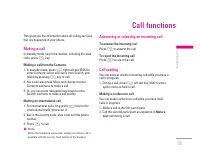
- 16 Функции вызова; Вызовы из меню Контакты; Ответ или отмена входящего вызова; Ответ на входящий вызов
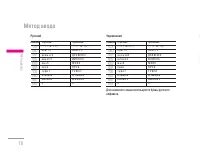
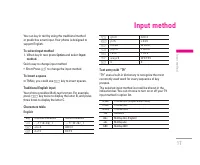
- 18 Выбор режима ввода; Ввод пробела; Английский
- 19 Ввод текста в режиме T9
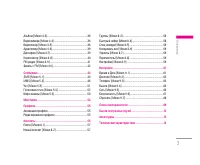
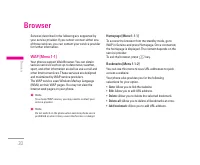
- 23 Домашняя
- 25 Опции браузера; GSM данные
- 26 Сертификаты
- 30 Инструменты
- 31 Индекс массы
- 33 Женский календарь
- 34 Мультимедиа
- 35 Профили сети; Использование фотокамеры; Настройка фотокамеры
- 37 Настройка видеокамеры; Использование видеокамерой
- 38 Назначение клавиш
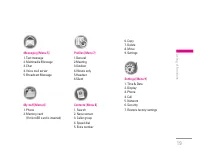
- 43 Сообщения
- 45 Отправка сообщения
- 47 Отправка MMS-сообщения
- 51 Общение в чате
- 52 Фильтры; Профиль сервера
- 55 Активация профиля; Мои папки
- 57 Контакты
- 61 Настройки
- 62 Установить город
- 67 Автоматически; OK
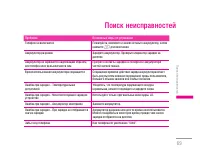
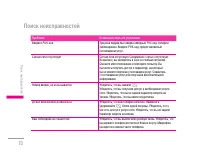
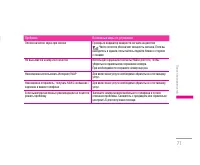
- 69 Поиск неисправностей
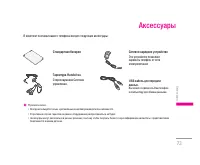
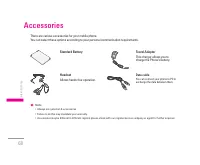
- 73 Вызов экстренных служб; Аксессуары
- 74 Стандартная батарея; Сетевое зарядное устройство; USB кабель для передачи
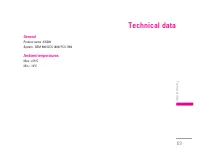
- 75 Технические характеристики; Общие


