Шлифмашины Bosch GCT 115 Professional - инструкция пользователя по применению, эксплуатации и установке на русском языке. Мы надеемся, она поможет вам решить возникшие у вас вопросы при эксплуатации техники.
Если остались вопросы, задайте их в комментариях после инструкции.
"Загружаем инструкцию", означает, что нужно подождать пока файл загрузится и можно будет его читать онлайн. Некоторые инструкции очень большие и время их появления зависит от вашей скорости интернета.


English |
17
Bosch Power Tools
2 610 017 516 | (3.11.11)
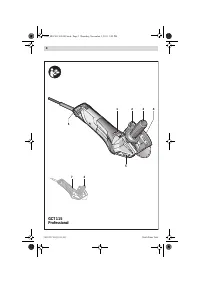
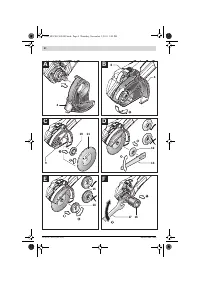
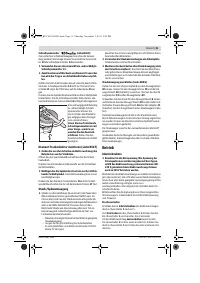
Protection Guard with Quick Clamp (see figures A – B)
Release the clamping lever
8
. Place the protection guard
4
with the encoding key engaging into the groove on the spindle
collar until the shoulder of the protection guard is seated
against the flange of the power tool, and turn the protection
guard
4
to the requested position. Lock the clamping lever
8
.
f
Adjust the protection guard 4 in such a manner that
sparking is prevented in the direction of the operator.
Note:
The encoding key on the protection guard
4
ensures
that only a protection guard that fits the machine type can be
mounted.
Auxiliary Handle
f
Operate your machine only with the auxiliary handle 3.
Screw the auxiliary handle
3
on the right or left of the machine
head depending on the working method.
Mounting the Diamond Cutting Disc
(see figures C – E)
f
Before any work on the machine itself, pull the mains
plug.
f
When mounting and replacing diamond cutting discs, it
is recommended to wear protective gloves.
f
Diamond cutting discs become very hot during opera-
tion; do not touch them until they have cooled down.
f
Always use a correctly sized diamond cutting disc with
the fitting mounting hole that corresponds with the in-
formation listed in the technical data.
f
Use only diamond-tipped cutting discs. Segmented dia-
mond wheels may only have negative cutting angles
and slots between the segments to a maximum of
10 mm.
Press the spindle lock button
5
to lock the grinding spindle.
f
Actuate the spindle lock button only when the grinder
spindle is at a standstill.
Otherwise, the machine may be-
come damaged.
Loosen and remove the clamping nut
12
with the two-pin
spanner
13
provided.
Clean the grinder spindle
9
and all parts to be mounted.
Pay attention to the dimensions of the grinding tools. The
mounting hole diameter must fit the mounting flange without
play. Do not use reducers or adapters.
When using diamond cutting discs, pay attention that the di-
rection-of-rotation arrow on the diamond cutting disc and the
direction of rotation of the machine (see direction-of-rotation
arrow on the machine head) agree.
Press the spindle lock button
5
to lock the grinding spindle.
Screw on the clamping nut
12
and tighten it with the two-pin
spanner
13
.
f
After mounting the grinding tool and before switching
on, check that the grinding tool is correctly mounted
and that it can turn freely. Make sure that the grinding
tool does not graze against the protection guard or oth-
er parts.
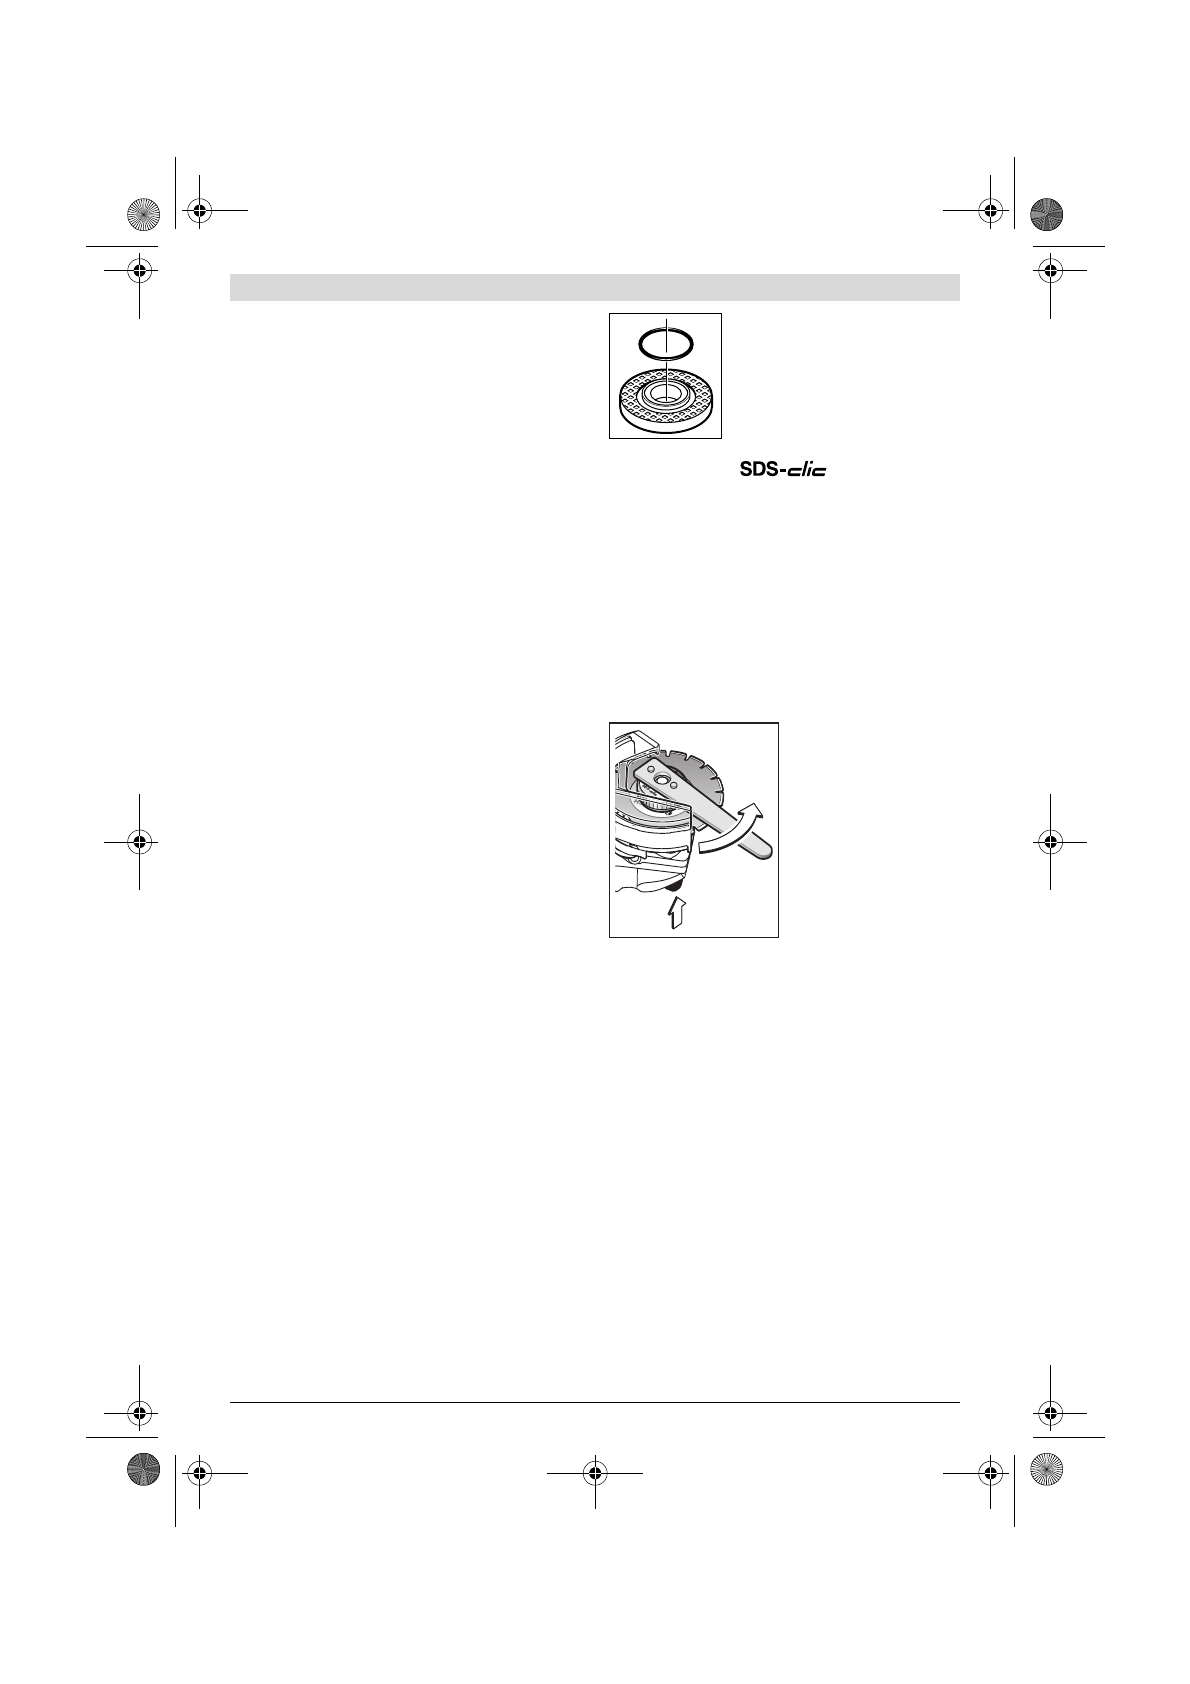
A plastic part (O-ring) is fitted around
the centring collar of mounting flange
10
.
If the O-ring is missing or dam-
aged,
the mounting flange
10
must be
replaced before resuming operation.
Quick-clamping Nut
(see figure E)
For convenient changing of grinding tools without the use of
additional tools, you can use the quick-clamping nut
14
in-
stead of the clamping nut
12
.
f
Use only a flawless, undamaged quick-clamping nut 14.
f
When mounting and replacing diamond cutting discs, it
is recommended to wear protective gloves.
When screwing on, pay attention that the labelled side of the
quick-clamping nut
14
does not face toward the diamond cut-
ting disc
11
; the arrow must point toward the index mark
15
.
To lock the grinder spindle, press and hold the spindle lock
button
5
. To tighten the quick-clamping nut, turn the diamond
cutting disc
11
firmly in clockwise direction.
A properly attached, undam-
aged quick-clamping nut can
be loosened by hand when
turning the knurled ring in anti-
clockwise direction.
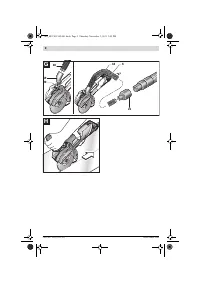
Never loosen a tight quick-
clamping nut with pliers. Al-
ways use the two-pin span-
ner.
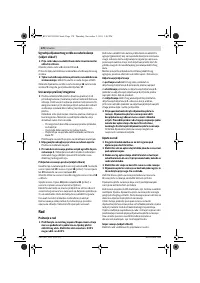
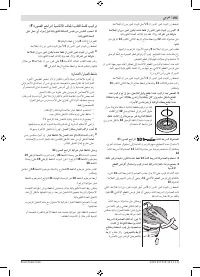
Insert the two-pin span-
ner as shown in the
illustration.
Mounting the Dry Diamond Core Bit (see figure F)
f
Before any work on the machine itself, pull the mains
plug.
Open clamping lever
8
and remove the protection guard
4
.
Press the spindle lock button
5
to lock the grinding spindle.
f
Actuate the spindle lock button only when the grinder
spindle is at a standstill.
Otherwise, the machine may be-
come damaged.
Screw the dry diamond core bit
16
onto grinder spindle
9
and
tighten it with the open-end spanner
17
.
Dust/Chip Extraction
f
Dust from ceramic tiles (quartz dust) or natural stone (min-
eral dust) can be harmful to one’s health. Contact with or
inhaling the dusts can trigger allergic reactions to the oper-
ator or bystanders and/or lead to respiratory infections.
Certain dusts, such as quartz dust, are considered carcino-
genic. Materials containing asbestos may only be worked
by specialists.
– As far as possible, use a dust extraction system suita-
ble for the material.
– Provide for good ventilation of the working place.
– It is recommended to wear a P2 filter-class respirator.
OBJ_BUCH-1502-001.book Page 17 Thursday, November 3, 2011 3:02 PM


