Роботы-пылесосы Makita DRC 200 Z - инструкция пользователя по применению, эксплуатации и установке на русском языке. Мы надеемся, она поможет вам решить возникшие у вас вопросы при эксплуатации техники.
Если остались вопросы, задайте их в комментариях после инструкции.
"Загружаем инструкцию", означает, что нужно подождать пока файл загрузится и можно будет его читать онлайн. Некоторые инструкции очень большие и время их появления зависит от вашей скорости интернета.


16 ENGLISH
4. Wipe the inside of the vacuum vent (Fig. N-4) with a
cloth slightly moistened with mild detergent.
5. To replace the main brush, align the protruding
portion (Fig. N-5) on the right end of the main brush
with the indentation on the right shaft bush (Fig.
N-6), and then insert the main brush to join them
together.
6. Insert the left square end of the main brush (Fig.
N-7) into the left square shaft bush (Fig. N-8).
7. Replace the bottom plate in the reverse sequence.
NOTE: When the side brushes remain attached to
the body of the Robotic Cleaner, manually rotating
the side brush facilitates attachment of the bottom
plate without pinching the bristles of the side brushes
between the plate and body of the Robotic Cleaner.
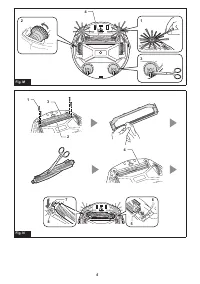
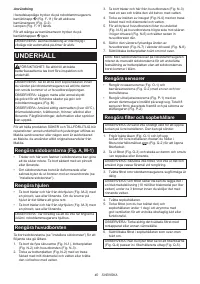
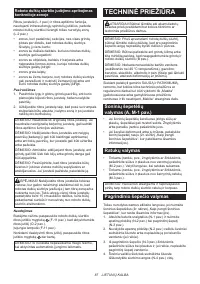
Cleaning the sensors
• Clean the cliff sensors (Fig. O-1) and boundary
sensors (Fig. O-2) using a clean, dry cotton
applicator.
• Clean the ultrasonic sensors (Fig. P-1) using
another vacuum cleaner set in gentle suction mode.
A total of 8 sensors are located on the front and both
sides of the bumper (Fig. P-2).
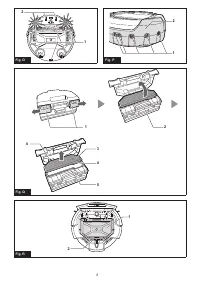
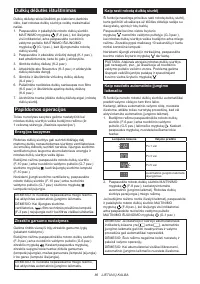
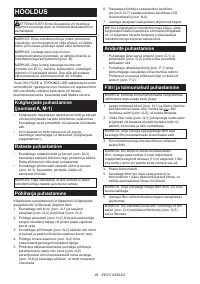
Cleaning the filter and dust box
NOTICE: To avoid damaging the upper dust box lid,
do not open or close it forcibly.
1. Undo both locks (Fig. Q-1) and lift the upper dust
box lid while holding the
Filter maintenance
mark (Fig. Q-2) to open the filter compartment.
2. Take out the filter (Fig. Q-3) and tap it against the
garbage bag or on a waste sheet spread on an even
surface to shake off the dust and dirt.
NOTICE: Do not scrub or squash the filter, nor use a
pointed object to clean the filter.
3. Wash the filter if the suction power of the Robotic
Cleaner becomes weak.
NOTICE: If the filter smells, soak the filter in a
diluted solution of household bleach (10 milliliters of
bleach per 1 liter of water) for approx. 3 hours before
washing the filter in running water.
4. Wash the dust box.
5. Dry the filter (if you have washed it) and the dust
box for 1 day in a well-ventilated place to prevent
unpleasant odor or malfunctions.
NOTICE: Do not dry the wet filter using a hair dryer or
other heat source.
6. Replace the filter in the dust box in the reverse
sequence.
NOTICE: When you replace the filter in the
compartment, make sure that the tabs (Fig. Q-4) on
the filter are fitted to the cut in the edge of the filter
holder (Fig. Q-5).
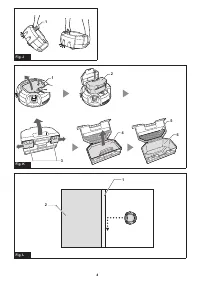
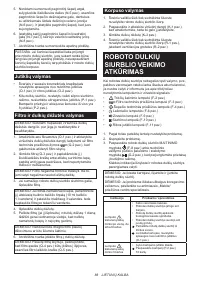
Cleaning the body
1. Wipe the Robotic Cleaner’s exterior with a cloth
slightly moistened with mild detergent.
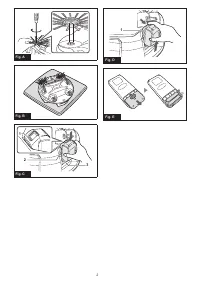
2. Press and release the top lid (Fig. K-1) to unlock,
and then fully open the lid.
3. Take out the dust box (Fig. K-2).
4. Wipe the Robotic Cleaner’s interior (Fig. R-1)
including the vent grill (Fig. R-2) with a cloth slightly
moistened with mild detergent.
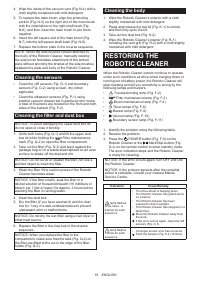
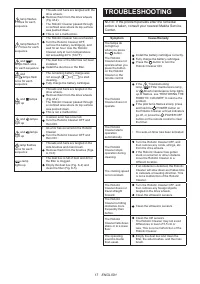
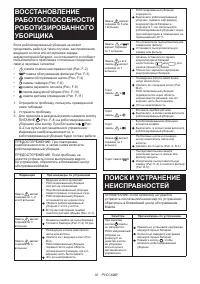
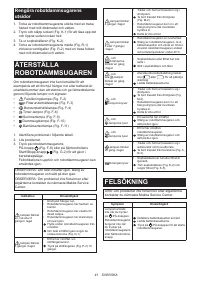
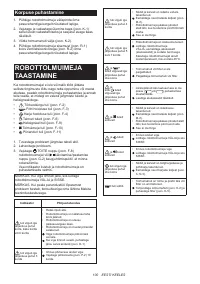
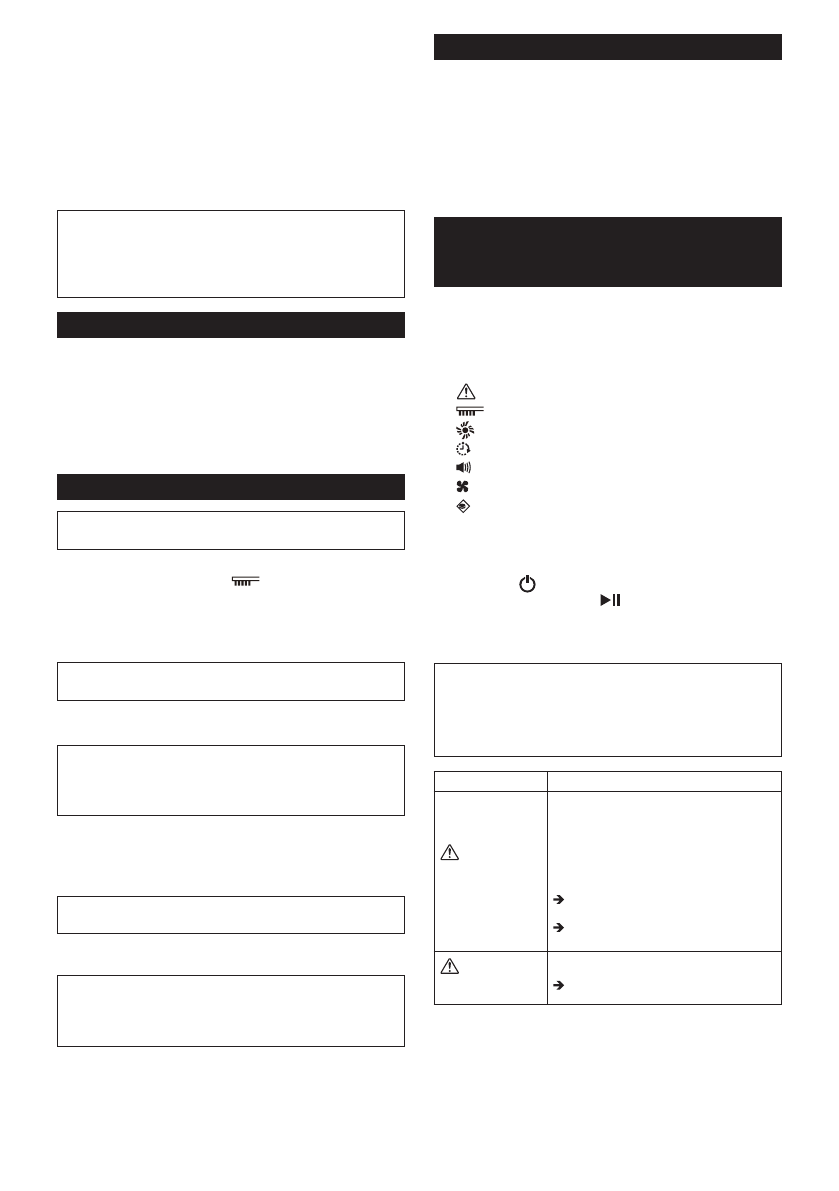
RESTORING THE
ROBOTIC CLEANER
When the Robotic Cleaner cannot continue to operate
under such conditions as drive wheel hanging down or
running out of battery power, the Robotic Cleaner will
stop cleaning and tell you something is wrong by the
following lamps and buzzers.
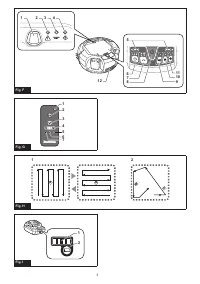
•
Troubleshooting lamp (Fig. F-2)
•
Filter maintenance lamp (Fig. F-3)
•
Brush maintenance lamp (Fig. F-4)
•
Timer lamps (Fig. F-6)
•
Buzzer lamp (Fig. F-9)
•
Vacuum lamp (Fig. F-10)
•
Boundary sensor lamp (Fig. F-11)
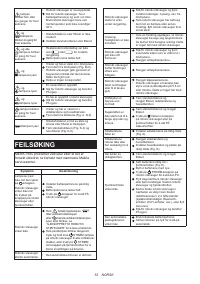
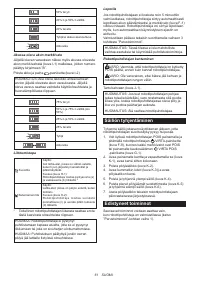
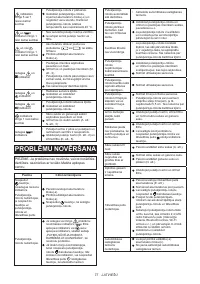
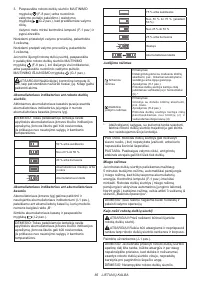
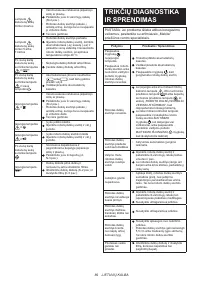
1. Identify the problem using the following table.
2. Resolve the problem.
3. Press the POWER button (Fig. F-8) on the
Robotic Cleaner or the
Start/Stop button (Fig.
G-2) on the remote control to enter standby mode.
The error indication stops and the Robotic Cleaner
is ready for cleaning.
NOTICE: If the error occurs again, turn OFF and ON
the Robotic Cleaner.
NOTICE: If the problem persists after the remedial
action is complete, consult your nearest Makita
Service Center.
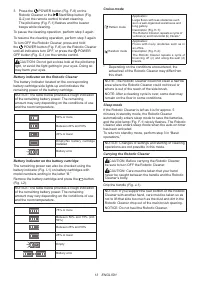
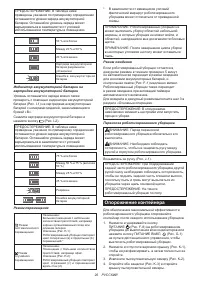
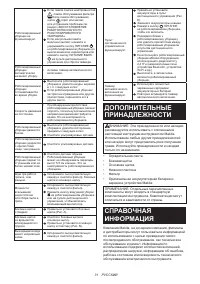
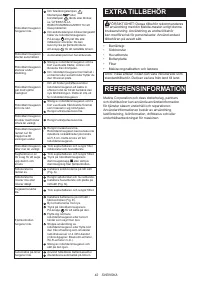
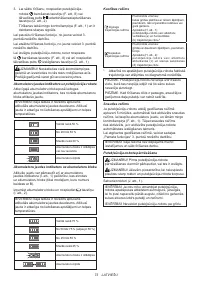
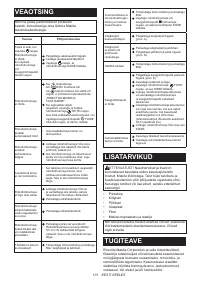
Indication
Cause/Remedy
lamp flashes
once, twice, or
6 times for each
sequence
• The drive wheel is hanging down.
• The Robotic Cleaner has gotten stuck
on a barrier.
• The Robotic Cleaner has been
exposed to direct sunlight.
• The Robotic Cleaner has stopped on a
black floor.
Move the Robotic Cleaner away from
the area.
If the error occurs again, clean the cliff
sensors (Fig. O-1).
lamp flashes
3 times for each
sequence
• A bumper sensor error has occurred.
Push the bumper (Fig. P-2) 10 times.
Содержание
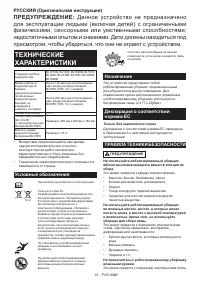
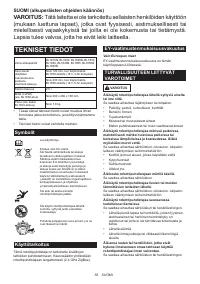
- 19 ТЕХНИЧЕСКИЕ; Условные обозначения; Данное устройство не предназначено; Назначение; ПРАВИЛА ТЕХНИКИ БЕЗОПАСНОСТИ
- 22 СОХРАНИТЕ ЭТУ
- 23 Система защиты инструмента/; КНОПКИ И; Сборка и установка
- 24 Подготовка комнат
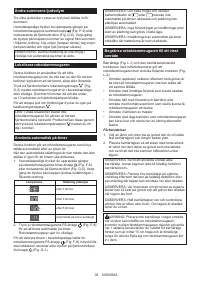
- 25 ЭКСПЛУАТАЦИЯ; Основные операции
- 26 Опорожнение контейнера
- 27 Расширенные операции
- 28 ТЕХНИЧЕСКОЕ; Очистка боковых щеток
- 31 ДОПОЛНИТЕЛЬНЫЕ
Характеристики

Остались вопросы?Не нашли свой ответ в руководстве или возникли другие проблемы? Задайте свой вопрос в форме ниже с подробным описанием вашей ситуации, чтобы другие люди и специалисты смогли дать на него ответ. Если вы знаете как решить проблему другого человека, пожалуйста, подскажите ему :)


