Роботы-пылесосы Makita DRC 200 Z - инструкция пользователя по применению, эксплуатации и установке на русском языке. Мы надеемся, она поможет вам решить возникшие у вас вопросы при эксплуатации техники.
Если остались вопросы, задайте их в комментариях после инструкции.
"Загружаем инструкцию", означает, что нужно подождать пока файл загрузится и можно будет его читать онлайн. Некоторые инструкции очень большие и время их появления зависит от вашей скорости интернета.


11 ENGLISH
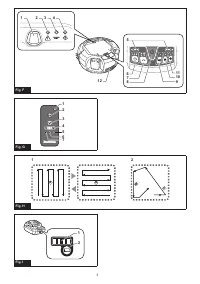
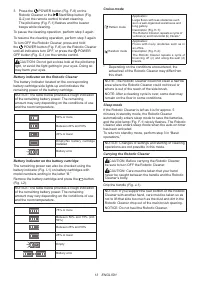
5.
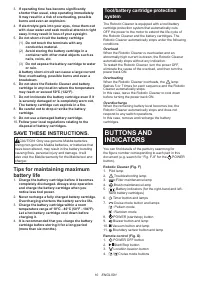
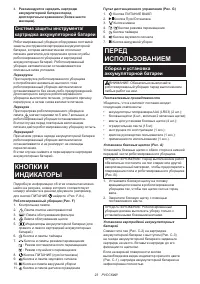
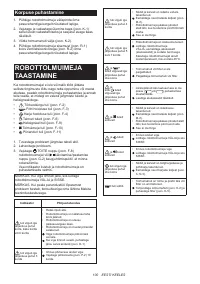
Timer button
6.
Buzzer button
7.
Vacuum button
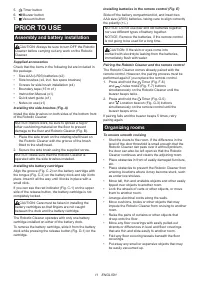
PRIOR TO USE
Assembly and battery installation
CAUTION: Always be sure to turn OFF the Robotic
Cleaner before carrying out any work on the Robotic
Cleaner.
Supplied accessories
Check that the items in the following list are included in
the package.
• Size AAA (LR03) batteries (x2)
• Side brushes (x4, incl. two spare brushes)
• Screws for side brush installation (x4)
• Boundary tape (15 m x1)
• Instruction Manual (x1)
• Quick start guide (x1)
• Notes on use (x1)
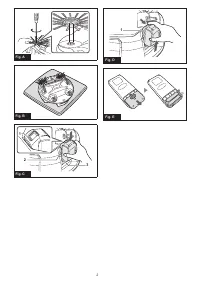
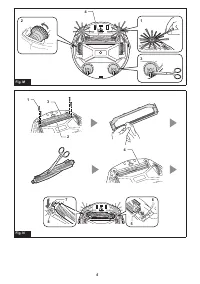
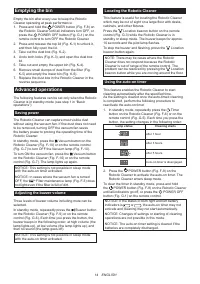
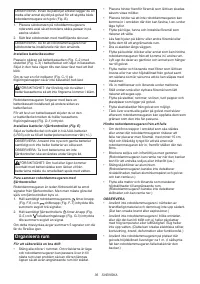
Installing the side brushes (Fig. A)
Install the side brushes on both sides of the bottom front
of the Robotic Cleaner.
NOTICE: Before work, be sure to spread a rug or
other cushioning material on the floor to prevent
damage to the floor and Robotic Cleaner (Fig. B).
1. Place the side brush on the rotating shaft head on
the Robotic Cleaner with the groove of the brush
fitted to the shaft head.
2. Secure the side brush using the supplied screw.
NOTICE: Make sure that the Robotic Cleaner is
operated with the side brushes installed.
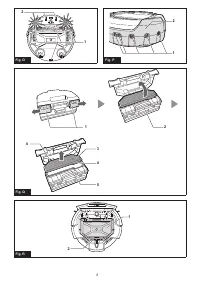
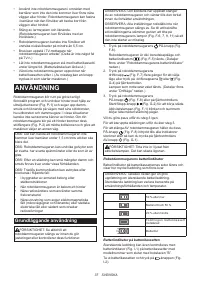
Installing the battery cartridges
Align the groove (Fig. C-2) on the battery cartridge with
the tongue (Fig. C-3) on the battery dock and slip it into
place. Insert it all the way until it locks in place with a
small click.
If you can see the red indicator (Fig. C-1) on the upper
side of the release button, the battery cartridge is not
completely locked.
CAUTION: Care must be taken in installing the
battery cartridges so that fingers are not caught
between the dock and the battery cartridge.
The Robotic Cleaner operates with only one battery
cartridge installed on either of the battery dock.
To remove the battery cartridge, slide it from the battery
dock while pressing the release button (Fig. D-1) on the
cartridge.
Installing batteries in the remote control (Fig. E)
Slide off the battery compartment lid, and insert two
AAA size (LR03) batteries, taking care to align correctly
the polarity (+/–).
NOTICE: Do not use new and old batteries together,
nor use different types of battery together.
NOTICE: Remove the batteries, if the remote control
is not going to be used for a long time.
CAUTION: If the skin or eyes come into
contact with electrolyte leaking from the batteries,
immediately flush with water.
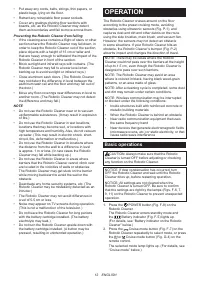
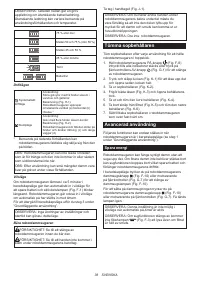
Pairing the Robotic Cleaner and the remote control
The Robotic Cleaner comes already paired with the
remote control. However, the pairing process must be
performed again if you replace the remote control.
1. Press and hold the Timer (Fig. F-6)
and Cruise mode (Fig. F-7) buttons
simultaneously on the Robotic Cleaner until the
buzzer beeps twice.
2. Press and hold the Timer (Fig. G-5)
and Location beacon (Fig. G-3) buttons
simultaneously on the remote control until the
buzzer beeps once.
If pairing fails and the buzzer beeps 5 times, retry
pairing again.
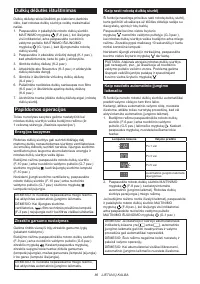
Organizing rooms
To ensure smooth cruising
• Shut the doors to the room. If the difference in the
level of the door threshold is small enough that the
Robotic Cleaner can pass over it without problem,
the door can also be left open so that the Robotic
Cleaner continues and cleans the adjoining room.
• Place obstacles in front of easily damaged furniture,
etc.
• Place obstacles to prevent the Robotic Cleaner from
entering locations where it may become stuck, such
as under low shelves.
• Move tall, thin and unstable objects and other easily
tipped over objects to another room.
• Lock the wheels of carts or other objects, or move
them to another room.
• Arrange electrical cords along the walls.
• Move cushions, books or other objects that may
impede the Robotic Cleaner from cruising to another
room.
• Raise the parts of curtains or other objects that
droop onto the floor.
• Move any floor coverings with easily pulled-out
strands or differences in level and floor coverings
that are thin and slide easily to another room.
• Fold any floor covering tassels beneath the floor
coverings.
• Put away any small or expensive objects that may
be easily vacuumed up.
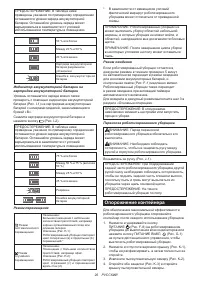
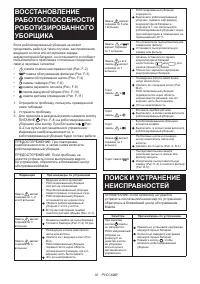
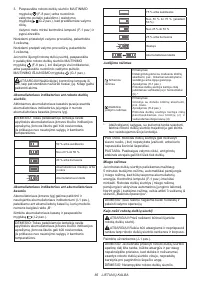
Содержание
- 19 ТЕХНИЧЕСКИЕ; Условные обозначения; Данное устройство не предназначено; Назначение; ПРАВИЛА ТЕХНИКИ БЕЗОПАСНОСТИ
- 22 СОХРАНИТЕ ЭТУ
- 23 Система защиты инструмента/; КНОПКИ И; Сборка и установка
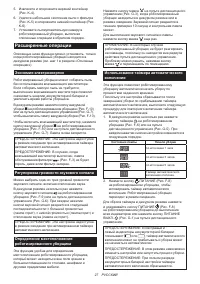
- 24 Подготовка комнат
- 25 ЭКСПЛУАТАЦИЯ; Основные операции
- 26 Опорожнение контейнера
- 27 Расширенные операции
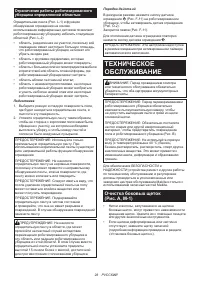
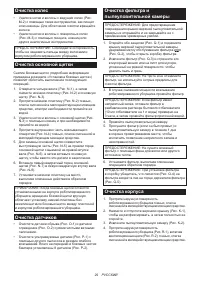
- 28 ТЕХНИЧЕСКОЕ; Очистка боковых щеток
- 31 ДОПОЛНИТЕЛЬНЫЕ
Характеристики

Остались вопросы?Не нашли свой ответ в руководстве или возникли другие проблемы? Задайте свой вопрос в форме ниже с подробным описанием вашей ситуации, чтобы другие люди и специалисты смогли дать на него ответ. Если вы знаете как решить проблему другого человека, пожалуйста, подскажите ему :)


