Роботы-пылесосы Makita DRC 200 Z - инструкция пользователя по применению, эксплуатации и установке на русском языке. Мы надеемся, она поможет вам решить возникшие у вас вопросы при эксплуатации техники.
Если остались вопросы, задайте их в комментариях после инструкции.
"Загружаем инструкцию", означает, что нужно подождать пока файл загрузится и можно будет его читать онлайн. Некоторые инструкции очень большие и время их появления зависит от вашей скорости интернета.


14 ENGLISH
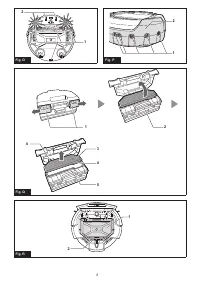
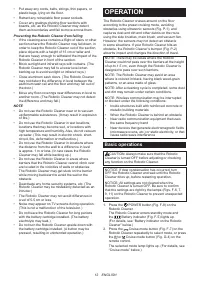
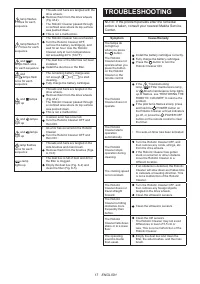
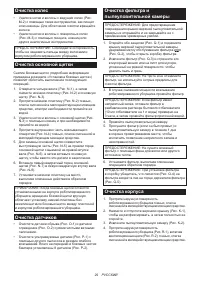
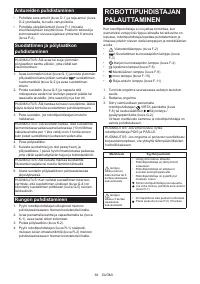
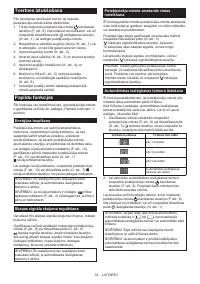
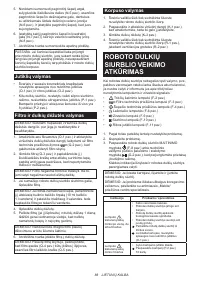
Emptying the bin
Empty the bin after every use to keep the Robotic
Cleaner operating at peak performance.
1. Press and hold the POWER button (Fig. F-8) on
the Robotic Cleaner until all indicators turn OFF, or
press the POWER OFF button (Fig. G-1) on the
remote control to turn OFF the Robotic Cleaner.
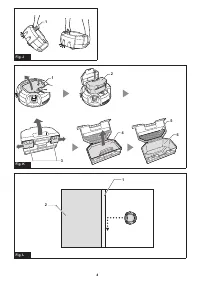
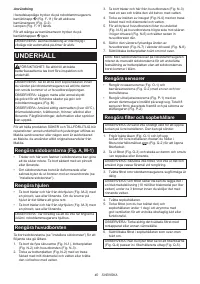
2. Press and release the top lid (Fig. K-1) to unlock it,
and then fully open the lid.
3. Take out the dust box (Fig. K-2).
4. Undo both locks (Fig. K-3), and open the dust box
lid.
5. Take out and empty the upper bin (Fig. K-4).
6. Remove small clumps of dust from the filter (Fig.
K-5) and empty the lower bin (Fig. K-6).
7. Replace the dust box in the Robotic Cleaner in the
reverse sequence.
Advanced operations
The following features can be set only when the Robotic
Cleaner is in standby mode (see step 1 in “Basic
operations”).
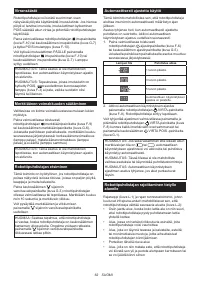
Saving power
The Robotic Cleaner can capture most visible dust
without using the vacuum fan. If fine dust does not need
to be removed, turning OFF the vacuum fan saves
the battery power to prolong the operating time of the
Robotic Cleaner.
In standby mode, press the Vacuum button on the
Robotic Cleaner (Fig. F-10) or on the remote control
(Fig. G-7) to turn OFF the Vacuum lamp (Fig. F-10).
To turn ON the vacuum fan, press the Vacuum button
on the Robotic Cleaner (Fig. F-10) or on the remote
control (Fig. G-7). The lamp lights up again.
NOTICE: This setting is not possible in sleep mode
with the auto-on timer activated.
NOTICE: In cases where the vacuum fan is turned
OFF, the
Filter maintenance lamp (Fig. F-3) does
not light even if the filter is full of dirt.
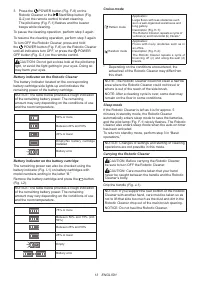
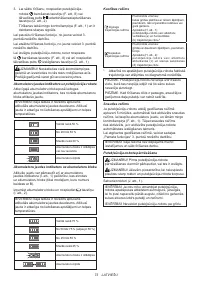
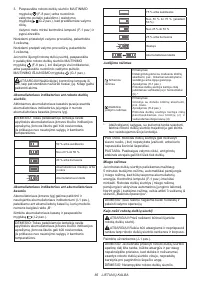
Adjusting the buzzer volume
Three levels of buzzer volume including mute can be
selected.
In standby mode, repeatedly press the Buzzer button
on the Robotic Cleaner (Fig. F-9) or on the remote
control (Fig. G-6). Each time you press the button, the
buzzer beeps in the following order: at high volume (the
lamp lights up), at low volume (the lamp lights up), and
then no sound (the lamp goes off).
NOTICE: This setting is not possible in sleep mode
with the auto-on timer activated.
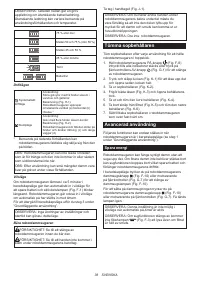
Locating the Robotic Cleaner
This feature is useful for locating the Robotic Cleaner
which may be out of sight on a large floor with desks,
cabinets, and other fixtures.
Press the Location beacon button on the remote
control (Fig. G-3) while the Robotic Cleaner is in
standby or sleep mode. The buzzer beeps for approx.
10 seconds and the pilot lamp flashes.
To stop the buzzer and flashing, press the Location
beacon button again.
NOTE: There may be cases where the Robotic
Cleaner does not respond because the Robotic
Cleaner is out of range of the remote control. The
problem can be resolved by pressing the Location
beacon button while you are moving around the floor.
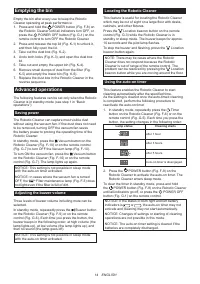
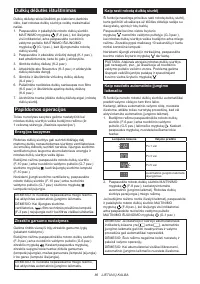
Using the auto-on timer
This feature enables the Robotic Cleaner to start
cleaning automatically after the specified time.
As the setting is cleared once the auto-timed cleaning
is completed, perform the following procedure to
reactivate the auto-on timer.
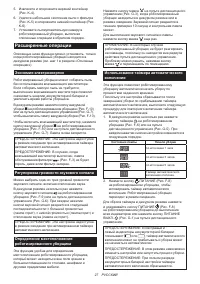
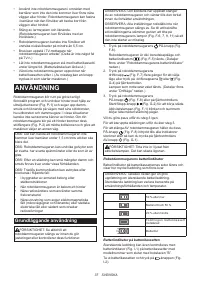
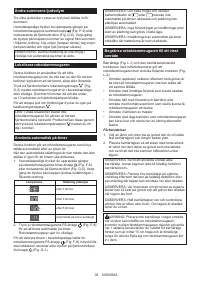
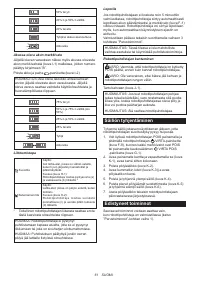
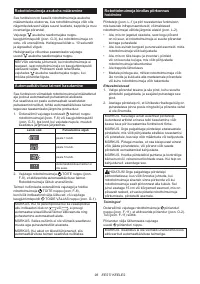
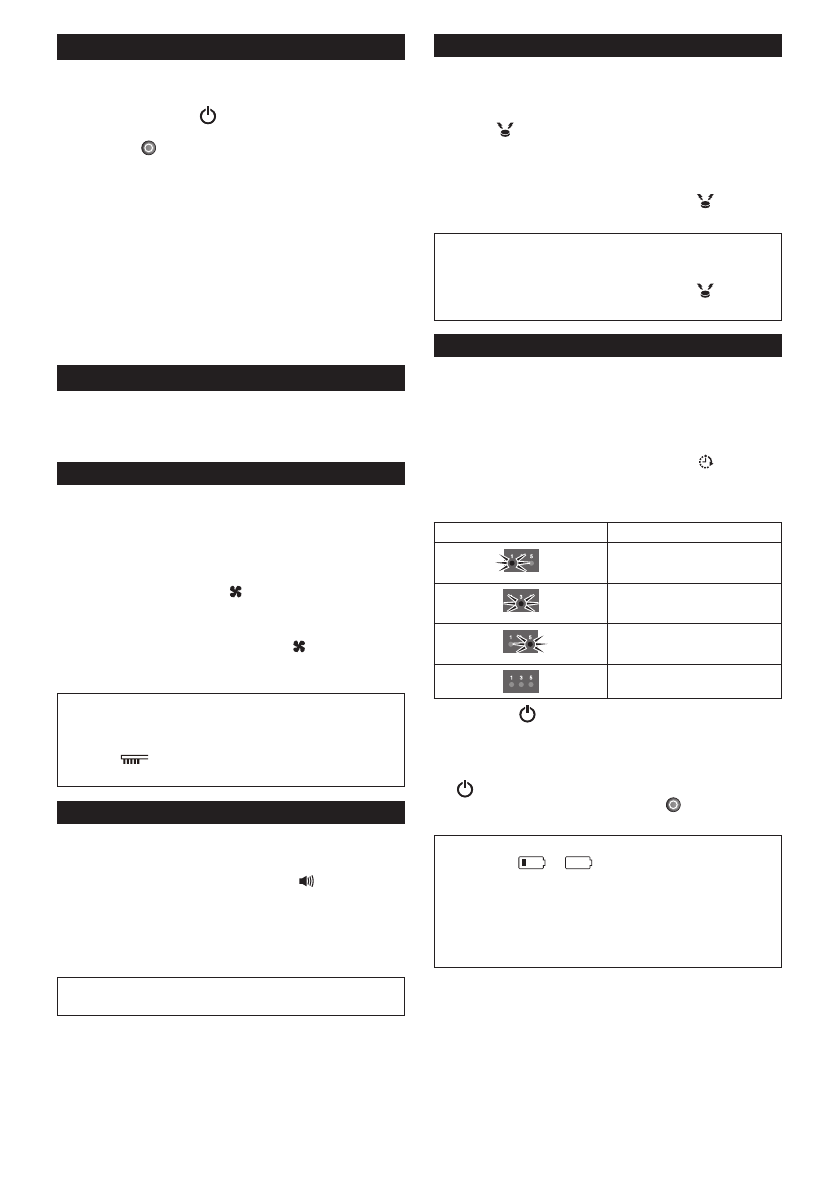
1. In standby mode, repeatedly press the Timer
button on the Robotic Cleaner (Fig. F-6) or on the
remote control (Fig. G-5). Each time you press the
button, the setting changes in the following order:
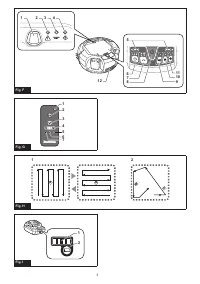
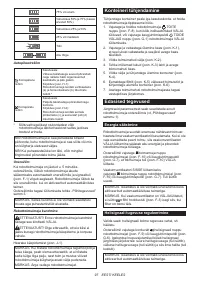
Lamp status
Cleaning starts
after 1 hour.
after 3 hours.
after 5 hours.
Auto-on timer is disengaged.
2. Press the POWER button (Fig. F-8) on the
Robotic Cleaner to activate the auto-on timer. The
Robotic Cleaner enters sleep mode.
To clear the timer in standby mode, press and hold
the POWER button (Fig. F-8) on the Robotic Cleaner
until all indicators go off, or press the POWER OFF
button (Fig. G-1) on the remote control.
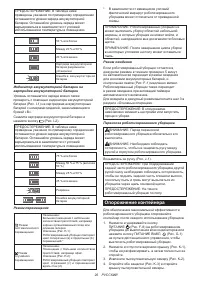
NOTICE: If the status of both right and left battery
indicators is
or
, the auto-on timer may not
activate and cleaning may not start automatically.
NOTICE: Changes of settings or starting of cleaning
operations are not possible in this mode.
NOTICE: The auto-on timer setting is cleared if the
batteries are completely discharged.
Содержание
- 19 ТЕХНИЧЕСКИЕ; Условные обозначения; Данное устройство не предназначено; Назначение; ПРАВИЛА ТЕХНИКИ БЕЗОПАСНОСТИ
- 22 СОХРАНИТЕ ЭТУ
- 23 Система защиты инструмента/; КНОПКИ И; Сборка и установка
- 24 Подготовка комнат
- 25 ЭКСПЛУАТАЦИЯ; Основные операции
- 26 Опорожнение контейнера
- 27 Расширенные операции
- 28 ТЕХНИЧЕСКОЕ; Очистка боковых щеток
- 31 ДОПОЛНИТЕЛЬНЫЕ
Характеристики

Остались вопросы?Не нашли свой ответ в руководстве или возникли другие проблемы? Задайте свой вопрос в форме ниже с подробным описанием вашей ситуации, чтобы другие люди и специалисты смогли дать на него ответ. Если вы знаете как решить проблему другого человека, пожалуйста, подскажите ему :)


