Роботы-пылесосы Makita DRC 200 Z - инструкция пользователя по применению, эксплуатации и установке на русском языке. Мы надеемся, она поможет вам решить возникшие у вас вопросы при эксплуатации техники.
Если остались вопросы, задайте их в комментариях после инструкции.
"Загружаем инструкцию", означает, что нужно подождать пока файл загрузится и можно будет его читать онлайн. Некоторые инструкции очень большие и время их появления зависит от вашей скорости интернета.


15 ENGLISH
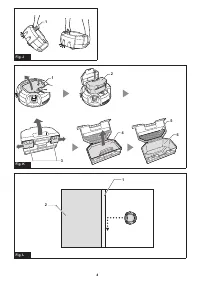
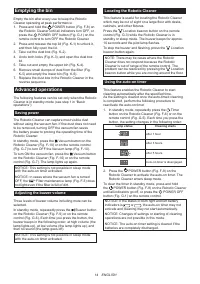
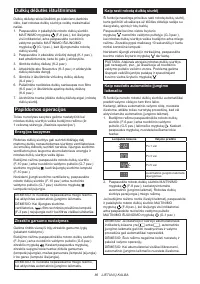
Confining the Robotic Cleaner to a particular
area
Boundary tape (Fig. L-1) and the boundary-sensing
feature that employs infrared sensors, enable the
Robotic Cleaner to avoid the following areas (Fig. L-2):
• An area that is divided into sections because the
entire floor is so large that the Robotic Cleaner
cannot clean the floor at a time
• An area where fragile articles are present that the
Robotic Cleaner could damage
• An area full of goods and fixtures, barriers, or of
an intricate shape, resulting in the Robotic Cleaner
getting stuck
• An area in the vicinity of a staircase
• An area with a low barrier that the Robotic Cleaner
can climb over and fall down to a lower floor, or that
the Robotic Cleaner will get stuck on
Preparations
1. Select an even and smooth surface on the floor
where you plan to place the boundary tape, and
then clean the surface.
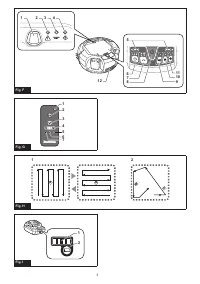
2. Place the boundary tape so that the side with the
short bars is adjacent to the cleaning area and there
are no air bubbles between the tape and the floor.
NOTICE: Be sure to use only genuine boundary tape.
Using a tape other than the genuine article might risk
malfunctioning of the boundary-sensing feature.
NOTICE: Do not place the boundary tape on uneven
surfaces that may cause erroneous detection or
on surfaces where the tape may become soiled or
damaged.
NOTICE: Be aware that some adhesive agent may
remain on floors, or the floor may be damaged when
you remove the boundary tape.
NOTICE: Keep the boundary tapes clean and check
if any positions torn or ripped. If the tape is damaged,
replace it.
WARNING: Do not place the boundary tape in
any area where an accident occurs resulting from
the Robotic Cleaner entering the area or the Robotic
Cleaner falling down from the area. In such a case,
place objects whose height is 15 cm or higher and
that are heavy enough to withstand the impact of the
Robotic Cleaner, in place of the boundary tapes.
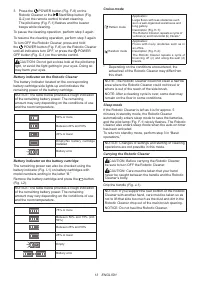
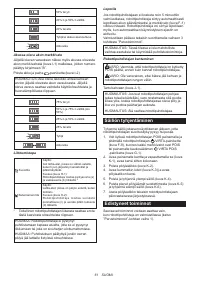
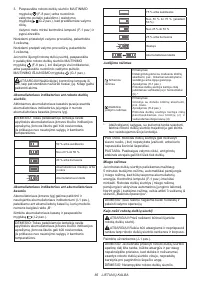
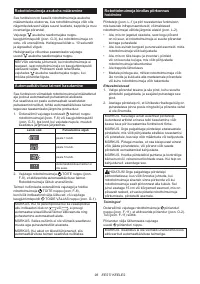
Operations
In standby mode, press the Boundary sensor button
(Fig. F-11) on the Robotic Cleaner to activate the
boundary sensor (Fig. O-2).
The lamp (Fig. F-11) lights up.
To deactivate the boundary sensor, press
the Boundary sensor button again.
NOTICE: This setting is not possible in sleep mode
with the auto-on timer activated.
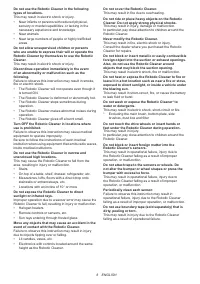
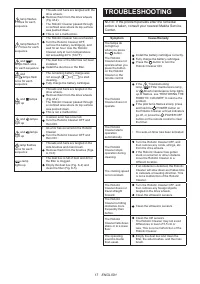
MAINTENANCE
CAUTION: Always make sure that both battery
cartridges are removed before attempting to perform
inspection or maintenance.
NOTICE: Be sure to take out the dust box before
turning over the Robotic Cleaner to prevent dust and
dirt from dropping out of the main brush opening.
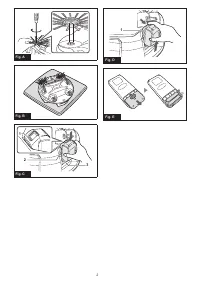
NOTICE: Be sure to spread a rug or other cushioning
material on the floor to prevent damage to the floor
and the Robotic Cleaner (Fig. B).
NOTICE: Never use hot water (higher than 40°C
(104°F)), gasoline, benzine, thinner, alcohol or the
like. Discoloration, deformation, or cracks may result.
To maintain product SAFETY and RELIABILITY,
repairs, any other maintenance, or adjustment should
be performed by Makita Authorized or Factory Service
Centers, always using Makita replacement parts.
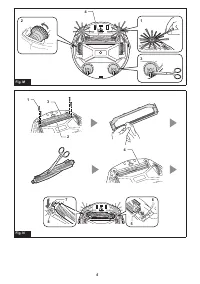
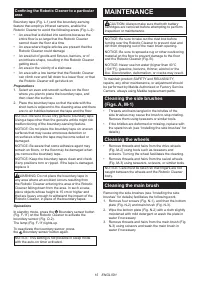
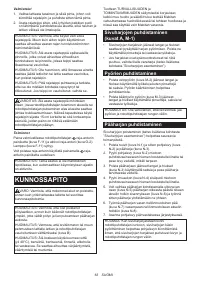
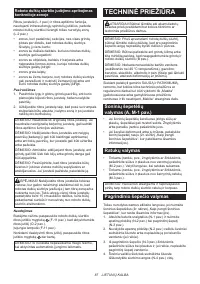
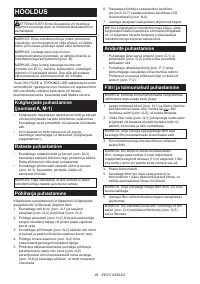
Cleaning the side brushes
(Figs. A, M-1)
• Threads and hairs tangled in the bristles of the
side brushes may cause the brush to stop rotating.
Remove them using tweezers or similar tools.
• If the bristles are deformed or missing, replace with
the spare brush (see “Installing the side brushes” for
details).
Cleaning the wheels
• Remove threads and hairs from the drive wheels
(Fig. M-2) using tools such as tweezers and
scissors. Turning the wheel facilitates the cleaning.
• Remove threads and hairs from the swivel wheels
(Fig. M-3) using tweezers, scissors, or similar tools.
NOTICE: Care must be taken so that fingers are not
caught between the wheels and the Robotic Cleaner
body.
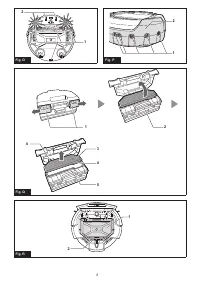
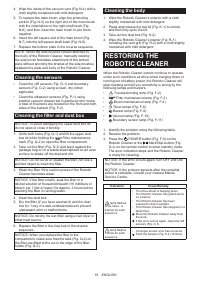
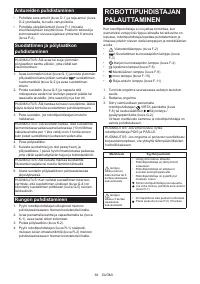
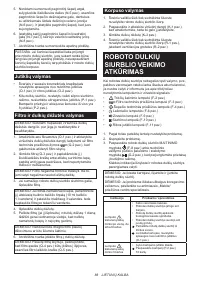
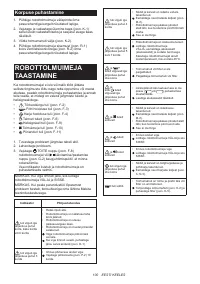
Cleaning the main brush
Removing the side brushes (see “Installing the side
brushes” for details) facilitates the following work.
1. Remove four screws (Fig. N-1), and then the bottom
plate (Fig. N-2) and main brush (Fig. N-3).
2. Wipe the bottom plate (Fig. N-2) with a cloth slightly
moistened with mild detergent or wash the plate in
water if necessary.
3. Remove threads and hairs from the main brush (Fig.
N-3) using scissors and wash the main brush in
water if necessary.
Содержание
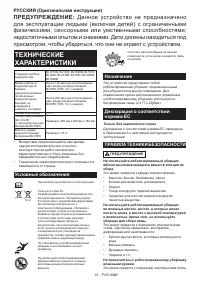
- 19 ТЕХНИЧЕСКИЕ; Условные обозначения; Данное устройство не предназначено; Назначение; ПРАВИЛА ТЕХНИКИ БЕЗОПАСНОСТИ
- 22 СОХРАНИТЕ ЭТУ
- 23 Система защиты инструмента/; КНОПКИ И; Сборка и установка
- 24 Подготовка комнат
- 25 ЭКСПЛУАТАЦИЯ; Основные операции
- 26 Опорожнение контейнера
- 27 Расширенные операции
- 28 ТЕХНИЧЕСКОЕ; Очистка боковых щеток
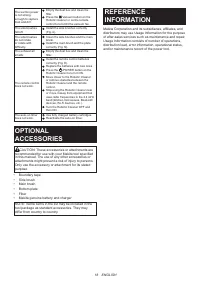
- 31 ДОПОЛНИТЕЛЬНЫЕ
Характеристики

Остались вопросы?Не нашли свой ответ в руководстве или возникли другие проблемы? Задайте свой вопрос в форме ниже с подробным описанием вашей ситуации, чтобы другие люди и специалисты смогли дать на него ответ. Если вы знаете как решить проблему другого человека, пожалуйста, подскажите ему :)


