
Перфораторы Bosch GBH 36 - инструкция пользователя по применению, эксплуатации и установке на русском языке. Мы надеемся, она поможет вам решить возникшие у вас вопросы при эксплуатации техники.
Если остались вопросы, задайте их в комментариях после инструкции.
"Загружаем инструкцию", означает, что нужно подождать пока файл загрузится и можно будет его читать онлайн. Некоторые инструкции очень большие и время их появления зависит от вашей скорости интернета.


20
| English
1 609 92A 3XU | (17.8.17)
Bosch Power Tools
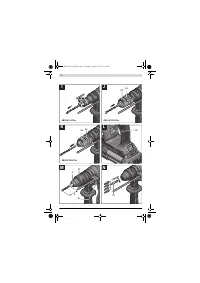
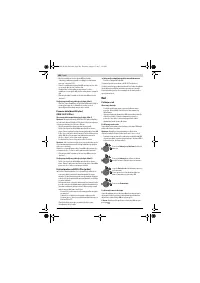
Reversing the rotational direction
The rotational direction switch
8
is used to reverse the rota-
tional direction of the machine. However, this is not possible
with the On/Off switch
10
actuated.
Right rotation:
Move the rotational direction switch
8
all the
way to position
.
Left rotation:
Move the rotational direction switch
8
all the
way to position
.
Set the direction of rotation for hammer drilling, drilling and
chiselling always to right rotation.
Switching On and Off
To save energy, only switch the power tool on when using it.
– To
start
the machine, press the On/Off switch
10
.
When starting the machine for the first time, a starting delay
is possible, as the electronic system of the power tool has to
configure itself first.
– To
switch off
the machine, release the On/Off switch
10
.
Setting the Speed/Impact Rate
The speed/impact rate of the switched on power tool can be
variably adjusted, depending on how far the On/Off switch
10
is pressed.
Light pressure on the On/Off switch
10
results in low
speed/impact rate. Further pressure on the switch increases
the speed/impact rate.
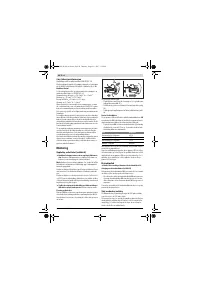
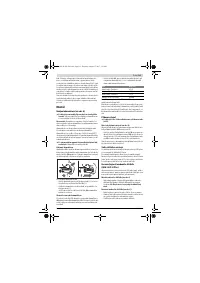
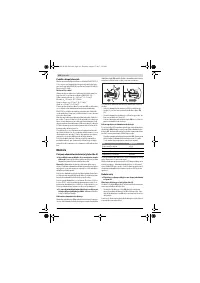
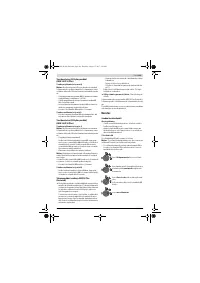
Electronic Precision Control (EPC) (see figure L)
EPC assists you when working with impact in sensitive mate-
rials by ensuring slow start-up and reduced operating speed.
– Slide the EPC switch
30
to the desired position.
Overload Clutch
If the tool insert becomes caught or jammed, the drive
to the drill spindle is interrupted. Because of the forces
that occur, always hold the power tool firmly with both
hands and provide for a secure stance.
If the power tool jams, switch the machine off and loos-
en the tool insert. When switching the machine on with
the drilling tool jammed, high reaction torques can oc-
cur.
Rapid Shut-off (Kickback Control)
The rapid shut-off feature (KickBack Control) provides better
control over the power tool. The power tool will switch off if it
suddenly and unforeseeably rotates around the drilling axis.
– To
restart the machine
, release the On/Off switch and
then actuate again.
Rapid shut-off is indicated by flashing of the worklight
14
on
the power tool.
Rapid shut-off can trigger only when the power tool is
running at maximum operating speed and can rotate
freely around the drilling axis.
Temperature Control Indicator
The red LED of the temperature control indicator
19
signals
that the battery or the electronics of the power tool (when the
battery is inserted) are not within the optimum temperature
range. In this case, the power tool will not operate at full ca-
pacity.
Temperature control of the battery:
– The red LED
19
lights up continuously after inserting the
battery into the charger: The battery is not within the
charging temperature range between 0 ° C and 45 ° C and
cannot be charged.
– The red LED
19
flashes when you press the
21
button or
the On/Off switch
10
(with battery inserted): The battery
is outside of the permitted operating temperature range.
– For battery temperatures over 70 ° C, the power tool
switches off until the battery is in the optimal temperature
range again.
Temperature control of the power tool electronics:
– The red LED
19
lights up continuously when pressing the
On/Off switch
10
: The temperature of the machine’s elec-
tronics is below 5 ° C or above 75 ° C.
– At a temperature above 90 ° C , the electronics of the pow-
er tool switch off until the temperature is within the allow-
able temperature range again.
Working Advice
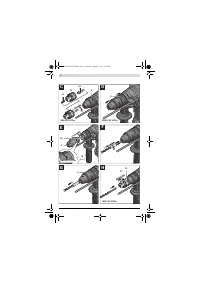
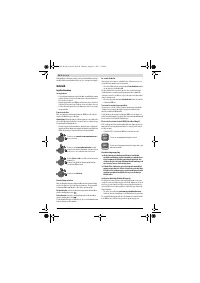
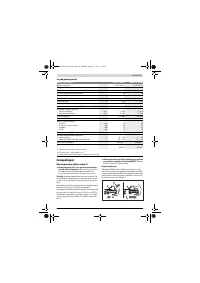
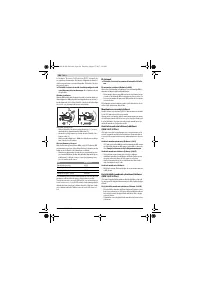
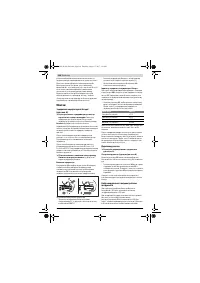
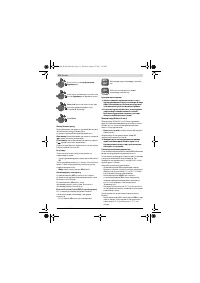
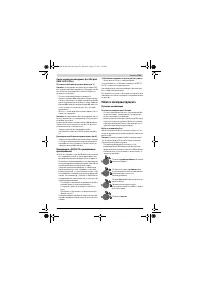
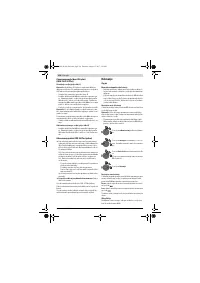
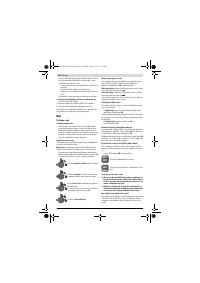
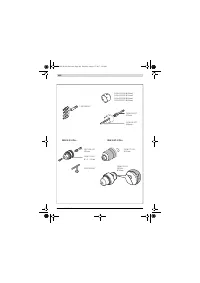
Adjusting the Drilling Depth (see figure M)
The required drilling depth
X
can be set with the depth stop
17
.
– Press the button for the depth stop adjustment
15
and in-
sert the depth stop into the auxiliary handle
16
.
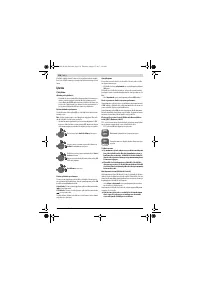
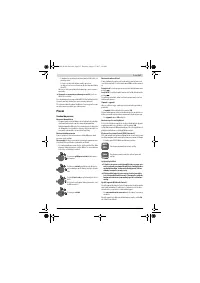
Position for
hammer drilling
in concrete or
stone
Position for
drilling
without impact in wood,
metal, ceramic and plastic as well as for
screwdriving
Vario-Lock
position for adjustment of the
chiselling position
The mode selector switch
13
does not latch in
this position.
Position for
chiselling
Position for maximum operating speed
Position for slow start-up and reduced operating
speed
OBJ_BUCH-283-014.book Page 20 Thursday, August 17, 2017 3:16 PM
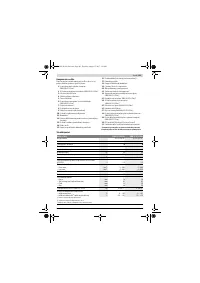
Содержание
- 147 Указания по безопасности; Безопасность рабочего места
- 149 Описание продукта и услуг; Применение по назначению
- 150 Технические данные; Сборка; Перфоратор
- 151 Извлечение аккумулятора; Дополнительная рукоятка; ный винт имеет левую резьбу.
- 152 Замена рабочего инструмента
- 153 Работа с инструментом; Включение электроинструмента
- 154 Предохранительная муфта; Указания по применению
- 155 Демпфер вибрации; Техобслуживание и сервис; Техобслуживание и очистка; Россия
- 156 Транспортировка; Українська; Вказівки з техніки безпеки; Загальні застереження для електроприладів; Безпека на робочому місці
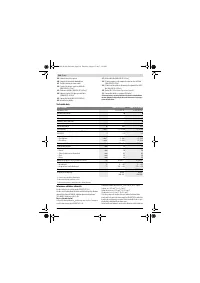
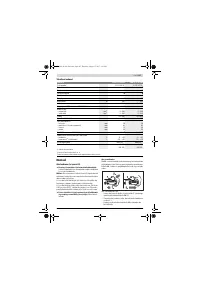
Характеристики

Остались вопросы?Не нашли свой ответ в руководстве или возникли другие проблемы? Задайте свой вопрос в форме ниже с подробным описанием вашей ситуации, чтобы другие люди и специалисты смогли дать на него ответ. Если вы знаете как решить проблему другого человека, пожалуйста, подскажите ему :)


