
Мясорубки Oursson MG5550/SP - инструкция пользователя по применению, эксплуатации и установке на русском языке. Мы надеемся, она поможет вам решить возникшие у вас вопросы при эксплуатации техники.
Если остались вопросы, задайте их в комментариях после инструкции.
"Загружаем инструкцию", означает, что нужно подождать пока файл загрузится и можно будет его читать онлайн. Некоторые инструкции очень большие и время их появления зависит от вашей скорости интернета.


14
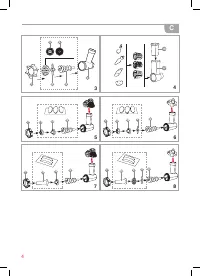
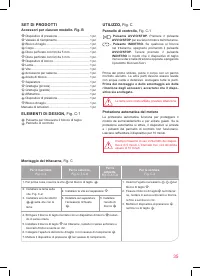
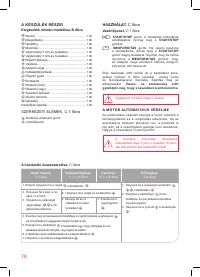
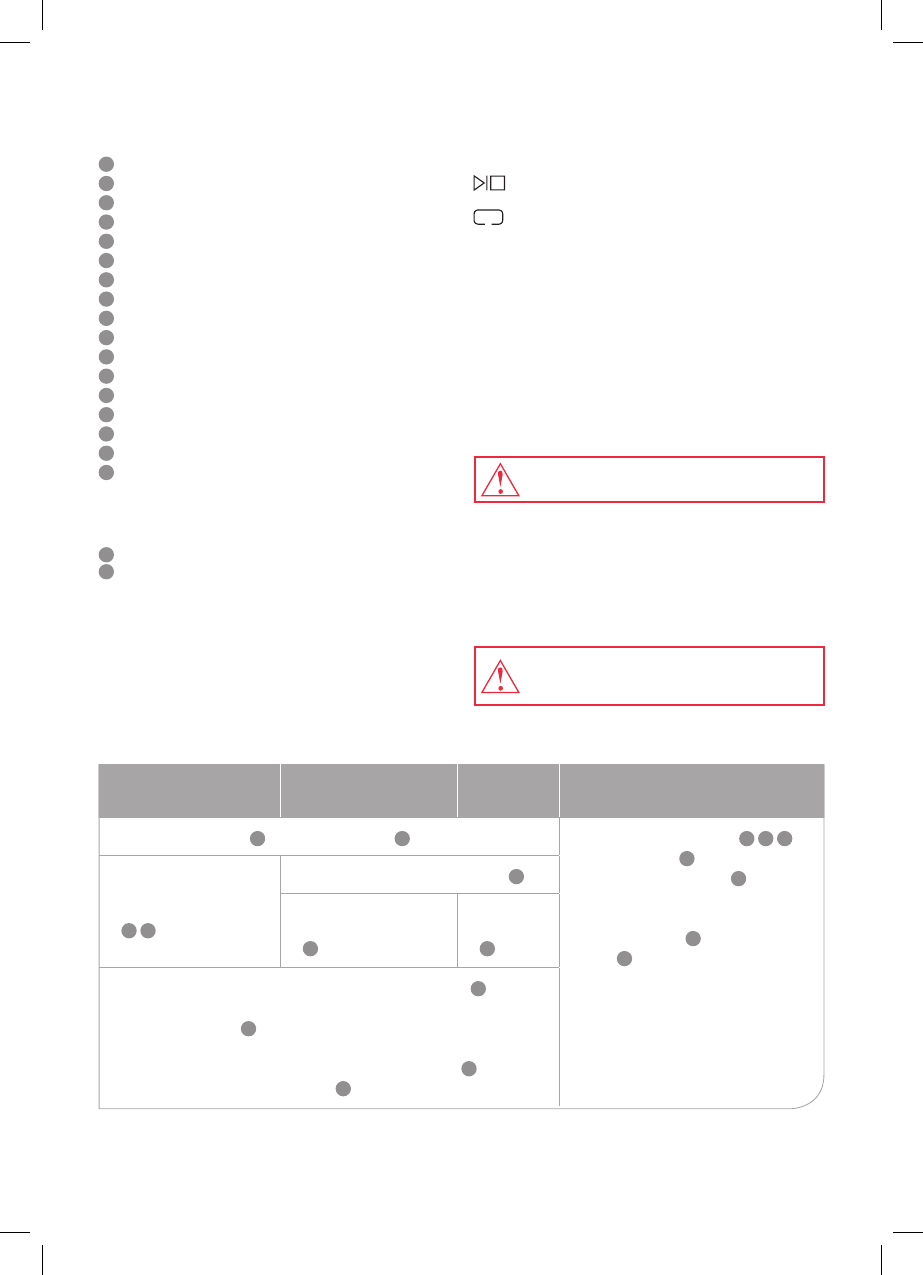
Assembling the meat grinder,
Рiс. C
For mince,
Pic. C-3
For sausages,
Pic. C-7,C-8
For
meatballs,
Pic. C-5,C-6
For vegetables,
Pic. C-4
1. First, insert the screw
9
into the cutting block
3
.
1. Insert the required nozzle
13
,
14
,
15
into
the cutting block
17
.
2. Secure the cutting block
17
in the meat
grinder, turn counterclockwise and lock
until it clicks.
3. Place the pusher
15
into the cutting
block
16
.
2. Install the blade onto the
screw. Pic. C-2.
3. Install one of the disks
5
,
6
onto the screw with
blades.
2. Install the screw onto the separator
12
.
3. Install onto the separator
the required attachment
10
.
3. Install the
locking ring
11
.
4. Tighten the assembled cutting block with a locking attachment
7
, turning it
clockwise.
5. Install cutting block
3
in the meat grinder, turn it counterclockwise
and lock until it clicks.
6. Connect the opening of the cutting block with the filling tray
2
.
7. Place the pusher 1 into the filling tray
1
.
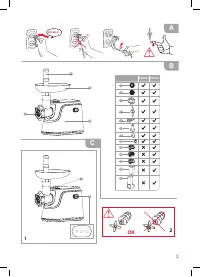
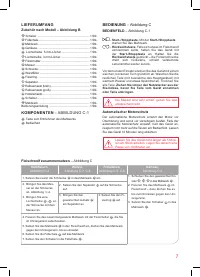
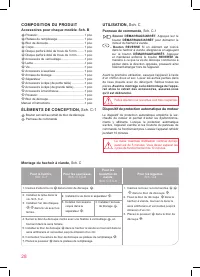
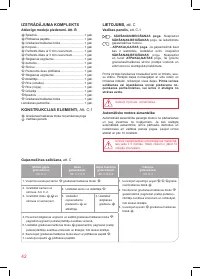
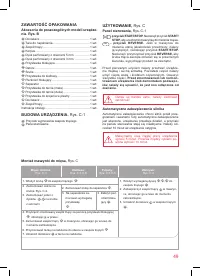
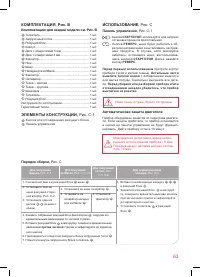
PRODUCT SET
Accessories for each model. Рiс. В
1
Pusher
................................................................ 1
pc
.
2
Filling tray
........................................................... 1
pc
.
3
Cutting block
....................................................... 1
pc
.
4
Body
................................................................... 1
pc
.
5
Perforated disk 5 mm holes
................................ 1
pc
.
6
Perforated disk 3 mm holes
................................. 1
pc
.
7
Locking attachment
............................................ 1
pc
.
8
Blade
.................................................................. 1
pc
.
9
Screw
.................................................................. 1
pc
.
10
Sausage attachment
..................................................
1
pc
.
11
Locking ring
........................................................ 1
pc
.
12
Separator
........................................................... 1
pc
.
13
Grater attachment (Sml)
..................................... 1
pc
.
14
Grater attachment (Big)
...................................... 1
pc
.
15
Slicer attachment
................................................ 1
pc
.
16
Pusher
................................................................ 1
pc
.
17
Cutting block
....................................................... 1
pc
.
Instructions manual
................................................. 1
pc
.
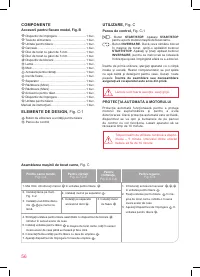
ELEMENTS OF DESIGN,
Рiс. С-1
1
2
Button to remove the cutting block
Control panel
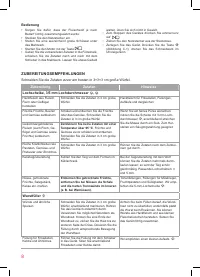
UTILIZATION,
Рiс. C
Control panel,
Рiс. C-1
▼
re
-
START/STOP button.
Press
START/STOP
button
to start the meat grinder engine.
-
REVERSE button.
If something got stuck in
the meat grinder, turn it off by pressing
START/
STOP
button. Press and hold
REVERSE
button, so that the cutting screw begin to rotate
into the opposite direction, pushing the stuck
product out.
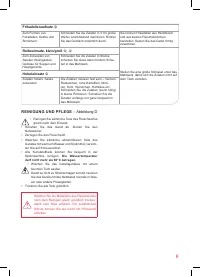
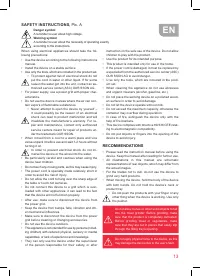
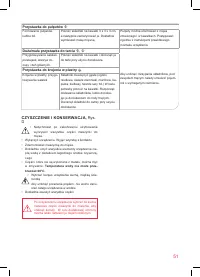
Before first use, wipe the device with a soft, dry
cloth. The rest of the parts wash with warm water
and detergent. Dry all the parts.
Before assembling
or disassembling the device and / or removing
attachments, make sure that the device is
unplugged
.
The blades are very sharp, be careful.
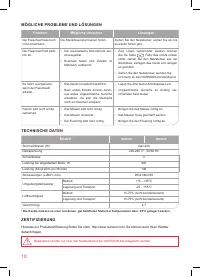
Automatic engine protection
Automatic protection works to protect the engine
from overheating. In case when automatic protection
turned on, the device will stop and buttons on the
control panel won’t work. Let the device cool for 10
minutes.
Maximum time of continued use of the de
-
vice – 5 minutes. The interval between the
cycles should be 10 minutes.
Содержание
- 63 Комплектацию для каждой модели см. Рис. В; ЭЛЕМЕНТЫ КОНСТРУКЦИИ,; Автоматическая защита двигателя; Максимально допустимое время непре
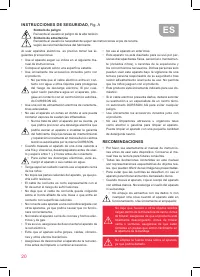
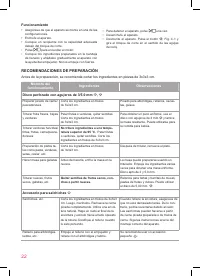
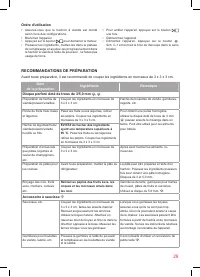
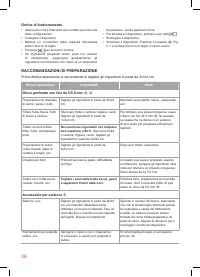
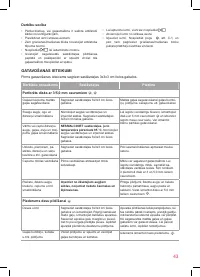
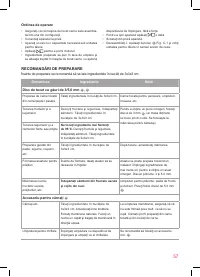
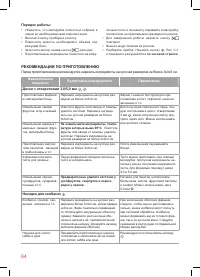
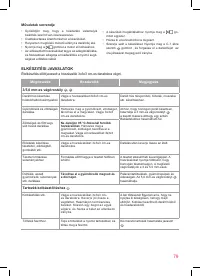
- 64 РЕКОМЕНДАЦИИ ПО ПРИГОТОВЛЕНИЮ; Наименование; Не измельчайте ингредиенты, темпе; Насадка для колбасок; по часовой стрелке
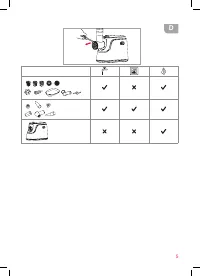
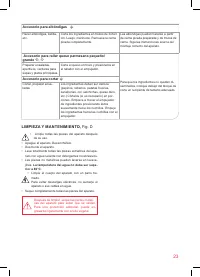
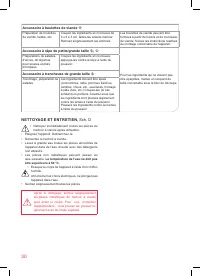
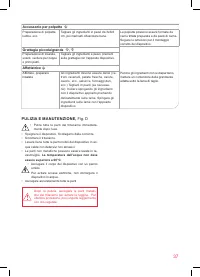
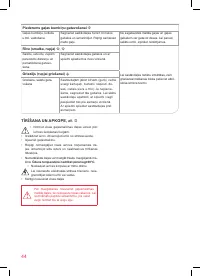
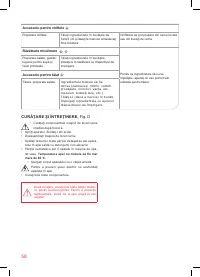
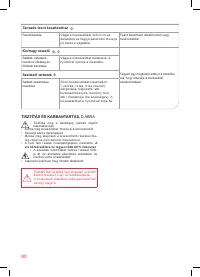
- 65 Температура в посудомоечной; После чистки насухо протирайте металли
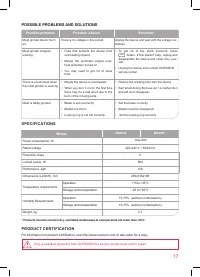
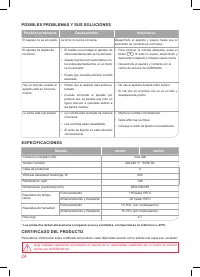
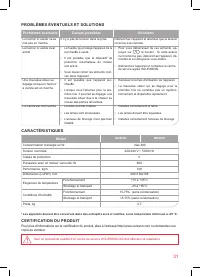
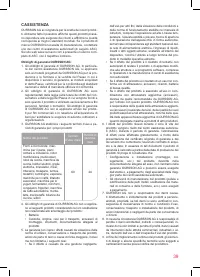
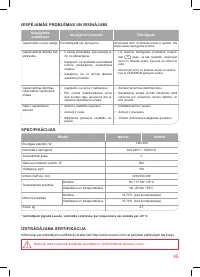
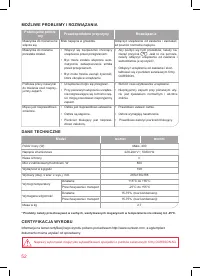
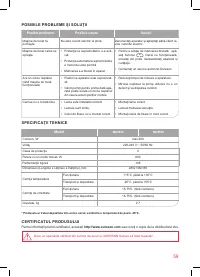
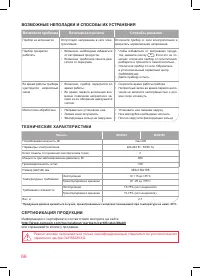
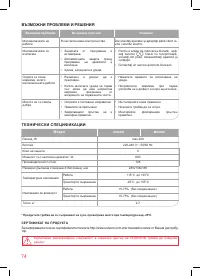
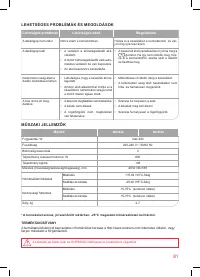
- 66 ВОЗМОЖНЫЕ НЕПОЛАДКИ И СПОСОБЫ ИХ УСТРАНЕНИЯ; Возможная проблема; ТЕхНИчЕСКИЕ хАРАКТЕРИСТИКИ; Модель; СЕРТИФИКАЦИЯ ПРОДУКЦИИ; Информацию о сертификате соответствия смотрите на сайте
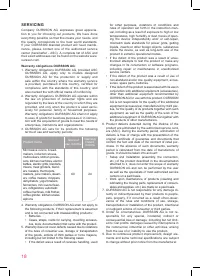
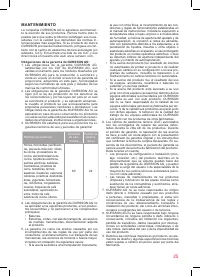
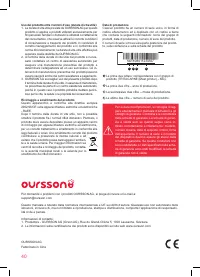
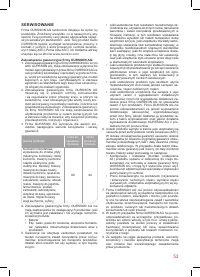
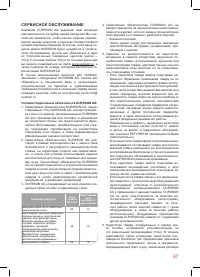
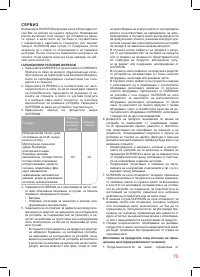
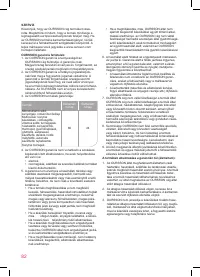
- 67 СЕРВИСНОЕ ОБСЛУЖИВАНИЕ; Условия Гарантийных обязательств OURSSON AG:
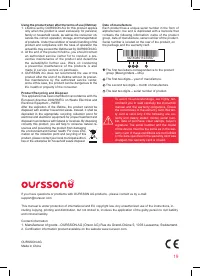
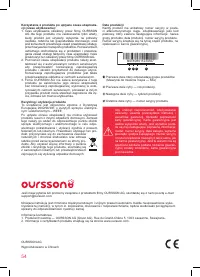
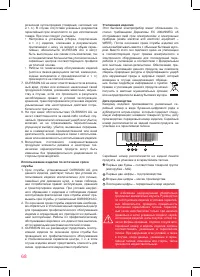
- 69 sson; Время работы горячей линии:


