
Мойки высокого давления Karcher HD 6/15 C 1.150-903 - инструкция пользователя по применению, эксплуатации и установке на русском языке. Мы надеемся, она поможет вам решить возникшие у вас вопросы при эксплуатации техники.
Если остались вопросы, задайте их в комментариях после инструкции.
"Загружаем инструкцию", означает, что нужно подождать пока файл загрузится и можно будет его читать онлайн. Некоторые инструкции очень большие и время их появления зависит от вашей скорости интернета.


– 3
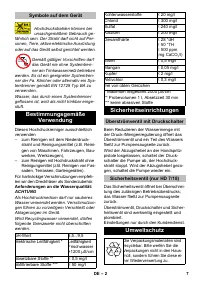
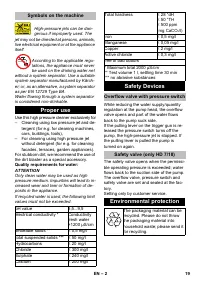
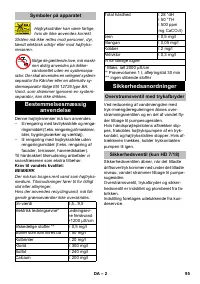
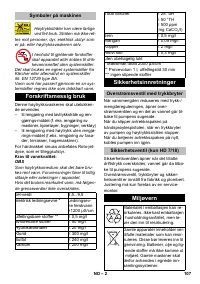
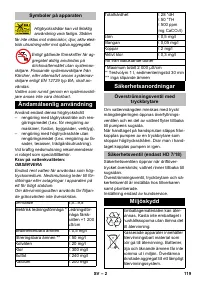
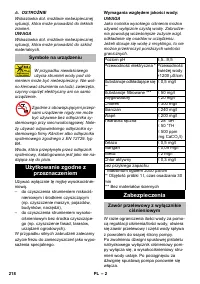
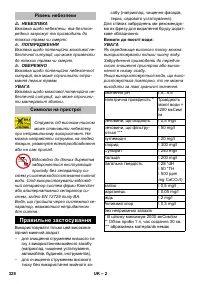
Electrical and electronic devices often con-
tain components which could potentially
pose a danger to human health and the en-
vironment if handled or disposed of incor-
rectly. However, these components are
necessary for the proper operation of the
device. Devices marked with this symbol
must not be disposed of with regular house-
hold rubbish.
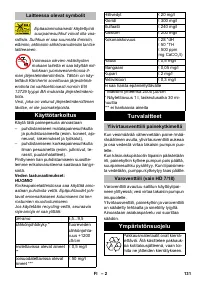
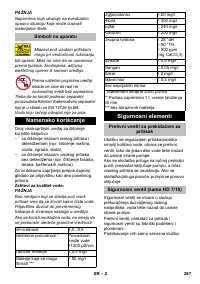
Notes about the ingredients (REACH)
You will find current information about the
ingredients at:
www.kaercher.com/REACH
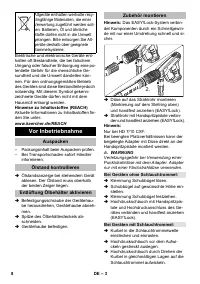
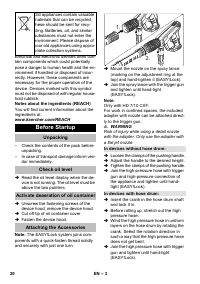
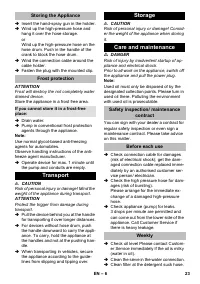
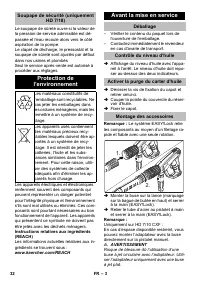
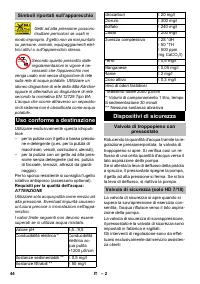
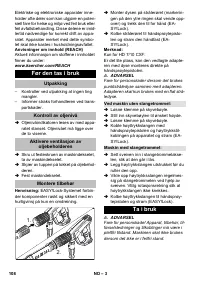
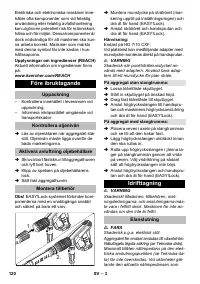
– Check the contents of the pack before
unpacking.
– In case of transport damage inform ven-
dor immediately.
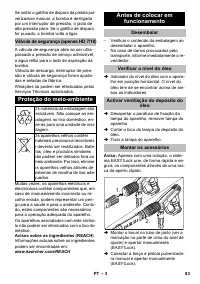
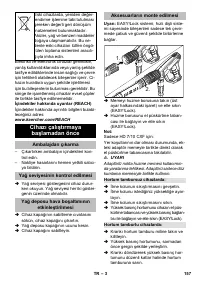
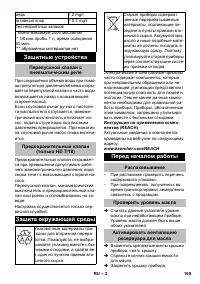
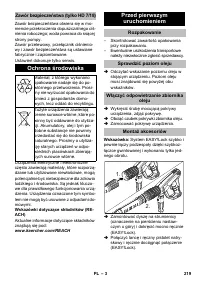
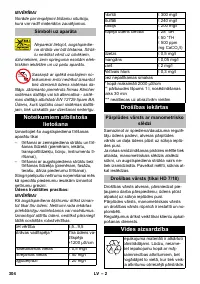
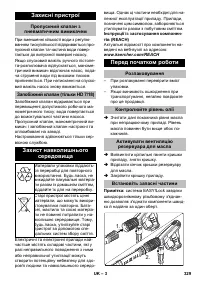
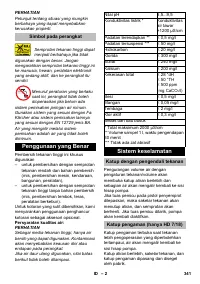
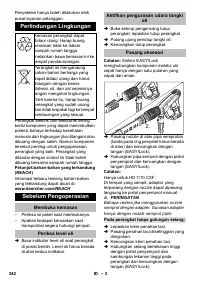
Read the oil level display when the de-
vice is not running. The oil level must be
above the two pointers.
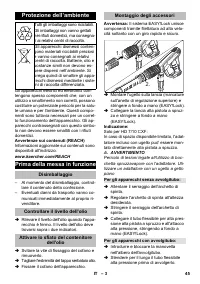
Unscrew the fastening screws of the
device hood; remove the device hood.
Cut off tip of oil container cover
Fasten the device hood.
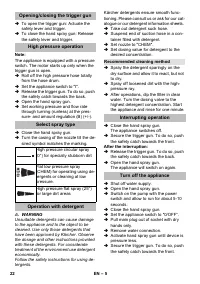
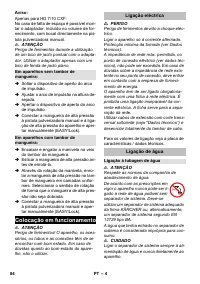
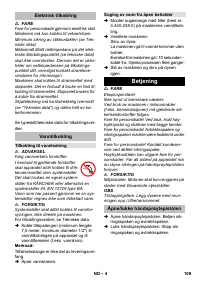
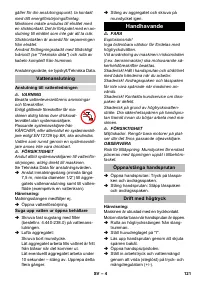
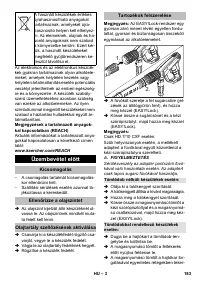
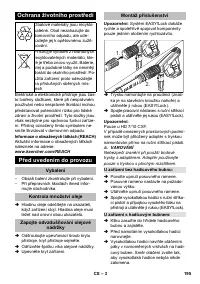
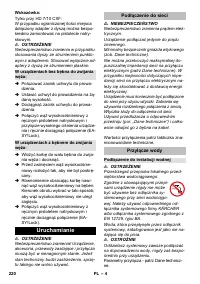
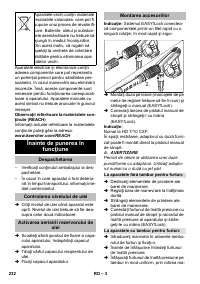
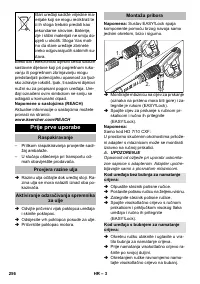
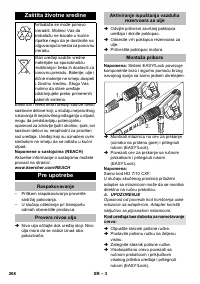
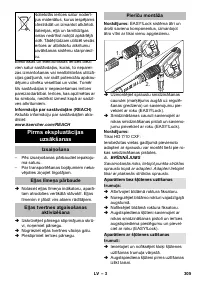
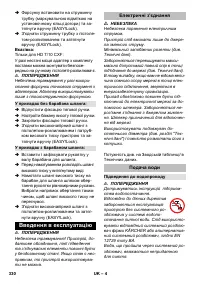
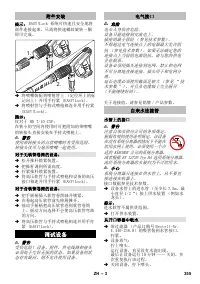
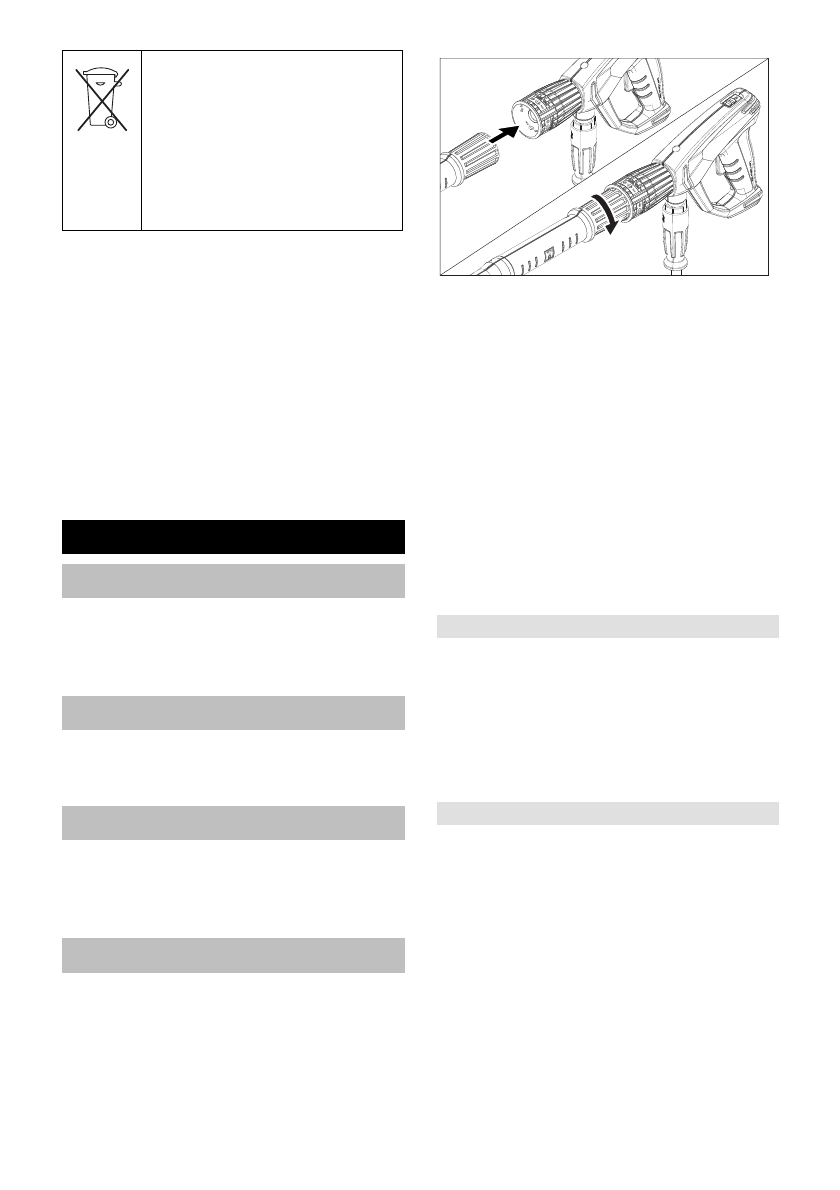
Note:
The EASY!Lock system joins com-
ponents with a quick-fasten thread solidly
and securely with just one turn.
Mount the nozzle on the spray lance
(marking on the adjustment ring at the
top) and hand-tighten it (EASY!Lock).
Join the spray lance with the trigger gun
and tighten until hand-tight
(EASY!Lock).
Note:
Only with HD 7/10 CXF:
For work in confined spaces, the included
adapter with nozzle can be attached direct-
ly to the trigger gun.
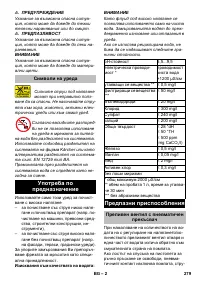
몇
WARNING
Risk of injury while using a detail nozzle
with the adapter. Only use the adapter with
a flat jet nozzle.
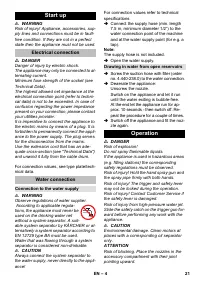
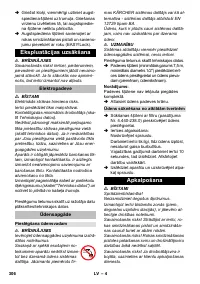
Loosen the clamps of the pushing handle.
Adjust the handle to the desired height.
Tighten the clamps of the pushing handle.
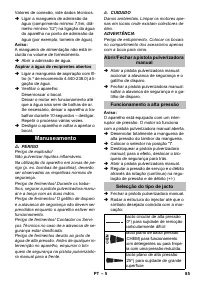
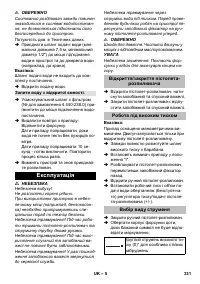
Join the high-pressure hose with trigger
gun and high-pressure connection of
the appliance and tighten until hand-
tight (EASY!Lock).
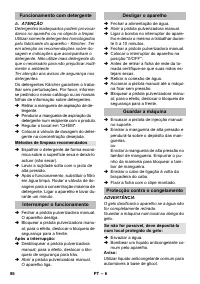
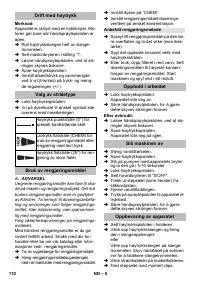
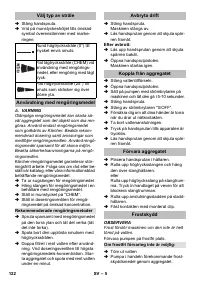
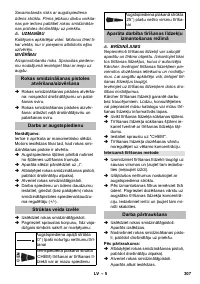
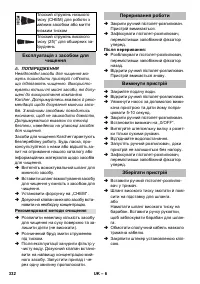
Insert the crank in the hose drum shaft
and lock it in.
Before rolling up, stretch out the high
pressure hose.
Wind the high pressure hose in uniform
layers on the hose drum by rotating the
crank. Select the rotation direction in
such a way that the high pressure hose
does not get bent.
Join the high pressure hose with trigger
gun and tighten until hand-tight
(EASY!Lock).
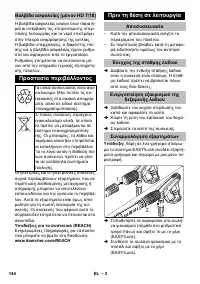
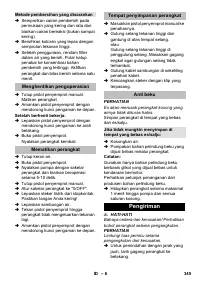
Old appliances contain valuable
materials that can be recycled;
these should be sent for recy-
cling. Batteries, oil, and similar
substances must not enter the
environment. Please dispose of
your old appliances using appro-
priate collection systems.
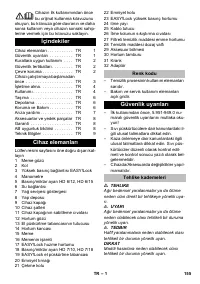
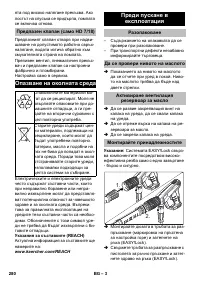
Before Startup
Unpacking
Check oil level
Activate deaeration of oil container
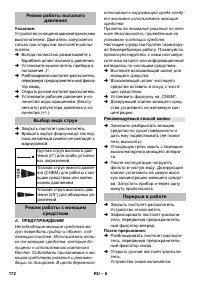
Attaching the Accessories
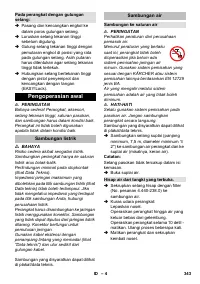
In devices without hose drum:
In devices with hose drum:
2.
1.
20
EN
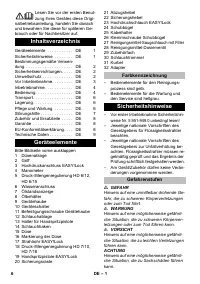
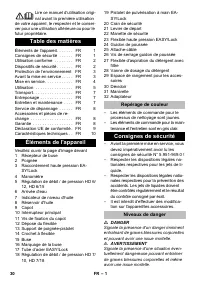
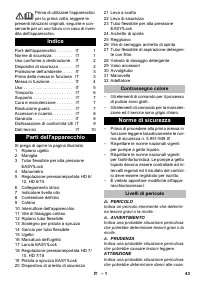
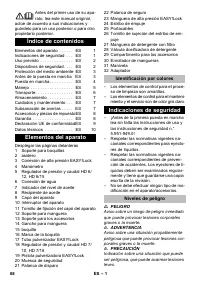
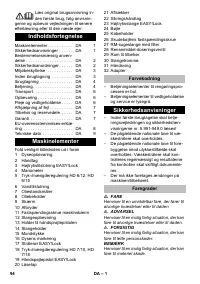
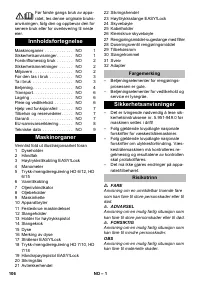
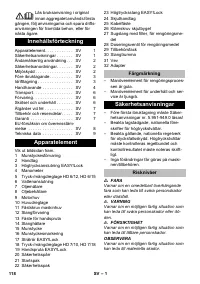
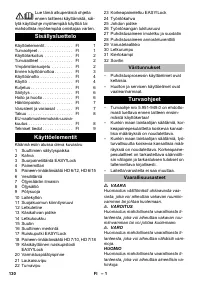
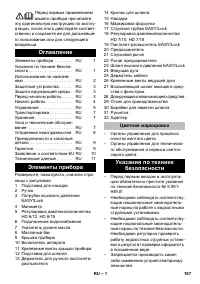
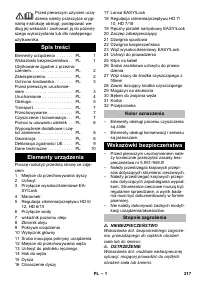
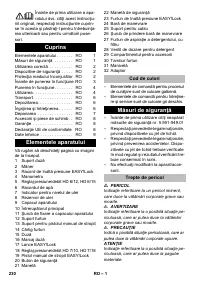
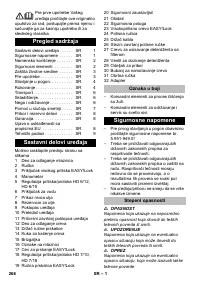
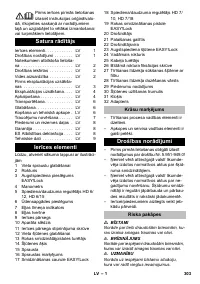
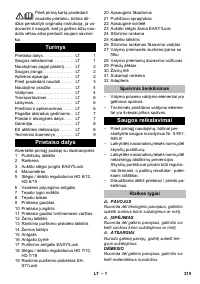
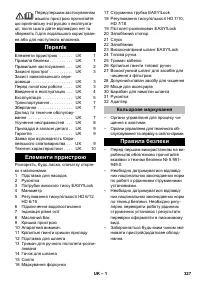
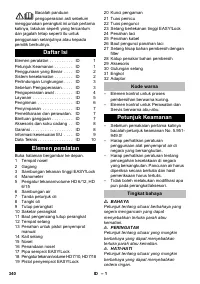
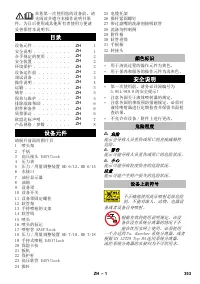
Содержание
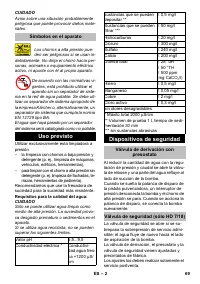
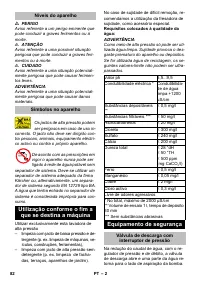
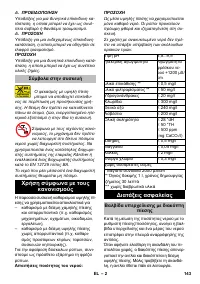
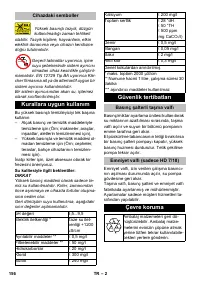
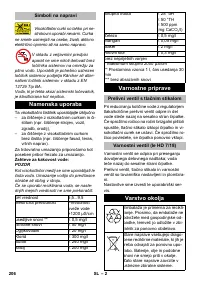
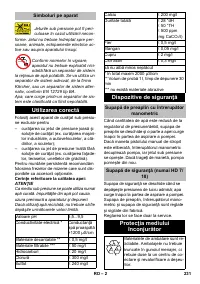
- 168 Требования к качеству воды:; Степень опасности; Использование по
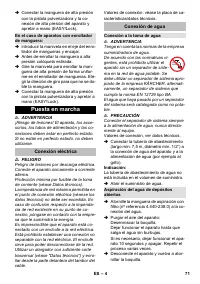
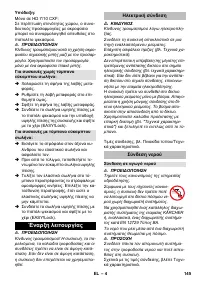
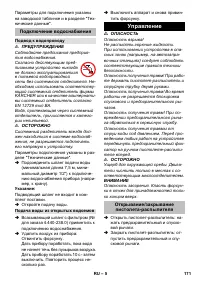
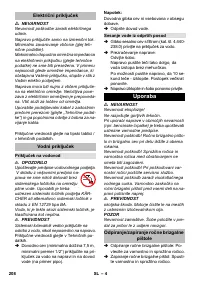
- 170 Установка принадлежностей; В приборах без барабана шланга:; Начало работы; Электрическое подсоединение
- 171 Подключение водоснабжения; Подвод к водопроводу; Управление; Открывание/закрывание
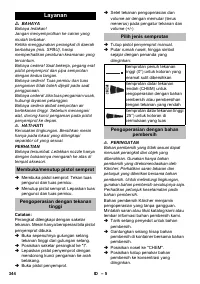
- 172 Рекомендуемый способ мойки
- 173 Выключение прибора; Транспортировка
- 174 Замена масла; Устранение неисправностей
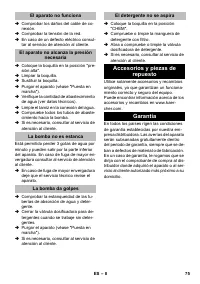
- 175 Принадлежности и
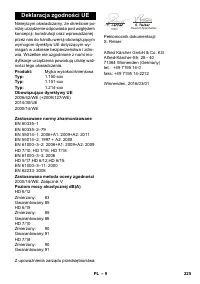
- 176 Продукт
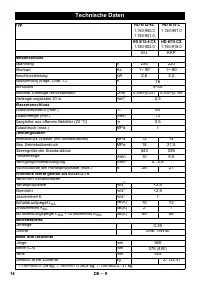
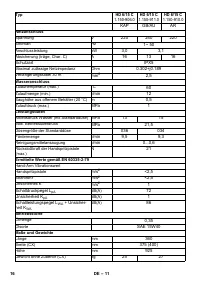
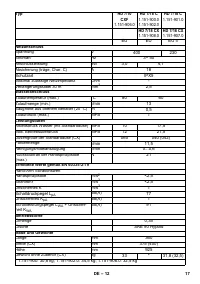
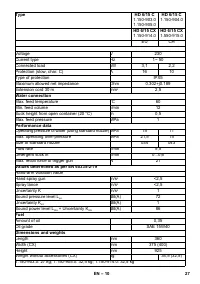
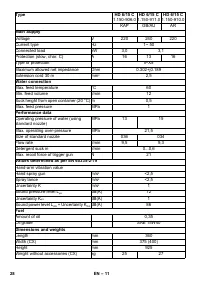
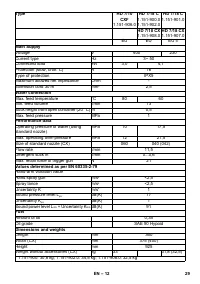
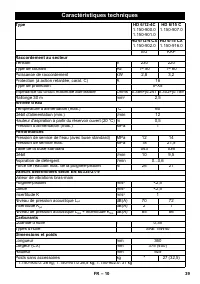
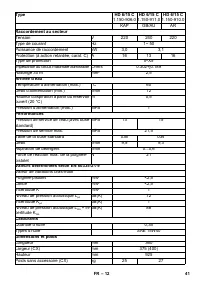
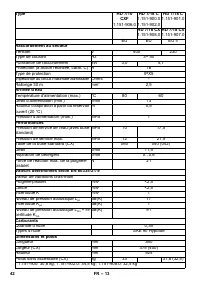
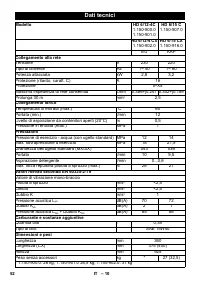
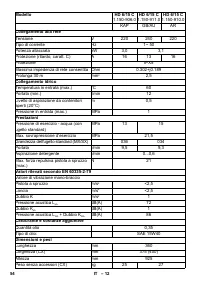
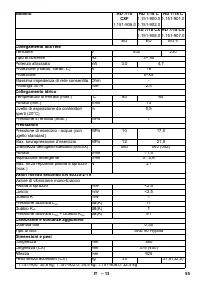
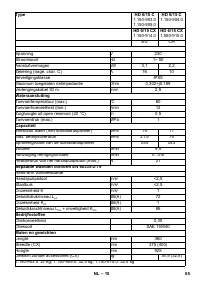
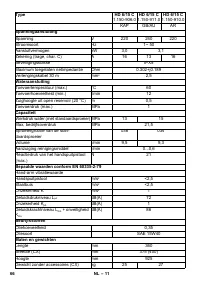
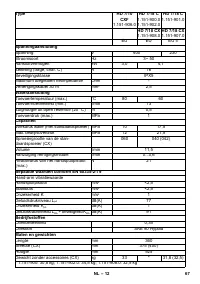
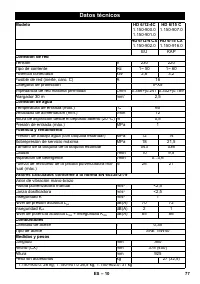
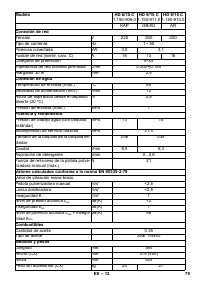
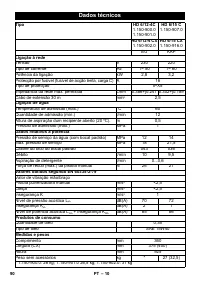
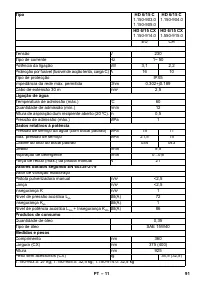
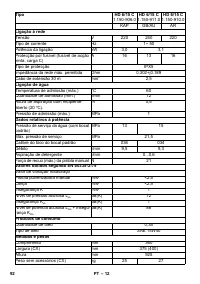
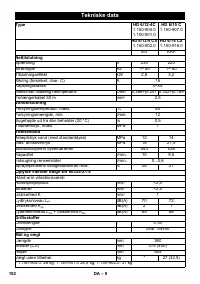
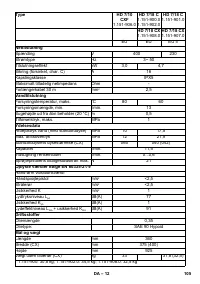
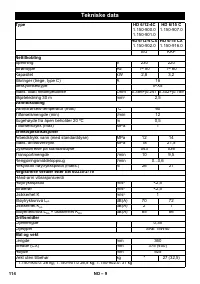
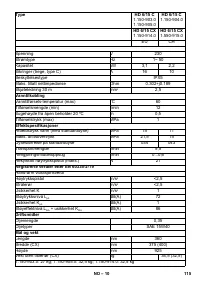
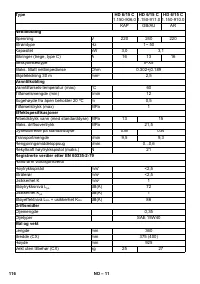
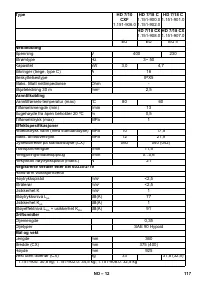
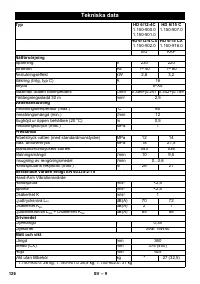
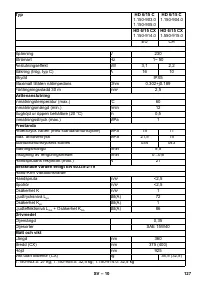
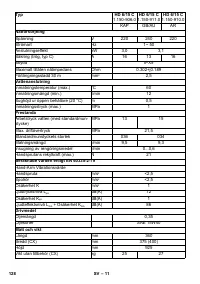
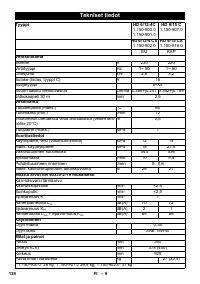
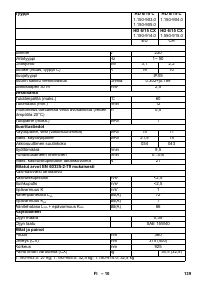
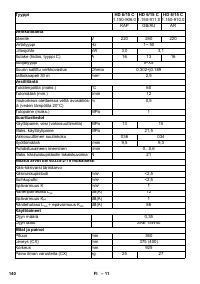
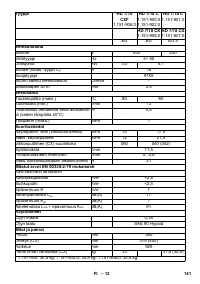
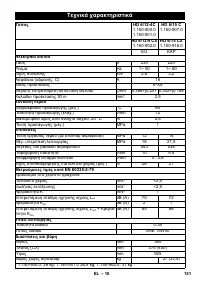
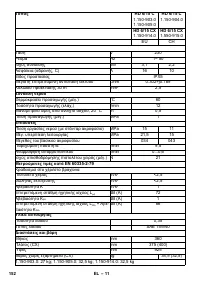
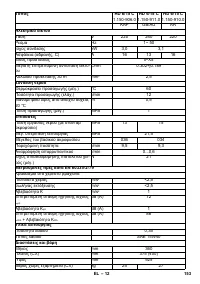
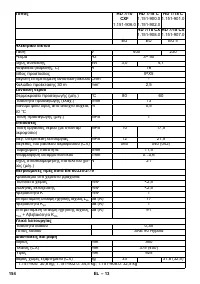
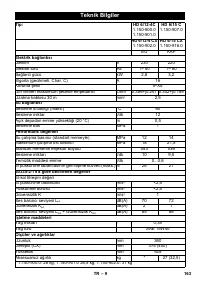
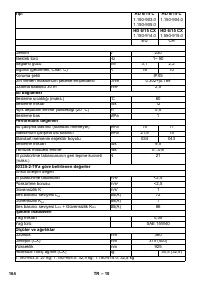
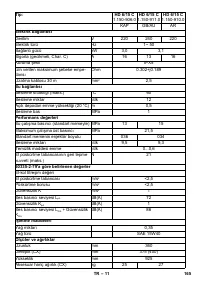
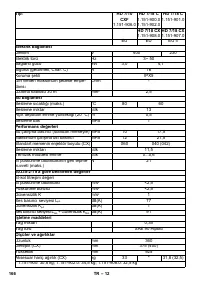
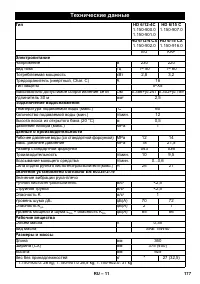
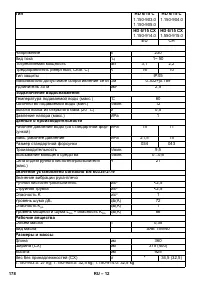
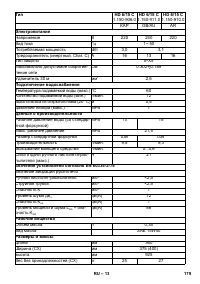
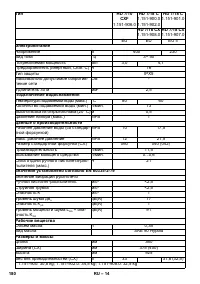
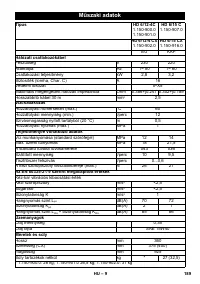
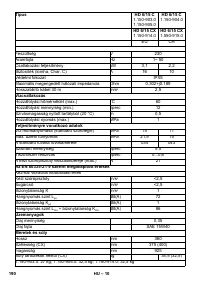
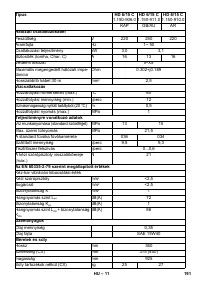
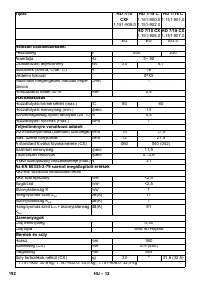
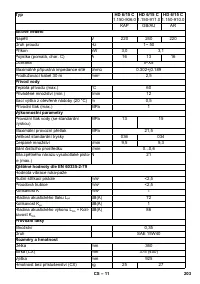
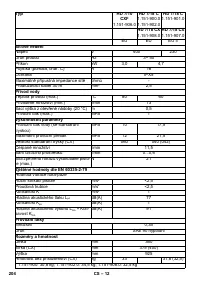
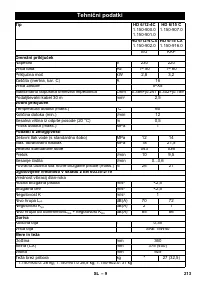
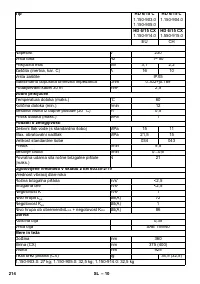
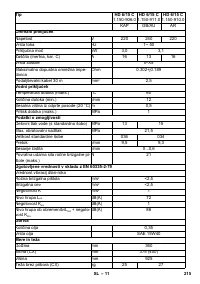
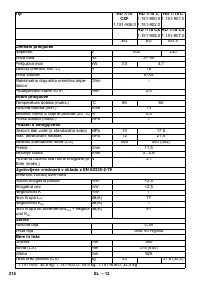
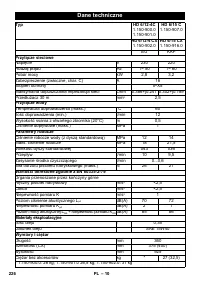
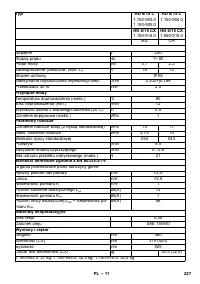
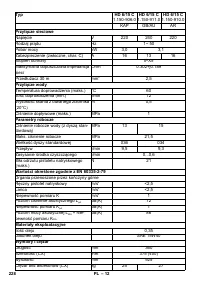
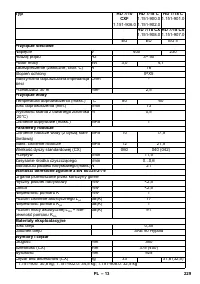
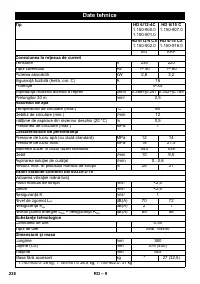
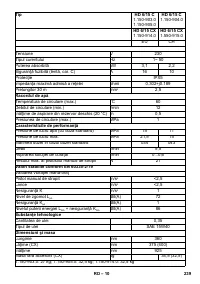
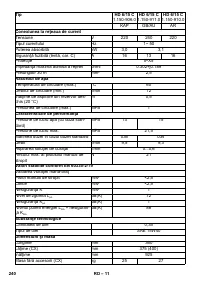
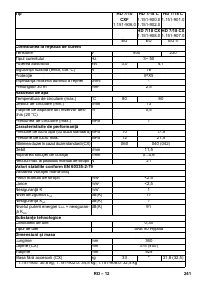
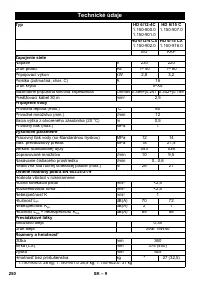
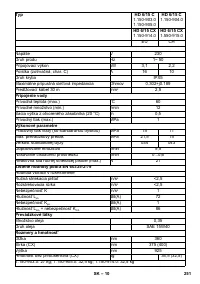
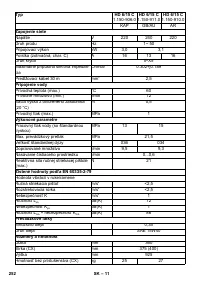
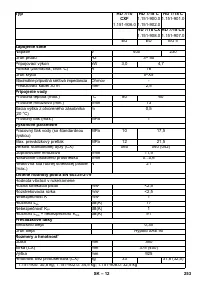
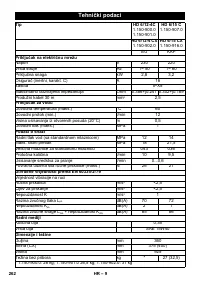
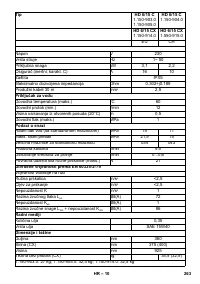
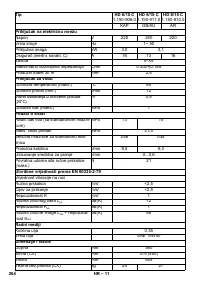
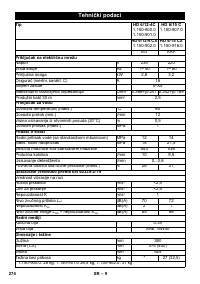
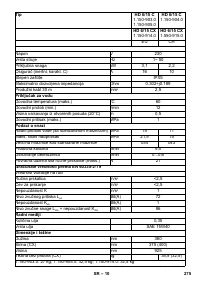
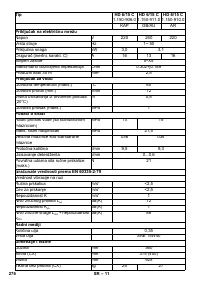
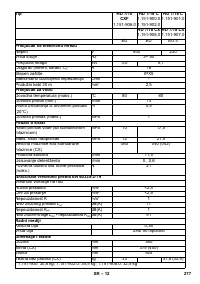
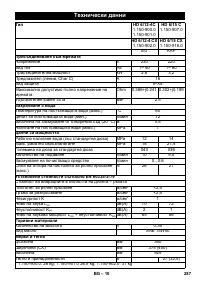
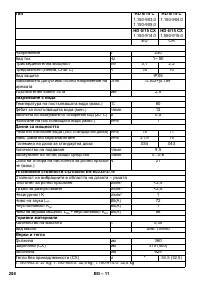
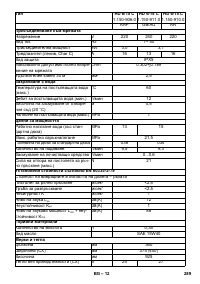
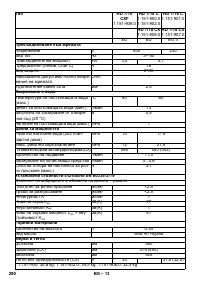
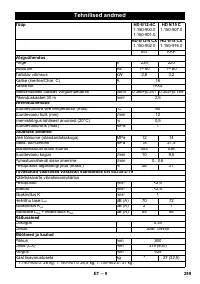
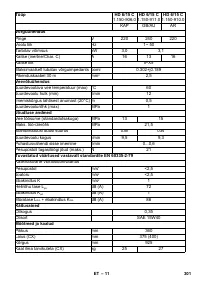
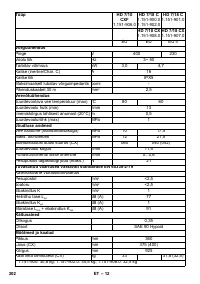
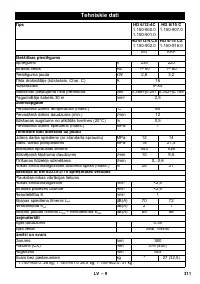
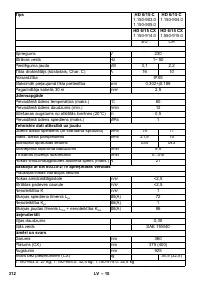
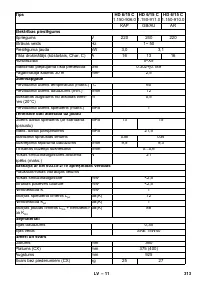
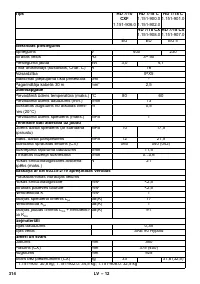
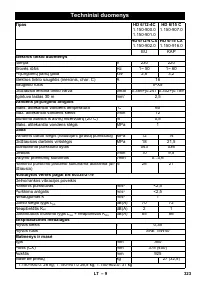
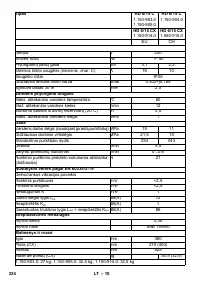
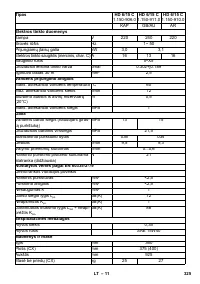
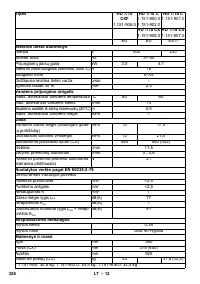
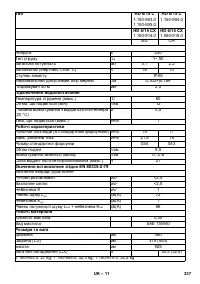
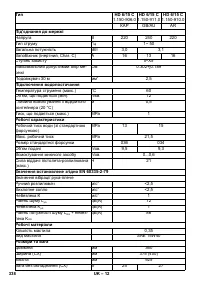
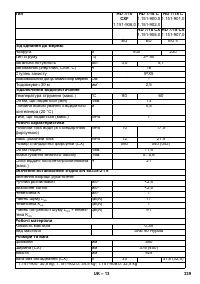
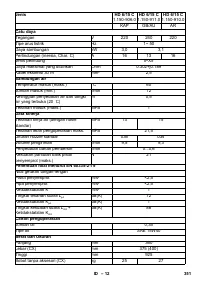
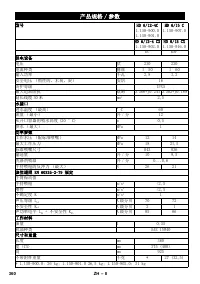
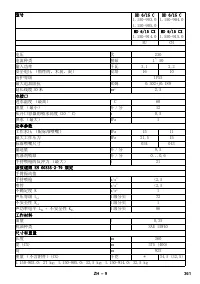
- 177 Технические данные
- 178 Рабочие вещества


