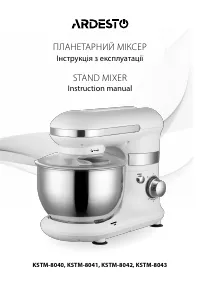
Миксеры Ardesto KSTM-8043 - инструкция пользователя по применению, эксплуатации и установке на русском языке. Мы надеемся, она поможет вам решить возникшие у вас вопросы при эксплуатации техники.
Если остались вопросы, задайте их в комментариях после инструкции.
"Загружаем инструкцию", означает, что нужно подождать пока файл загрузится и можно будет его читать онлайн. Некоторые инструкции очень большие и время их появления зависит от вашей скорости интернета.


EN
23
BEFORE FIRST USE
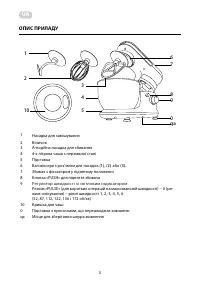
1. Take the appliance and its accessories out of the packaging materials.
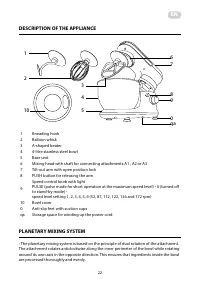
2. Thoroughly wash all parts that are intended to come into contact with food (kneading
hook A1 , whisk A2 , beater A3 and the stainless steel mixing bowl A4 ) using warm
water and a neutral kitchen detergent. Then rinse them with clean water and dry
thoroughly with a fine wiping cloth.
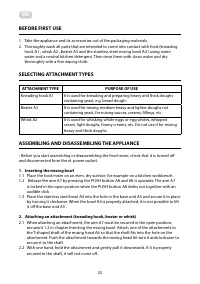
SELECTING ATTACHMENT TYPES
ATTACHMENT TYPE
PURPOSE OF USE
Kneading hook A1
It is used for kneading and preparing heavy and thick doughs
containing yeast, e.g. bread dough.
Beater A3
It is used for mixing medium heavy and lighter doughs not
containing yeast, for mixing sauces, creams, fillings, etc.
Whisk A2
It is used for whisking whole eggs or egg whites, whipped
cream, light doughs, foamy creams, etc. Do not use it for mixing
heavy and thick doughs.
ASSEMBLING AND DISASSEMBLING THE APPLIANCE
• Before you start assembling or disassembling the food mixer, check that it is turned off
and disconnected from the el. power socket.
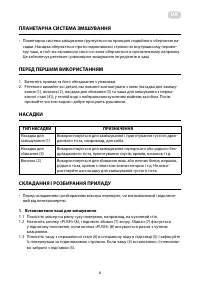
1. Inserting the mixing bowl
1.1 Place the food mixer on an even, dry surface, for example on a kitchen workbench.
1.2 Release the arm A7 by pressing the PUSH button A8 and tilt it upwards. The arm A7
is locked in the open position when the PUSH button A8 slides out together with an
audible click.
1.3 Place the stainless steel bowl A4 into the hole in the base unit A5 and secure it in place
by turning it clockwise. When the bowl A4 is properly attached, it is not possible to lift
it off the base unit A5 .
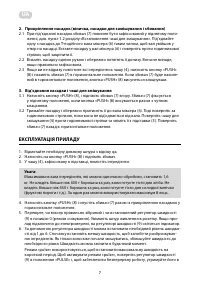
2. Attaching an attachment (kneading hook, beater or whisk)
2.1 When attaching an attachment, the arm A7 must be secured in the open position,
see point 1.2 in chapter Inserting the mixing bowl. Attach one of the attachments to
the T-shaped shaft of the mixing head A6 so that the shaft fits into the hole on the
attachment. Push the attachment towards the mixing head A6 turn it anticlockwise to
secure it to the shaft.
2.2 With one hand, hold the attachment and gently pull it downwards. If it is properly
secured to the shaft, it will not come off.
Характеристики

Остались вопросы?Не нашли свой ответ в руководстве или возникли другие проблемы? Задайте свой вопрос в форме ниже с подробным описанием вашей ситуации, чтобы другие люди и специалисты смогли дать на него ответ. Если вы знаете как решить проблему другого человека, пожалуйста, подскажите ему :)
