Материнские платы GIGABYTE GA 870A UD3 rev 2 2 - инструкция пользователя по применению, эксплуатации и установке на русском языке. Мы надеемся, она поможет вам решить возникшие у вас вопросы при эксплуатации техники.
Если остались вопросы, задайте их в комментариях после инструкции.
"Загружаем инструкцию", означает, что нужно подождать пока файл загрузится и можно будет его читать онлайн. Некоторые инструкции очень большие и время их появления зависит от вашей скорости интернета.


- 93 -
Appendix
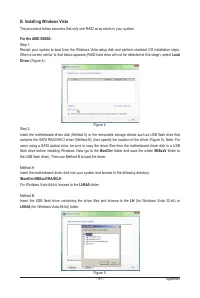
For the GIGABYTE SATA2/JMicron JMB362:
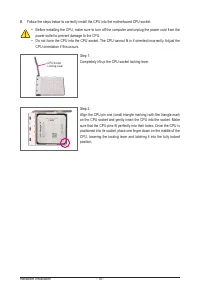
Step 1:
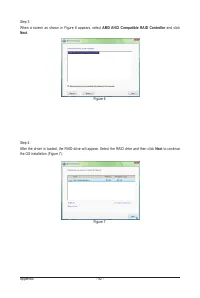
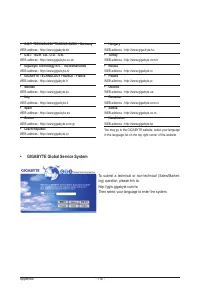
Restart your system to boot from the Windows Vista setup disk and perform standard OS installation steps.
When a screen similar to that below appears (RAID/AHCI hard drive(s) will not be detected at this stage),
select
Load Driver
(Figure 8).
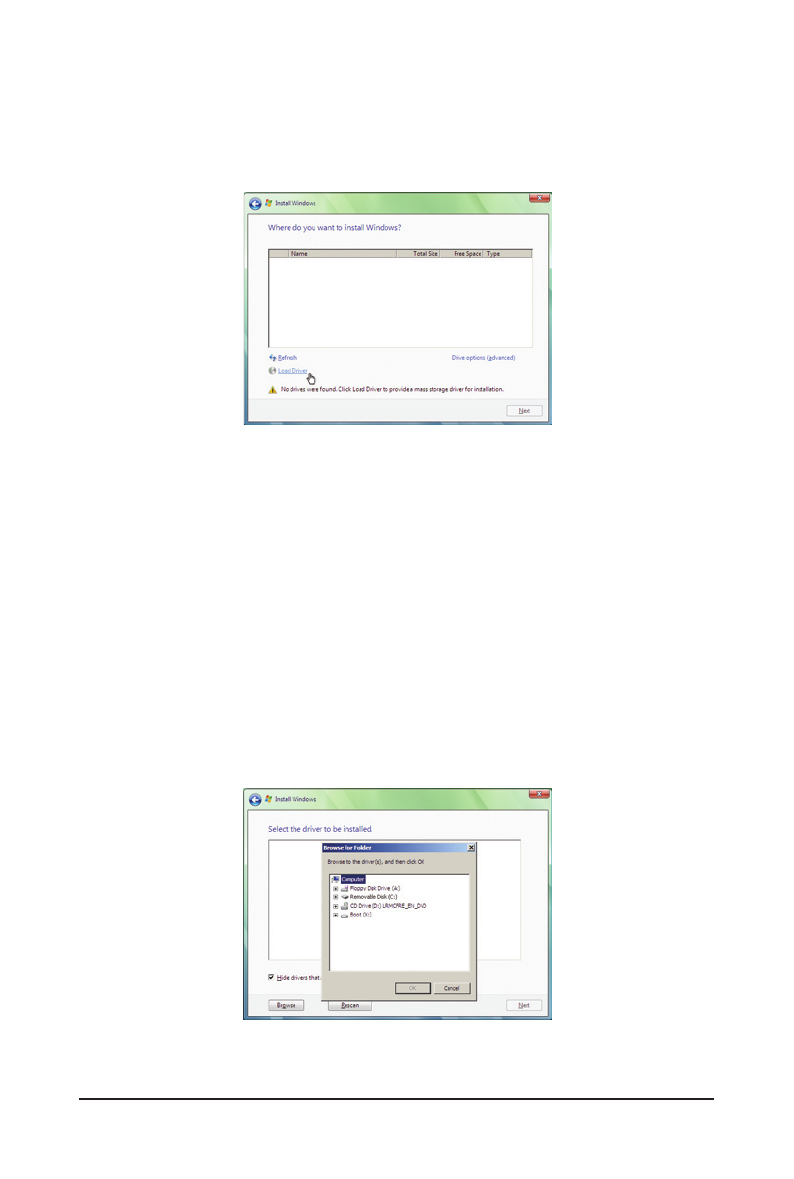
Step 2:
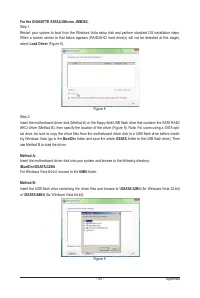
Insert the motherboard driver disk (Method A) or the floppy disk/USB flash drive that contains the SATA RAID/
AHCI driver (Method B), then specify the location of the driver (Figure 9). Note: For users using a SATA opti-
cal drive, be sure to copy the driver files from the motherboard driver disk to a USB flash drive before install
-
ing Windows Vista (go to the
BootDrv
folder and save the whole
GSATA
folder to the USB flash drive). Then
use Method B to load the driver.
Method A:
Insert the motherboard driver disk into your system and browse to the following directory:
\BootDrv\GSATA\32Bit
For Windows Vista 64-bit, browse to the
64Bit
folder.
Method B:
Insert the USB flash drive containing the driver files and browse to
\GSATA\32Bit
(for Windows Vista 32-bit)
or
\GSATA\64Bit
(for Windows Vista 64-bit).
Figure 8
Figure 9


