Маршрутизаторы TP-LINK EX220 AX1800 - инструкция пользователя по применению, эксплуатации и установке на русском языке. Мы надеемся, она поможет вам решить возникшие у вас вопросы при эксплуатации техники.
Если остались вопросы, задайте их в комментариях после инструкции.
"Загружаем инструкцию", означает, что нужно подождать пока файл загрузится и можно будет его читать онлайн. Некоторые инструкции очень большие и время их появления зависит от вашей скорости интернета.


68
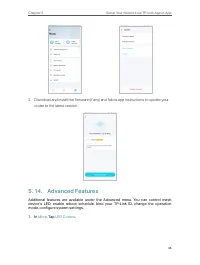
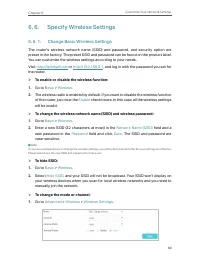
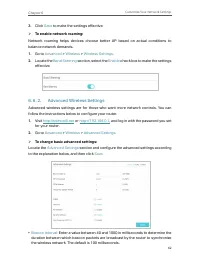
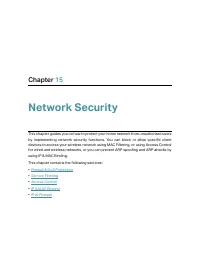
Chapter 6
Customize Your Network Settings
4
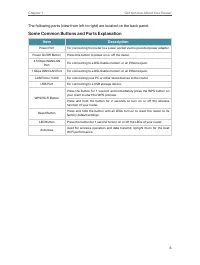
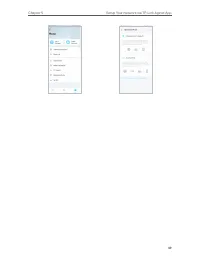
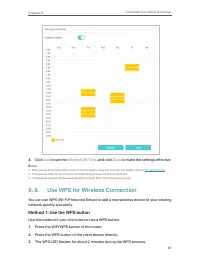
When the WPS LED is on, the client device has successfully connected to the router.
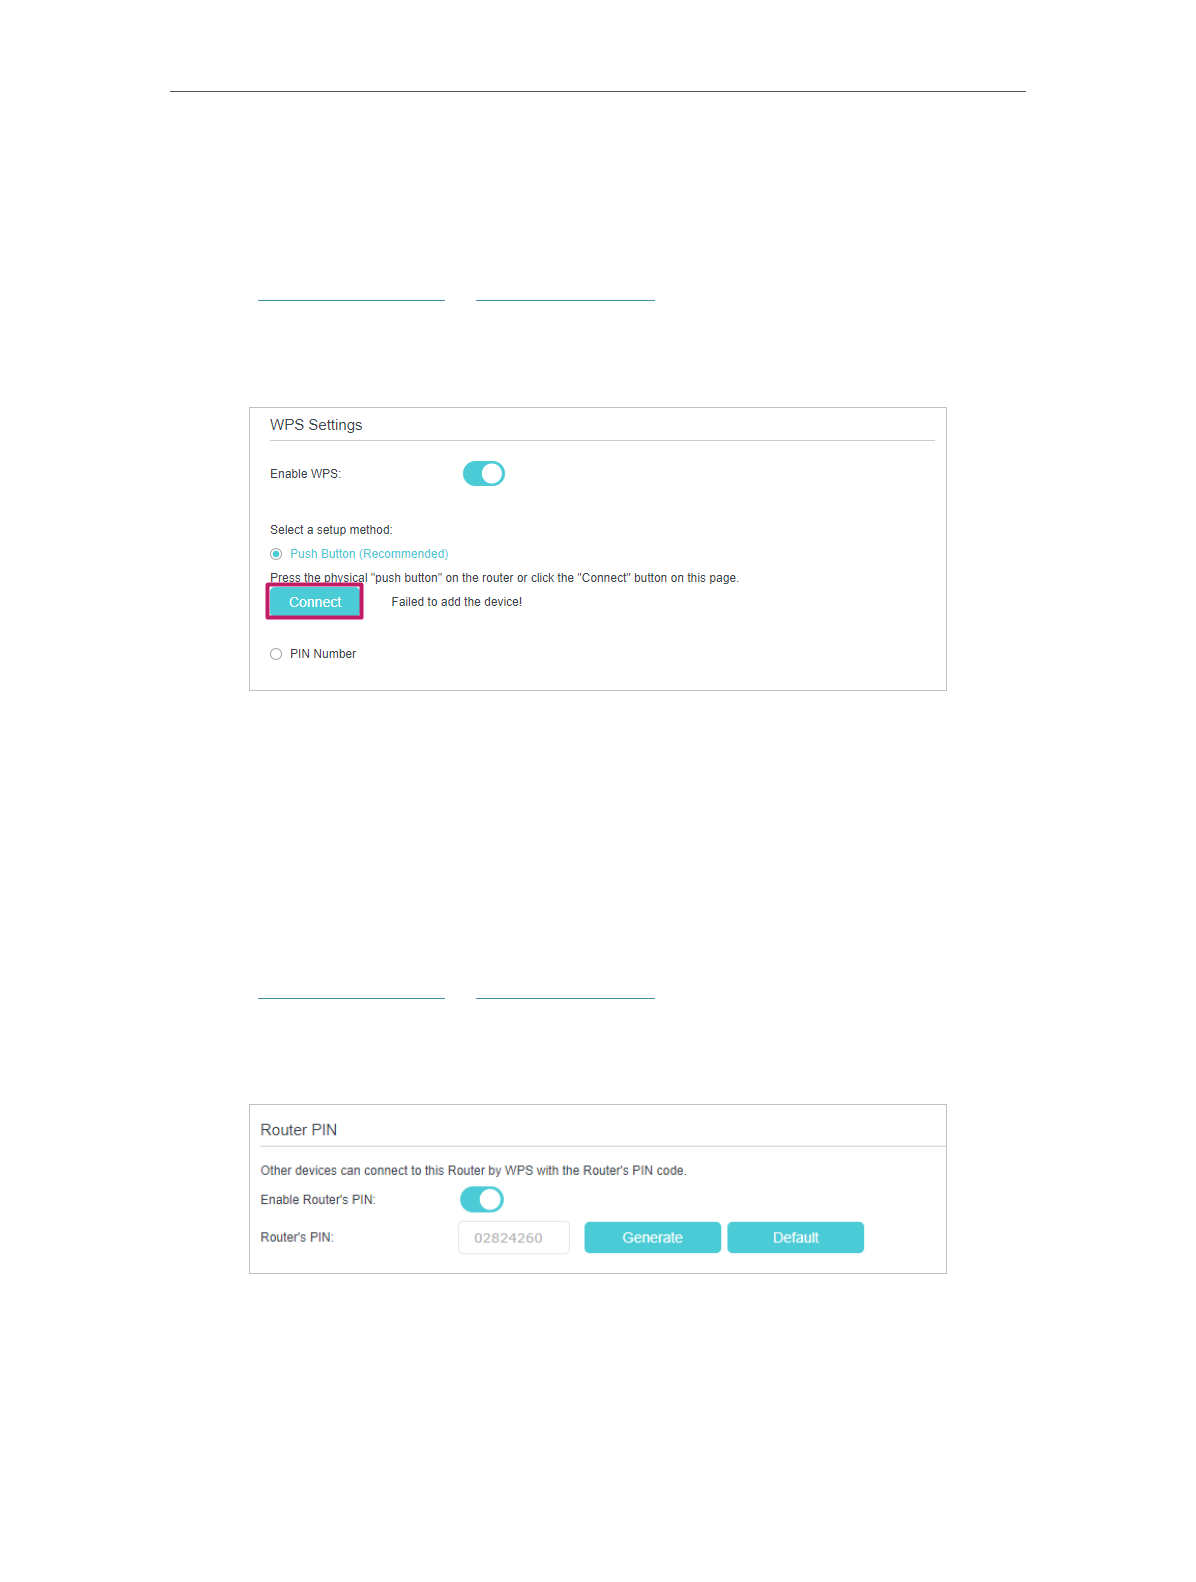
Method 2: Use the “Connect” button on the web management page
Use this method if your client device has a WPS button.
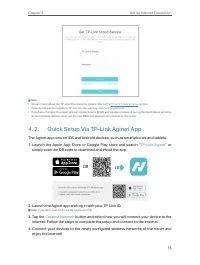
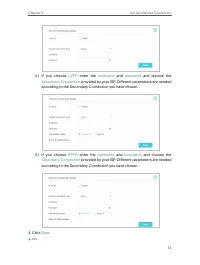
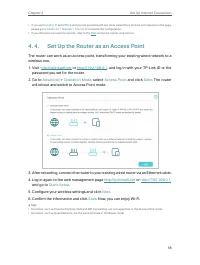
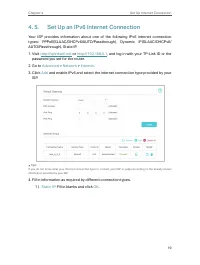
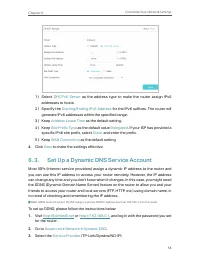
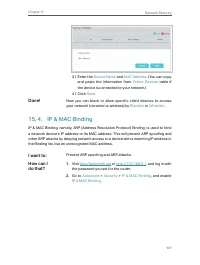
1
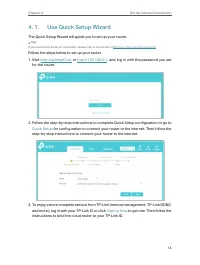
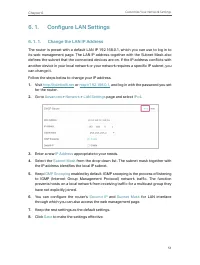
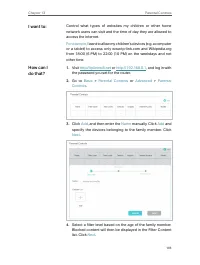
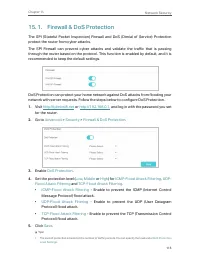
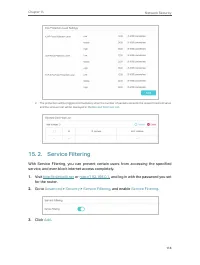
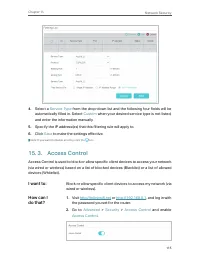
Visit
http://tplinkwifi.net
or
http://192.168.0.1
, and log in with the password you set
for the router.
2
Go to
Advanced
>
Wireless
>
WPS
page.
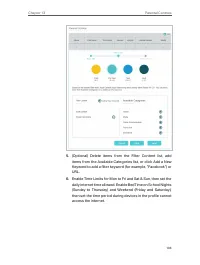
3
Click
Connect
on the page.
4
Press the WPS button of the client device directly.
5
The WPS LED of the router flashes for about 2 minutes during the WPS process.
6
When the WPS LED is on, the client device has successfully connected to the router.
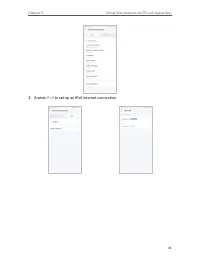
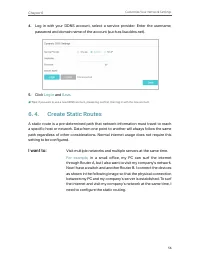
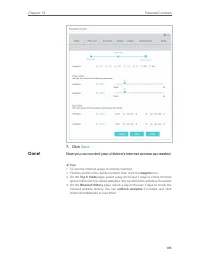
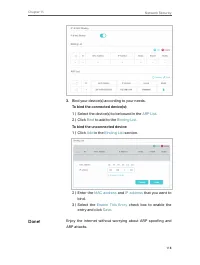
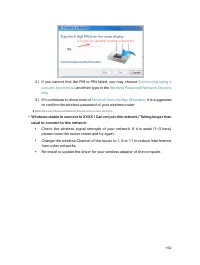
Method 3: Enter the router’s PIN on your client device
Use this method if your client device asks for the router’s PIN.
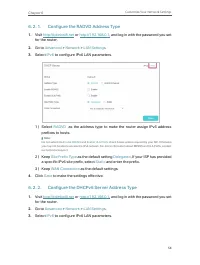
1
Visit
http://tplinkwifi.net
or
http://192.168.0.1
, and log in with the password you set
for the router.
2
Go to
Advanced
>
Wireless
>
WPS
, and enable
Router’s PIN
.
3
Take a note of the current PIN of the router. You can also click the
Generate
button
to get a new PIN.
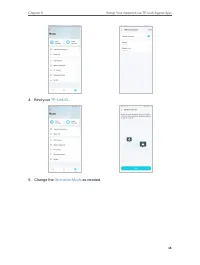
4
Enter the router’s PIN on the client device. (The default PIN is also printed on the
label of the router.)
5
The WPS LED flashes for about 2 minutes during the WPS process.
Характеристики

Остались вопросы?Не нашли свой ответ в руководстве или возникли другие проблемы? Задайте свой вопрос в форме ниже с подробным описанием вашей ситуации, чтобы другие люди и специалисты смогли дать на него ответ. Если вы знаете как решить проблему другого человека, пожалуйста, подскажите ему :)

