Магнитолы Pioneer MVH-150UI - инструкция пользователя по применению, эксплуатации и установке на русском языке. Мы надеемся, она поможет вам решить возникшие у вас вопросы при эксплуатации техники.
Если остались вопросы, задайте их в комментариях после инструкции.
"Загружаем инструкцию", означает, что нужно подождать пока файл загрузится и можно будет его читать онлайн. Некоторые инструкции очень большие и время их появления зависит от вашей скорости интернета.


2
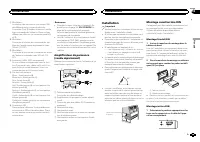
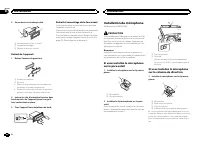
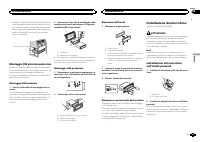
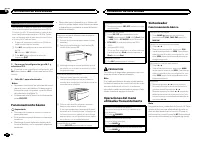
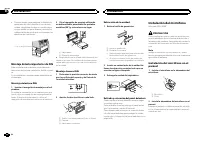
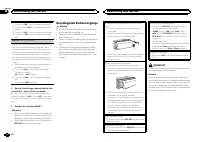
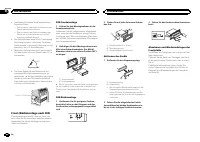
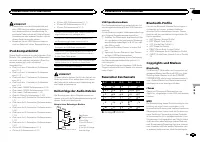
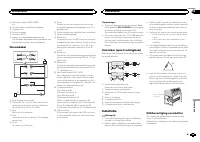
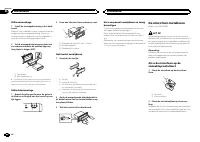
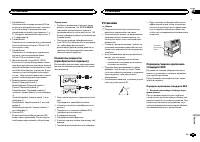
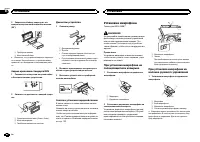
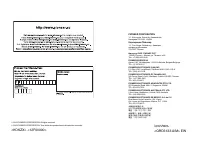
Secure the mounting sleeve by using a
screwdriver to bend the metal tabs (90°) into
place.
1
2
1
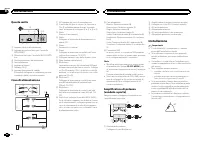
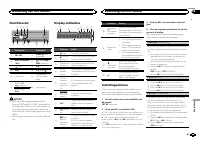
Dashboard
2
Mounting sleeve
#
Make sure that the unit is installed securely in
place. An unstable installation may cause skipping
or other malfunctions.
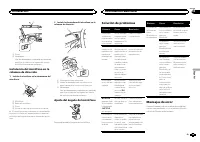
DIN Rear-mount
1
Determine the appropriate position
where the holes on the bracket and the side
of the unit match.
2
Tighten two screws on each side.
1
2
3
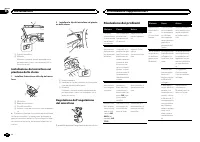
1
Tapping screw (5 mm × 8 mm)
2
Mounting bracket
3
Dashboard or console
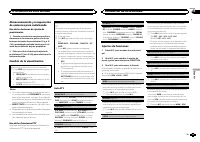
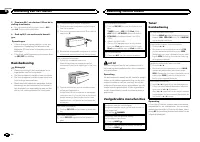
Removing the unit
1
Remove the trim ring.
1
Trim ring
2
Notched tab
!
Releasing the front panel allows easier ac-
cess to the trim ring.
!
When reattaching the trim ring, point the
side with the notched tab down.
2
Insert the supplied extraction keys into
both sides of the unit until they click into
place.
3
Pull the unit out of the dashboard.
Removing and re-attaching the front
panel
You can remove the front panel to protect your
unit from theft.
Press the detach button and push the front
panel upward and pull it toward you.
For details, refer to
and
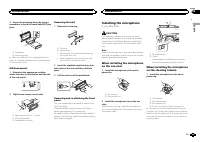
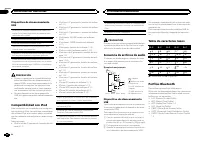
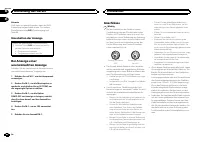
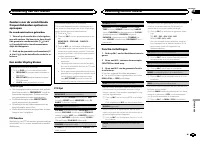
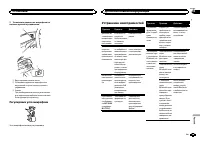
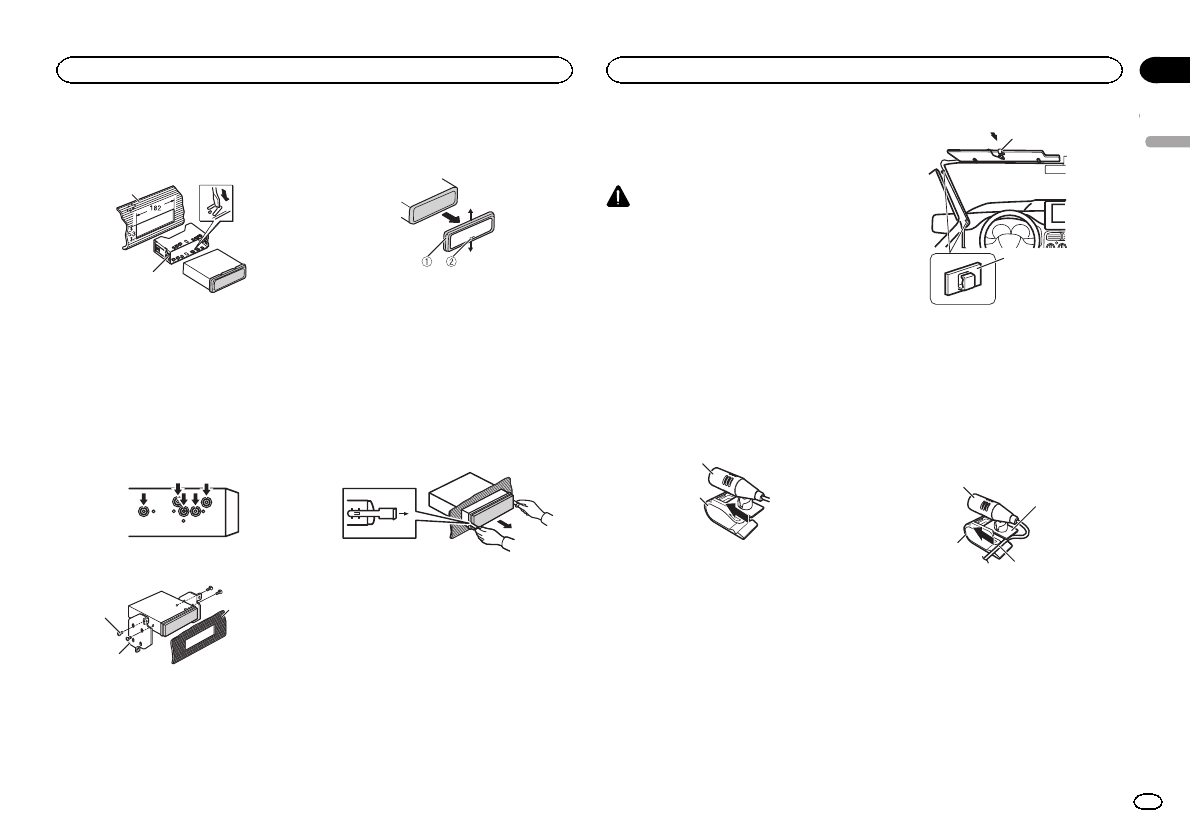
Installing the microphone
Only for MVH-350BT
CAUTION
It is extremely dangerous to allow the micro-
phone lead to become wound around the steer-
ing column or shift lever. Be sure to install the
unit in such a way that it will not obstruct driv-
ing.
Note
Install the microphone in a position and orienta-
tion that will enable it to pick up the voice of the
person operating the system.
When installing the microphone
on the sun visor
1
Install the microphone on the micro-
phone clip.
1
2
1
Microphone
2
Microphone clip
2
Install the microphone clip on the sun
visor.
With the sun visor up, install the microphone
clip. (Lowering the sun visor reduces the voice
recognition rate.)
1
2
1
Microphone clip
2
Clamp
Use separately sold clamps to secure the
lead where necessary inside the vehicle.
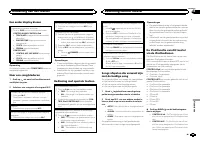
When installing the microphone
on the steering column
1
Install the microphone on the micro-
phone clip.
2
4
3
1
1
Microphone
2
Microphone base
3
Microphone clip
4
Fit the microphone lead into the groove.
#
Microphone can be installed without using mi-
crophone clip. In this case, detach the microphone
base from the microphone clip. To detach the micro-
phone base from the microphone clip, slide the mi-
crophone base.
English
Installation
15
Section
Installation
En
03
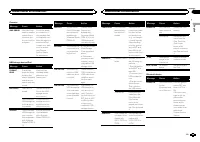
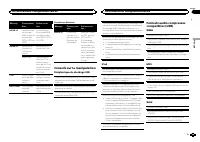
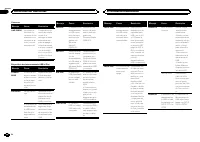
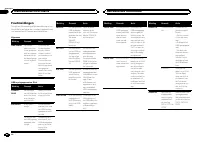
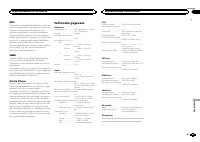
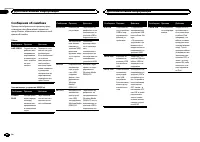
Содержание
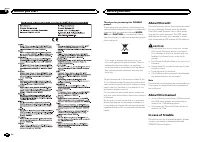
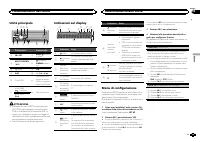
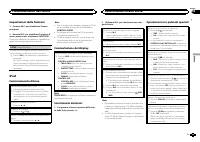
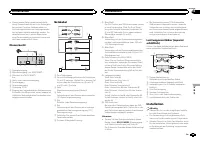
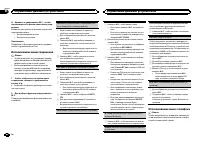
- 130 Сведения об этом устройстве; ВНИМАНИЕ; Сведения об этом руководстве; Перед началом эксплуатации
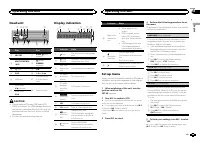
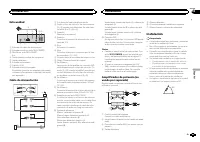
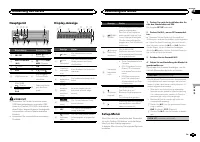
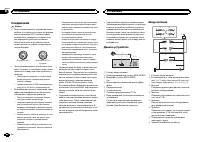
- 131 Основное устройство; Индикация на дисплее; Установочное меню; Управление данным устройством
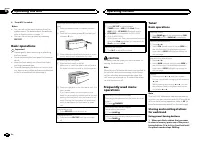
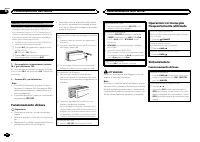
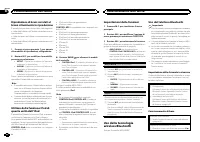
- 132 YES; Меню системы; SRC; Основные операции
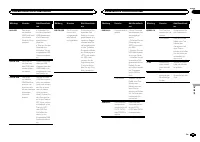
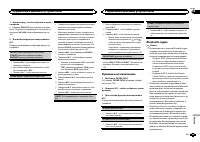
- 133 Тюнер; SEEK; AF; Переключение дисплея; FREQUENCY; Использование функций; Список; Настройка функций; FUNCTION
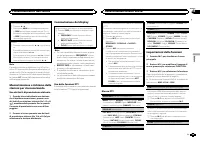
- 134 TRACK INFO; дорожек из списка
- 135 Поиск композиции
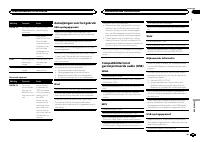
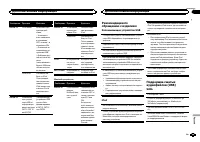
- 136 Только для
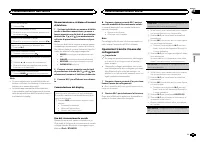
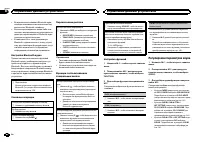
- 137 Настройки для громкой связи
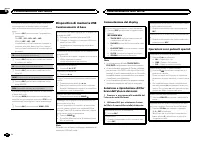
- 138 Использование меню соединения; Использование меню телефона
- 139 Функции и их назначение; аудио
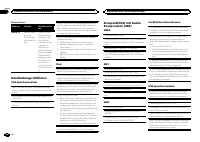
- 140 Регулировки параметров звука; AUDIO
- 142 PW SAVE
- 143 Стартовое меню; Меню систе
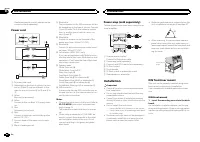
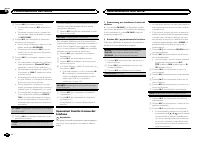
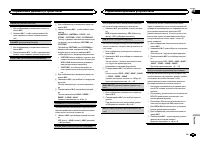
- 144 Соединения; Важно; Данное устройство; Установка
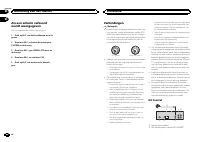
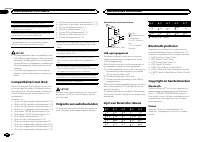
- 145 настройка выхода заднего канала и; Усилительмощности; RCA; Переднее; Переднее крепление стандарта; Вставьте монтажную обойму в пере
- 146 Установка микрофона
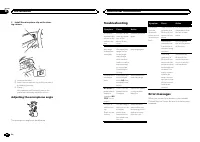
- 147 Регулировка угла микрофона; Угол микрофона можно регулировать; Устранение неисправностей; Дополнительная информация
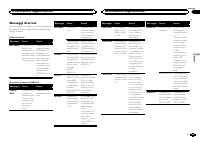
- 148 Сообщения об ошибках; Прежде чем обратиться к торговому пред
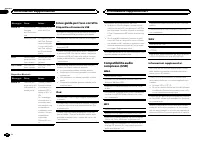
- 149 Запоминающее устройство
- 150 Поддержка
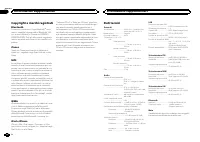
- 151 Профили
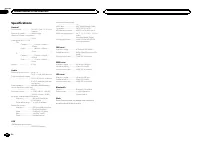
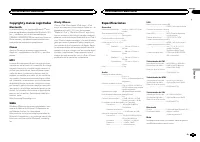
- 152 Технические характеристики


