
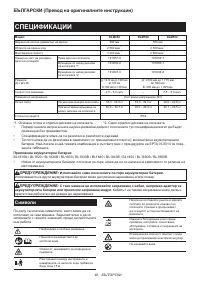
Газонокосилки Makita DLM530Z - инструкция пользователя по применению, эксплуатации и установке на русском языке. Мы надеемся, она поможет вам решить возникшие у вас вопросы при эксплуатации техники.
Если остались вопросы, задайте их в комментариях после инструкции.
"Загружаем инструкцию", означает, что нужно подождать пока файл загрузится и можно будет его читать онлайн. Некоторые инструкции очень большие и время их появления зависит от вашей скорости интернета.


17 ENGLISH
Adjusting the mowing height
WARNING:
Never put your hand or leg under
the mower body when adjusting the mowing
height.
WARNING:
Always make sure that the lever
fits in the groove properly before operation.
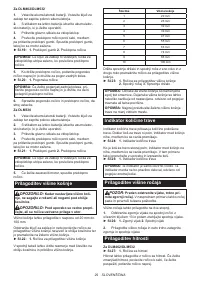
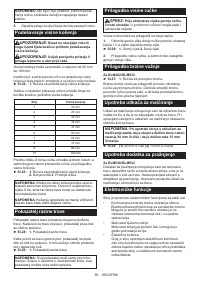
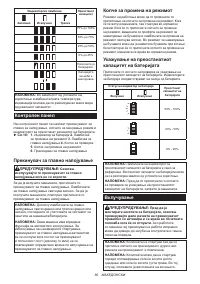
The mowing height can be adjusted in the range of
between 20 mm and 100 mm.
Remove the lock key, and then pull the mowing height
adjusting lever outward of the mower body and move it
to your desired mowing height.
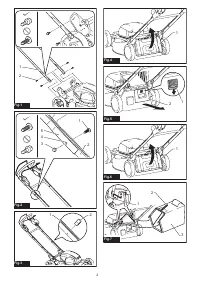
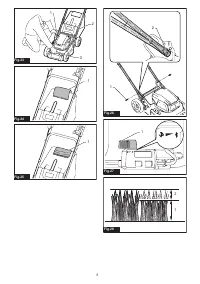
►
Fig.22:
1.
Mowing height adjusting lever
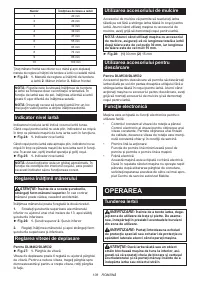
The table below shows the relationship between the
number on the mower body and the approximate mow-
ing height.
Number
Mowing height
1
20 mm
2
26 mm
3
32 mm
4
39 mm
5
47 mm
6
55 mm
7
63 mm
8
74 mm
9
86 mm
10
100 mm
Hold the front grip or the lower handle with one hand,
and then move the mowing height adjusting lever with
the other hand.
►
Fig.23:
1.
Mowing height adjusting lever
2.
Lower
handle
3.
Front grip
NOTE:
The mowing height figures should be used
just as a guideline. Depending on the conditions of
the lawn or the ground, the actual lawn height may
become slightly different from the set height.
NOTE:
Try a test mowing of grass in a less conspicu-
ous place to get your desired height.
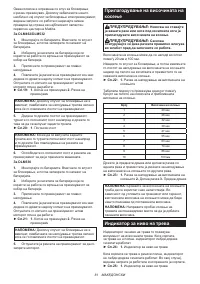
Grass level indicator
Grass level indicator shows the volume of mowed
grass. When the grass basket is not full, the indicator
floats while the blades are running.
►
Fig.24:
1.
Grass level indicator
When the grass basket is almost full, the indicator does
not float while the blades are running. In this case, stop
the operation immediately and empty the basket.
►
Fig.25:
1.
Grass level indicator
NOTE:
This indicator is a rough guide. Depending on
the conditions of inside of the basket, this indicator
may not work properly.
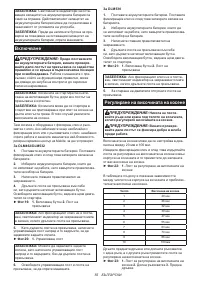
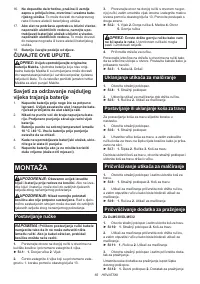
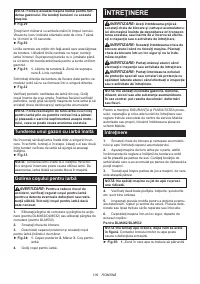
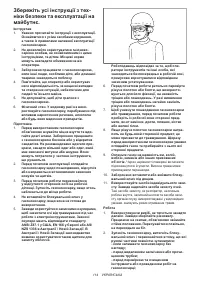
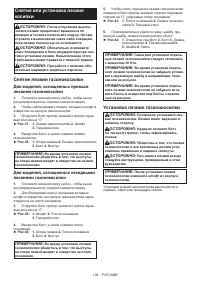
Adjusting the handle height
CAUTION:
Before removing the bolts, hold
the upper handle firmly.
Otherwise, the handle may
fall and cause an injury.
The handle height can be adjusted in two levels.
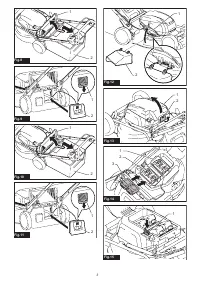
1.
Remove the upper bolts of the lower handle using
box wrench 13, and then loosen the lower bolts.
►
Fig.26:
1.
Upper bolt
2.
Lower bolt
2.
Adjust the handle height, and then tighten the
upper and lower bolts firmly.
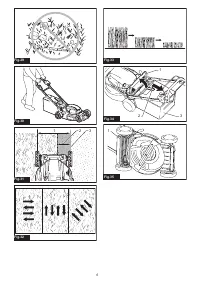
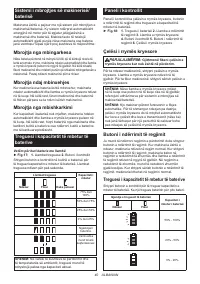
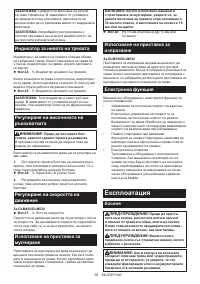
Adjusting the traveling speed
For DLM462/DLM532
►
Fig.27:
1.
Speed lever
The traveling speed can be adjusted with the speed
lever. To decrease the speed, pull the lever toward you,
and to increase the speed, turn the lever forward.
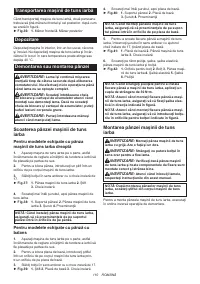
Using mulching plug
The mulching plug allows you to return the cut grass to
the ground without gathering the cut grass in the grass
basket. When you operate the machine with the mulch-
ing plug, be sure to remove the grass basket.
NOTICE:
When using the machine with the
mulching plug, make sure that the total length of
grass after cutting is 30 mm or more, and the cut
length is 15 mm or less.
►
Fig.28:
(1)
30 mm or more
(2)
15 mm or less
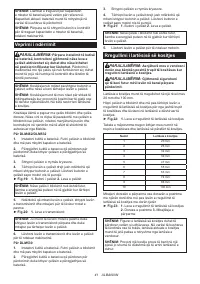
Using discharge attachment
For DLM530/DLM532
The discharge attachment allows you to discharge
the cut grass to the ground from the right side of the
machine without gathering the cut grass in the grass
basket. When you operate the machine with the dis-
charge attachment, be sure to install the mulching plug
and remove the grass basket.
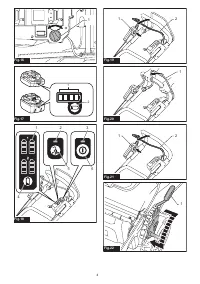
Electronic function
The machine is equipped with the electronic functions
for easy operation.
•
Constant speed control of blade rotation
Electronic speed control for obtaining constant
speed. Possible to get fine finish, because the
rotating speed is kept constant even under load
condition.
•
Soft start at driving
The soft-start function minimizes start-up shock,
and makes the machine start smoothly.
•
Electric brake
This machine is equipped with an electric brake.
If the machine consistently fails to quickly stop
the mower blades after releasing the switch lever,
have the machine serviced at Makita Authorized
Service Center.
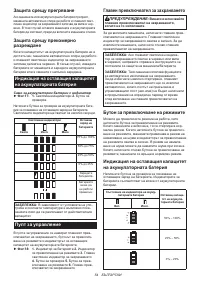
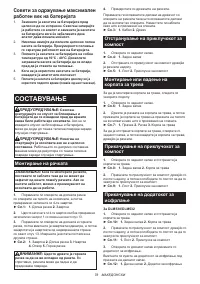
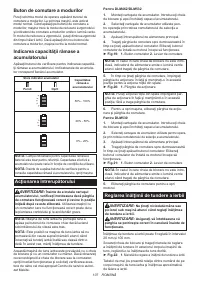
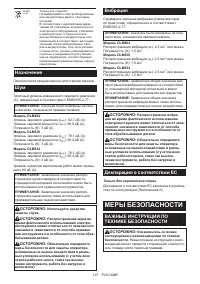
Содержание
- 127 МЕРЫ БЕЗОПАСНОСТИ
- 128 Сохраните брошюру с инструк
- 131 СОХРАНИТЕ ДАННЫЕ; Важные правила техники
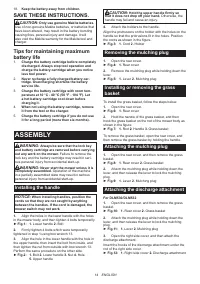
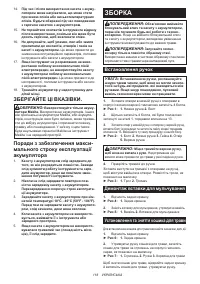
- 132 СБОРКА; Установка рукоятки
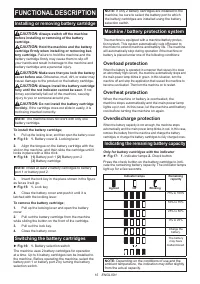
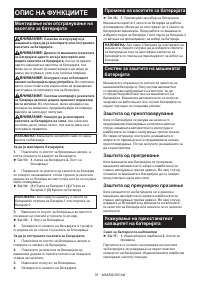
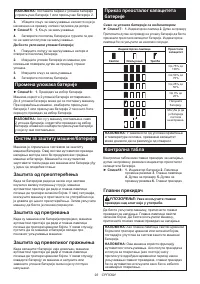
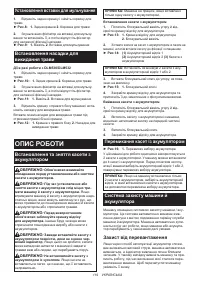
- 133 ОПИСАНИЕ РАБОТЫ; Защита от перегрузки
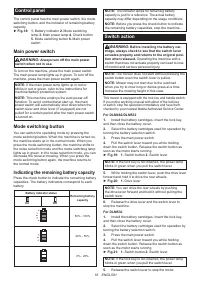
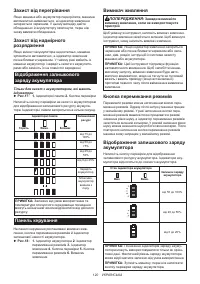
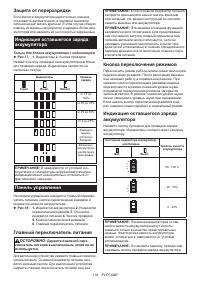
- 134 Защита от переразрядки; Панель управления; Кнопка переключения режимов
- 135 Действие выключателя
- 136 ЭКСПЛУАТАЦИЯ
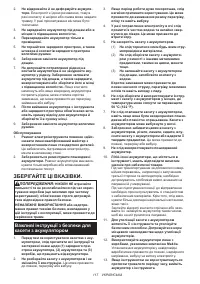
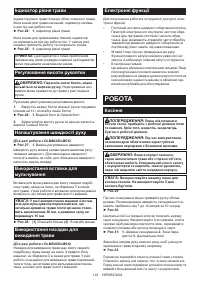
- 137 Скашивание высокой травы; ОБСЛУЖИВАНИЕ; Обслуживание
- 138 Снятие или установка лезвия; Для моделей, оснащенных прямым; Установка лезвия газонокосилки
- 139 ПОИСК И УСТРАНЕНИЕ НЕИСПРАВНОСТЕЙ; ДОПОЛНИТЕЛЬНЫЕ
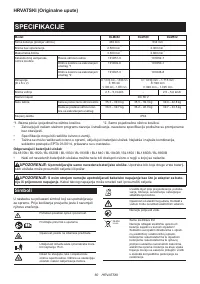
Характеристики

Остались вопросы?Не нашли свой ответ в руководстве или возникли другие проблемы? Задайте свой вопрос в форме ниже с подробным описанием вашей ситуации, чтобы другие люди и специалисты смогли дать на него ответ. Если вы знаете как решить проблему другого человека, пожалуйста, подскажите ему :)


