
Газонокосилки Makita DLM530Z - инструкция пользователя по применению, эксплуатации и установке на русском языке. Мы надеемся, она поможет вам решить возникшие у вас вопросы при эксплуатации техники.
Если остались вопросы, задайте их в комментариях после инструкции.
"Загружаем инструкцию", означает, что нужно подождать пока файл загрузится и можно будет его читать онлайн. Некоторые инструкции очень большие и время их появления зависит от вашей скорости интернета.


14 ENGLISH
18.
Keep the battery away from children.
SAVE THESE INSTRUCTIONS.
CAUTION:
Only use genuine Makita batteries.
Use of non-genuine Makita batteries, or batteries that
have been altered, may result in the battery bursting
causing fires, personal injury and damage. It will
also void the Makita warranty for the Makita tool and
charger.
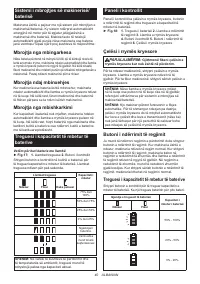
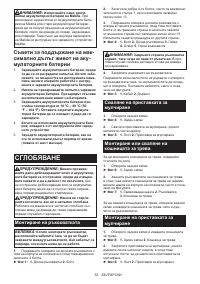
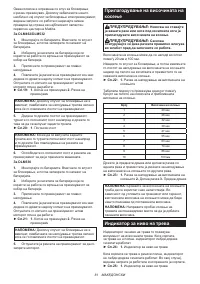
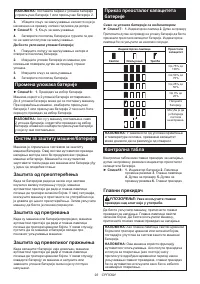
Tips for maintaining maximum
battery life
1.
Charge the battery cartridge before completely
discharged. Always stop tool operation and
charge the battery cartridge when you notice
less tool power.
2.
Never recharge a fully charged battery car
-
tridge. Overcharging shortens the battery
service life.
3.
Charge the battery cartridge with room tem-
perature at 10 °C - 40 °C (50 °F - 104 °F). Let
a hot battery cartridge cool down before
charging it.
4.
When not using the battery cartridge, remove
it from the tool or the charger.
5.
Charge the battery cartridge if you do not use
it for a long period (more than six months).
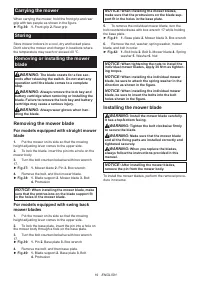
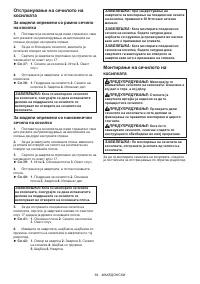
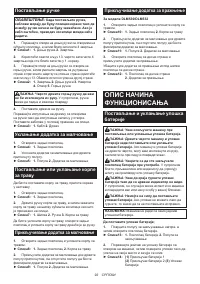
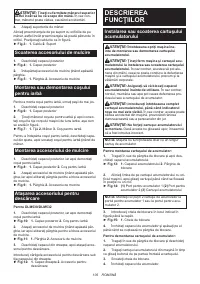
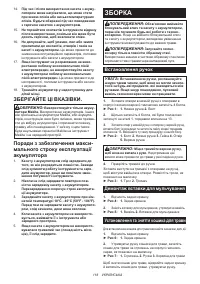
ASSEMBLY
WARNING:
Always be sure that the lock key
and battery cartridge are removed before carrying
out any work on the mower.
Failure to remove the
lock key and the battery cartridge may result in seri-
ous personal injury from accidental start-up.
WARNING:
Never start the mower unless it is
completely assembled.
Operation of the machine
in a partially assembled state may result in serious
personal injury from accidental start-up.
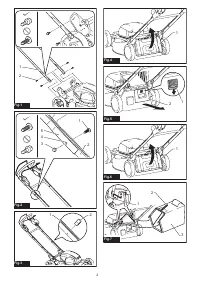
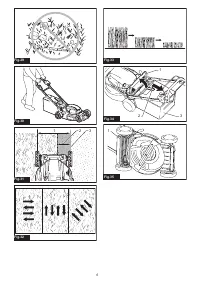
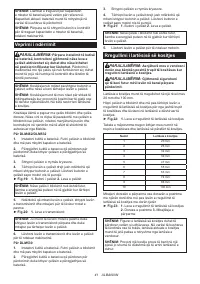
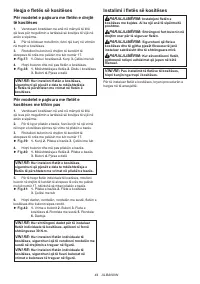
Installing the handle
NOTICE:
When installing handles, position the
cords so that they are not caught by anything
between the handles. If the cord is damaged, the
mower switch may not work.
1.
Align the holes in the lower handle with the holes
in the mower body, and then tighten 4 bolts temporarily.
►
Fig.1:
1.
Lower handle
2.
Bolt
2.
Firmly tighten 4 bolts which were temporarily
tightened in step 1 using box wrench 13.
3.
Align the hole in the lower handle with the hole in
the upper handle, then insert the bolt from inside, and
then tighten the nut from outside with box wrench 13.
Perform the same procedure on the other side.
►
Fig.2:
1.
Bolt
2.
Lower handle
3.
Nut
4.
Hole
5.
Upper handle
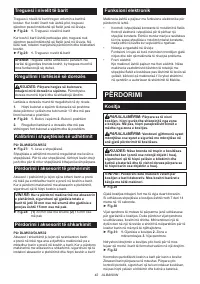
CAUTION:
Hold the upper handle firmly so
that it does not drop off your hand.
Otherwise, the
handle may fall and cause an injury.
4.
Attach the holders to the handle.
Align the protrusions on the holder with the holes on the
handle so that the protrusions fit in the holes. Position
the cords as shown in the figure.
►
Fig.3:
1.
Cord
2.
Holder
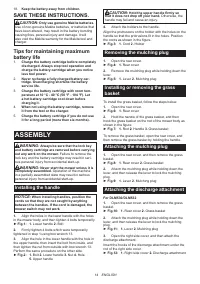
Removing the mulching plug
1.
Open the rear cover.
►
Fig.4:
1.
Rear cover
2.
Remove the mulching plug while holding down the
lever.
►
Fig.5:
1.
Lever
2.
Mulching plug
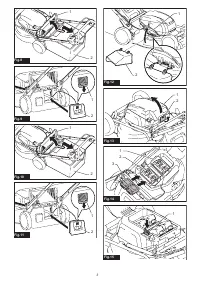
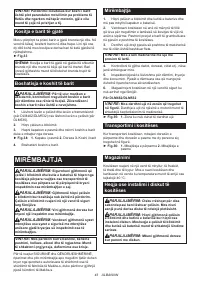
Installing or removing the grass
basket
To install the grass basket, follow the steps below.
1.
Open the rear cover.
►
Fig.6:
1.
Rear cover
2.
Hold the handle of the grass basket, and then
hook the grass basket on the rod of the mower body as
shown in the figure.
►
Fig.7:
1.
Rod
2.
Handle
3.
Grass basket
To remove the grass basket, open the rear cover, and
then remove the grass basket by holding the handle.
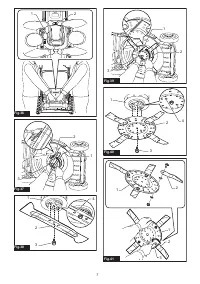
Attaching the mulching plug
1.
Open the rear cover, and then remove the grass
basket.
►
Fig.8:
1.
Rear cover
2.
Grass basket
2.
Attach the mulching plug while holding down the
lever, and then release the lever to lock the mulching
plug.
►
Fig.9:
1.
Lever
2.
Mulching plug
Attaching the discharge attachment
For DLM530/DLM532
1.
Open the rear cover, and then remove the grass
basket.
►
Fig.10:
1.
Rear cover
2.
Grass basket
2.
Attach the mulching plug while holding down the
lever, and then release the lever to lock the mulching
plug.
►
Fig.11:
1.
Lever
2.
Mulching plug
3.
Open the right side cover, and then attach the
discharge attachment.
Insert the hooks of the discharge attachment under the
rod of the right side cover.
►
Fig.12:
1.
Right side cover
2.
Discharge attachment
Содержание
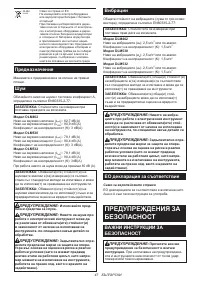
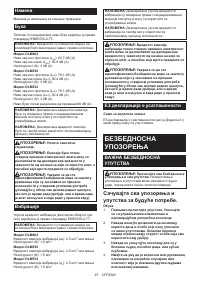
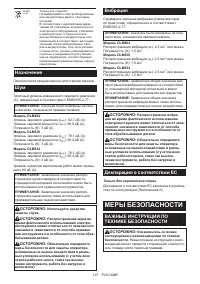
- 127 МЕРЫ БЕЗОПАСНОСТИ
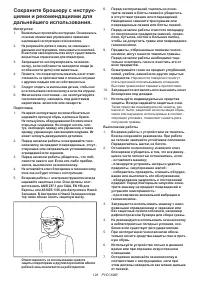
- 128 Сохраните брошюру с инструк
- 131 СОХРАНИТЕ ДАННЫЕ; Важные правила техники
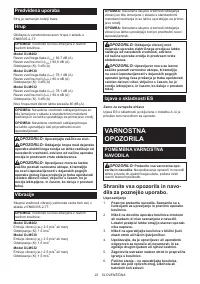
- 132 СБОРКА; Установка рукоятки
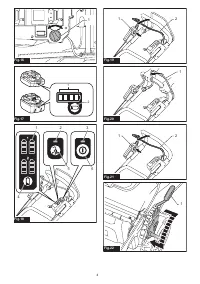
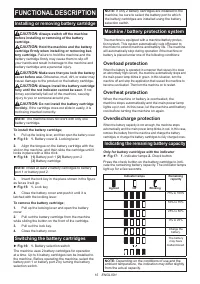
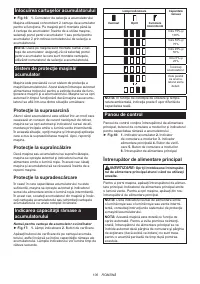
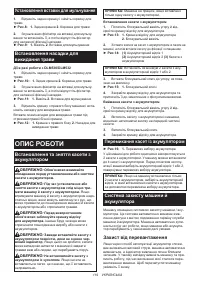
- 133 ОПИСАНИЕ РАБОТЫ; Защита от перегрузки
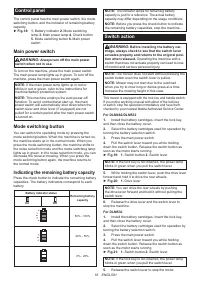
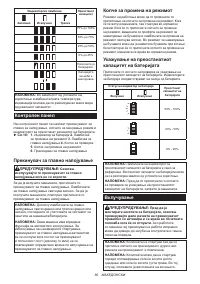
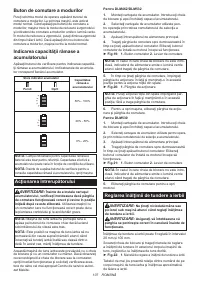
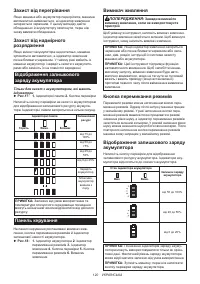
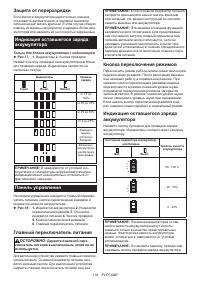
- 134 Защита от переразрядки; Панель управления; Кнопка переключения режимов
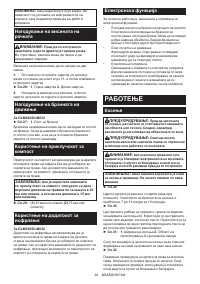
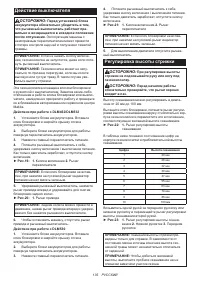
- 135 Действие выключателя
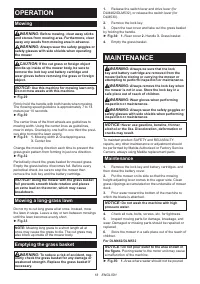
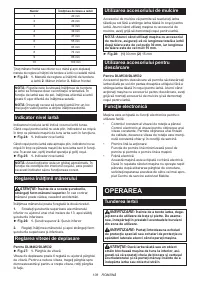
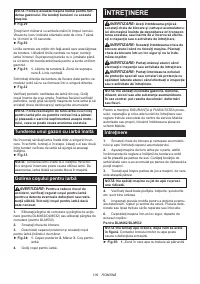
- 136 ЭКСПЛУАТАЦИЯ
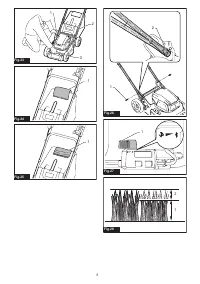
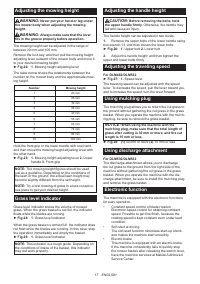
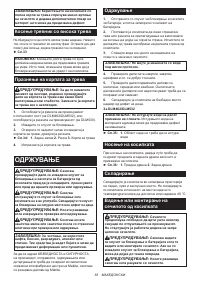
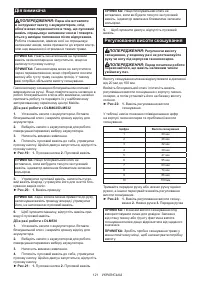
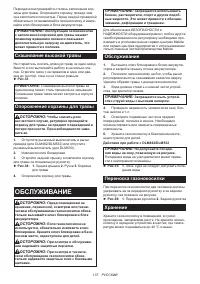
- 137 Скашивание высокой травы; ОБСЛУЖИВАНИЕ; Обслуживание
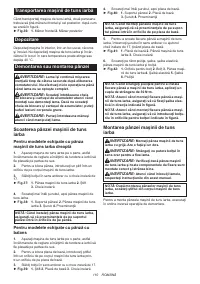
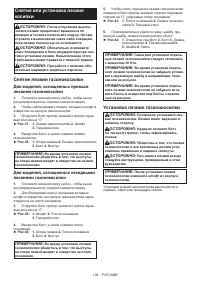
- 138 Снятие или установка лезвия; Для моделей, оснащенных прямым; Установка лезвия газонокосилки
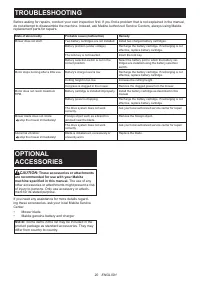
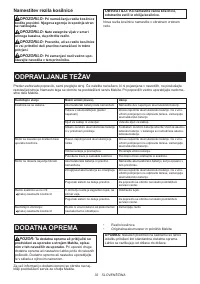
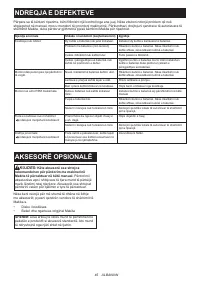
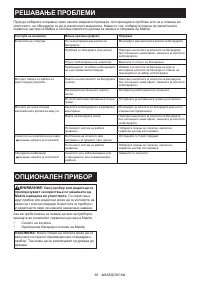
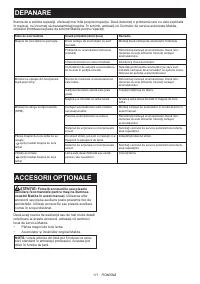
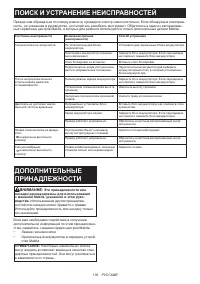
- 139 ПОИСК И УСТРАНЕНИЕ НЕИСПРАВНОСТЕЙ; ДОПОЛНИТЕЛЬНЫЕ
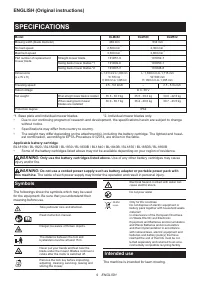
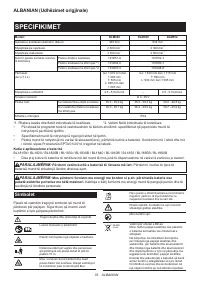
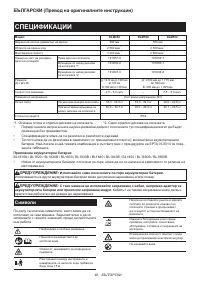
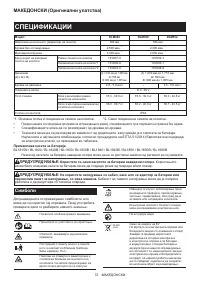
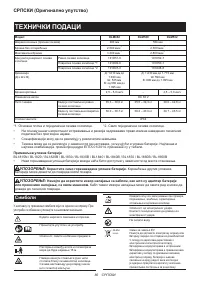
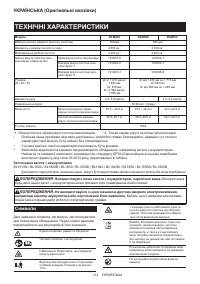
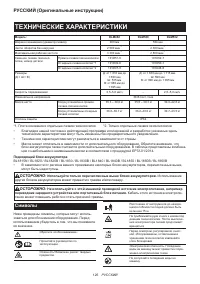
Характеристики

Остались вопросы?Не нашли свой ответ в руководстве или возникли другие проблемы? Задайте свой вопрос в форме ниже с подробным описанием вашей ситуации, чтобы другие люди и специалисты смогли дать на него ответ. Если вы знаете как решить проблему другого человека, пожалуйста, подскажите ему :)


