
Газонокосилки Makita DLM530Z - инструкция пользователя по применению, эксплуатации и установке на русском языке. Мы надеемся, она поможет вам решить возникшие у вас вопросы при эксплуатации техники.
Если остались вопросы, задайте их в комментариях после инструкции.
"Загружаем инструкцию", означает, что нужно подождать пока файл загрузится и можно будет его читать онлайн. Некоторые инструкции очень большие и время их появления зависит от вашей скорости интернета.


15 ENGLISH
FUNCTIONAL DESCRIPTION
Installing or removing battery cartridge
CAUTION:
Always switch off the machine
before installing or removing of the battery
cartridge.
CAUTION:
Hold the machine and the battery
cartridge firmly when installing or removing bat
-
tery cartridge.
Failure to hold the machine and the
battery cartridge firmly may cause them to slip off
your hands and result in damage to the machine and
battery cartridge and a personal injury.
CAUTION:
Make sure that you lock the battery
cover before use.
Otherwise, mud, dirt, or water may
cause damage to the product or the battery cartridge.
CAUTION:
Always install the battery cartridge
fully until the red indicator cannot be seen.
If not,
it may accidentally fall out of the machine, causing
injury to you or someone around you.
CAUTION:
Do not install the battery cartridge
forcibly.
If the cartridge does not slide in easily, it is
not being inserted correctly.
NOTE:
The machine does not work with only one
battery cartridge.
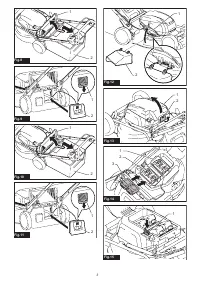
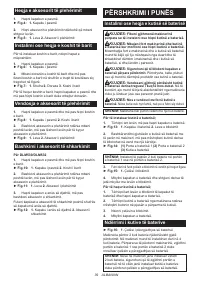
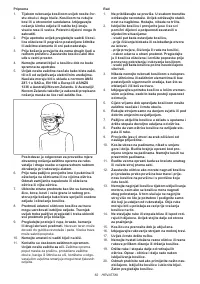
To install the battery cartridge;
1.
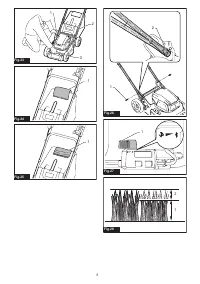
Pull up the locking lever, and then open the battery cover.
►
Fig.13:
1.
Battery cover
2.
Locking lever
2.
Align the tongue on the battery cartridge with the
slot on the machine, and then slide the cartridge until it
locks in place with a little click.
►
Fig.14:
(1)
Battery port 1
(2)
Battery port 2
(3)
Battery cartridge
NOTE:
Install at least 2 battery cartridges to battery
port 1 or battery port 2.
3.
Insert the lock key in the place shown in the figure
as far as it will go.
►
Fig.15:
1.
Lock key
4.
Close the battery cover and push it until it is
latched with the locking lever.
To remove the battery cartridge;
1.
Pull up the locking lever and open the battery
cover.
2.
Pull out the battery cartridge from the machine
while sliding the button on the front of the cartridge.
3.
Pull out the lock key.
4.
Close the battery cover.
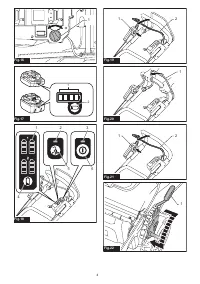
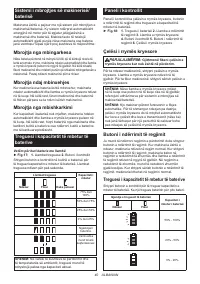
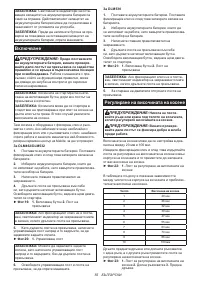
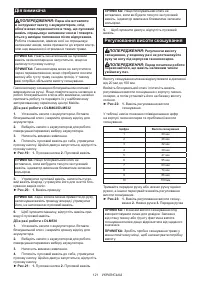
Switching the battery cartridges
►
Fig.16:
1.
Battery selection switch
The machine uses 2 battery cartridges for operation
at a time. Up to 4 battery cartridges can be installed to
the machine. Before operating the machine, select the
battery port 1 or battery port 2 by turning the battery
selection switch.
NOTE:
If only 2 battery cartridges are installed to the
machine, be sure to select the battery port to which
the battery cartridges are installed using the battery
selection switch.
Machine / battery protection system
The machine is equipped with a machine/battery protec-
tion system. This system automatically cuts off power to
the motor to extend machine and battery life. The machine
will automatically stop during operation if the machine or
battery is placed under one of the following conditions:
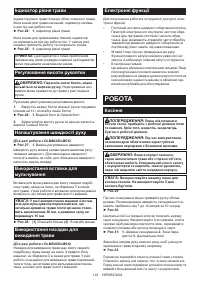
Overload protection
When the battery is operated in a manner that causes it to draw
an abnormally high current, the machine automatically stops and
the main power lamp blinks in green. In this situation, turn the
machine off and stop the application that caused the machine to
become overloaded. Then turn the machine on to restart.
Overheat protection
When the machine or battery is overheated, the
machine stops automatically and the main power lamp
lights up in red. In this case, let the machine and battery
cool before turning the machine on again.
Overdischarge protection
When the battery capacity is not enough, the machine stops
automatically and the main power lamp blinks in red. In this case,
remove the battery from the machine and charge the battery
cartridges or change the battery cartridges to fully charged ones.
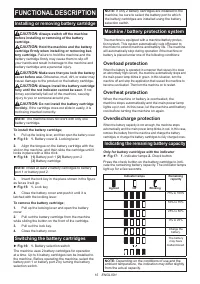
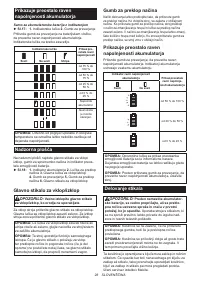
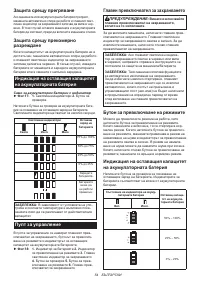
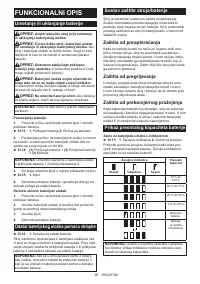
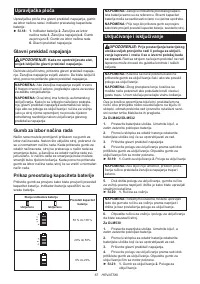
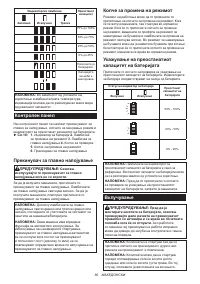
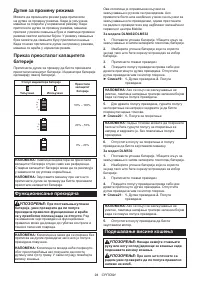
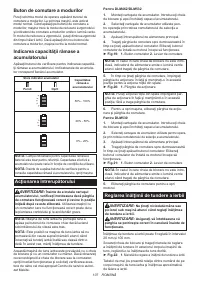
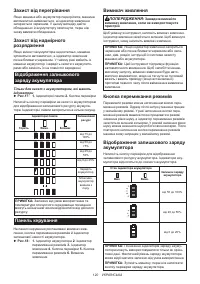
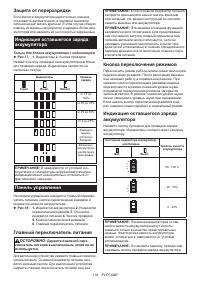
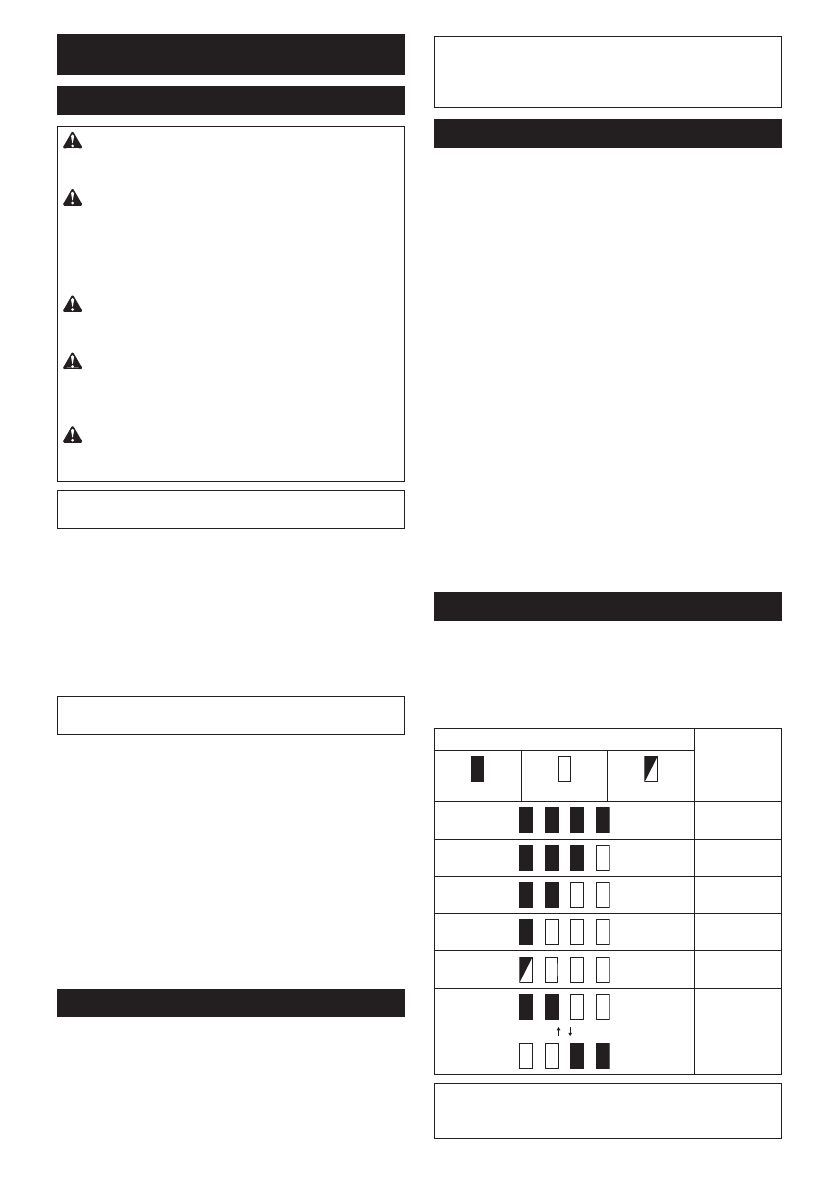
Indicating the remaining battery capacity
Only for battery cartridges with the indicator
►
Fig.17:
1.
Indicator lamps
2.
Check button
Press the check button on the battery cartridge to indi-
cate the remaining battery capacity. The indicator lamps
light up for a few seconds.
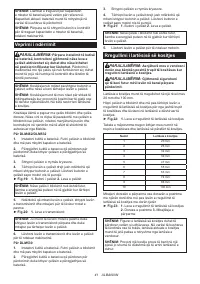
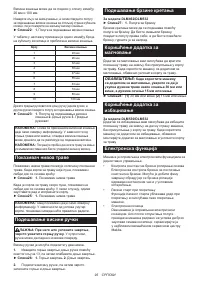
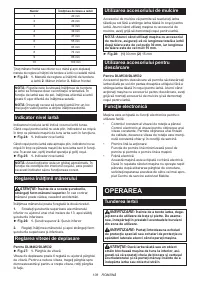
Indicator lamps
Remaining
capacity
Lighted
Off
Blinking
75% to 100%
50% to 75%
25% to 50%
0% to 25%
Charge the
battery.
The battery
may have
malfunctioned.
NOTE:
Depending on the conditions of use and the
ambient temperature, the indication may differ slightly
from the actual capacity.
Содержание
- 127 МЕРЫ БЕЗОПАСНОСТИ
- 128 Сохраните брошюру с инструк
- 131 СОХРАНИТЕ ДАННЫЕ; Важные правила техники
- 132 СБОРКА; Установка рукоятки
- 133 ОПИСАНИЕ РАБОТЫ; Защита от перегрузки
- 134 Защита от переразрядки; Панель управления; Кнопка переключения режимов
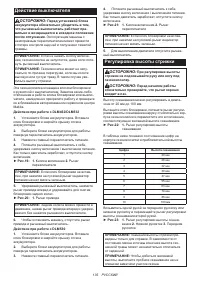
- 135 Действие выключателя
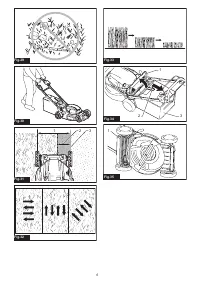
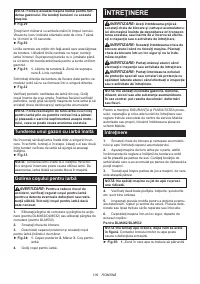
- 136 ЭКСПЛУАТАЦИЯ
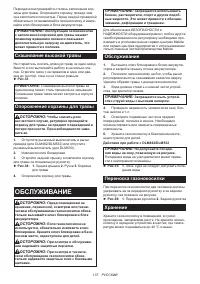
- 137 Скашивание высокой травы; ОБСЛУЖИВАНИЕ; Обслуживание
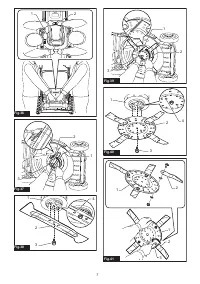
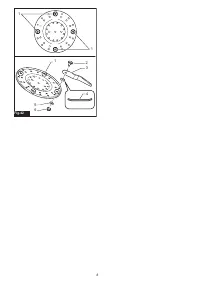
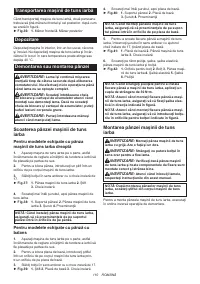
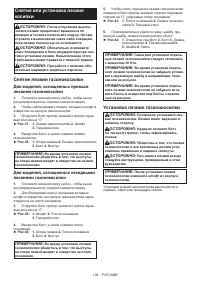
- 138 Снятие или установка лезвия; Для моделей, оснащенных прямым; Установка лезвия газонокосилки
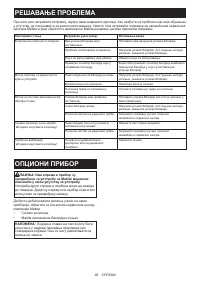
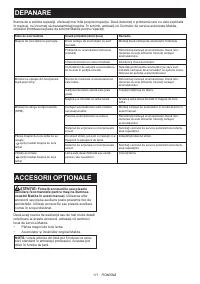
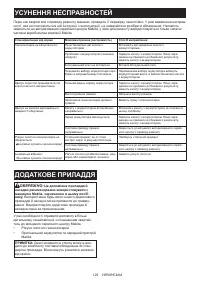
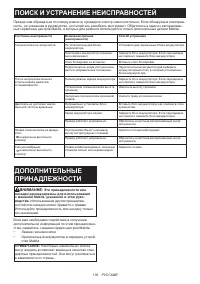
- 139 ПОИСК И УСТРАНЕНИЕ НЕИСПРАВНОСТЕЙ; ДОПОЛНИТЕЛЬНЫЕ
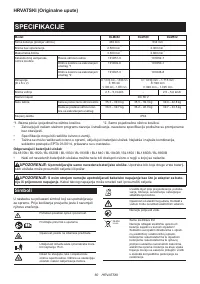
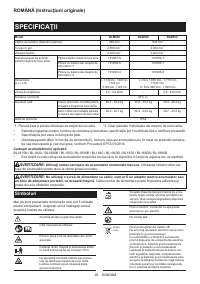
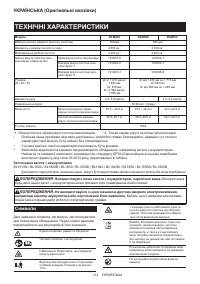
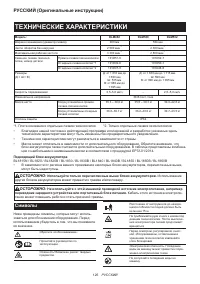
Характеристики

Остались вопросы?Не нашли свой ответ в руководстве или возникли другие проблемы? Задайте свой вопрос в форме ниже с подробным описанием вашей ситуации, чтобы другие люди и специалисты смогли дать на него ответ. Если вы знаете как решить проблему другого человека, пожалуйста, подскажите ему :)


