
Варочная панель KitchenAid KHCMF 45000 - инструкция пользователя по применению, эксплуатации и установке на русском языке. Мы надеемся, она поможет вам решить возникшие у вас вопросы при эксплуатации техники.
Если остались вопросы, задайте их в комментариях после инструкции.
"Загружаем инструкцию", означает, что нужно подождать пока файл загрузится и можно будет его читать онлайн. Некоторые инструкции очень большие и время их появления зависит от вашей скорости интернета.


GB
29
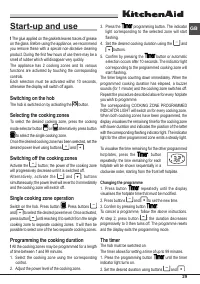
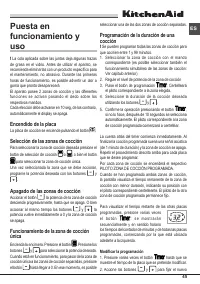
Start-up and use
!
The glue applied on the gaskets leaves traces of grease
on the glass. Before using the appliance, we recommend
you remove these with a special non-abrasive cleaning
product. During the first few hours of use there may be a
smell of rubber which will disappear very quickly.
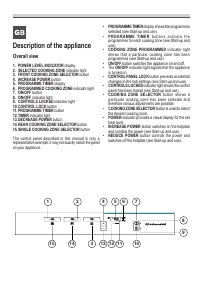
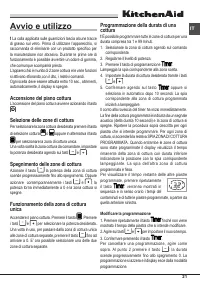
The appliance has 2 cooking zones and its various
functions are activated by touching the corresponding
controls.
Each selection must be activated within 10 seconds,
otherwise the display will switch off again.
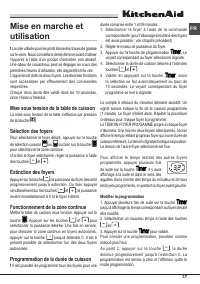
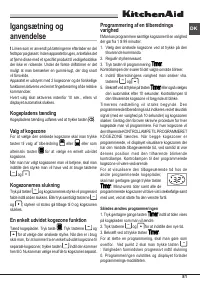
Switching on the hob
The hob is switched on by activating the button.
Selecting the cooking zones
To select the desired cooking zone, press the cooking
mode selector button or alternatively press button
to select the single cooking zone.
Once the desired cooking zone has been selected, set the
desired power level using buttons
and
.
Switching off the cooking zones
Activate the
; button; the power of the cooking zone
will progressively decrease until it is switched off.
Alternatively, activate the
and
; buttons
simultaneously; the power level will revert to 0 immediately
and the cooking zone will switch off.
Single cooking zone operation
Switch on the hob. Press button . Press buttons
and
to select the desired power level. Once activated,
press button
until reaching 0 to switch from the single
cooking zone to separate cooking zones. It will then be
possible to select one of the two separate cooking zones.
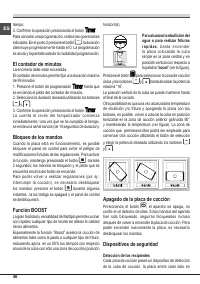
Programming the cooking duration
!
All the cooking zones may be programmed for a length
of time between 1 and 99 minutes.
1. Select the cooking zone using the corresponding
control.
2. Adjust the power level of the cooking zone.
3. Press the
programming button. The indicator
light corresponding to the selected zone will start
flashing.
4. Set the desired cooking duration using the
and
buttons.
5. Confirm by pressing the
button or automatic
selection occurs after 10 seconds. The indicator light
corresponding to the programmed cooking zone will
start flashing.
The timer begins counting down immediately. When the
programmed cooking duration has elapsed, a buzzer
sounds (for 1 minute) and the cooking zone switches off.
Repeat the procedure described above for every hotplate
you wish to programme.
The corresponding COOKING ZONE PROGRAMMED
INDICATOR LIGHT will switch on for every cooking zone.
When both cooking zones have been programmed, the
display visualises the remaining time for the cooking zone
with lower duration and indicates the position of the latter
with the corresponding flashing indicator light. The indicator
light for the other programmed zone emits a steady light.
To visualise the time remaining for the other programmed
hotplates, press the
: button
repeatedly: the time remaining for each
hotplate will be shown sequentially in a
clockwise order, starting from the front left hotplate.
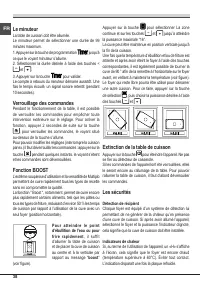
Changing the programme
1. Press button
repeatedly until the display
visualises the hotplate time that must be modified.
2. Press buttons
and
to set the new time.
3. Confirm by pressing button
.
To cancel a programme, follow the above instructions.
At step 2, press button
: the duration decreases
progressively to 0 then turns off. The programme resets
and the display exits the programming mode.
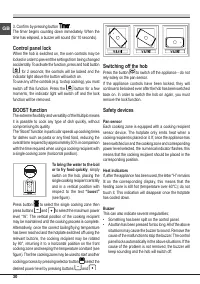
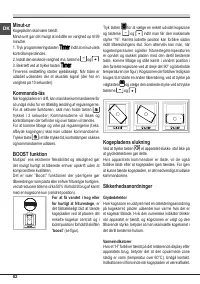
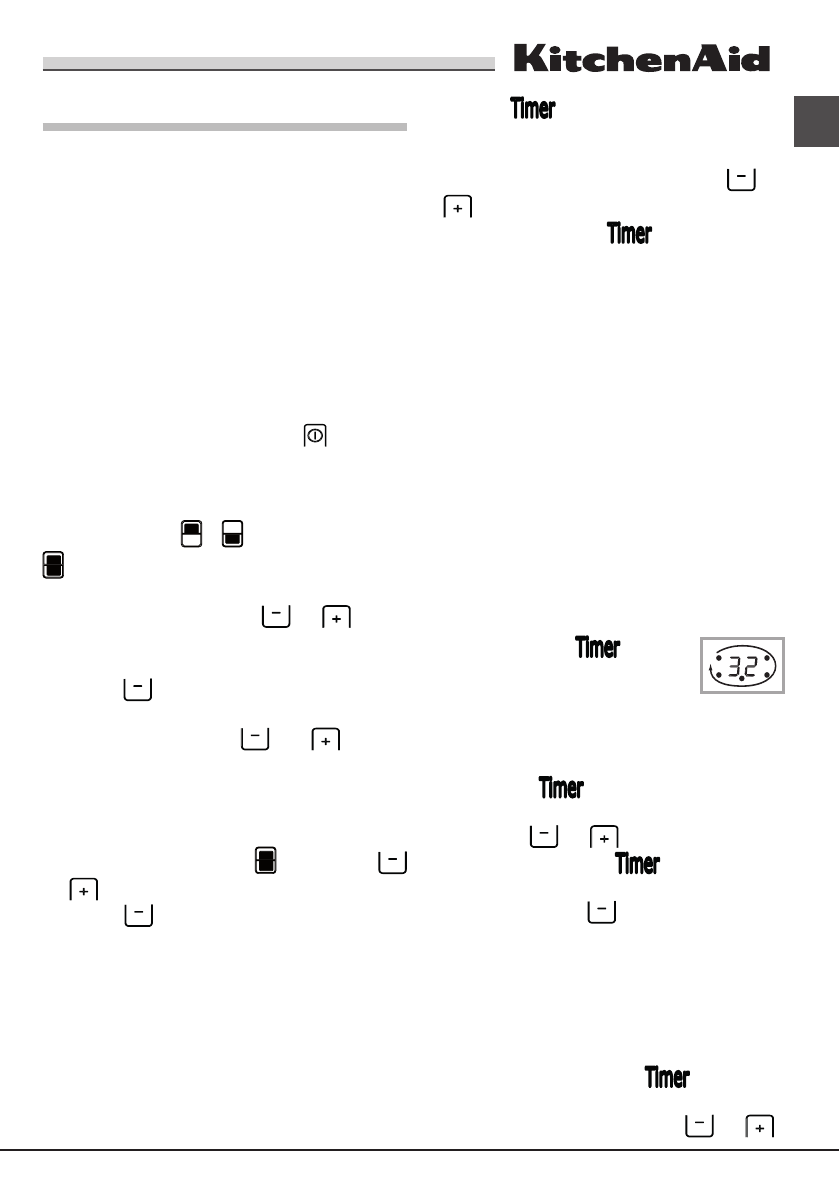
The timer
The hob must be switched on.
The timer allows for setting a time of up to 99 minutes.
1. Press the programming button
until the timer
indicator light turns on.
2. Set the desired duration using buttons
and
.
Содержание
- 8 Предупреждения
- 10 Asistencia; Geben Sie bitte Folgendes an:; Сервисное обслуживание
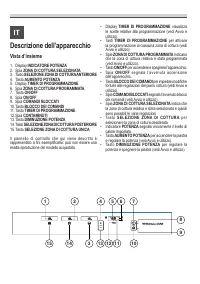
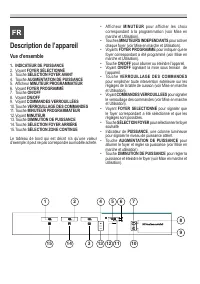
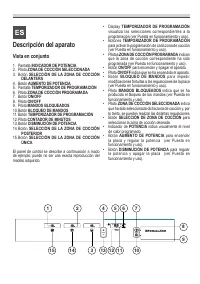
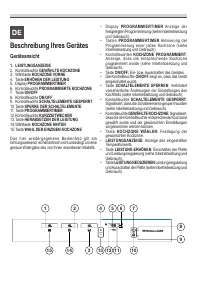
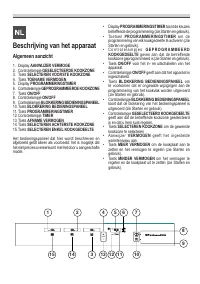
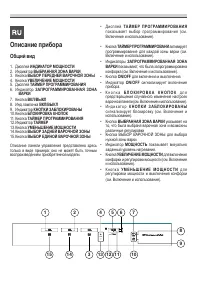
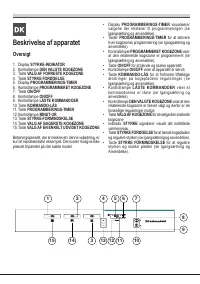
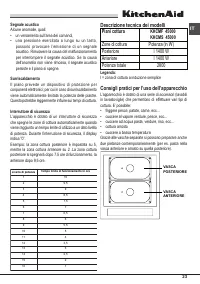
- 17 Описание прибора; Общий вид
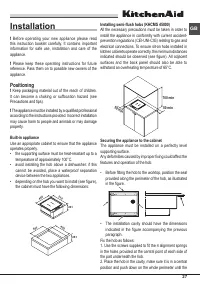
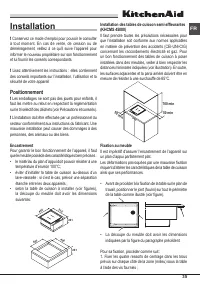
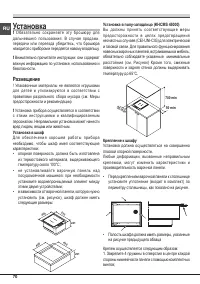
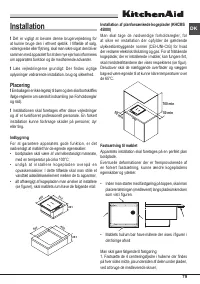
- 70 Установка; Размещение; Установка в шкаф
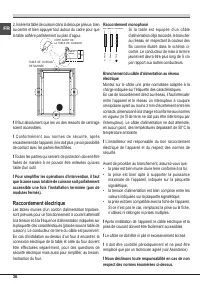
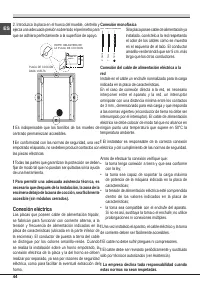
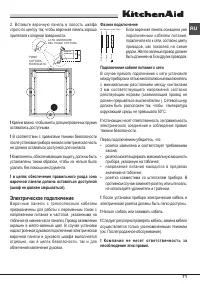
- 71 Электрическое подключение
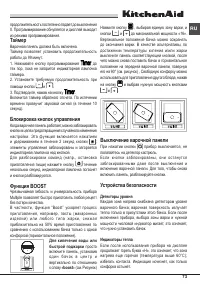
- 72 Модификация программирования
- 73 Для кипячения воды или; Выключение варочной панели; Детекторы уровня
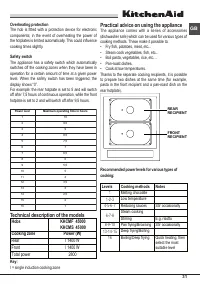
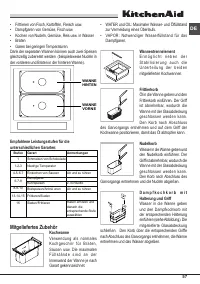
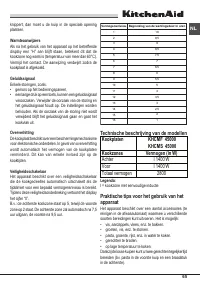
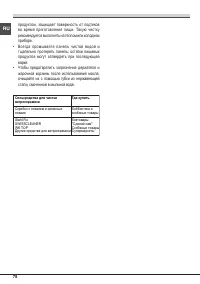
- 74 Техническое описание моделей; Варочные; Условные обозначения:; Практические советы по
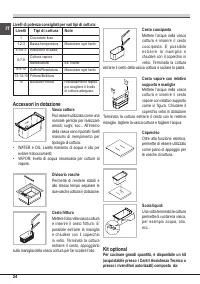
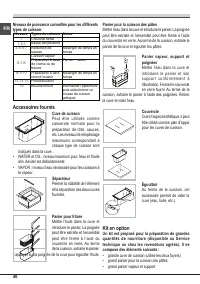
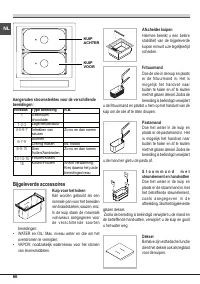
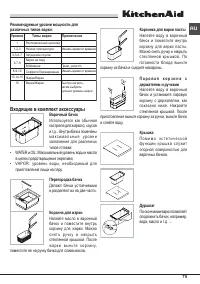
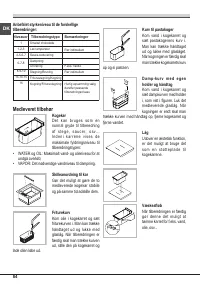
- 75 Входящие в комплект аксессуары
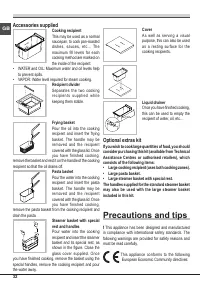
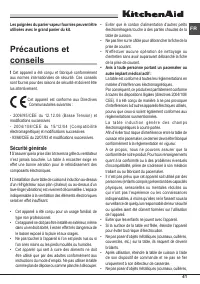
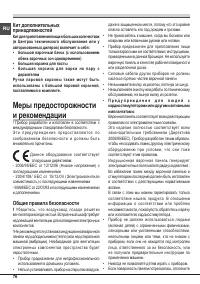
- 76 Меры предосторожности; Общие правила безопасности
- 77 Утилизация; Техническое; Отключение электропитания


