
Триммеры VERTO 550 Вт, 2в1 52G552 - инструкция пользователя по применению, эксплуатации и установке на русском языке. Мы надеемся, она поможет вам решить возникшие у вас вопросы при эксплуатации техники.
Если остались вопросы, задайте их в комментариях после инструкции.
"Загружаем инструкцию", означает, что нужно подождать пока файл загрузится и можно будет его читать онлайн. Некоторые инструкции очень большие и время их появления зависит от вашей скорости интернета.


13
6.
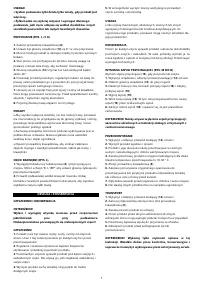
Move the product in a slow, regular arc from left to right before
bringing it back to the starting position before trimming the next
area.
7.
Make sure the cutting attachment is clean and free from debris
that could cause the cutting attachment to jam . Before checking,
release the ON / OFF switch and remove the battery.
8.
Trim longer grass in stages; don't cut long
ADVICE
•
For best results, do not mow wet grass, because it tends to stick
to the string head and shield, causing no proper kicked that cut
grass and can cause slip and fall.
•
Be especially careful when working near trees and shrubs. The
trimmer head can damage the sensitive bark and fence posts.
•
Lower the edge guide to prevent the cutting unit from touching
hard objects such as walls and curbs.
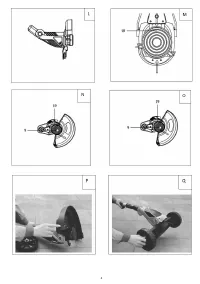
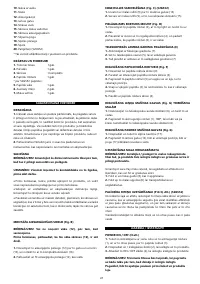
CUTTING THE EDGES (FIG. L)
1.
Pull out the telescopic tube lock ( 6 ) and hold it in place. Turn
the handle ( 1 ) 180
°
to position the trimmer head for edge
trimming
2.
Drive the trimmer along the edge of the lawn. Avoid contact
with hard surfaces or walls to prevent the cutting line from
wearing out quickly.
CARE AND MAINTENANCE
CLEANING AND MAINTENANCE
WARNING!
Switch off and disconnect the mains plug before starting any
work
on
the
trimmer
.
Danger of moving dangerous parts!
CLEANING
1.
The product must always be clean, dry and free of oil or grease.
Remove any debris from it after each use and before storage.
2.
Regular and proper cleaning will ensure safe use and extend the
life of the product.
3.
Before each use, check the product for worn and damaged
parts. Do not use it if you find damaged and worn parts.
4.
Clean the product with a dry cloth. Use a brush for hard-to-
reach places.
5.
In particular, clean the air vents after each use with a cloth and a
brush.
ATTENTION
•
Do not use chemical, alkaline, abrasive or other aggressive
detergents or disinfectants to clean this product as they may be
harmful to its surface.
MAINTENANCE
Before and after each use, check the product and accessories (or
attachments) for wear and damage. If necessary, replace them with
new ones as described in this manual. Comply with the technical
requirements
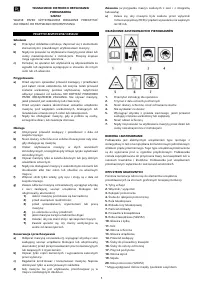
REPLACING THE TRIMMING SPOOL (FIG. M TO O)
Replace the trim reel (
19
) when it is empty or worn.
1.
Turn off the device and disconnect the power cord ( 14 ) from
the mains
2.
Turn the device head ( 13 ) upside down.
3.
Press on the side on both sides of the spool cover ( 18 ) and
remove the spool cover ( 18 )
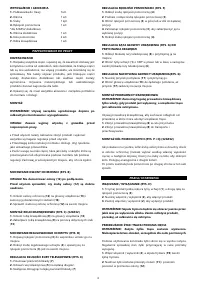
4.
Take out the spool ( 19 )
5.
Insert a new spool ( 19 ). To do this, pass the ends of the new
spool ( 19 ) through the eyes of the spool holder
6.
Fit the spool cover ( 18 ) and make sure it is properly fitted.
WARNING Use only the trim reel and accessories specified in
the instruction manual and received from the service center
STORAGE
1.
Turn off and disconnect the power cord ( 14 ) from the mains
2.
Clean the product as described.
3.
Store the product and its accessories in a dark, dry, frost-free
and well-ventilated place.
4.
Always keep the product out of the reach of children. The ideal
storage temperature is 10-30
°
C.
5.
Fold in the edge guide ( 8 ).
6.
It is recommended to use the original packaging for storage or
to cover the product with a suitable cloth or cover to protect it
from dust.
7.
The optimal storage conditions are a cool and dry place .
8.
Do not place other items on the garden tool.
TRANSPORT
1.
Turn off and disconnect the power cord ( 14 ) from the mains
2.
Attach a suitable knife guard and fold the edge guide ( 8 ).
3.
Always carry the product by the handles.
4.
Protect the product from strong impacts or strong vibrations
that may occur during transport in vehicles.
5.
Store a spare trimming spool in the storage compartment.
6.
Secure the product against slipping or tipping over.
WARNING! Perform only the steps described in this manual.
Any further inspection, maintenance and repair work must be
performed by an authorized service center.
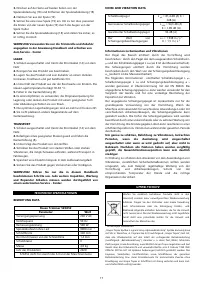
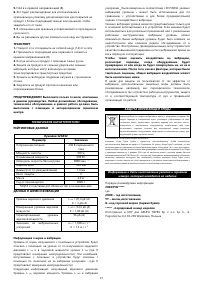
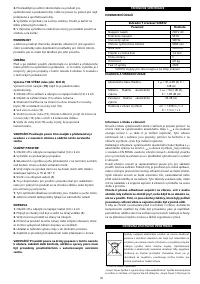
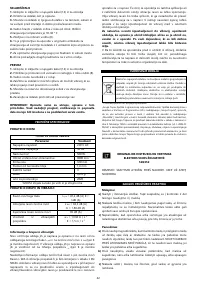
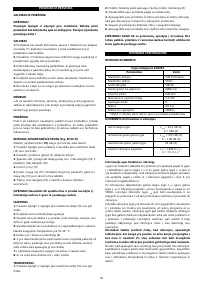
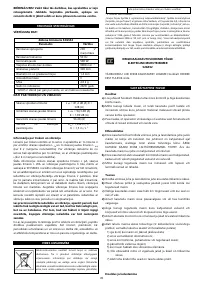
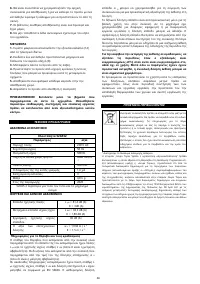
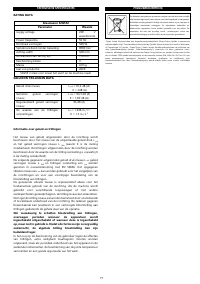
TECHNICAL SPECIFICATIONS
RATING DATA
Lawn Trimmer 52G552
Parameter
Value
Supply voltage
230 V AC
Power frequency
50 Hz
Rated power
500 W.
Spindle speed without load
9000 min
-1
Cutting width
320 mm
The diameter of the cutting line
1.4 mm
Protection class
II
Mass
4.0 kg
Year of production
2020
52G552 stands for both the type and the machine name
NOISE AND VIBRATION DATA
Sound pressure level
L
pA
= 81.4 dB (A)
K = 3dB (A)
Measured sound power level
L
WA
= 94.3 dB (A)
K = 1.89 dB (A)
Guaranteed sound power level
96 dB (A)
The
value
of
vibration
accelerations
a
h
= 1.938 m / s
2
K = 1.5 m / s
2
Information on noise and vibration
The level of noise emitted by the device is described by: the level of
the emitted sound pressure L
pA
and the sound power level L
WA
(where K is the measurement uncertainty). The vibrations emitted
by the device are described by the value of the vibration
acceleration a
h
(where K is the measurement uncertainty).
The following information: emitted sound pressure level L
pA,
sound
power level L
WA
and vibration acceleration a
h
were measured in
accordance with EN 50636. The specified vibration level a
h
can be

